

Vanilla JS "Who's that Pokémon?" game with the PokéAPI
source link: https://dev.to/js_bits_bill/vanilla-js-who-s-that-pokemon-game-with-pokeapi-34m4
Go to the source link to view the article. You can view the picture content, updated content and better typesetting reading experience. If the link is broken, please click the button below to view the snapshot at that time.
Vanilla JS "Who's that Pokémon?" game with the PokéAPI
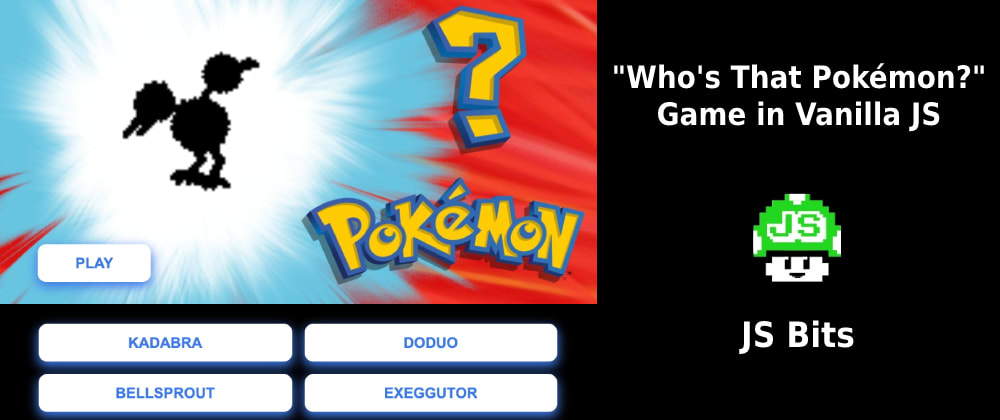
Remember that "Who's that Pokémon?" TV game? Well we can build our own version of this with the PokéAPI!
If we make a fetch call to this endpoint (and specify that we want to limit it to the first 151 Pokémon), we'll get a results array:
(async () => {
  const res = await fetch('https://pokeapi.co/api/v2/pokemon?limit=151');
  const json = await res.json();

  console.log(json.results);
})();

// Logs:
[
  {name: 'bulbasaur', url: 'https://pokeapi.co/api/v2/pokemon/1/'},
  {name: 'ivysaur', url: 'https://pokeapi.co/api/v2/pokemon/2/'},
  {name: 'venusaur', url: 'https://pokeapi.co/api/v2/pokemon/3/'},
 // ...
]
That url property inside each object is the pokémon-specific endpoint that can be hit for more information about that individual character. Inside this JSON, there will be a sprite URL like so: https://raw.githubusercontent.com/PokeAPI/sprites/master/sprites/pokemon/1.png
This is the sprite for Pokémon #1:
Since we saw in the original data that Bulbasaur's url property shows its number (1), and this number is the same that's used in the sprite URL, we can use just this original request to get all the information we need to create a "Who's that Pokémon?" game:
The full code for this project is hosted here, but the rest of this article will show the core components we'll need to make this work.
First, our HTML structure:
<main class="fetching">

  <div id="pokemon-container">
    <img id="pokeball" src="background.jpg">
    <img id="pokemon-image" src="placeholder.png">
  </div>

  <div id="answer">
    <div id="bg-overlay"></div>
    <div id="text-overlay"></div>
  </div>

  <section id="controls">
    <button id="play">Play</button>
    <div id="choices"></div>
  </section>
</main>
The #pokemon-image source will be set dynamically to show the featured pokémon, and the #choices element will be populated with multiple-choice answers from the PokéAPI data. The steps to get the need we'll need is as follows:
getPokeData = async function() {
  const pokemon = await getPokemon(); // #1
  const randomPokemon = shuffle(pokemon); // #2
  const pokemonChoices = get4Pokemon(randomPokemon); // #3
  const [ firstPokemon ] = pokemonChoices; // #4
  const image = getPokemonImage(firstPokemon); // # 5

  return {
    pokemonChoices: shuffle(pokemonChoices),
    correct: {
      image,
      name: firstPokemon.name,
    }
  };
};
1) Fetch the array of 151 Pokémon objects (show above).
2) Shuffle the array show we can show a random group to the user:
function shuffle(unshuffled) {
  const shuffled = unshuffled
    .map((value) => ({ value, sort: Math.random() }))
    .sort((a, b) => a.sort - b.sort)
    .map(({ value }) => value);

  return shuffled;
}
3) Save the first 4 objects from this shuffled array:
function get4Pokemon(randomPokemon) {
  return randomPokemon.splice(0, 4);
}
4) Save a reference to the first Pokémon object (the one we'll feature).
5) Return an object containing the 4 Pokémon choices (shuffled again), and a "correct" object, containing both the name of the featured pokémon and the image URL to show:
function getPokemonImage({ url }) {
  const number = getNumber(url);
  return `https://raw.githubusercontent.com/PokeAPI/` +
  `sprites/master/sprites/pokemon/${number}.png`;
};

function getNumber(url) {
  const numberRegEx = /(\d+)\/$/;
  return (url.match(numberRegEx) || [])[1];
}
We'll then plug this URL source into our <img id="pokemon-image"> element and set the brightness of the PNG to 0 with CSS:
#pokemon-image {
  transform: scale(2.5);
  filter: brightness(0);
  transition: filter .5s ease-out;
}
And generate our #choices content with answer buttons:
const { pokemonChoices } = gameData;
const choicesHTML = pokemonChoices.map(({ name }) => {
  return `<button data-name="${name}">${name}</button>`;
}).join('');

choices.innerHTML = choicesHTML;
Once we hook up some additional event handlers and logic to check if the dataset.name selected matches the correct pokémon, we can toggle some classes to reveal both the right answers and show the full-color pokémon image!
Project code available here: https://github.com/doctafaustus/whos-that-pokemon
Full YouTube Tutorial:
Yo! I post byte-sized tips like these often. Follow me if you crave more! 🍿
I'm on TikTok, Twitter and I have a new debugging course dropping soon!
Recommend
About Joyk
Aggregate valuable and interesting links.
Joyk means Joy of geeK