

Keebin’ With Kristina: The One Where Shift Happens
source link: https://hackaday.com/2021/09/28/keebin-with-kristina-the-one-where-shift-happens/
Go to the source link to view the article. You can view the picture content, updated content and better typesetting reading experience. If the link is broken, please click the button below to view the snapshot at that time.
It’s been an exciting few weeks for me personally on the clacking front. I got a couple of new-to-me keyboards including my first one with ALPS switches, an old TI/99A keyboard with Futaba MD switches, and a couple of what are supposed to be the original Cherry switches (oh man they clack so nicely!) But enough about my keyboard-related fortuitousness, and on to the hacks and clacks!
Putting My Pedals to the Metal
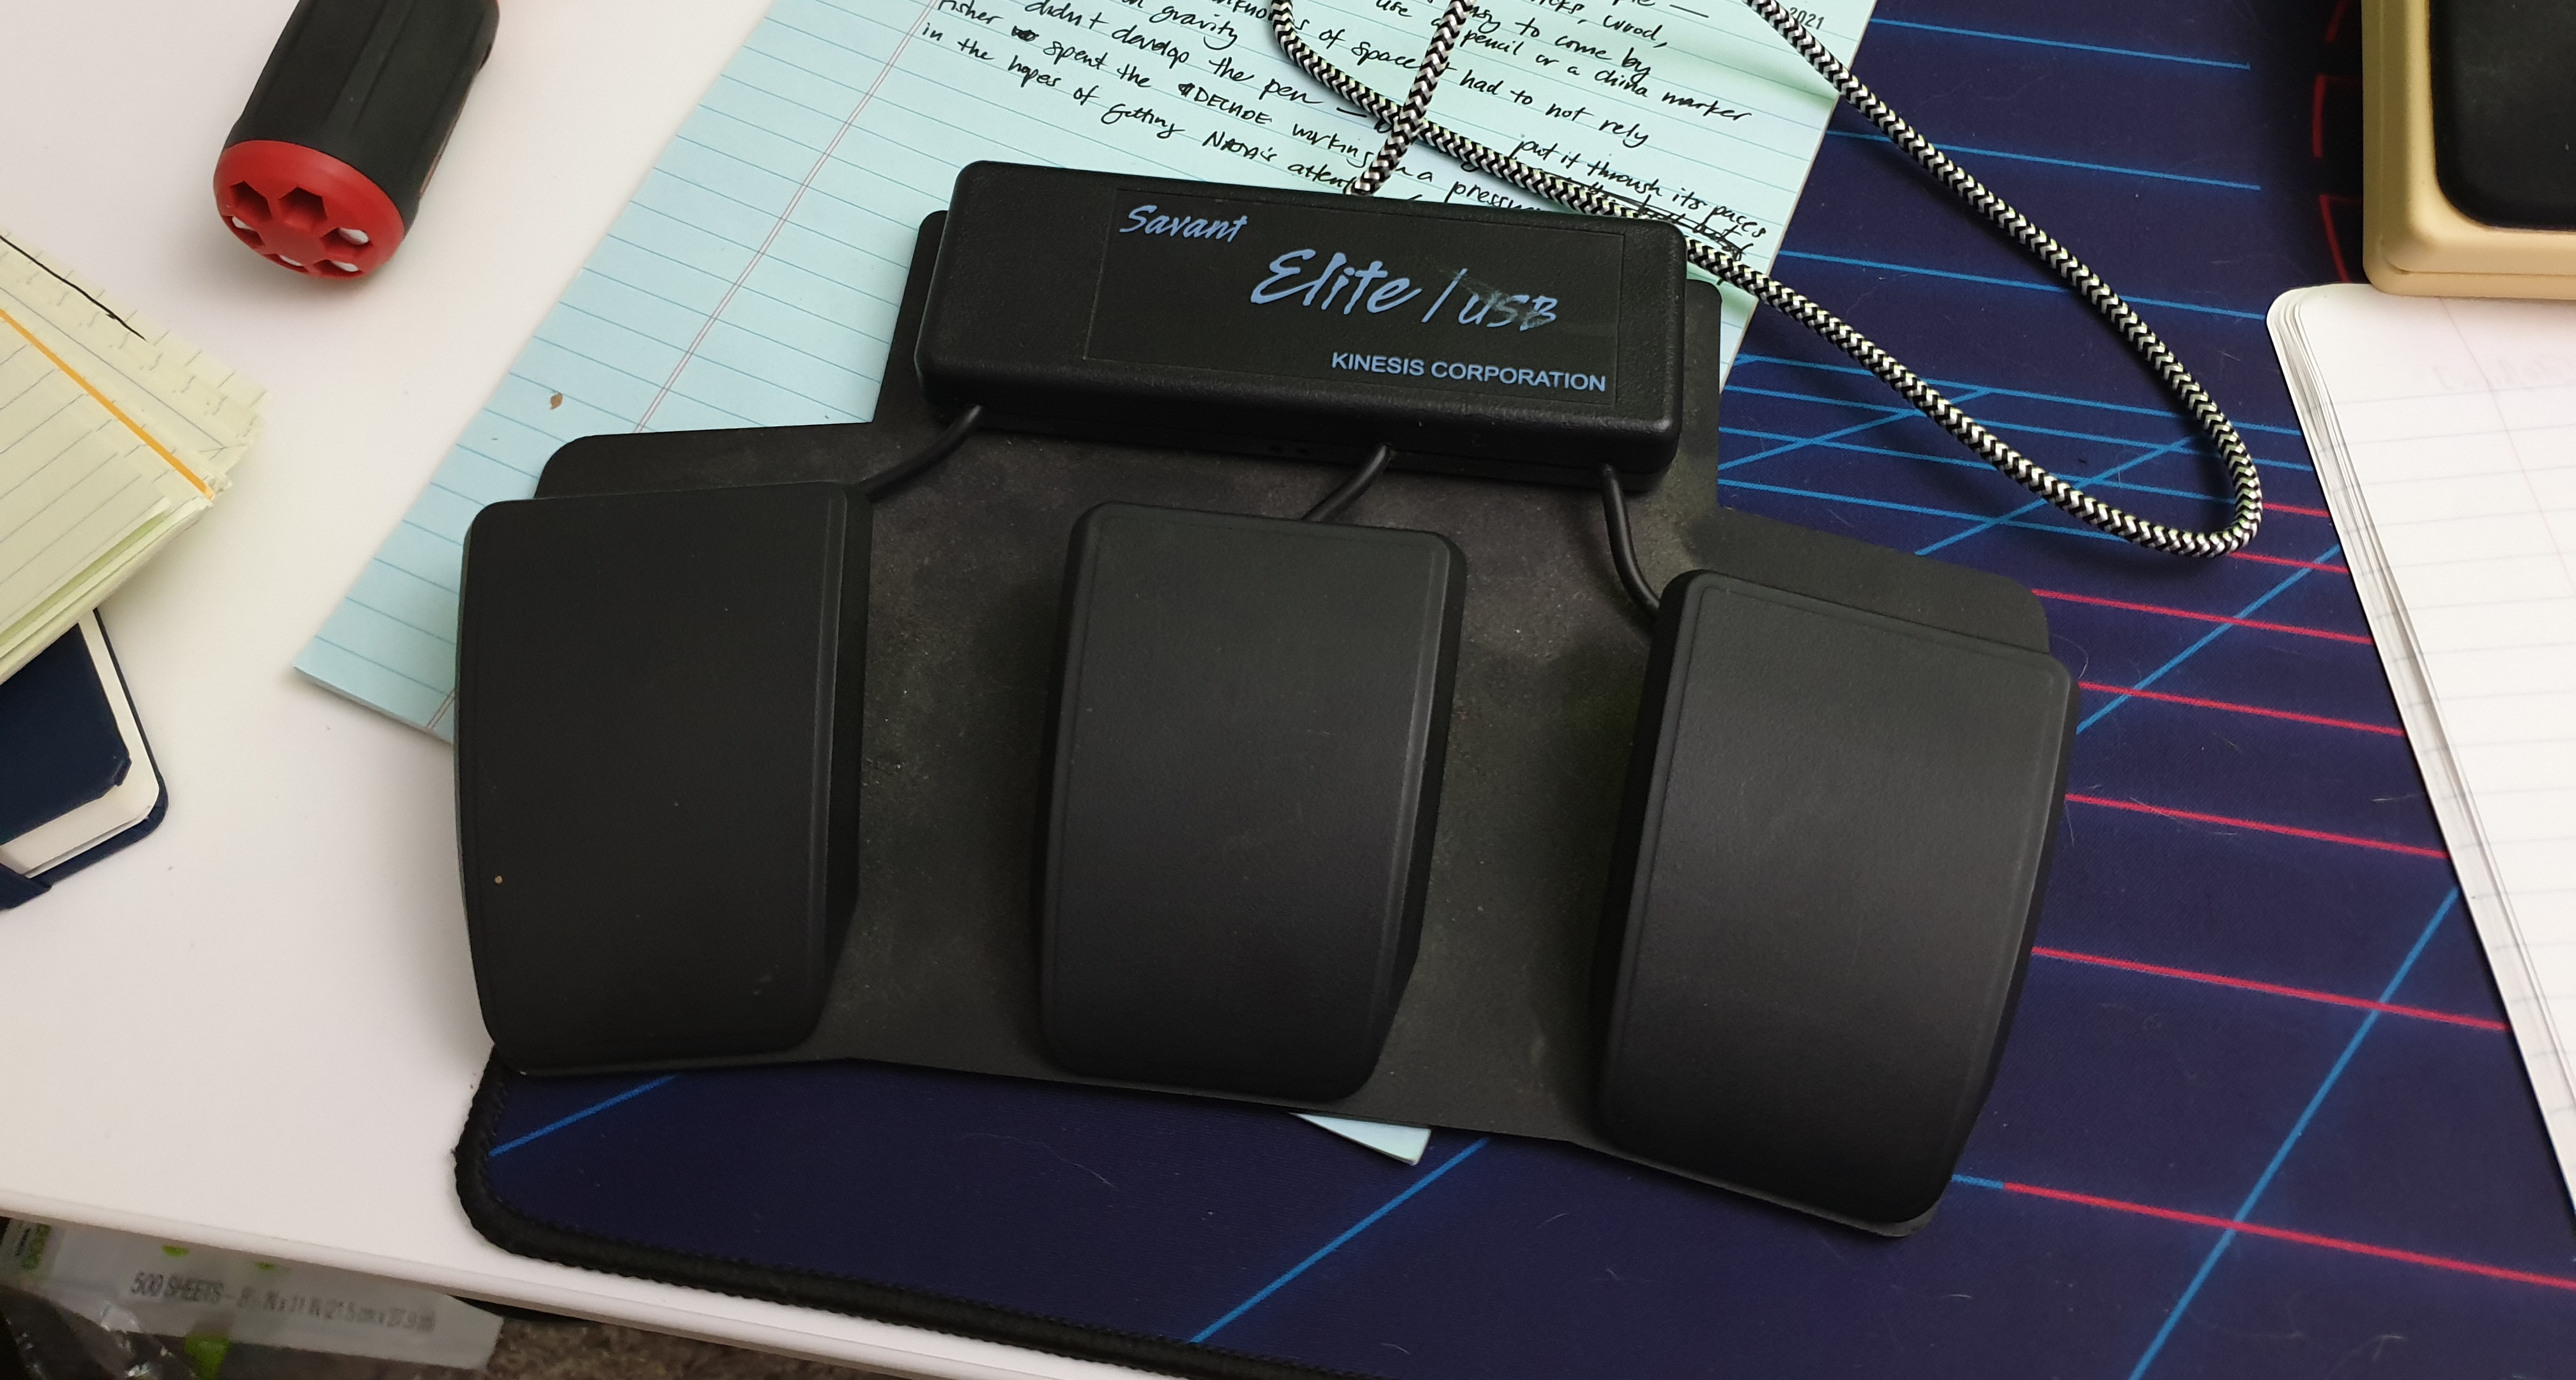 I picked up this Kinesis Savant Elite triple foot pedal from Goodwill. It works fine, but I don’t like the way it’s programmed — left arrow, right arrow, and right mouse click. I found the manual and the driver on the Kinesis website easily enough, but I soon learned that you need a 32-bit computer to program it. Period. See, Kinesis never wrote an updated driver for the original Savant Elite pedal, they just came out with a new one and people had to fork over another $200 or figure something else out.
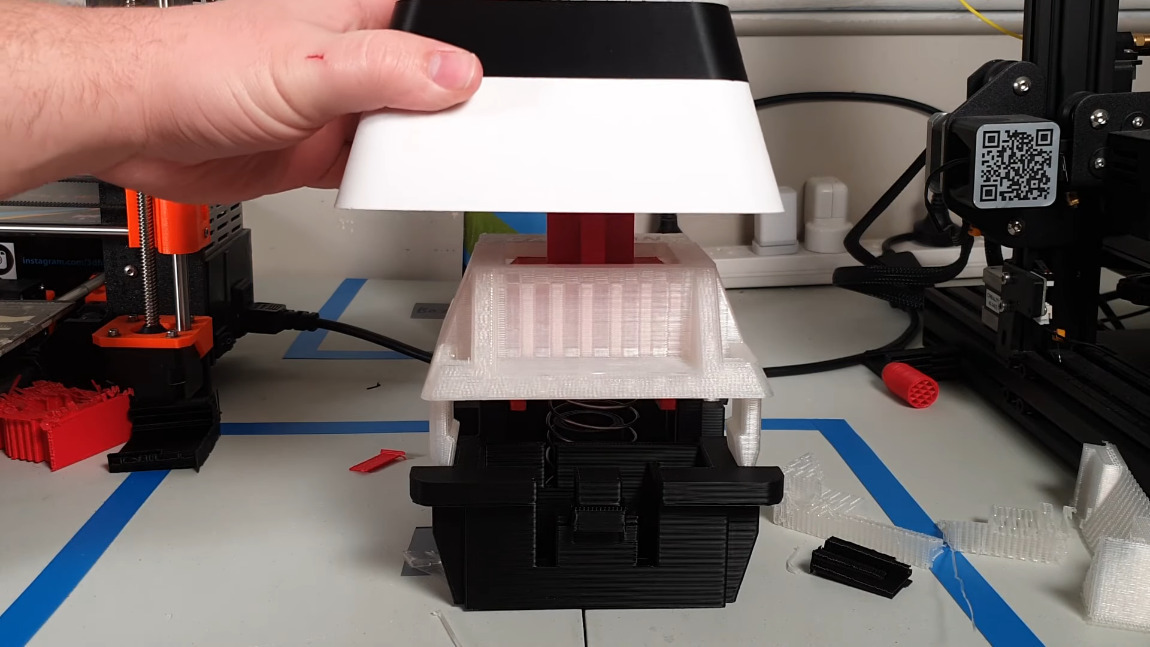
I’m fresh out of 32-bit computers, so I tried running the program in XP-compatibility mode like the manual says, but it just doesn’t work. Oh, and the manual says you can brick it if you don’t do things correctly, so that’s pretty weird and scary. It was about this time that I started to realize how easy it would be to open it up and just replace the controller with something much more modern. Once I got inside, I saw that all three switches use JST plugs and right angle header. Then I though hey, why not just re-use this set-up? I might have to make a new board, but it how awesome would it be to plug these pedals’ JSTs into my own board?
But, I didn’t have to make a new board! As it turns out, the Raspberry Pi Pico has more than enough GPIO pins and distributed ground pins that I was able to de-solder the headers from the Kinesis controller and stick all three sets on one side of the Pico. I barely got the lid screwed back down on the enclosure, but it was worth it.
This pedal set is streets ahead of my all-plastic Shift pedal. It’s made of steel, and the pedals are definitely rugged enough for use with shoes on, though I’m more of a sock-footed typist. So far, I like it. I was already used to using a pedal for Shift, so I assigned that to the middle pedal as a reference point. Left pedal does Ctrl, and right pedal does Alt. My only gripe is that the switches aren’t clicky, so I don’t get that nice auditory feedback that I’m used to. I’m going to see about changing those out, possibly to some heavy key switches like Cherry greens. It’s a little difficult to tell the pedals apart without feeling around for reference, so I’ve got an adhesive felt furniture circle as a temporary homing device while I figure out something cooler to use, like maybe half of a bouncy ball or something.
Check This Out: Keycap Playground
As part of [riskable]’s quest to build a completely 3D-printed keyboard, they made a keycap playground in OpenSCAD that’s really more akin to one of those mega-fun complexes with go-karts and mini-golf and bowling. But, you know, for keycap fun. You want your ‘cap to look like a smashed accordion bellows? Sure. (Can you imagine how fun it would be to pick at those keycaps while you’re thinking of the next line?)
This playground is gigantic, and now it’s open to the public. You can see in the demo video below just how powerful it is for customizing everything from the dish to the corner radius to the legends. Right now it handles DSA and DCA profiles, but [riskable] says that it’s fairly easy to make new ones. If you think this is cool, check out [riskable]’s 3D-printed mag-lev switches that are gonna go underneath these unique keycaps.
Future Hotness: Shift Happens by Marcin Wichary
Image via MediumI’ve been wanting to tell you about this upcoming book, and I just don’t see the point in waiting any longer even though it’s not due out until 2022.
While I was researching August Dvorak and looking for pictures, I came across a helpful tweet by one [Marcin Wichary], a typographer in San Francisco who is working on a book about the complete history of keyboards, including typewriters.
For the last 18 months I’ve been getting periodic updates about the book from [Marcin]’s low-frequency mailing list. Far more than mere updates, each one offers a fascinating lesson about anything from skeuomorphs to moire lines as they relate to printing photographs. If the updates are any indication, it’s going to be deliciously comprehensive and full of fantastic photographs. I can’t wait to get my hands on this book!
Historical Clackers: The Nocoblick Music Typewriter
Image via Music Printing HistoryThis is not the first music typewriter, but it’s one of the early ones. The Nocoblick Music Typewriter was produced in Cologne, Germany and was in use from 1910 to 1917.
The interesting thing about this machine is that the position of the platen is determined by a scale, which helps place the notes and symbols accurately. At first, the machines used paper pre-printed with staff lines, but later versions laid out the staves as well.
Nocoblicks used an interchangeable kind of type wheel designed by Remington competitor George Blickensderfer – one for music notes, and another for letters. With a simple change of the type wheel and the flick of a lever, it could print lyrics as well. The Nocoblick didn’t sell well for some reason, and when Blickensderfer died in 1917, his type wheel was discontinued, effectively killing off any machine that used it.
ICMYI: Pay Your Respects to (and with) the Giant F key
[Jaryd] even made their own spring for this beast using a drill and a 3D-printed cylinder chucked into it. But the best part has to be the way it works: by actuating a regular-sized key switch connected to an Arduino.
Got a hot tip that has like, anything to do with keyboards? Help me out by sending in a link or two. Don’t want all the Hackaday scribes to see it? Feel free to email me directly.
Recommend
About Joyk
Aggregate valuable and interesting links.
Joyk means Joy of geeK