

Configuring the 'WP Mail SMTP' plugin with Gmail
source link: https://help.dreamhost.com/hc/en-us/articles/360029770912-Configuring-the-WP-Mail-SMTP-plugin-with-Gmail
Go to the source link to view the article. You can view the picture content, updated content and better typesetting reading experience. If the link is broken, please click the button below to view the snapshot at that time.
Configuring the 'WP Mail SMTP' plugin with Gmail
Overview
This article explains how to use the WP Mail SMTP plugin to send email from your WordPress site, using your Google email address.
If you do not want to use a Gmail address to send from your WordPress site, view the following article instead.
Configuring the WP Mail SMTP plugin
- In the WordPress dashboard, click 'Plugins > Add New' in the left pane.
- Search for wp-mail-smtp. It can also be found here.

- Click the Install button, then Activate.
- After it's installed and activated, navigate to the 'Plugins' page in your WordPress dashboard.
- Click the Settings link under the plugin.
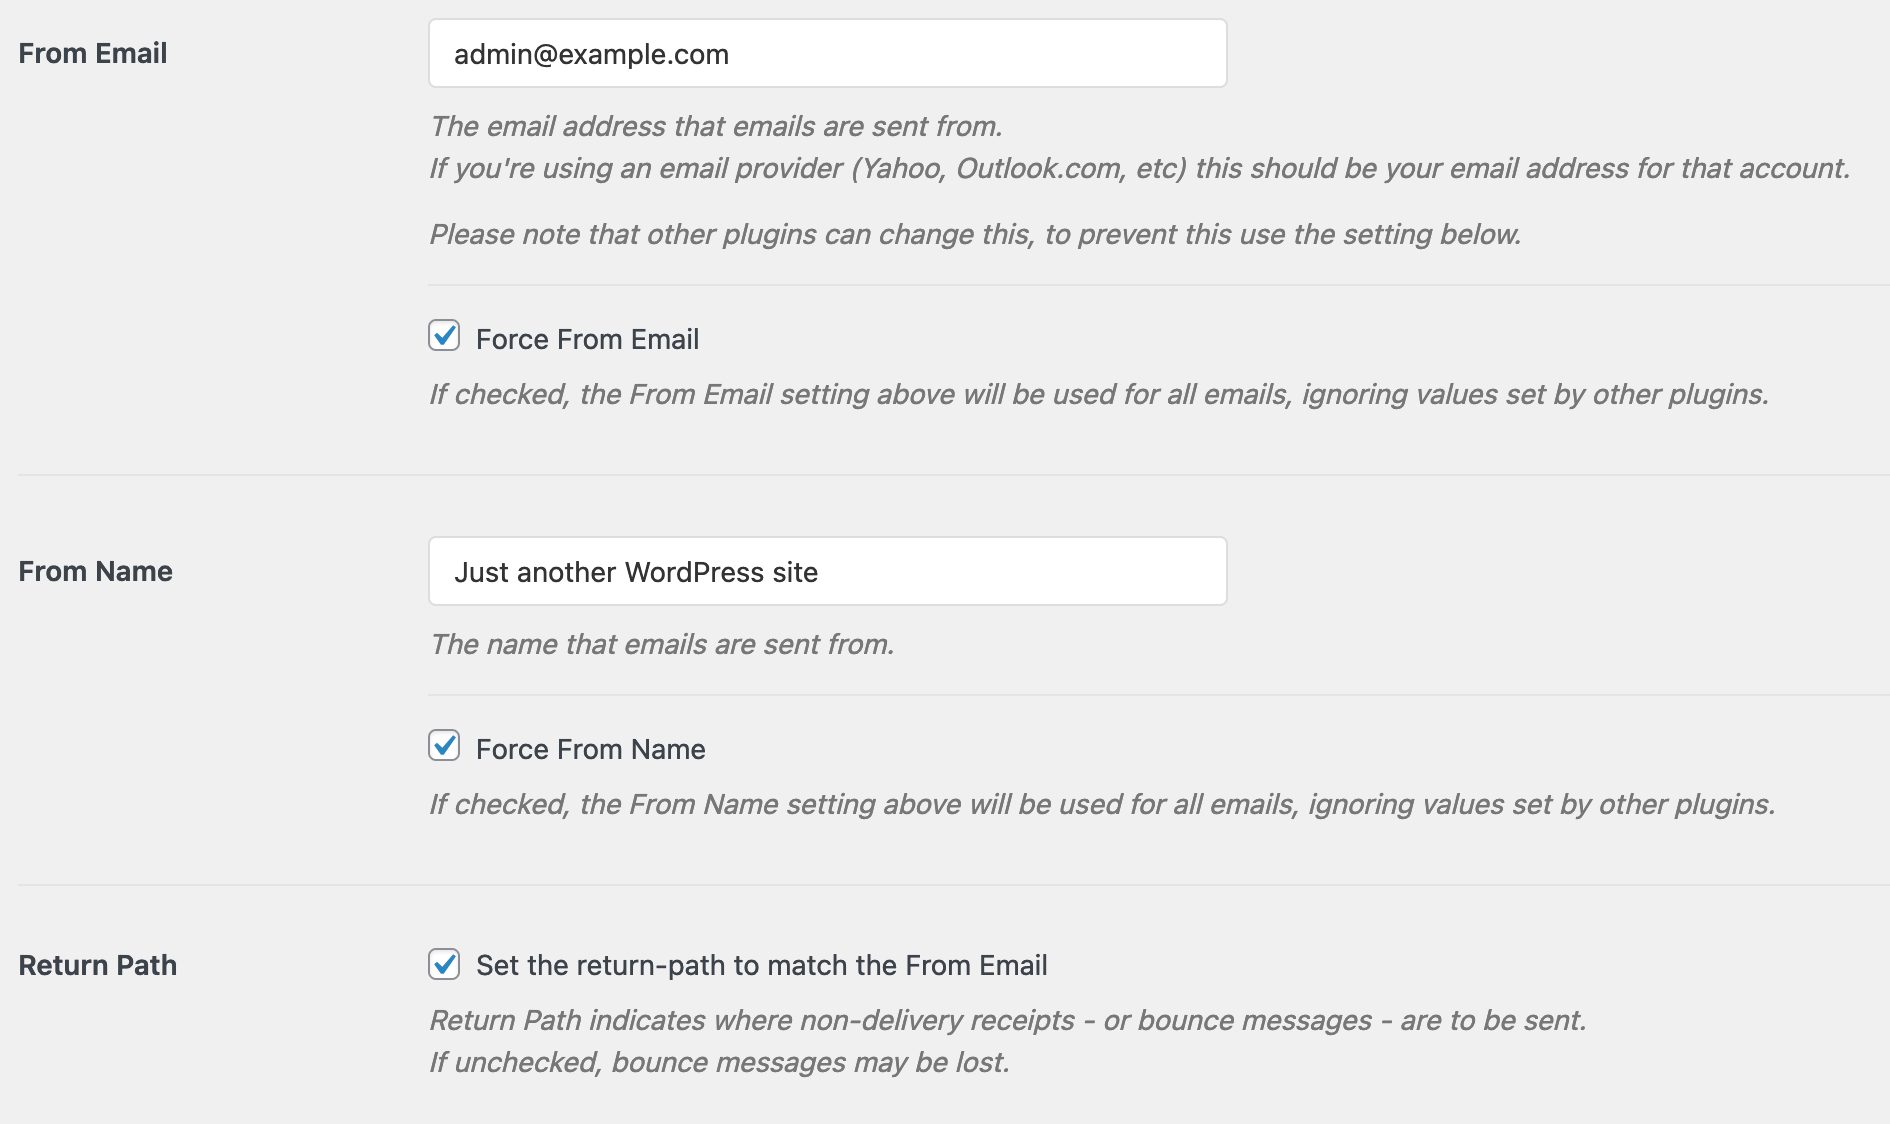
- Fill in the following fields:
- From Email - Enter the email you wish to send FROM
- Force From Email - Check this box
- From Name - Enter a name you'd like to appear as being sent FROM
- Force From Name - Check this if you wish to force the FROM name
- Return Path - Check this box
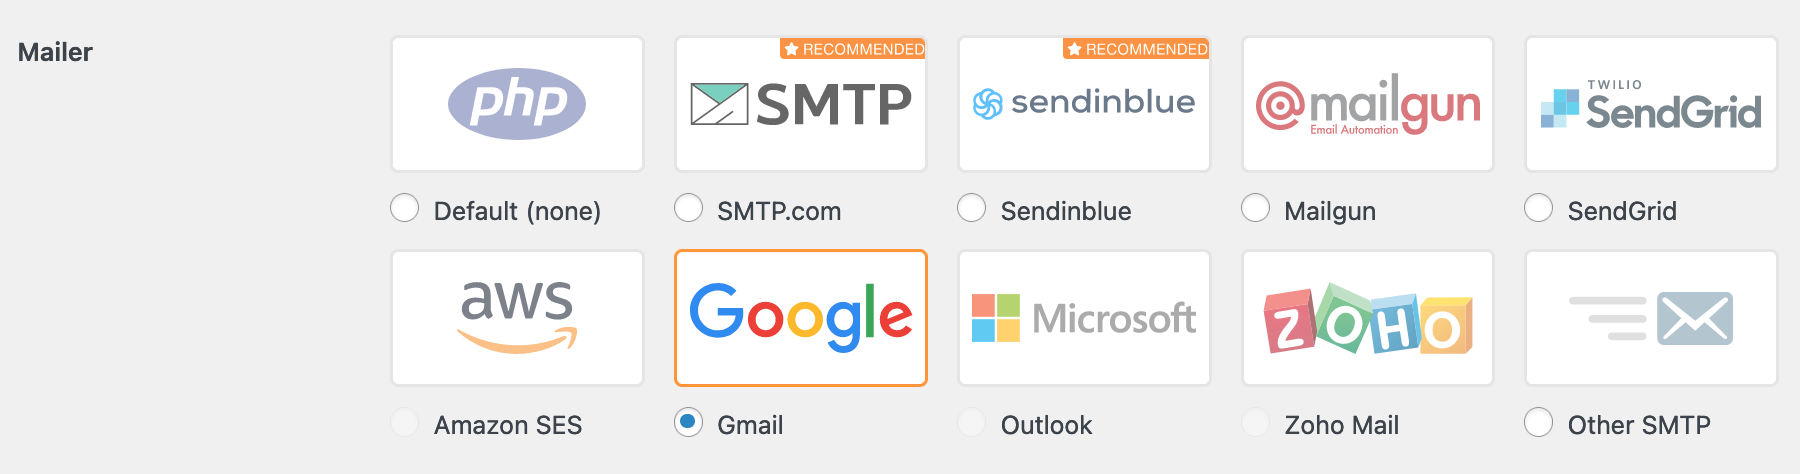
- Under the Mailer section select Gmail.
- Scroll down to the Gmail section.
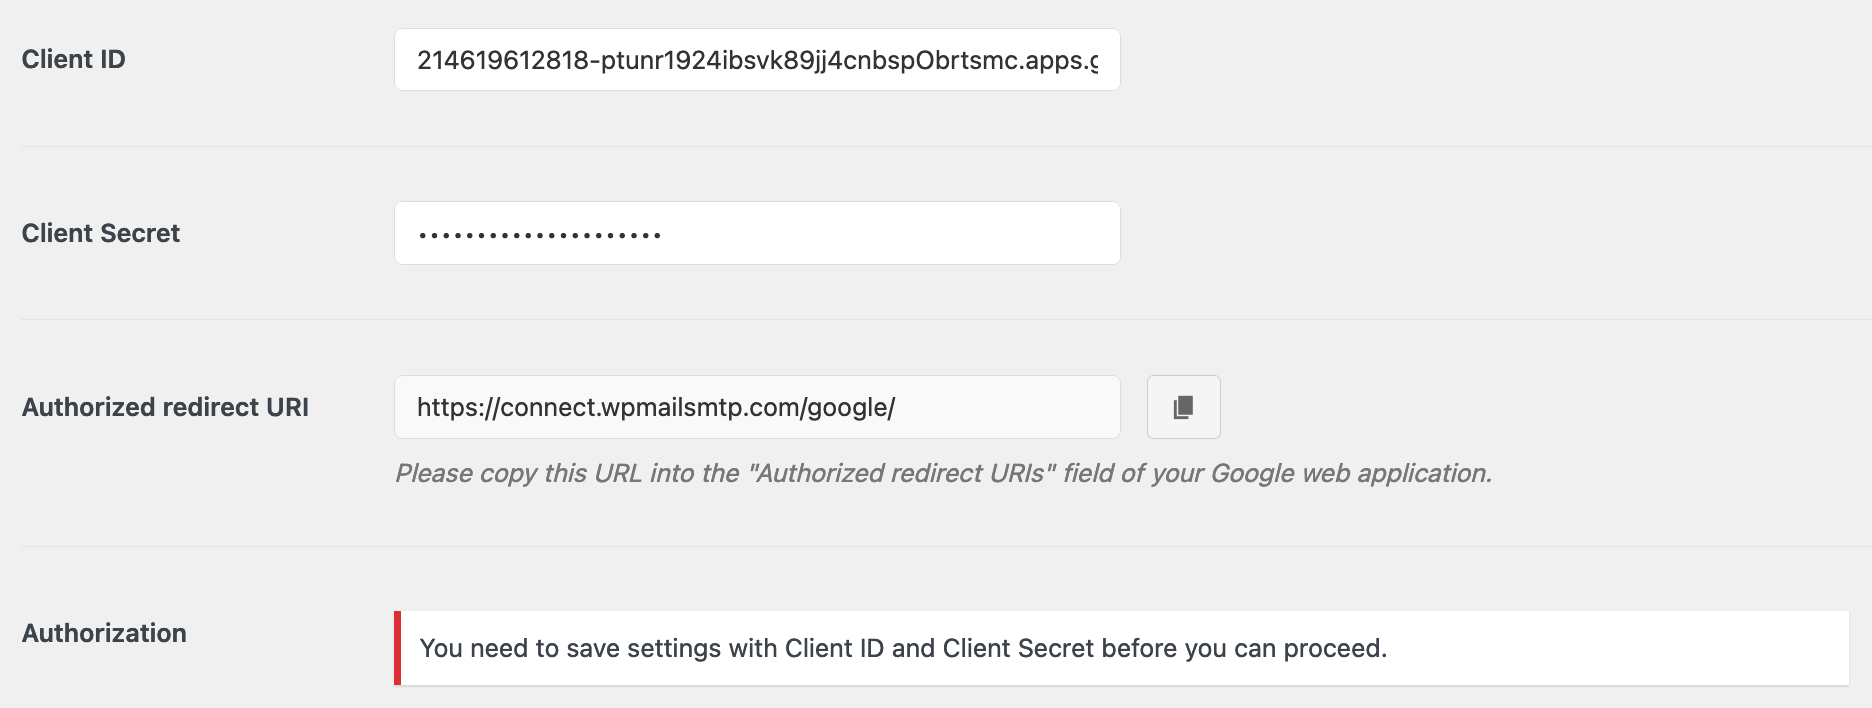
- Client ID - This is a string of letter and numbers you will create in your Google account.
- Client Secret - This is a string of letter and numbers you will create in your Google account.
- Authorized redirect URI - You will input this into your Google account.
- Click the Save Settings button.
You must now configure your settings within your Google account.
Allowing GMAIL to send from your mail application
You now must allow Google to send email from your WordPress site. You can do this by enabling OAuth2 authentication in your Google account.
Adding code to hide your credentials
The instructions above add your Google credentials to the WordPress dashboard. To further secure your credentials, the plugin recommends you add code to your wp-config.php file instead. View the following page for further details.
Adding the constants to your wp-config.php file
- Log into your server via FTP or SSH.
Use one of the following articles to edit your wp-config.php file.
- Scroll down in this file to the following line:
/* That's all, stop editing! Happy blogging. */
- Add the following lines just above this line.
define( 'WPMS_ON', true );
define( 'WPMS_GMAIL_CLIENT_ID', '********************.apps.googleusercontent.com');
define( 'WPMS_GMAIL_CLIENT_SECRET', '**********************');
define( 'WPMS_MAILER', 'gmail' );
- The only parts you need to change are WPMS_GMAIL_CLIENT_ID and WPMS_GMAIL_CLIENT_SECRET.
- Save the file.
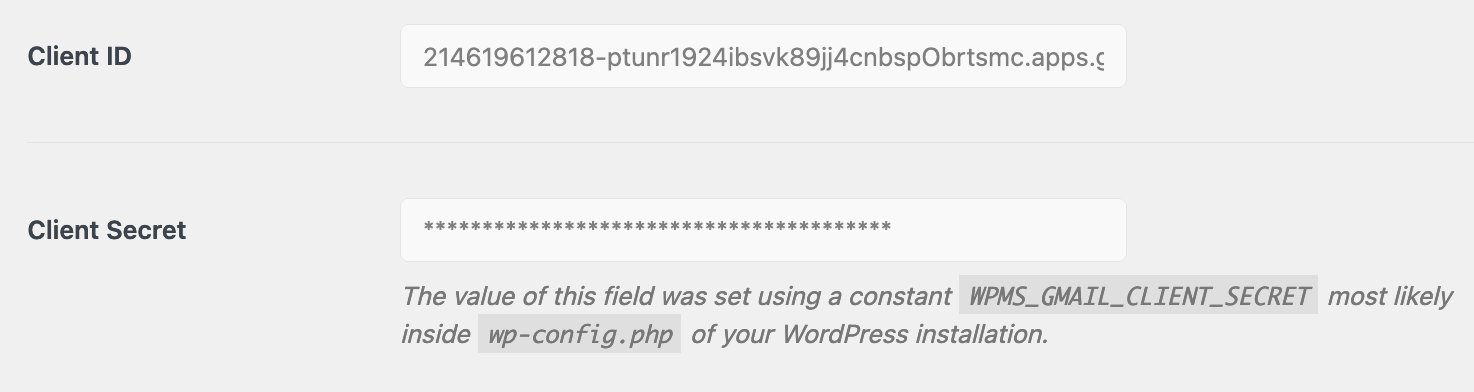
- If you view the plugin page now, you'll see your credentials are not accessible.
See also
Did this article answer your questions?
Recommend
About Joyk
Aggregate valuable and interesting links.
Joyk means Joy of geeK