

How to Work with Modules: Overview of Modular Architecture
source link: https://hackernoon.com/how-to-work-with-modules-overview-of-modular-architecture-675735hv
Go to the source link to view the article. You can view the picture content, updated content and better typesetting reading experience. If the link is broken, please click the button below to view the snapshot at that time.
How to Work with Modules: Overview of Modular Architecture
@kruglyakSasha Kruglyak
iOS Teck Lead. I work at TRIARE.net
The modular architecture consists of a set of functions that do not directly depend on each other. They just know how to communicate and interact, but it is quite simple to change each structural unit – like in a puzzle. That’s an advantage it has over monoliths.
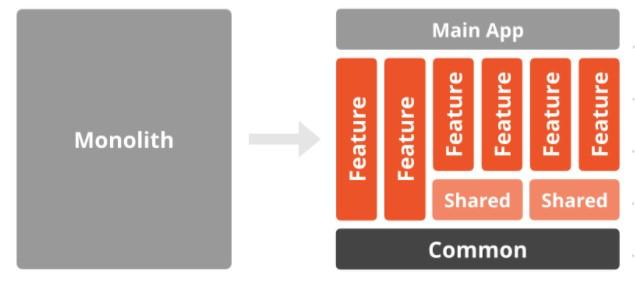
Let's replace the concept of a piece of the puzzle with a framework. Each separate implemented functionality will be a collection of code for solving a problem integrated into the project as a framework.
What will the structure of a modular project look like?
This is going to be a root project that hosts the dependencies of other projects/frameworks.
In this example, ModularApp is the root project, and CoreModule, NavigationModule, ServerApiModule, and Onboarding are the particles that make up our product.
NavigationModule is responsible for navigation and allows access to any stack and flow.
CoreModule is initiated at the beginning; it stores all the styles and sets of views that will be used in a project.
ServerApiModule is a module for working with Rest API.
Onboarding is a module of the feature that is responsible for training the user.
The number of modules and their content may vary in different projects. The first three modules are needed at the start of any project. Therefore, unlike the Onboarding module, they are always used in our projects.
We’ll examine these modules in detail below. But first – a quick tutorial on how to set up your work.
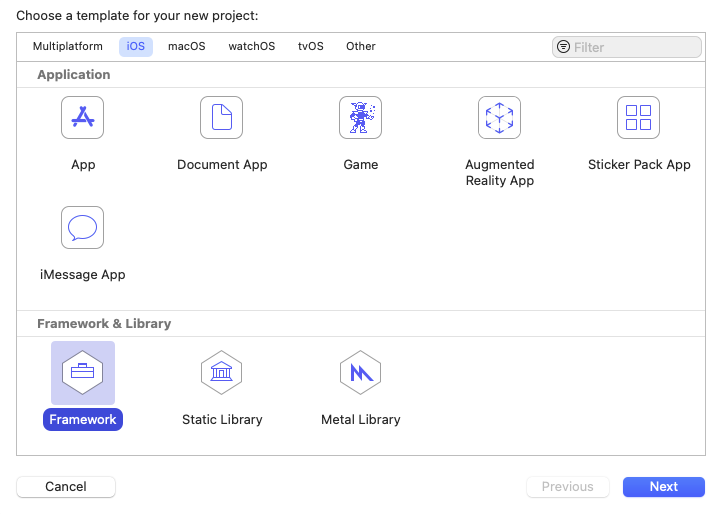
How do you create a module? 5 steps:
1/ Create a project with the “Framework” template.
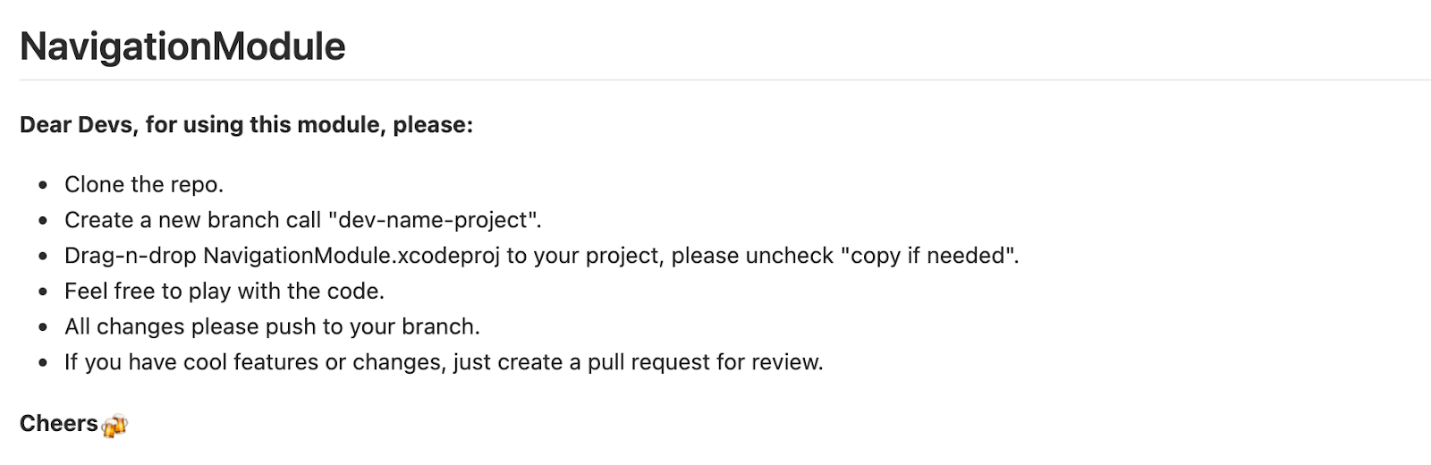
Arrange the correct access levels for your team. The developer of the module must have an "owner/maintainer” access level. Developers who will use this module in their projects should remain “developers”.
Working with modules is very convenient in teams. Each team member can be responsible for his own module or use a ready-made module previously implemented in another project simply by changing its properties. It’s convenient to always have a person who can conduct a code review and knows the value that this code brings.
Merge to master only after pull request & code review.


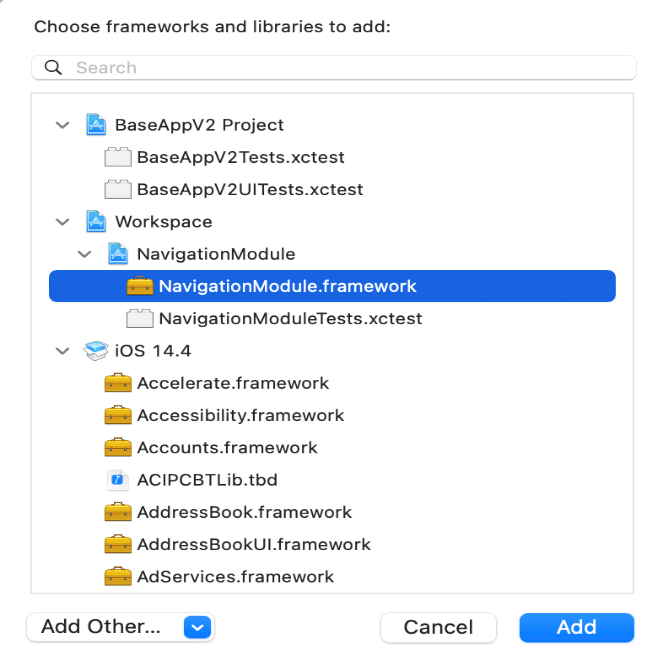
4/ To evaluate and test the code, create a test project, add your framework, and bring it to the desired level. The folder structure will be as follows (BaseApp V2 is a project where I am testing framework):
How to add a module to a live project?
The integration of our module into the project can be done via a standard set: Swift Package Manager, Manual .framework, Carthage, CocoaPods. When choosing a provider, it is necessary to consider some factors:
Carthage and CocoaPods are for public code;
Manual Framework and SPM allow using internal code;
Swift Package Manager does not work with @IBDesignable, @IBInspectable objects.
Now that you know how to work with modules let’s explore the stuffing. We’ll show how we coded our NavigationModule, CoreModule, and ServerApiModule.
Types of software modules – examples
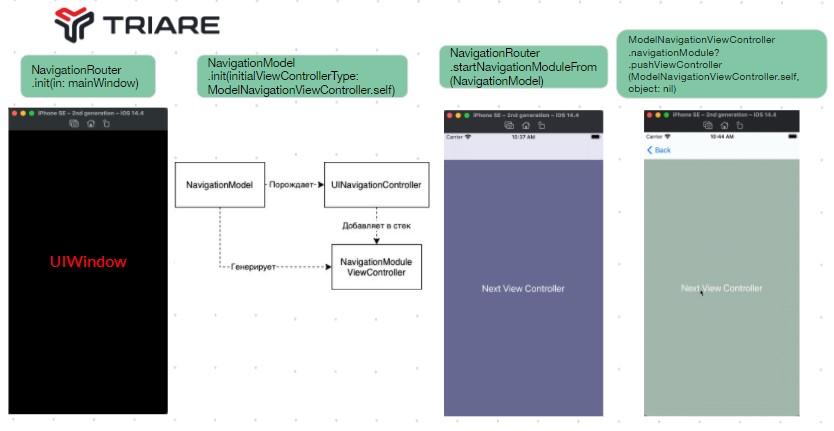
1. NavigationModule
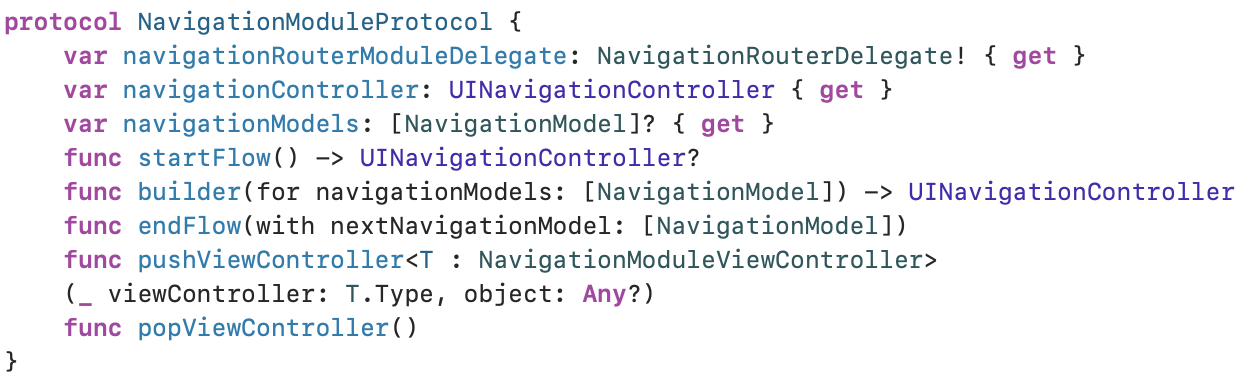
NavigationModule has a very simple structure: Navigation Router with a Navigation Module inside, Navigation Controller, and Navigation Module View Controller. Navigation Module can branch into additional Navigation Modules.
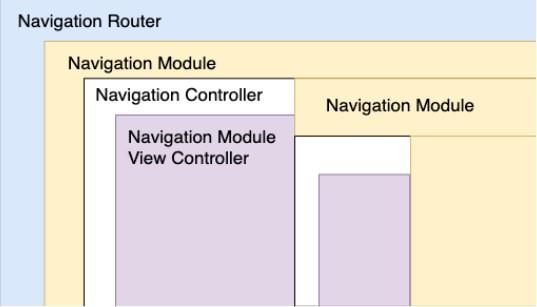
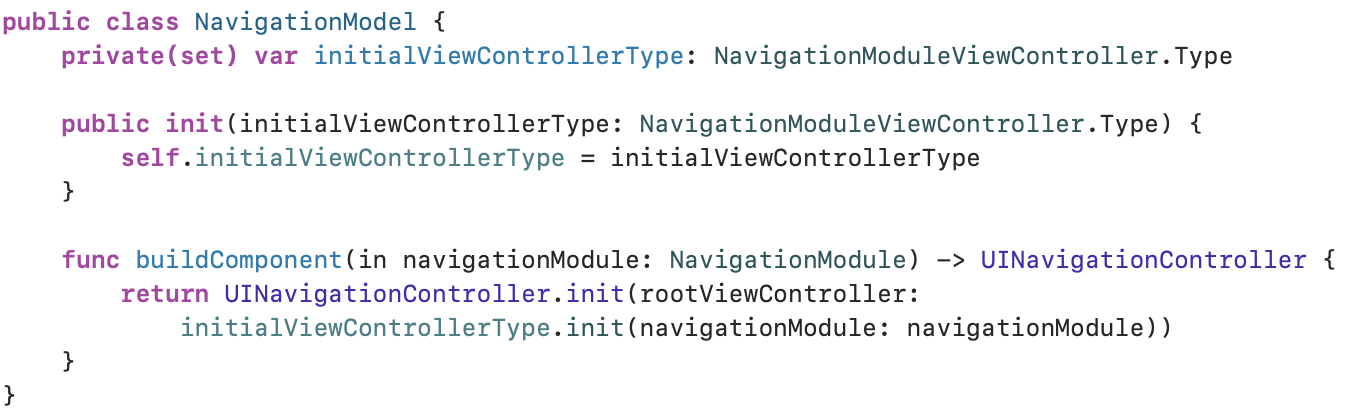
All of these parts communicate via NavigationModel, which consists of the initiating View Controller, and functions as a builder of Navigation Controller.

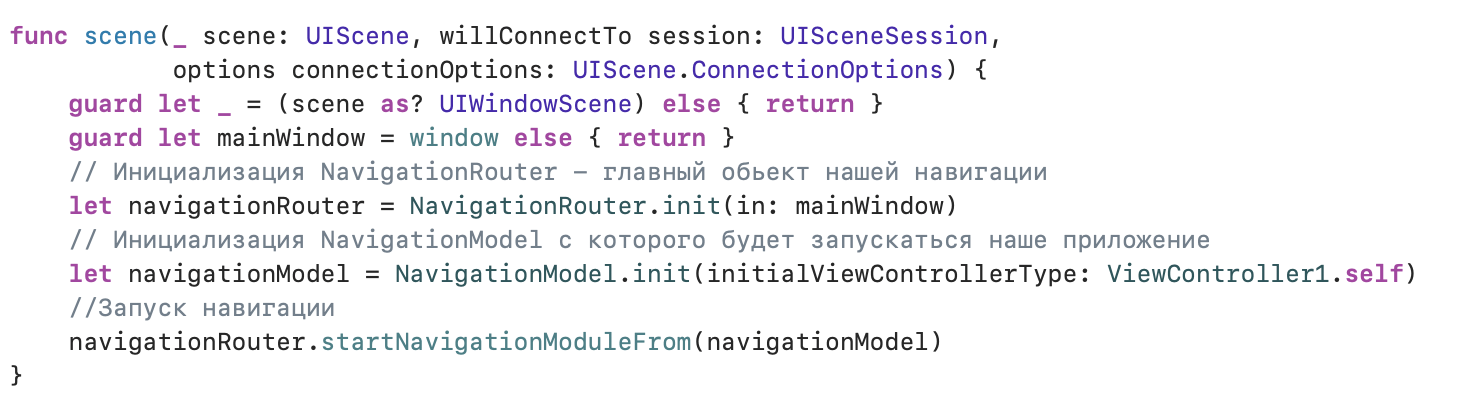
We only need three points for a successful launch:
Initialization of the Router on the Window level;
Creation of the NavigationModel based on the starting point in navigation;
Launch of the NavigationModule through startNavigationModule.
2. CoreModule
This is a very simple CoreModule we created to:
Reduce the projects’ time to launch;
Create ready-made UI sets;
Visualize xib files;
Configure the general style of the application.
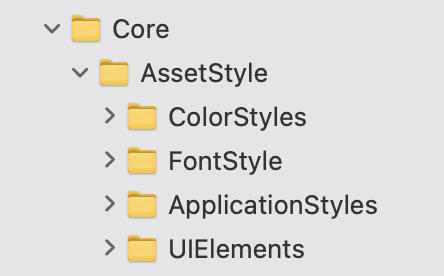
We take all the changeable things out into it. Our designers provide a single file in Figma with all the styles and properties used, so that we easily transfer it into the project, and then visualize through xib files how everything will look like on the devices.
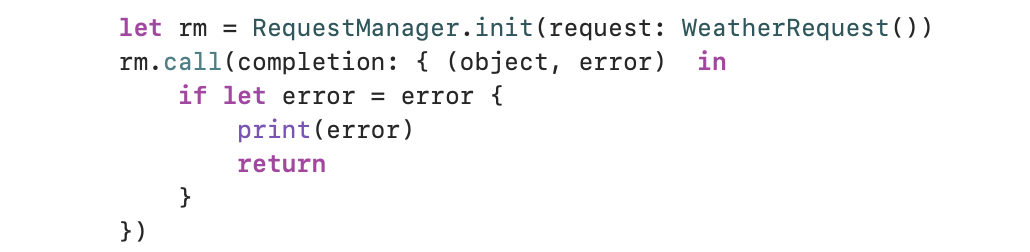
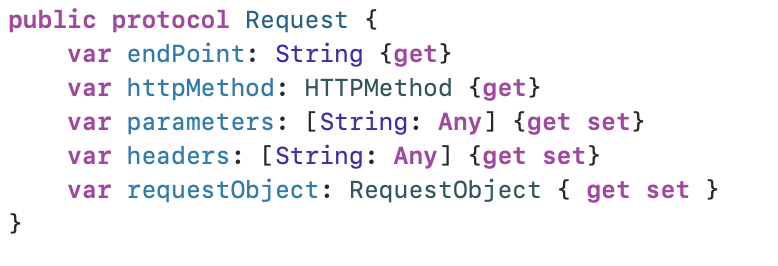
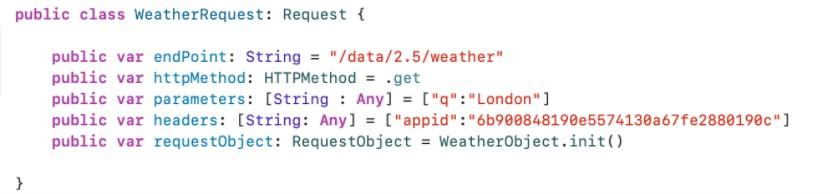
3. ServerApiModule
The idea behind this one was to reuse the existing code and try testing DI in our modules.
Making a call is fast and easy:
One of the advantages of modularity is that inside we can use any architecture, any third-party libraries, and this will not break our main project. When initializing a project, we know which modules will be used and how they will communicate with each other, so the control point is exactly the place where the module is glued and not its interior.
Learn about other advantages of modular architecture in the next part of our Modular Architecture Overview. Pros and cons, and revelations from our experience – find out if it’s worth it!
Recommend
About Joyk
Aggregate valuable and interesting links.
Joyk means Joy of geeK