
3

小程序最佳实践——自定义导航栏(一)
source link: https://segmentfault.com/a/1190000040297718
Go to the source link to view the article. You can view the picture content, updated content and better typesetting reading experience. If the link is broken, please click the button below to view the snapshot at that time.
文中的每一条实践都是在自己项目当中真实应用的,所以说,本文绝对实用。每一条实践的内容我按照三个部分来说:基本配置,主要逻辑代码,如何应用
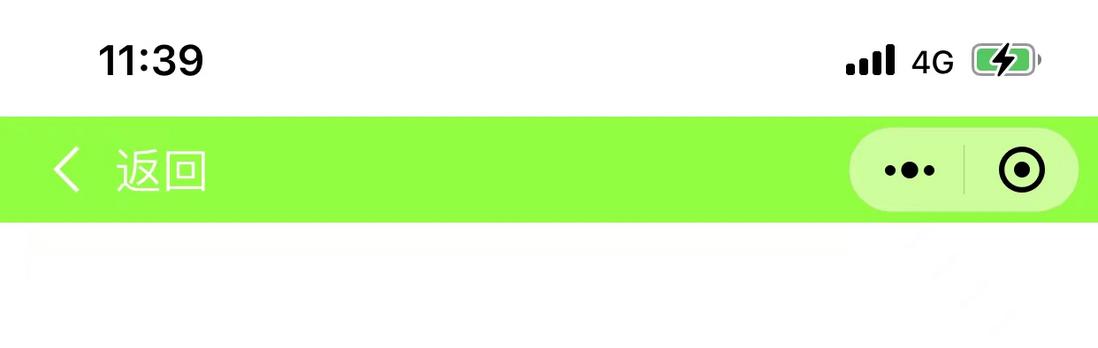
自定义导航栏
// 单页面配置page.json
{
    "navigationStyle": "custom",
   // 其它配置项
  "navigationBarTextStyle":""
}

// 全局配置app.json
{
    "window":{
        "navigationStyle": "custom",
    // 其它配置项
    "navigationBarTextStyle":""
    }
}
注 1:关于
navigationStyle
- iOS/Android 客户端 7.0.0 以下版本,
navigationStyle只在app.json中生效。- iOS/Android 客户端 6.7.2 版本开始,
navigationStyle: custom对 web-view 组件无效- 开启 custom 后,低版本客户端需要做好兼容。开发者工具基础库版本切到 1.7.0(不代表最低版本,只供调试用)可方便切到旧视觉
- Windows 客户端 3.0 及以上版本,为了给用户提供更符合桌面软件的使用体验,统一了小程序窗口的导航栏,
navigationStyle: custom不再生效
// navBar.wxml
<view style="height:{{navigationHei}}px; top:{{navigationTop}}px; padding-left:{{paddingLeft}}px" class="nav-bar">
  <view class="nav-bar-left">
    <!--返回按钮标签-->
    <image bindtap="back" src="{{imgArrow}}" class="nav-bar-arrow" mode=""></image>
    <!-- 左上角文字 -->
    <text class="nav-bar-left-text">返回</text>
  </view>
  <!--标题内容-->
  <view class="nav-bar-content">
    <slot></slot>
  </view>
</view>
// navBar.wxss 样式
.nav-bar{
position: fixed;
width:100vw;
left:0;
top:0;
background: chartreuse;
box-sizing: border-box;
}
.nav-bar-left{
display: flex;
height: 100%;
align-items: center;
}
.nav-bar-arrow{
width:19rpx;
height: 34rpx;
margin:0 24rpx;
}
.nav-bar-left-text{
font-size:33rpx;
color: #fff;
}
.nav-bar-content{
position: absolute;
left:0;
top:0;
width:100%;
height: 100%;
display: flex;
align-items: center;
justify-content: center;
}Component({
properties: {},
data: {
navigationTop: 0, // 导航栏顶部高度
navigationHei: 20, // 导航栏高度
paddingLeft: 0, // 导航栏做内边距
imgArrow: "http://m.jqtianxia.cn/rubbish/common/icon-arrow-left.png" // 返回箭头
},
ready: function () {
// 状态栏高度
const {screenWidth,statusBarHeight} = wx.getSystemInfoSync();
// 胶囊按钮
const {height,top,right} = wx.getMenuButtonBoundingClientRect();
// 左边内边距
const paddingLeft = screenWidth - right;
const navigationHei = (top - statusBarHeight) * 2 + height;
this.setData({
navigationTop: statusBarHeight,
navigationHei,
paddingLeft
})
},
methods: {
back: function () {
wx.navigateBack({
delta: 1,
})
}
}
}){
"usingComponents": {},
"navigationStyle":"custom",
"navigationBarTextStyle":"black"
}
在需要用的页面的JSON文件中引入组件
{
    "usingComponents": {
        "nav-bar":"component/navBar/index"
    },
}
在页面的WXML文件中使用
<view class="page">
    <!--自定义导航栏navBar-->
    <nav-bar>
        <text class='nav-bar-title-text'>标题内容</text>
    </nav-bar>
</view>
涉及API
// 获取设备基础信息
wx.getSystemInfoSync()

// 获取右上角胶囊的布局位置信息
wx.getMenuButtonBoundingClientRect()
扩展
除了上面基础的自定义导航栏,我们还可以对导航栏进行特殊的定制,比如在导航栏放置搜索框,日期选择,时间,日期和天气信息等
Recommend
About Joyk
Aggregate valuable and interesting links.
Joyk means Joy of geeK