

First Steps with Flutter
source link: https://devops.datenkollektiv.de/first-steps-with-flutter.html
Go to the source link to view the article. You can view the picture content, updated content and better typesetting reading experience. If the link is broken, please click the button below to view the snapshot at that time.

Imagine one of those peaceful Saturday mornings with your kids:
- “I did the dishes three times in a row this week!” (kid)
- “Wow, breakfast only, doesn’t count! It’s definitely your turn!” (Other kid)
Don’t know how much time we spent discussing “Who’s on Duty” doing the dishes this morning. No question at least twice the time it would have taken simply doing it. Joining the discussion seemed no option at that time…way too risky for a sleepy adult to enter the ring.
Since I wanted to support one of the kids with its effort to write a Flutter app anyway, that was the nudge I needed to dive into the matter…
The Development Setup
Not much to add to the official documentation here. Just a few pointers to short-circuit the search: Tools & techniques
A decent version of Android Studio with two additional plugins for Flutter and Dart was enough to get me started.
Tip: Run
flutter doctorto check the setup for completeness.
Visit the official “Run flutter doctor” for additional information.
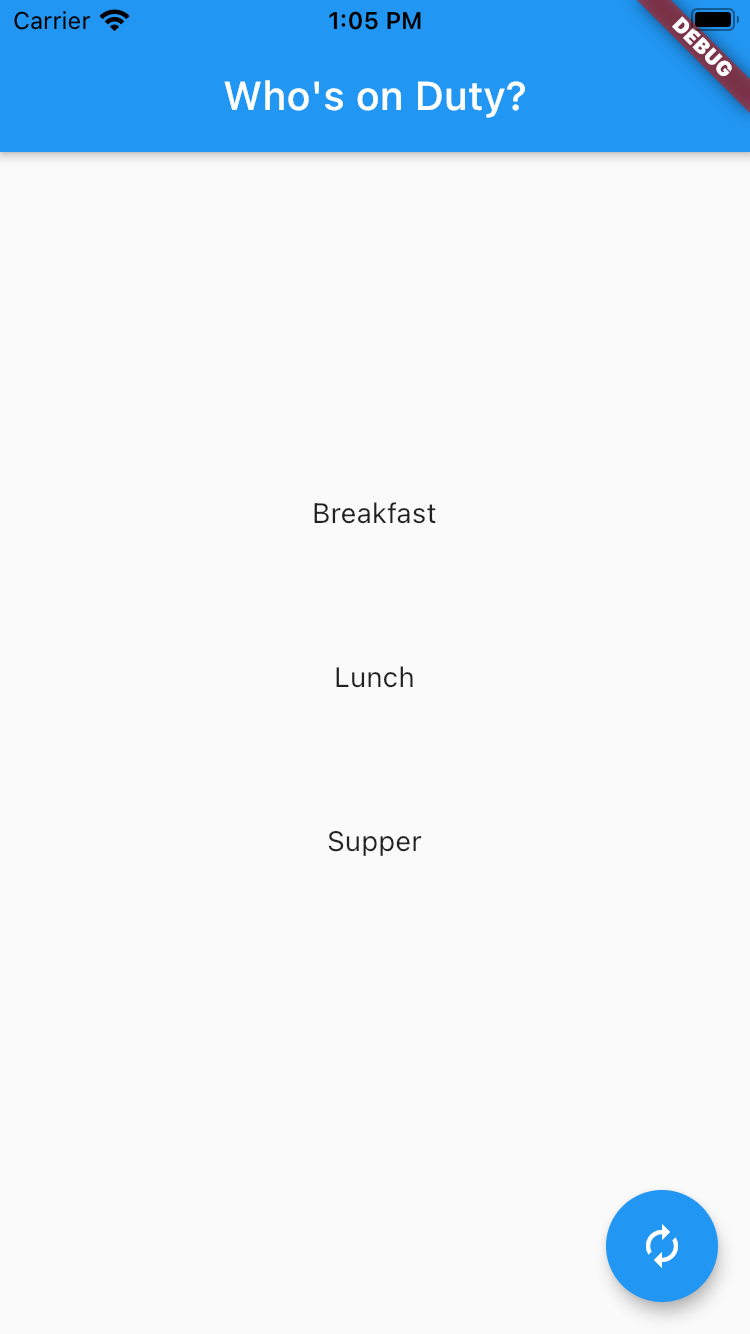
Who’s on Duty?
First, we created a seed for our application by simply running through the New Flutter Project… wizard.
The main obstacle here is that you’ll need to know the Flutter SDK path on your disk. 🤔
Jump into lib/main.dart where you’ll find the generated Flutter app.
Note: For better readability, we removed the non-essential comments and explanations.
From 🐛 caterpillar to butterfly 🦋
As mentioned we removed the comments and additionally renamed the generated class to match it’s new purpose to OnDutyApp:
class OnDutyApp extends StatelessWidget {
  @override
  Widget build(BuildContext context) {
    return MaterialApp(
      title: 'On Duty App',
      theme: ThemeData(
        primarySwatch: Colors.blue,
      ),
      home: OnDutyPage(),
    );
  }
}
Another rename (and minor cleanup): MyHomePage to OnDutyPage.
We removed the constructor parameter title and the corresponding field.
class OnDutyPage extends StatefulWidget {
  @override
  OnDutyPageState createState() => OnDutyPageState();
}
With _MyHomePageState we are slowly getting to the core of the small app.
The state _counter is replaced with onDuty where we keep the list of those who will be on duty today.
class OnDutyPageState extends State<OnDutyPage> {
List<String> slots = ['Breakfast', 'Lunch', 'Supper'];
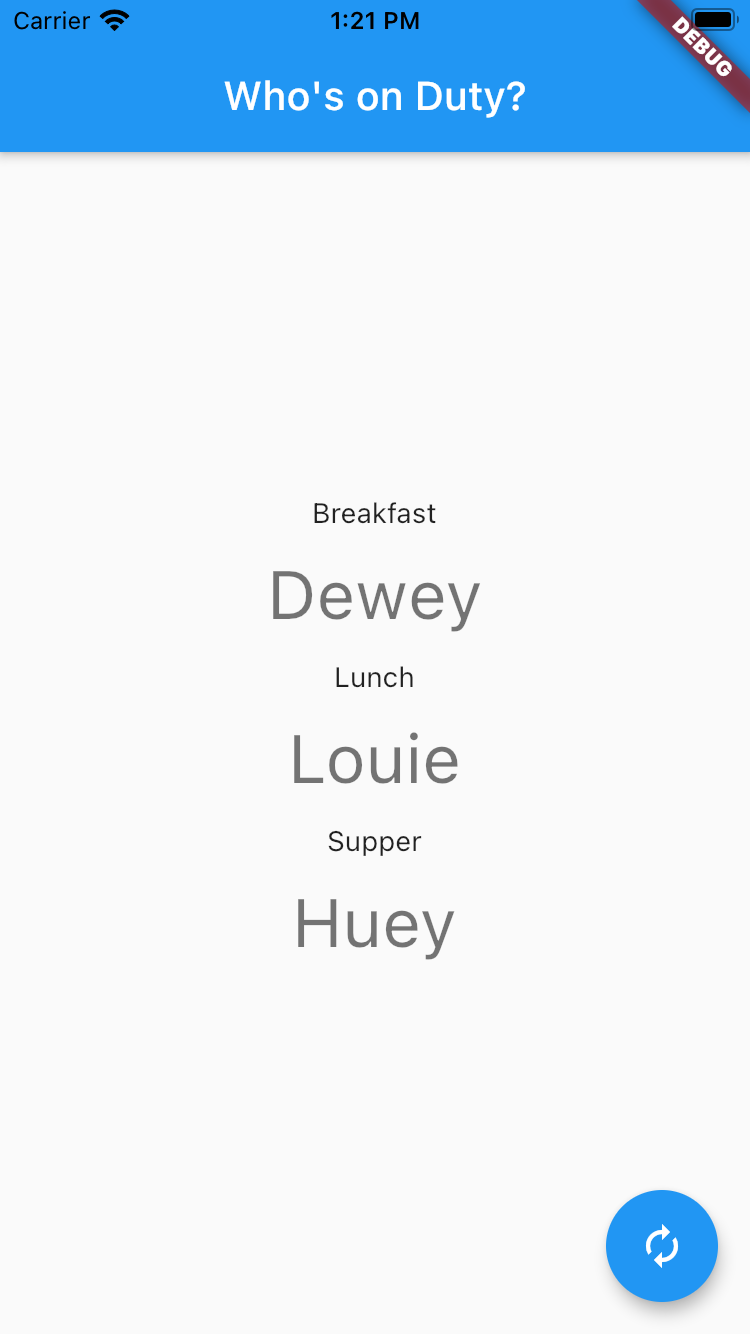
List<String> candidates = ['Huey', 'Dewey', 'Louie'];
List<String> onDuty = List<String>.filled(3, '');
void _refreshOnDutyPage() {
// …
}
@override
Widget build(BuildContext context) {
// …
}
}
The main layout based on the Scaffold widget, in general, is kept the same.
One single line with text and counter:
<Widget>[
  Text(
    'You have pushed the button this many times:',
  ),
  Text(
    '$_counter',
    style: Theme.of(context).textTheme.headline4,
  ),
]
is replaced by the list of people who are on duty today backed by the variable onDuty and slots:
List<Widget> generateSlots(BuildContext context, List<String> slots) {
  List<Widget> widgets = [];

  for (var i = 0; i < slots.length; i++) {
    widgets.add(Text(slots[i]));
    widgets.add(Padding(
        padding: EdgeInsets.all(12.0),
        child: Text(
          '${onDuty[i]}',
          style: Theme.of(context).textTheme.headline4,
        )));
  }
  return widgets;
}
Since it was already there we kept the floating action button, gave it a new look and wired it to the function refreshOnDutyPage:
floatingActionButton: FloatingActionButton(
  onPressed: _refreshOnDutyPage,
  tooltip: 'Refresh',
  child: Icon(Icons.autorenew),
),
🎉 First steps towards relaxed Saturdays
🪄 The Magic Bits
Let's add the ~~independent, unblamable supervisor~~ scapegoat part to the app:
void _refreshOnDutyPage() {
  setState(() {
    var anchor = DateTime.parse("1973-05-08");
    var difference = anchor.difference(DateTime.now());
    int offset = difference.inDays % slots.length;

    for (var i = 0; i < slots.length; i++) {
      onDuty[i] =
          candidates[(difference.inDays + i + offset) % candidates.length];
    }
  });
}
Et Voilá - it's Dewey!
And all family Saturdays were peacefully and happily ever after... 😴
Photo by Hidde Rensink on Unsplash
Recommend
-
47
I have written a post on Code first approach with . Net Core which you can find
-
40
I would like to do more articles explaining a little bit about all the machine learning and deep learning basics. I’m a beginner in this area, but I’d like to explain soon these concepts to create some interesting AI mode...
-
43
Photo by
-
45
In this post, we will take a look at how we can use Google Cloud Platform (GCP) SQL as a database for our Spring Boot application. We will investigate how we can use the Cloud database from our development machine and how...
-
33
Recently I was given the opportunity to work in a React Native project, as a developer, most of my experience was with React, so I was thrilled with expanding my knowledge in this area. As I started studying the platform, I got real...
-
20
9 minutes read Welcome to the 2nd part of the series on Bosque programming language. As Bosque is still a moving target and I am a beginner myself, I will mostly follow its main documents and use the current sou...
-
15
First steps in WebGL # javascript
-
8
Let's Learn x86-64 Assembly! Part 0 - Setup and First Steps The way I was taught x86 assembly at the universit...
-
13
My first steps contributing to Servo (and learning Rust) 28 January 2018 I remember first learning about web technologies as a teenager. This was back in the days when the majority of websites still use...
-
82
Share on twitter Share on facebook Share on linkedin
About Joyk
Aggregate valuable and interesting links.
Joyk means Joy of geeK