

blog.atwork.at
source link: https://blog.atwork.at/post/Webinars-with-Microsoft-Teams
Go to the source link to view the article. You can view the picture content, updated content and better typesetting reading experience. If the link is broken, please click the button below to view the snapshot at that time.

We are beyond excited since Microsoft enrolled the new meeting option "Webinar" in Microsoft Teams, besides the well-known options "Scheduled meeting" and "Live event".
In this article, we will show you step-by-step how to use the new feature.
Preparations
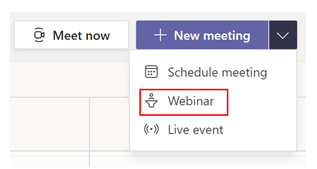
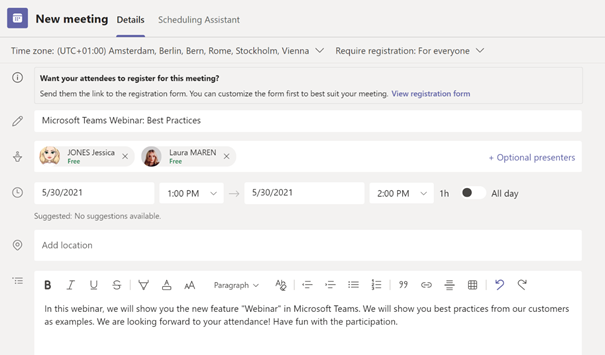
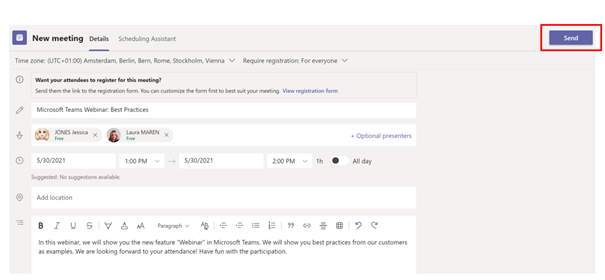
- When you are choosing to create a new meeting in Microsoft Teams, you choose "Webinar".
- A new meeting form pops up. This allows you to add a registration page to your webinar. As the next step, you set the scope for your webinar (require registration). In our example, we will choose the registration-option "For everyone", meaning that anyone can register, attendees are muted by default, and only presenters can share content. All in all, you have the following options:
- None
- For people in your org and guests (default)
- For everyone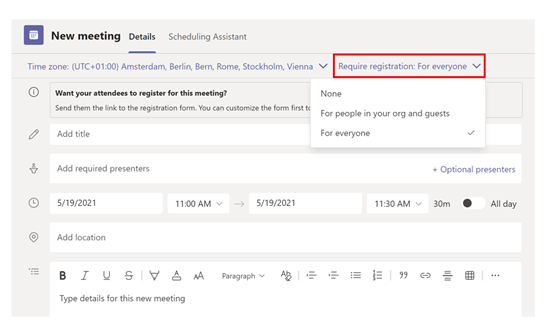
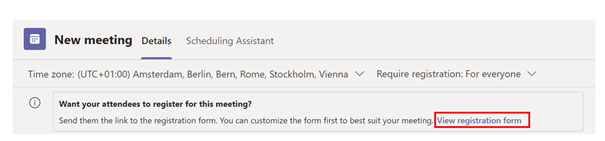
- Next, you can customize the registration form by clicking "View registration form". A new window will open.
In this form, you can customize and define:
- Event details
- Registration for the event
- Uploading a (header) image (image size should be at least 918x120 px)
- Adding speakers (formatting is not supported)
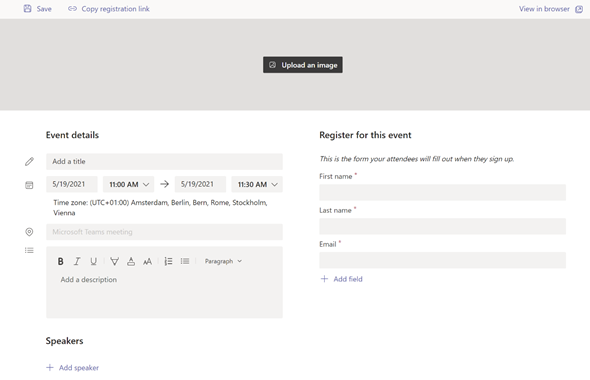
Besides this, you can also "add fields" to your form and marking them required or not. 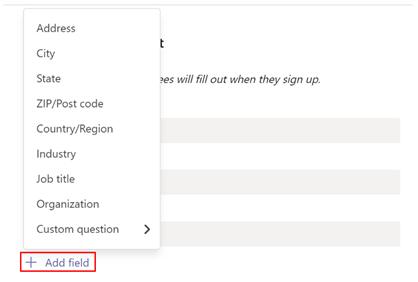
Be attentive! You cannot change the added field afterwards.
Click on "Save".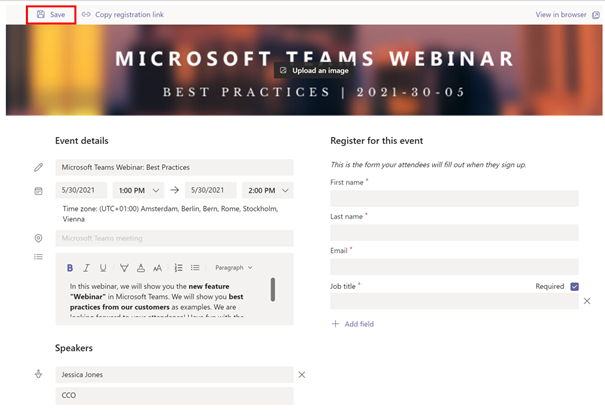
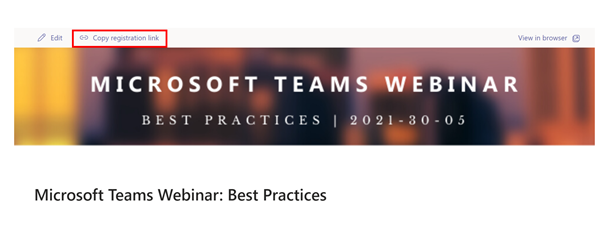
Hint: use short link services, such as www.rebrandly.com, to shorten the URL.
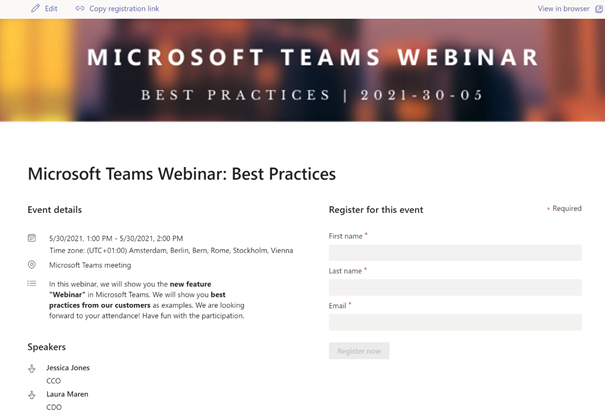
Your audience needs to fill out the registration form and the required fields:
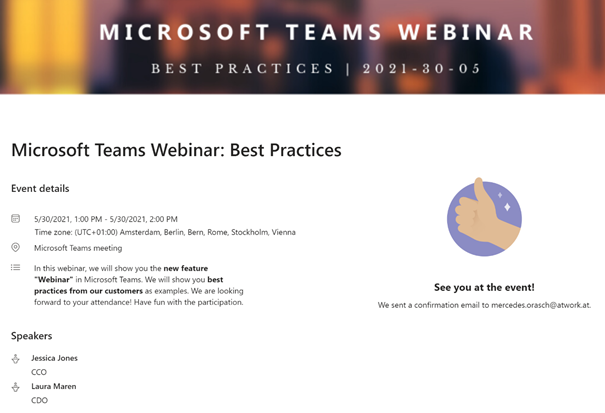
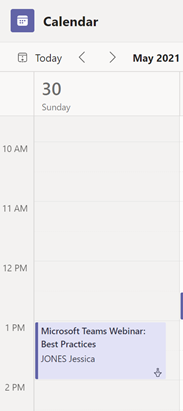
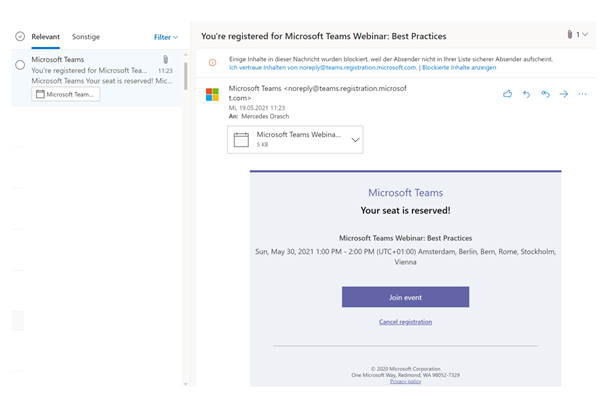
Registered people get an email that contains a calendar meeting ICS (iCalendar)-file) and information (how) to join the webinar. ("Join event")
Hint: The meeting organizer has also access to the Registration report with insight who is attending the live event. This report is a CSV-file, which can be downloaded via Microsoft Teams.
Running a webinar
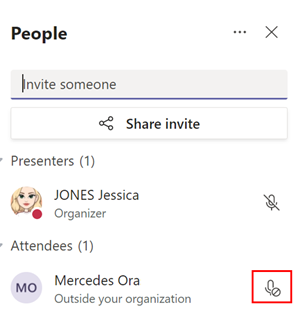
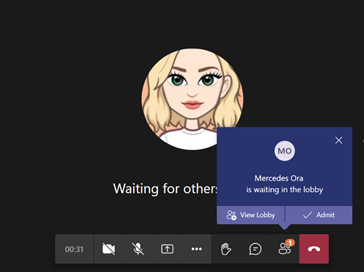
Presenters can join the webinar and set everything up accordingly to their needs and preferences. Afterward, they can let the audience in.
When the meeting organizer joins the webinar, a few meeting options are automatically done:
- Only specific people can present, and everyone else is an attendee.
- Chat is open only during the webinar.
- Reactions for attendees are on.
- People you invite are set to lobby. This option allows other presenters to join in without any issues or extra permissions.
- The microphone is turned off for attendees.
- Callers cannot get around the so-called "lobby". Announcements of people, who are joining or are leaving, should be turned off.
We hope that we could help you further.
Have fun and good luck with your first webinar!
Recommend
About Joyk
Aggregate valuable and interesting links.
Joyk means Joy of geeK