

Using the Google Maps API in React
source link: https://dev.to/lauratoddcodes/using-the-google-maps-api-in-react-31ph
Go to the source link to view the article. You can view the picture content, updated content and better typesetting reading experience. If the link is broken, please click the button below to view the snapshot at that time.
Using the Google Maps API in React
May 23
・4 min read
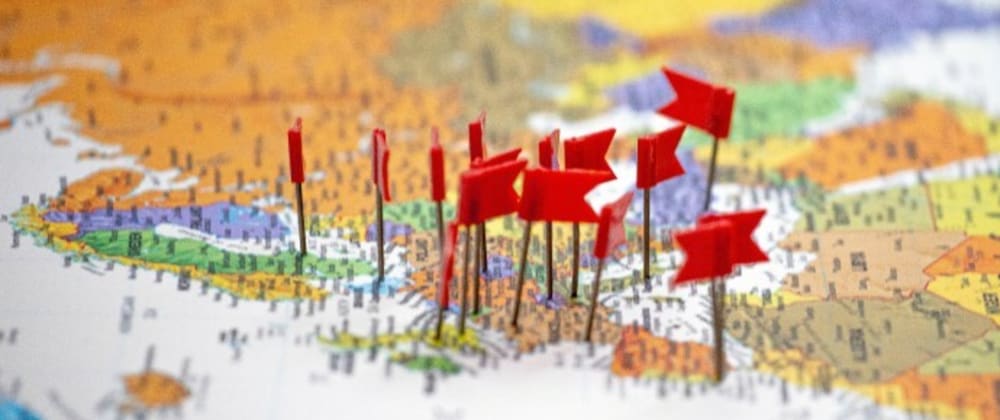
The Google Maps JavaScript API is a great way to include an interactive map on your website and gives you heaps of options for controlling and customising it. In this post, I'll take you through how to create a map with multiple, customised markers and info windows which appear on click.
We'll end up with something like this -
To do this exercise, you'll need your own API key from Google. Since I only really want to concentrate on getting the map working in React, I'm going to assume you already have one. If you don't, and don't know how to get one, this video shows you how.
We'll start off with a basic React app. You can find the starting code here.
Create a new file called 'properties.json' this is where we'll keep the data for each of the properties we want to show on our map.
Next, install 'react-google-maps'.
Now we need to create our Map component. Make a 'components' folder and inside, add a new file called 'Map.js'. In this file, import 'GoogleMap', 'withScriptjs', 'withGoogleMap', 'Marker' and 'InfoWindow' from 'react-google-maps'. Then create two functional components - 'MapComponent' and 'Map'. Only export 'Map'.
Underneath the 'MapComponent' we need to use the 'withScriptjs' and 'withGoogleMap' functions to wrap the 'MapComponent'. We can then return the 'WrappedMap' inside the 'Map' component.
Now, go back to the 'App.js' file and import your Map component. Render the map component wrapped in two 'divs' like so -
Then, add the following CSS to the stylesheet to display the map at 800 x 500px (or whatever size you'd like).
Next we need to pass in some properties to the wrapped map. Firstly, the 'googleMapURL' property should be set to https://maps.googleapis.com/maps/api/js? v=3.exp&libraries=geometry,drawing,places&key=[YOUR_API_KEY] with your own API key replacing [YOUR_API_KEY].
Then, the 'loadingElement', 'containerElement' and 'mapElement' should all be styled to 100% height to ensure that they take up the whole of their container.
Now let's import our 'properties.json' file as 'properties' and go back to our 'MapComponent' component.
We can add in some <GoogleMap> tags and enter the 'defaultZoom' and 'defaultCenter' properties. These are pretty self explanatory - 'defaultZoom' is how far the map is zoomed in when it first renders and 'defaultCenter' is the co-ordinates that the map centers on when it first renders.
Next, we can use the values from our json file to create the markers on our map.
Inside the <GoogleMap> tags, use the map() array method to render a <Marker> for each property, grabbing the id value and the lng and lat values for each one. If you run your app at this point, you should see the default red Google Maps markers.
Next, we can add our own custom icons as markers by adding the 'icon' property. Set the 'url' for your icon and set the 'scaledSize' to 'new window.google.maps.Size(25, 25)'. This will make your icons 25px x 25px.
Finally, we can set up our info windows. In order to do this, we need to know which of the markers is being clicked so that we know which of the windows to show. So lets add an onClick event listener to our markers and use useState to set the selected property.
Now we can use our 'selectedProperty' to render an with information about our selected property.
That's it! Now you have a map, with multiple custom markers and info windows which display on click.
You can check your final code here.
Recommend
About Joyk
Aggregate valuable and interesting links.
Joyk means Joy of geeK