

How to resize an image view to fit a container view in SwiftUI
source link: https://sarunw.com/posts/how-to-resize-an-image-to-fit-a-container-view-in-swiftui/
Go to the source link to view the article. You can view the picture content, updated content and better typesetting reading experience. If the link is broken, please click the button below to view the snapshot at that time.
How to resize an image view to fit a container view in SwiftUI
Table of Contents
By default, SwiftUI's Image views automatically size themselves to their image contents. This usually larger than the device screen or their parent view.
struct ContentView: View {
    var body: some View {
        Image("donuts")
    }
}
An image view size equals to its image.
We learn in How to resize a SwiftUI Image and keep its aspect ratio a different way to fitting images into available space. But that doesn't apply well if you want an image to be a background that fits itself to a container view with other view content.
 We can make an image view resize to fit available space.
Problem
An image view changes its parent frame instead of resizing itself to fit the parent frame. The problem might be hard to understand using words. Let's see what I mean by example.
- You have a parent view (ZStack) with a text view as content. In this case, the parent view will size itself equals to the text view and padding. This is the size we want.
struct ContentView: View {
var body: some View {
ZStack {
Text("Hello, SwiftUI!")
.font(.system(size: 34, weight: .black))
.padding(100)
.border(Color.blue)
}
.background(Color.pink)
}
}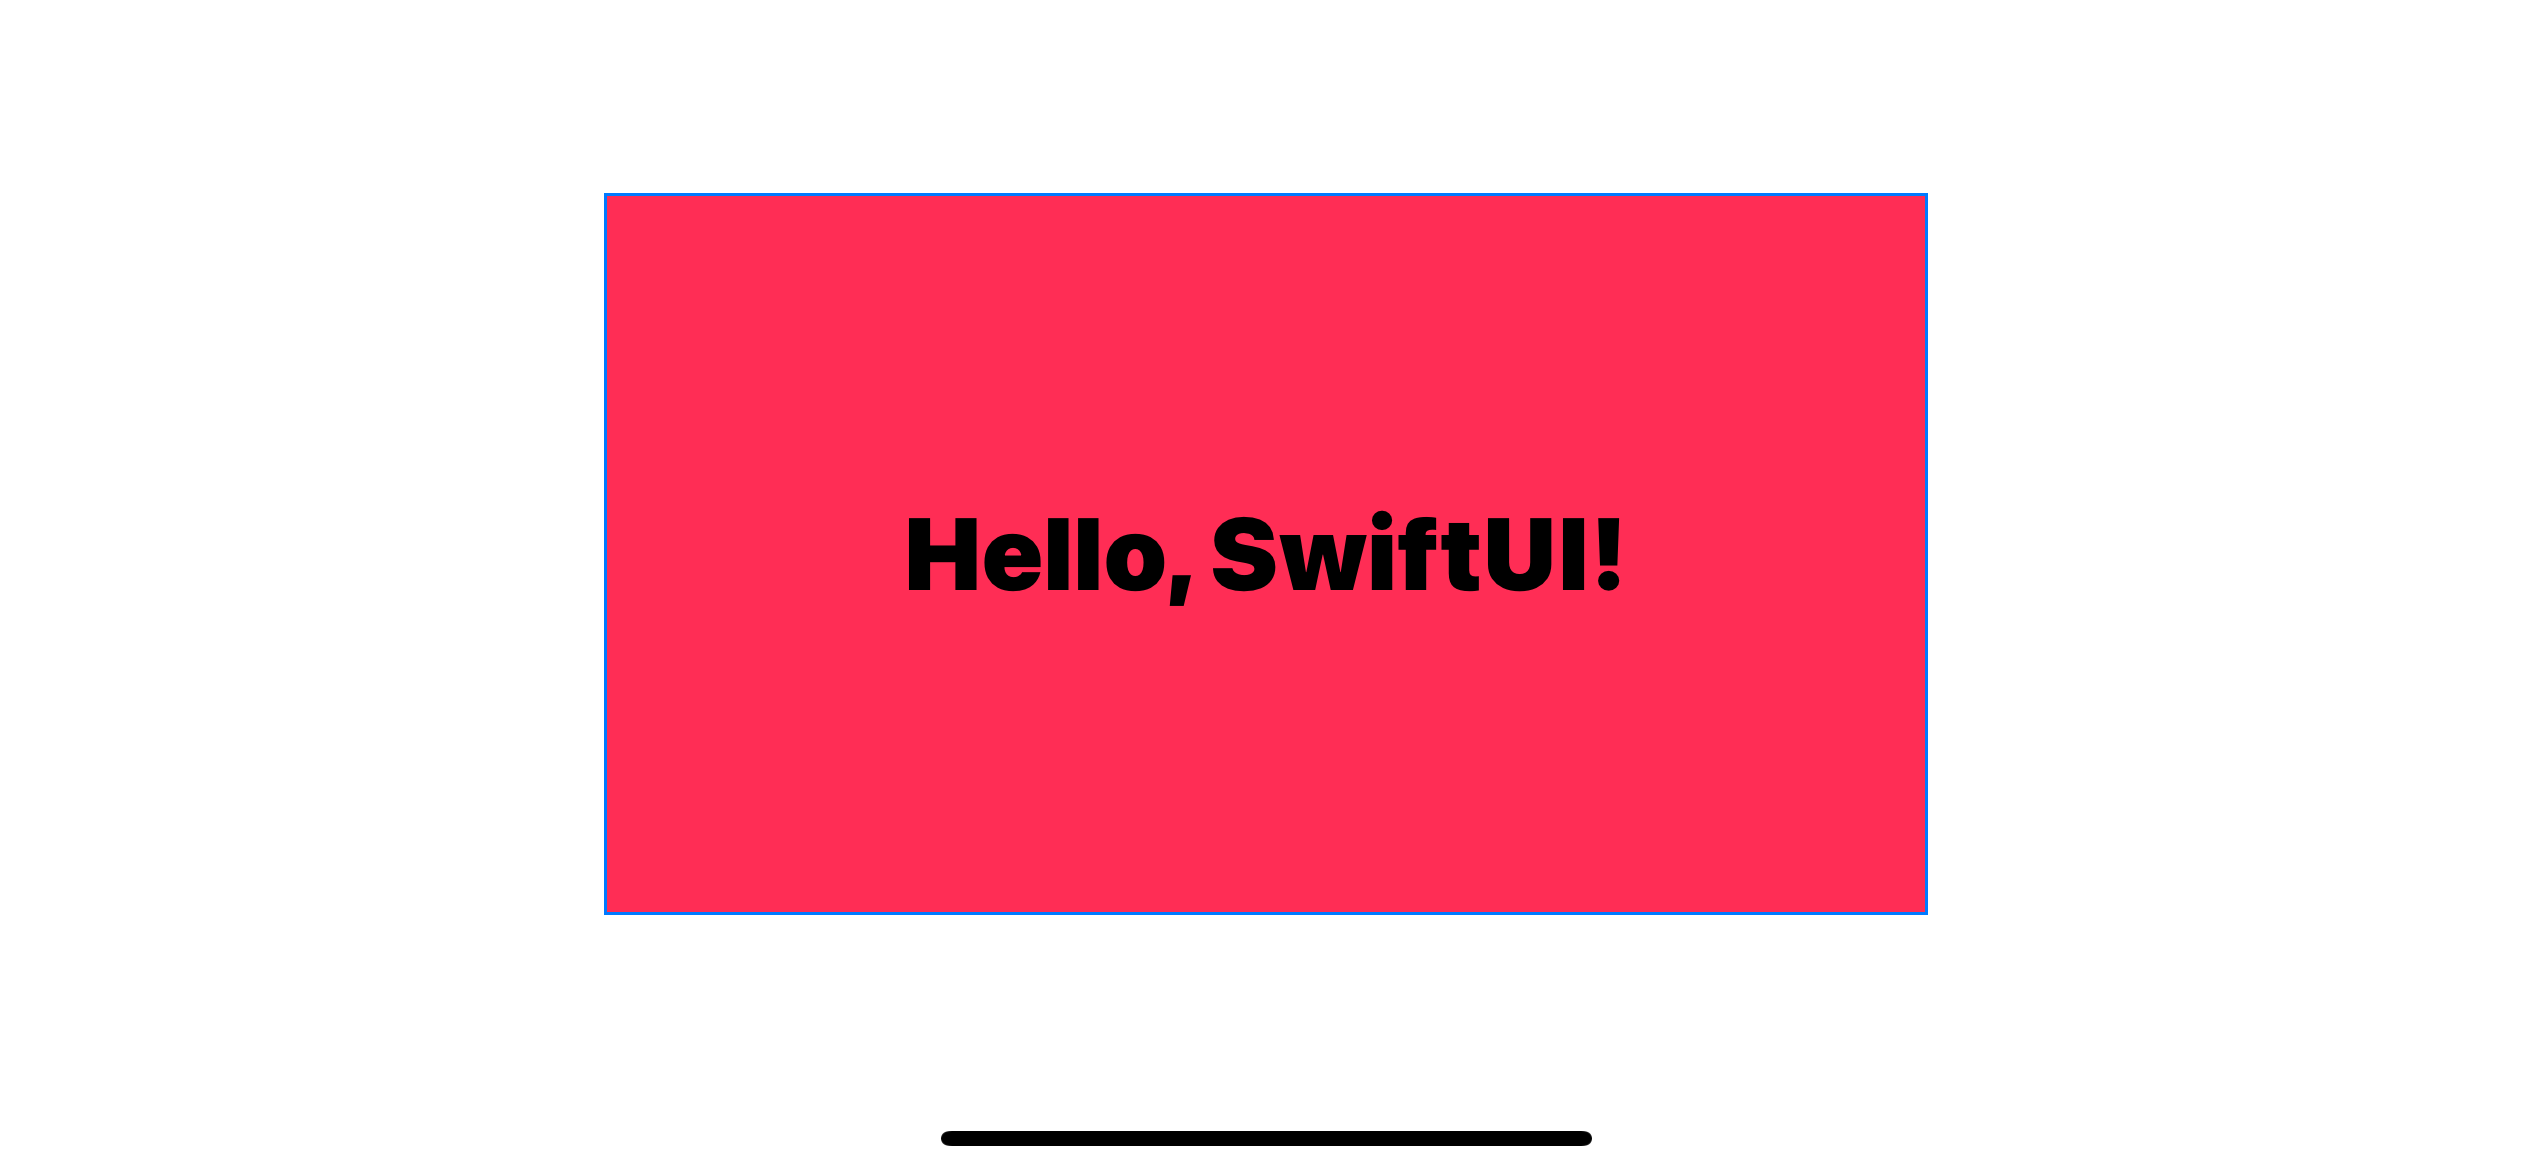 A container view with size equals its content.
- Then, you add a background image using aspect fit content mode. I expected the image view to resize itself to fit the container size.
struct ContentView: View {
    var body: some View {
        ZStack {
            Image("donuts")
                .resizable()
                .scaledToFit()
                .border(Color.blue)
            Text("Hello, SwiftUI!")
                .font(.system(size: 34, weight: .black))
                .padding(100)
                .border(Color.blue)
        }
        .background(Color.pink)

}
}
I expected something like this:
 Expected result: The image view fit itself to the container view.
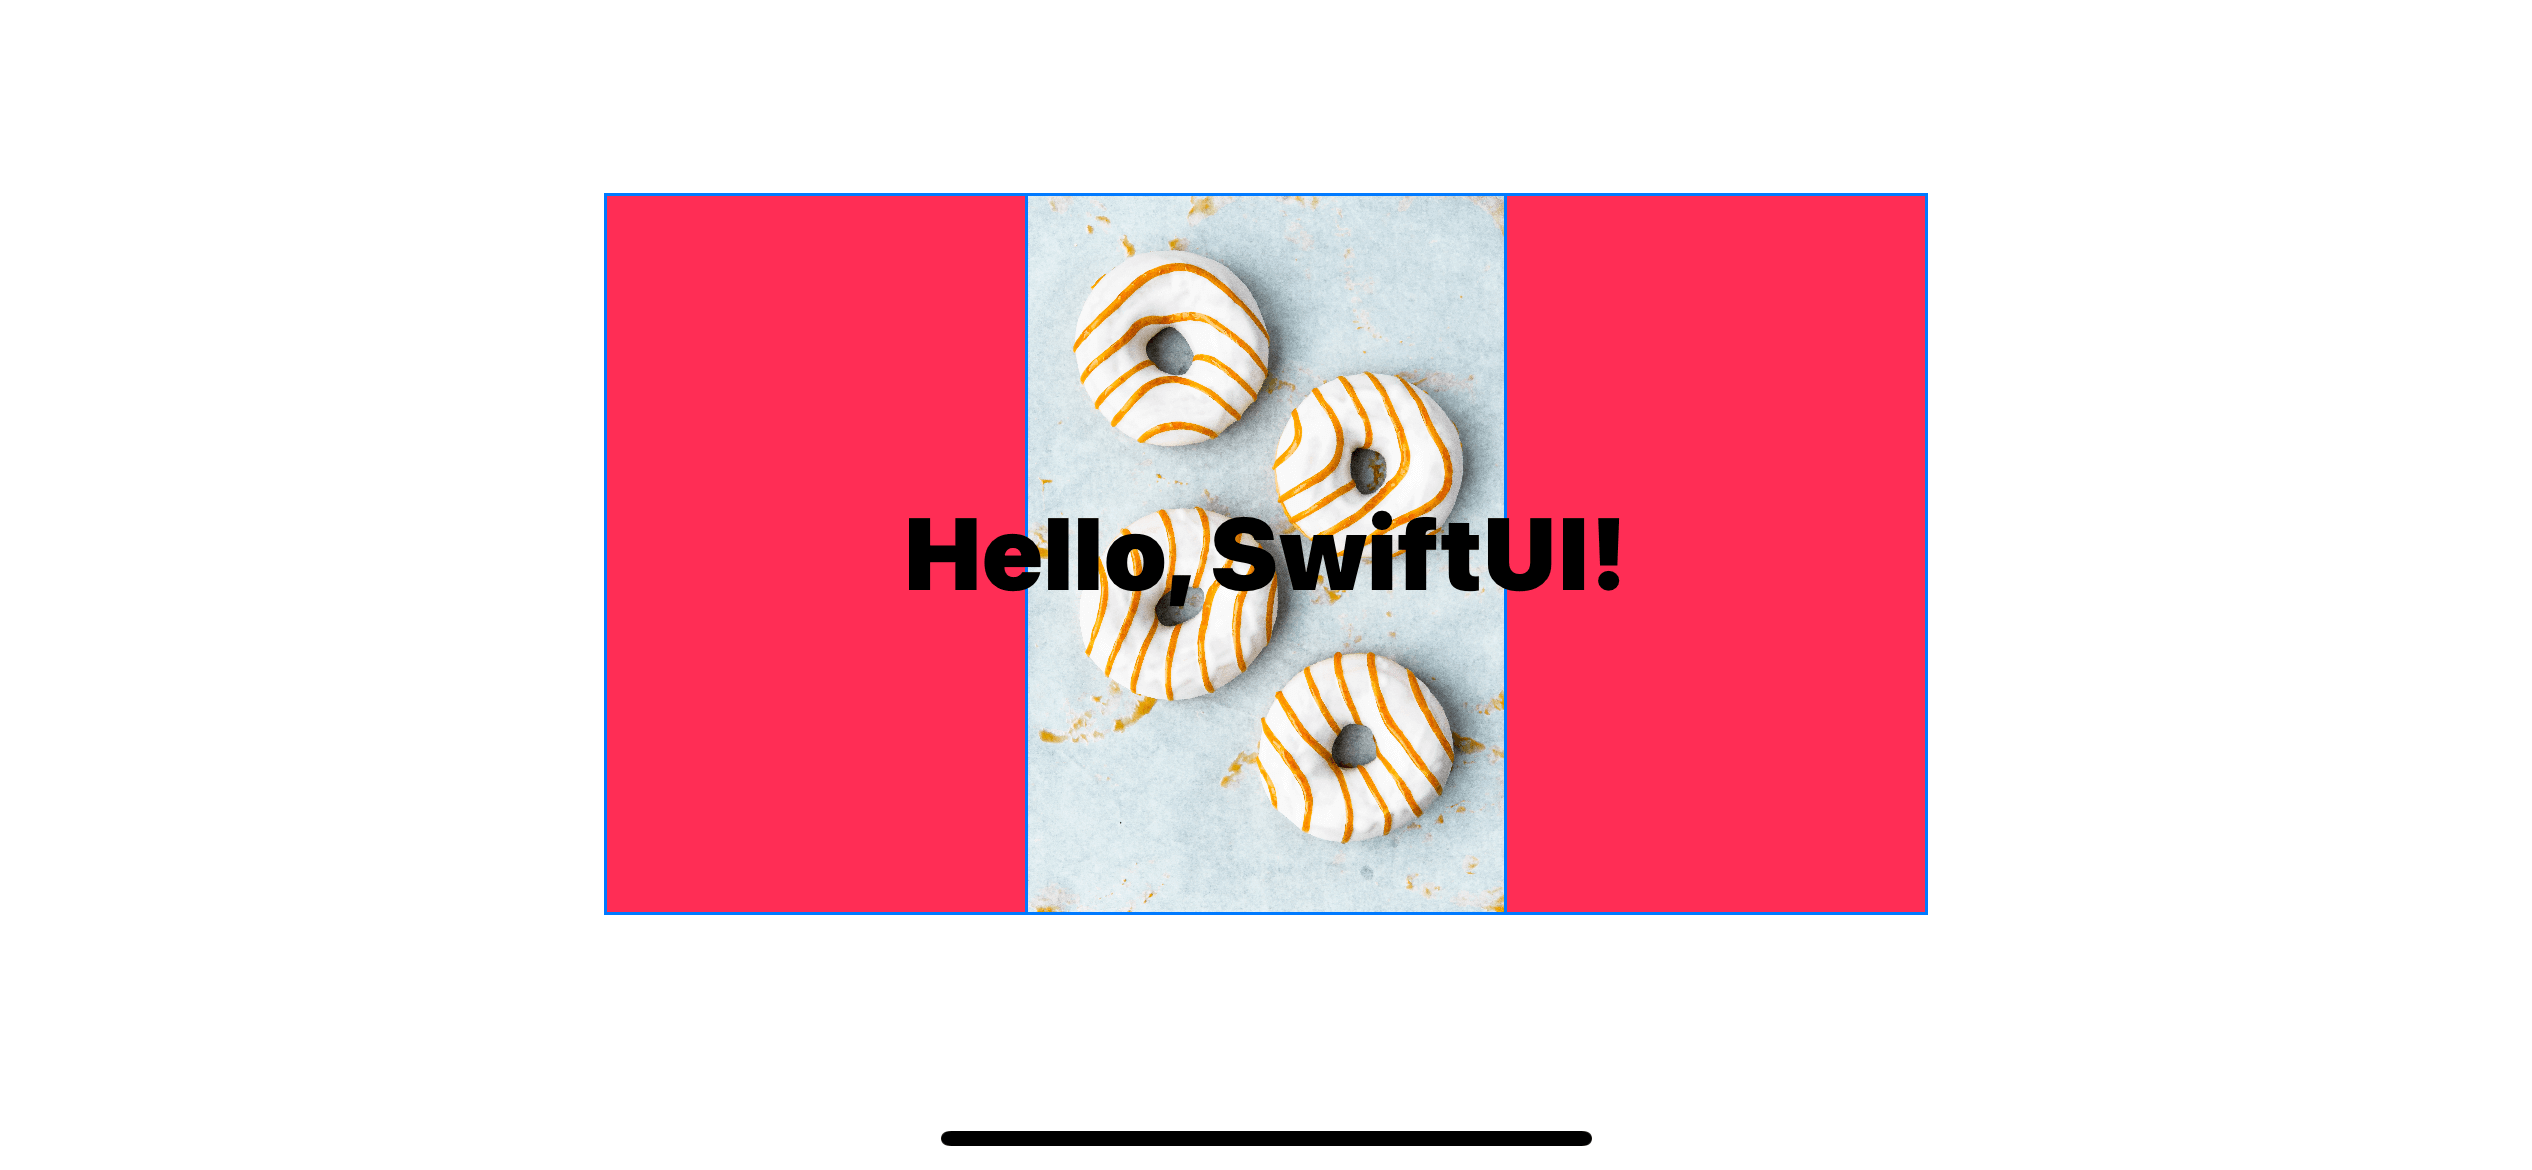
- Run the app, and the result is not what we expected. The image view does not resize itself to the container view but takes the biggest available device (device frame). The result is the container view expands beyond the original size (As you can see from the pink background).
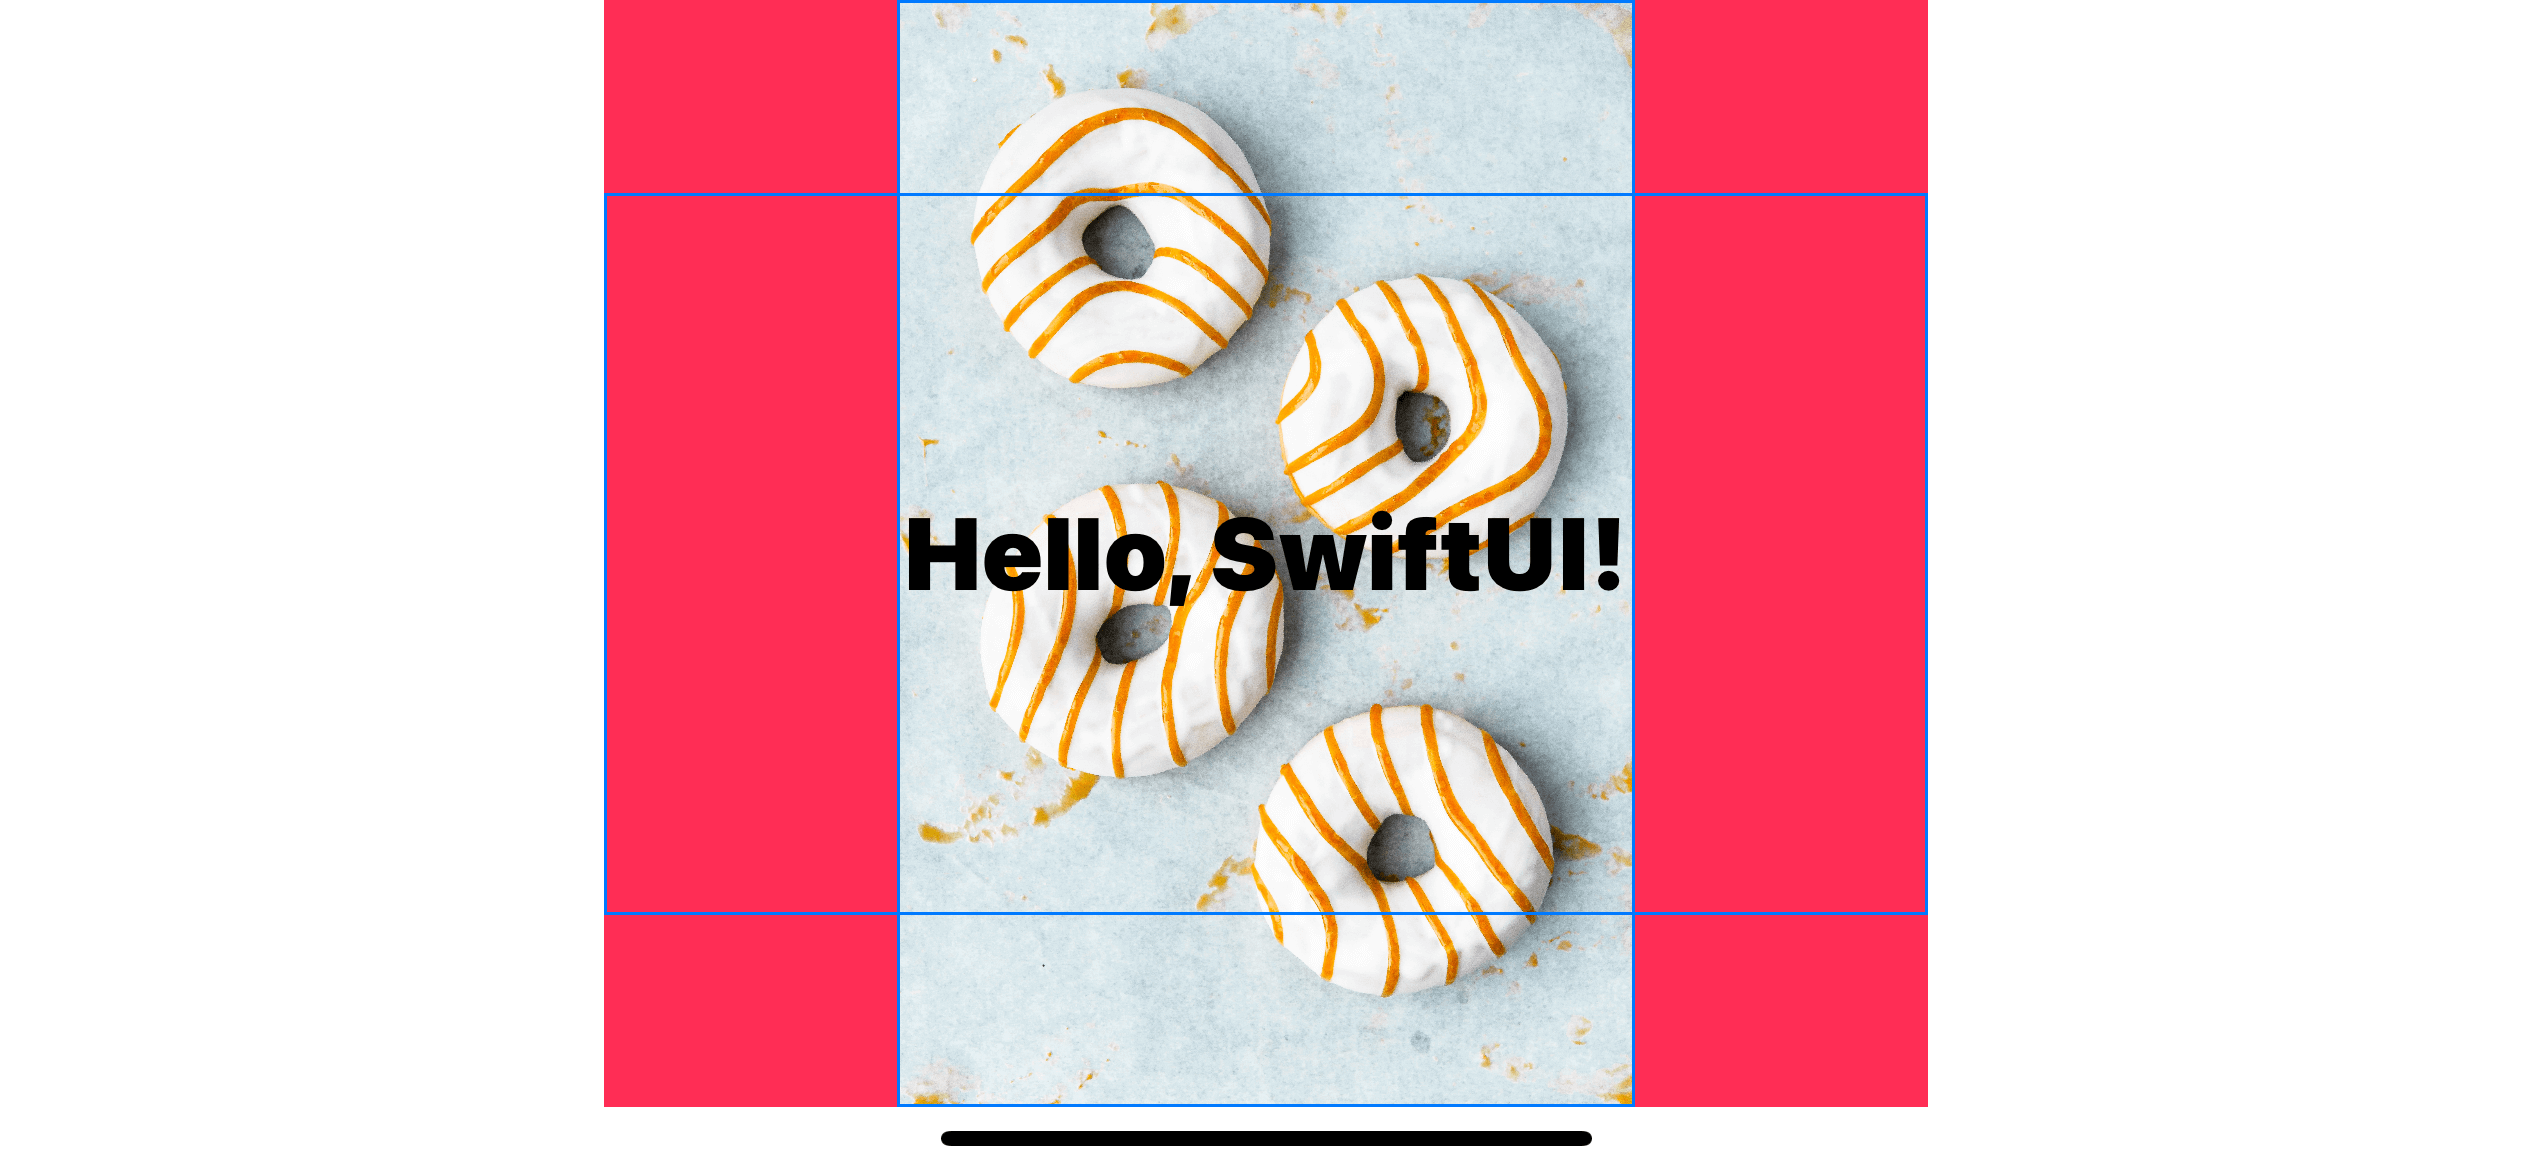 Actual result: The image view takes the biggest space available.
Solution
The change for this problem is very minimal. The only thing you need to make it work is .layoutPriority. Just make sure the layout priority of the background view is the lowest in your container view.
You can set text view's layout priority higher.
struct ContentView: View {
    var body: some View {
        ZStack {
            Image("donuts")
                .resizable()
                .scaledToFit()
                .border(Color.blue)
            Text("Hello, SwiftUI!")
                .font(.system(size: 34, weight: .black))
                .padding(100)
                .border(Color.blue)
                .layoutPriority(1)
        }
        .background(Color.pink)

}
}
Or make the image view's layout priority lower.
struct ContentView: View {
    var body: some View {
        ZStack {
            Image("donuts")
                .resizable()
                .scaledToFit()
                .border(Color.blue)
                .layoutPriority(-1)
            Text("Hello, SwiftUI!")
                .font(.system(size: 34, weight: .black))
                .padding(100)
                .border(Color.blue)
        }
        .background(Color.pink)

}
}
Setting .layoutPriority of the image view to be the lowest would yield the result we expected.
 The image view resizes itself to the container view space.
You may also like
Learn how to fit image view to any container by changing Content Hugging Priority and Content Resistance Priority.
ResizeLearn how to use aspect fit and aspect fill content mode to fit your image to its bounds.
SwiftUI Image ResizeIn UIKit, we have various ways to control an image's position and behavior in UIImageView with a help contentMode property. In SwiftUI, we only have fit and fill content mode. Let's see how we can replicate the rest.
SwiftUI Image ResizeRead more article about SwiftUI, Image, Resize,
or see all available topic
Get new posts weekly
If you enjoy this article, you can subscribe to the weekly newsletter.
Every Friday, you’ll get a quick recap of all articles and tips posted on this site — entirely for free.
Feel free to follow me on Twitter and ask your questions related to this post. Thanks for reading and see you next time.
If you enjoy my writing, please check out my Patreon https://www.patreon.com/sarunw and become my supporter. Sharing the article is also greatly appreciated.
Replicate 12 UIKit's contentMode options in SwiftUI
In UIKit, we have various ways to control an image's position and behavior in UIImageView with a help contentMode property. In SwiftUI, we only have fit and fill content mode. Let's see how we can replicate the rest.
How to set a screen's background color in SwiftUI
Setting background color in SwiftUI is not as straightforward as UIKit. Let's learn how to do it.
Recommend
About Joyk
Aggregate valuable and interesting links.
Joyk means Joy of geeK