
PathMeasure之迷径追踪
source link: https://blog.csdn.net/eclipsexys/article/details/51992473
Go to the source link to view the article. You can view the picture content, updated content and better typesetting reading experience. If the link is broken, please click the button below to view the snapshot at that time.
PathMeasure之迷径追踪
Path,不论是在自定义View还是动画,都占有举足轻重的地位。绘制Path,可以通过Android提供的API,或者是贝塞尔曲线、数学函数、图形组合等等方式,而要获取Path上每一个构成点的坐标,一般需要知道Path的函数方法,例如求解贝塞尔曲线上的点的De Casteljau算法,但对于一般的Path来说,是很难通过简单的函数方法来进行计算的,那么,如何来定位任意一个给定Path的任意一个点的坐标呢?
Android SDK提供了一个非常有用的API来帮助开发者实现这样一个Path路径点的坐标追踪,这个类就是PathMeasure,它可以认为是一个Path的坐标计算器。
PathMeasure类似一个计算器,对它进行初始化只需要new一个PathMeasure对象即可:
PathMeasure pathMeasure = new PathMeasure();初始化PathMeasure后,可以通过PathMeasure.setPath()的方式来将Path和PathMeasure进行绑定,例如:
pathMeasure.setPath(path, true);当然,你也可以直接使用PathMeasure的有参构造方法来进行初始化:
PathMeasure (Path path, boolean forceClosed)这里最不容易理解的就是第二个boolean参数forceClosed。
forceClosed参数
这个参数——forceClosed,简单的说,就是Path最终是否需要闭合,如果为True的话,则不管关联的Path是否是闭合的,都会被闭合。
但是这个参数对Path和PathMeasure的影响是需要解释下的:
- forceClosed参数对绑定的Path不会产生任何影响,例如一个折线段的Path,本身是没有闭合的,forceClosed设置为True的时候,PathMeasure计算的Path是闭合的,但Path本身绘制出来是不会闭合的。
- forceClosed参数对PathMeasure的测量结果有影响,还是例如前面说的一个折线段的Path,本身没有闭合,forceClosed设置为True,PathMeasure的计算就会包含最后一段闭合的路径,与原来的Path不同。
PathMeasure的API非常容易理解,几乎都是望文生义。
getLength
PathMeasure.getLength()的使用非常广泛,其作用就是获取计算的路径长度。
getSegment
boolean getSegment (float startD, float stopD, Path dst, boolean startWithMoveTo)这个API用于截取整个Path的片段,通过参数startD和stopD来控制截取的长度,并将截取的Path保存到dst中,最后一个参数startWithMoveTo表示起始点是否使用moveTo方法,通常为True,保证每次截取的Path片段都是正常的、完整的。
如果startWithMoveTo设置为false,通常是和dst一起使用,因为dst中保存的Path是被不断添加的,而不是每次被覆盖,设置为false,则新增的片段会从上一次Path终点开始计算,这样可以保存截取的Path片段数组连续起来。
nextContour
nextContour()方法用的比较少,比较大部分情况下都只会有一个Path而不是多个,毕竟这样会增加Path的复杂度,但是如果真有一个Path,包含了多个Path,那么通过nextContour这个方法,就可以进行切换,同时,默认的API,例如getLength,获取的也是当前的这段Path所对应的长度,而不是所有的Path的长度,同时,nextContour获取Path的顺序,与Path的添加顺序是相同的。
getPosTan
boolean getPosTan (float distance, float[] pos, float[] tan)这个API用于获取路径上某点的坐标及其切线的坐标,这个API非常强大,但是比较难理解,后面会结合例子来讲解。
简单的说,就是通过指定distance(0
硬件加速的Bug
由于硬件加速的问题,PathMeasure中的getSegment在讲Path添加到dst数组中时会被导致一些错误,需要通过mDst.lineTo(0,0)来避免这样一个Bug。
路径绘制是PathMeasure最常用的功能,其原理就是通过getSegment来不断截取Path片段,从而不断绘制完整的路径,效果如图所示:
代码如下所示:
package xys.com.pathart.views;

import android.animation.ValueAnimator;
import android.content.Context;
import android.graphics.Canvas;
import android.graphics.Paint;
import android.graphics.Path;
import android.graphics.PathMeasure;
import android.util.AttributeSet;
import android.view.View;

/**
 * 路径动画 PathMeasure
 * <p/>
 * Created by xuyisheng on 16/7/15.
 */
public class PathPainter extends View {

    private Path mPath;
    private Paint mPaint;
    private PathMeasure mPathMeasure;
    private float mAnimatorValue;
    private Path mDst;
    private float mLength;

    public PathPainter(Context context) {
        super(context);
    }

    public PathPainter(Context context, AttributeSet attrs) {
        super(context, attrs);
        mPathMeasure = new PathMeasure();
        mPaint = new Paint(Paint.ANTI_ALIAS_FLAG);
        mPaint.setStyle(Paint.Style.STROKE);
        mPaint.setStrokeWidth(5);
        mPath = new Path();
        mPath.addCircle(400, 400, 100, Path.Direction.CW);
        mPathMeasure.setPath(mPath, true);
        mLength = mPathMeasure.getLength();
        mDst = new Path();

        final ValueAnimator valueAnimator = ValueAnimator.ofFloat(0, 1);
        valueAnimator.addUpdateListener(new ValueAnimator.AnimatorUpdateListener() {
            @Override
            public void onAnimationUpdate(ValueAnimator valueAnimator) {
                mAnimatorValue = (float) valueAnimator.getAnimatedValue();
                invalidate();
            }
        });
        valueAnimator.setDuration(2000);
        valueAnimator.setRepeatCount(ValueAnimator.INFINITE);
        valueAnimator.start();
    }

    public PathPainter(Context context, AttributeSet attrs, int defStyleAttr) {
        super(context, attrs, defStyleAttr);
    }

    @Override
    protected void onDraw(Canvas canvas) {
        super.onDraw(canvas);
        mDst.reset();
        // 硬件加速的BUG
        mDst.lineTo(0,0);
        float stop = mLength * mAnimatorValue;
        mPathMeasure.getSegment(0, stop, mDst, true);
        canvas.drawPath(mDst, mPaint);
    }
}
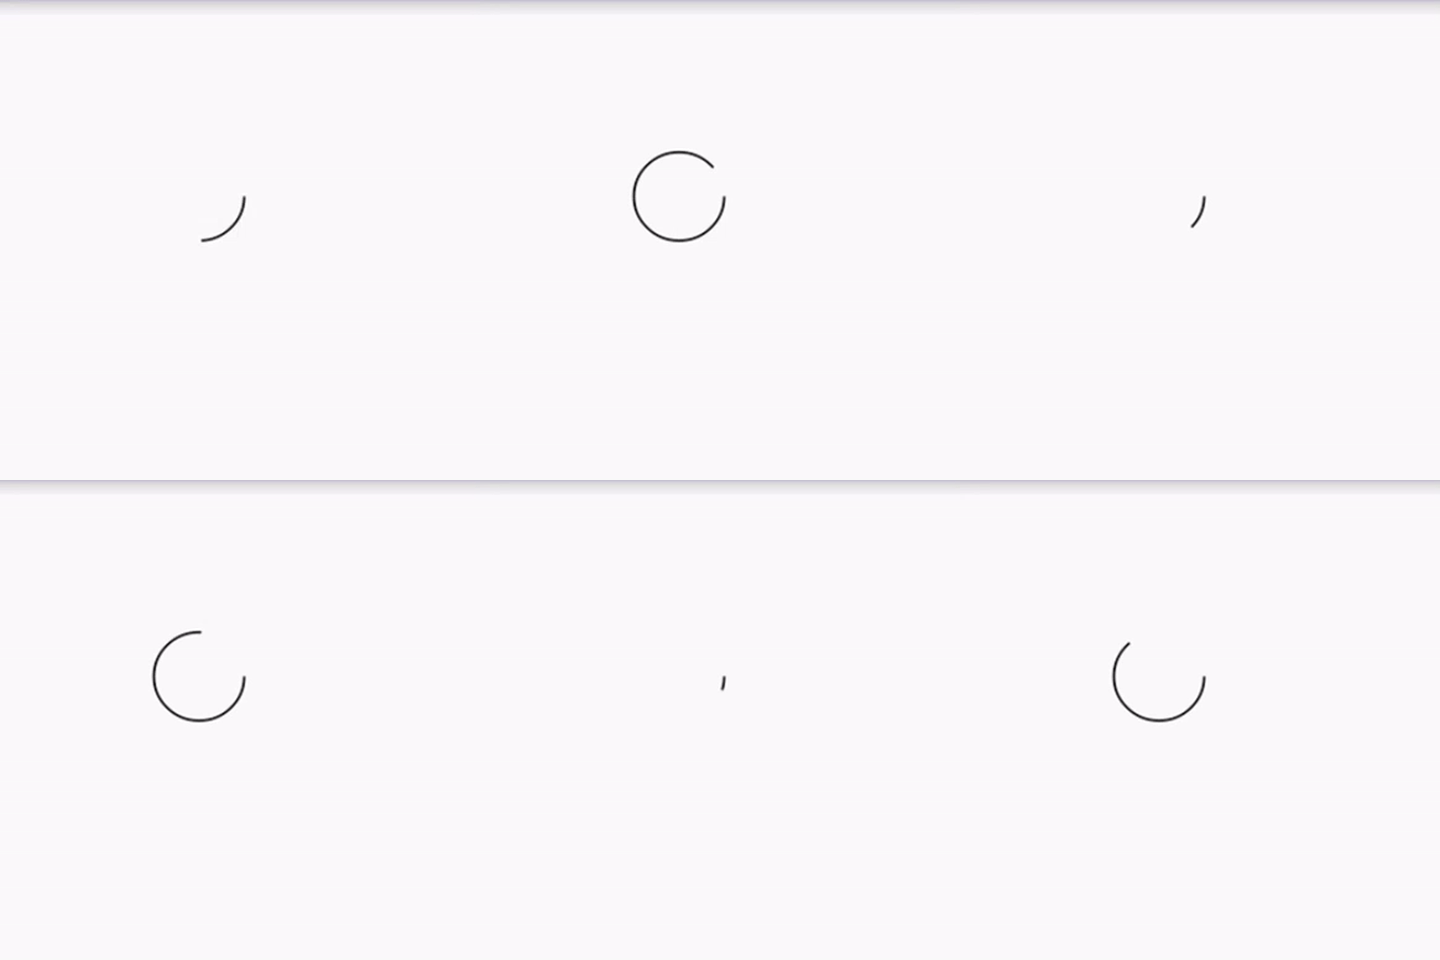
通过这种方式,只需要做一点点小的修改,就可以完成一个比较有意思的loading图,效果如下所示:
我们只需要修改下起始值的数字即可,关键代码如下:
@Override
protected void onDraw(Canvas canvas) {
    super.onDraw(canvas);
    mDst.reset();
    // 硬件加速的BUG
    mDst.lineTo(0,0);
    float stop = mLength * mAnimatorValue;
    float start = (float) (stop - ((0.5 - Math.abs(mAnimatorValue - 0.5)) * mLength));
    mPathMeasure.getSegment(start, stop, mDst, true);
    canvas.drawPath(mDst, mPaint);
}
路径绘制——另辟蹊径
关于路径绘制,View的始祖Romain Guy曾经有一篇文章讲解了一个很使用的技巧,地址如下所示:
http://www.curious-creature.com/2013/12/21/android-recipe-4-path-tracing/
Romain Guy使用DashPathEffect来实现了路径绘制。
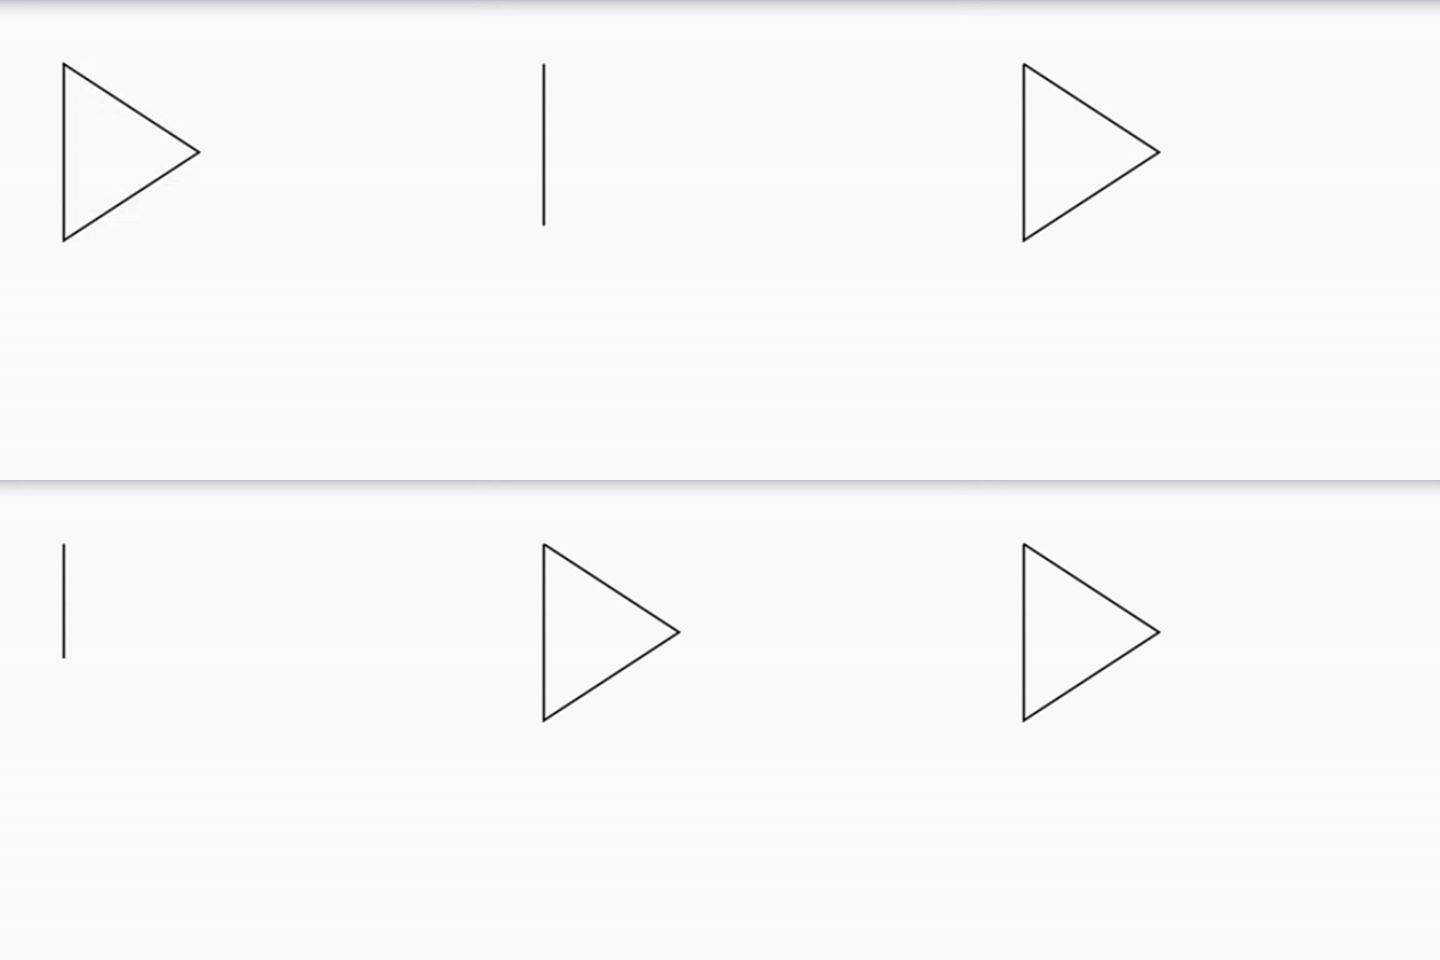
DashPathEffect(float[] intervals, float phase)DashPathEffect传入了一个intervals数组,用来控制实线和虚线的数组的显示,那么当实线和虚线都是整个路径的长度时,整个路径就只显示实线或者虚线了,这时候通过第二个参数phase来控制起始偏移量,就可以完成整个路径的绘制了,这的确是一个非常trick而且有效的方式,效果如图所示:
代码如下所示:
package xys.com.pathart.views;

import android.animation.ValueAnimator;
import android.content.Context;
import android.graphics.Canvas;
import android.graphics.Color;
import android.graphics.DashPathEffect;
import android.graphics.Paint;
import android.graphics.Path;
import android.graphics.PathEffect;
import android.graphics.PathMeasure;
import android.util.AttributeSet;
import android.view.View;
import android.view.animation.AccelerateDecelerateInterpolator;

/**
 * 路径绘制——DashPathEffect
 * <p/>
 * Created by xuyisheng on 16/7/15.
 */
public class PathPainterEffect extends View implements View.OnClickListener{

    private Paint mPaint;
    private Path mPath;
    private PathMeasure mPathMeasure;
    private PathEffect mEffect;
    private float fraction = 0;
    private ValueAnimator mAnimator;

    public PathPainterEffect(Context context) {
        super(context);
    }

    public PathPainterEffect(Context context, AttributeSet attrs) {
        super(context, attrs);
        mPath = new Path();
        mPath.reset();
        mPath.moveTo(100, 100);
        mPath.lineTo(100, 500);
        mPath.lineTo(400, 300);
        mPath.close();

        mPaint = new Paint();
        mPaint.setColor(Color.BLACK);
        mPaint.setStyle(Paint.Style.STROKE);
        mPaint.setStrokeWidth(5);

        mPathMeasure = new PathMeasure(mPath, false);
        final float length = mPathMeasure.getLength();

        mAnimator = ValueAnimator.ofFloat(1, 0);
        mAnimator.setInterpolator(new AccelerateDecelerateInterpolator());
        mAnimator.setDuration(2000);
        mAnimator.addUpdateListener(new ValueAnimator.AnimatorUpdateListener() {
            @Override
            public void onAnimationUpdate(ValueAnimator valueAnimator) {
                fraction = (float) valueAnimator.getAnimatedValue();
                mEffect = new DashPathEffect(new float[]{length, length}, fraction * length);
                mPaint.setPathEffect(mEffect);
                invalidate();
            }
        });
        setOnClickListener(this);
    }

    public PathPainterEffect(Context context, AttributeSet attrs, int defStyleAttr) {
        super(context, attrs, defStyleAttr);
    }

    @Override
    protected void onDraw(Canvas canvas) {
        super.onDraw(canvas);
        canvas.drawPath(mPath, mPaint);
    }

    @Override
    public void onClick(View view) {
        mAnimator.start();
    }
}
其关键代码就是在于设置:
mEffect = new DashPathEffect(new float[]{length, length}, fraction * length);后面通过属性动画来控制路径绘制即可。
坐标与切线
PathMeasure的getPosTan()方法,可以获取路径上的坐标点和对应点的切线坐标,其中,路径上对应的点非常好理解,就是对应的点的坐标,而另一个参数tan[]数组,它用于返回当前点的运动轨迹的斜率,要理解这个API,我们首先来看下Math中的atan2这个方法:
public static double atan2 (double y, double x)虽然atan()方法可以用于求一个反正切值,但是他传入的是一个角度,所以我们使用atan2()方法:
Math.atan2()函数返回点(x,y)和原点(0,0)之间直线的倾斜角
那么如何计算任意两点间直线的倾斜角呢?只需要将两点x,y坐标分别相减得到一个新的点(x2-x1,y2-y1)。然后利用它求出角度即可——Math.atan2(y2-y1,x2-x1)。
利用这个API,通常可以获取Path上的点坐标和点的运动趋势,对于运动趋势,通常通过Math.atan2()来转换为切线的角度,代码如下所示:
@Override
protected void onDraw(Canvas canvas) {
    super.onDraw(canvas);
    mMeasure.getPosTan(mMeasure.getLength() * currentValue, pos, tan);
    float degrees = (float) (Math.atan2(tan[1], tan[0]) * 180.0 / Math.PI);
}
根据这个API,我们可以模拟一个圆上的点和点的运动趋势,代码如下:
package xys.com.pathart.views;

import android.animation.ValueAnimator;
import android.content.Context;
import android.graphics.Canvas;
import android.graphics.Paint;
import android.graphics.Path;
import android.graphics.PathMeasure;
import android.util.AttributeSet;
import android.view.View;

/**
 * 曲线上切点
 * <p/>
 * Created by xuyisheng on 16/7/15.
 */
public class PathTan extends View implements View.OnClickListener {

    private Path mPath;
    private float[] pos;
    private float[] tan;
    private Paint mPaint;
    float currentValue = 0;
    private PathMeasure mMeasure;

    public PathTan(Context context) {
        super(context);
    }

    public PathTan(Context context, AttributeSet attrs) {
        super(context, attrs);
        mPath = new Path();
        mPaint = new Paint();
        mPaint.setStyle(Paint.Style.STROKE);
        mPaint.setStrokeWidth(4);
        mMeasure = new PathMeasure();
        mPath.addCircle(0, 0, 200, Path.Direction.CW);
        mMeasure.setPath(mPath, false);
        pos = new float[2];
        tan = new float[2];
        setOnClickListener(this);
    }

    public PathTan(Context context, AttributeSet attrs, int defStyleAttr) {
        super(context, attrs, defStyleAttr);
    }

    @Override
    protected void onDraw(Canvas canvas) {
        super.onDraw(canvas);
        mMeasure.getPosTan(mMeasure.getLength() * currentValue, pos, tan);
        float degrees = (float) (Math.atan2(tan[1], tan[0]) * 180.0 / Math.PI);

        canvas.save();
        canvas.translate(400, 400);
        canvas.drawPath(mPath, mPaint);
        canvas.drawCircle(pos[0], pos[1], 10, mPaint);
        canvas.rotate(degrees);
        canvas.drawLine(0, -200, 300, -200, mPaint);
        canvas.restore();
    }

    @Override
    public void onClick(View view) {
        ValueAnimator animator = ValueAnimator.ofFloat(0, 1);
        animator.addUpdateListener(new ValueAnimator.AnimatorUpdateListener() {
            @Override
            public void onAnimationUpdate(ValueAnimator valueAnimator) {
                currentValue = (float) valueAnimator.getAnimatedValue();
                invalidate();
            }
        });
        animator.setDuration(3000);
        animator.setRepeatCount(ValueAnimator.INFINITE);
        animator.start();
    }
}
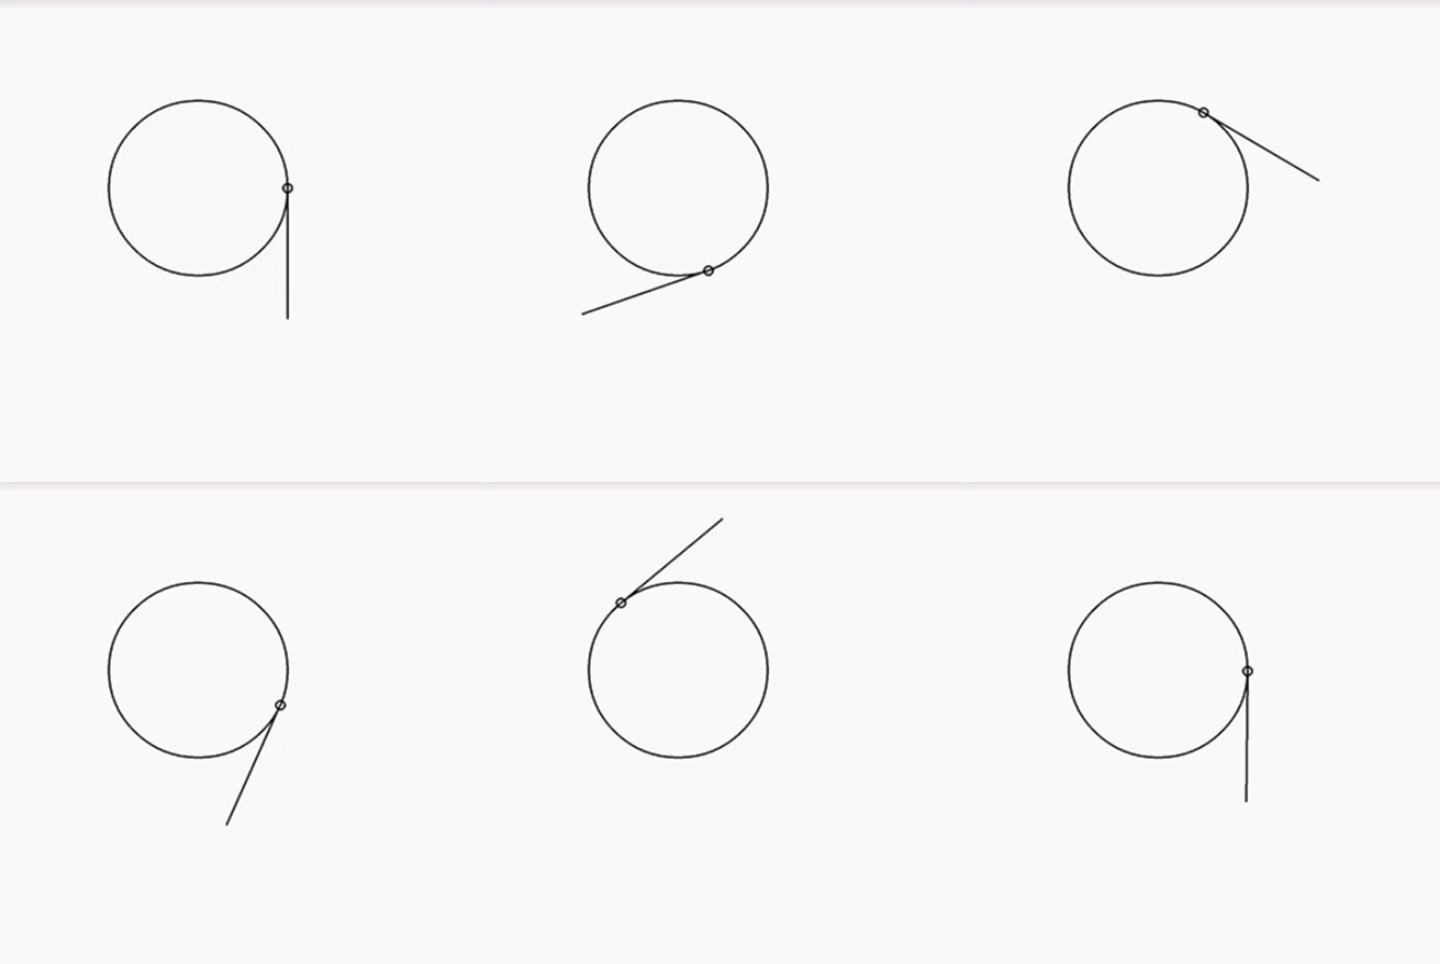
Demo效果如图所示:
只不过这里在绘制的时候,使用了一些Trick,先通过canvas.translate方法将原点移动的圆心,同时,通过canvas.rotate将运动趋势的角度转换为画布的旋转,这样每次绘制切线,就只需要画一条同样的切线即可。
源码已上传到Github:
Recommend
About Joyk
Aggregate valuable and interesting links.
Joyk means Joy of geeK


