

Android Vector曲折的兼容之路
source link: https://blog.csdn.net/eclipsexys/article/details/51838119
Go to the source link to view the article. You can view the picture content, updated content and better typesetting reading experience. If the link is broken, please click the button below to view the snapshot at that time.

Android Vector曲折的兼容之路
两年前写书的时候,就在研究Android L提出的Vector,可研究下来发现,完全不具备兼容性,相信这也是它没有被广泛使用的一个原因,经过Google的不懈努力,现在Vector终于迎来了它的春天。
在文章后面,会给出本文的Demo和效果图,并开源在Github
Vector Drawable
Android 5.0发布的时候,Google提供了Vector的支持。Vector Drawable相对于普通的Drawable来说,有以下几个好处:
- Vector图像可以自动进行适配,不需要通过分辨率来设置不同的图片
- Vector图像可以大幅减少图像的体积,同样一张图,用Vector来实现,可能只有PNG的几十分之一
- 使用简单,很多设计工具,都可以直接导出SVG图像,从而转换成Vector图像
- 功能强大,不用写很多代码就可以实现非常复杂的动画
- 成熟、稳定,前端已经非常广泛的进行使用了
Vector图像刚发布的时候,是只支持Android 5.0+的,对于Android pre-L的系统来说,并不能使用,所以,可以说那时候的Vector并没有什么卵用。不过自从AppCompat 23.2之后,Google对p-View的Android系统也进行了兼容,也就是说,Vector可以使用于Android 2.1以上的所有系统,只需要引用com.android.support:appcompat-v7:23.2.0以上的版本就可以了,这时候,Vector应该算是迎来了它的春天。
如何获得Vector图像
首先,需要讲解两个概念——SVG和Vector。
SVG,即Scalable Vector Graphics 矢量图,这种图像格式在前端中已经使用的非常广泛了,详见WIKI:https://en.wikipedia.org/wiki/Scalable_Vector_Graphics
Vector,在Android中指的是Vector Drawable,也就是Android中的矢量图,详见:https://developer.android.com/reference/android/graphics/drawable/VectorDrawable.html
因此,可以说Vector就是Android中的SVG实现,因为Android中的Vector并不是支持全部的SVG语法,也没有必要,因为完整的SVG语法是非常复杂的,但已经支持的SVG语法已经够用了,特别是Path语法,几乎是Android中Vector的标配,详细可以参考:http://www.w3.org/TR/SVG/paths.html
Vector语法简介
Android以一种简化的方式对SVG进行了兼容,这种方式就是通过使用它的Path标签,通过Path标签,几乎可以实现SVG中的其它所有标签,虽然可能会复杂一点,但这些东西都是可以通过工具来完成的,所以,不用担心写起来会很复杂。
Path指令解析如下所示:
支持的指令:
- M = moveto(M X,Y) :将画笔移动到指定的坐标位置
- L = lineto(L X,Y) :画直线到指定的坐标位置
- H = horizontal lineto(H X):画水平线到指定的X坐标位置
- V = vertical lineto(V Y):画垂直线到指定的Y坐标位置
- C = curveto(C X1,Y1,X2,Y2,ENDX,ENDY):三次贝赛曲线
- S = smooth curveto(S X2,Y2,ENDX,ENDY)
- Q = quadratic Belzier curve(Q X,Y,ENDX,ENDY):二次贝赛曲线
- T = smooth quadratic Belzier curveto(T ENDX,ENDY):映射
- A = elliptical Arc(A RX,RY,XROTATION,FLAG1,FLAG2,X,Y):弧线
- Z = closepath():关闭路径
使用原则:
- 坐标轴为以(0,0)为中心,X轴水平向右,Y轴水平向下
- 所有指令大小写均可。大写绝对定位,参照全局坐标系;小写相对定位,参照父容器坐标系
- 指令和数据间的空格可以省略
- 同一指令出现多次可以只用一个
注意,’M’处理时,只是移动了画笔, 没有画任何东西。 它也可以在后面给出上同时绘制不连续线。
关于这些语法,开发者需要的并不是全部精通,而是能够看懂即可,其它的都可以交给工具来实现。
从PNG到SVG
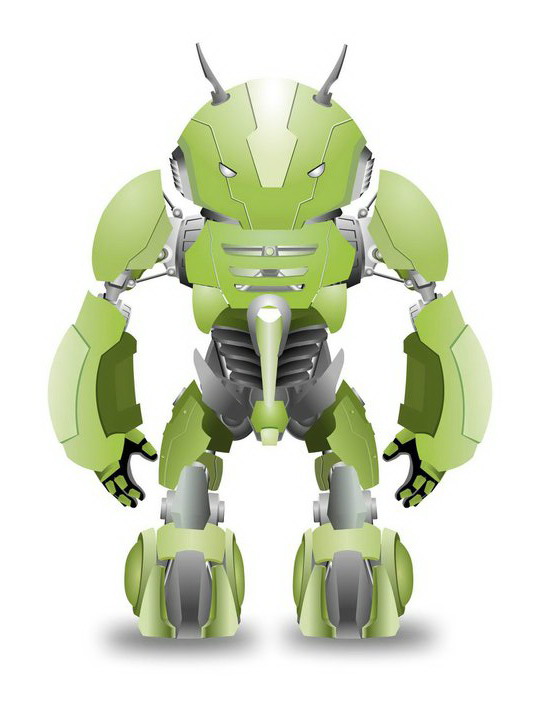
要从一般使用的PNG图像转换到SVG图像,对于设计师来说,并不是一件难事,因为大部分的设计工具(PS、Illustrator等等)都支持导出各种格式的图像,如PNG、JPG,当然,也包括SVG,因此,设计师可以完全按照原有的方式进行设计,只是最后导出的时候,选择SVG即可。
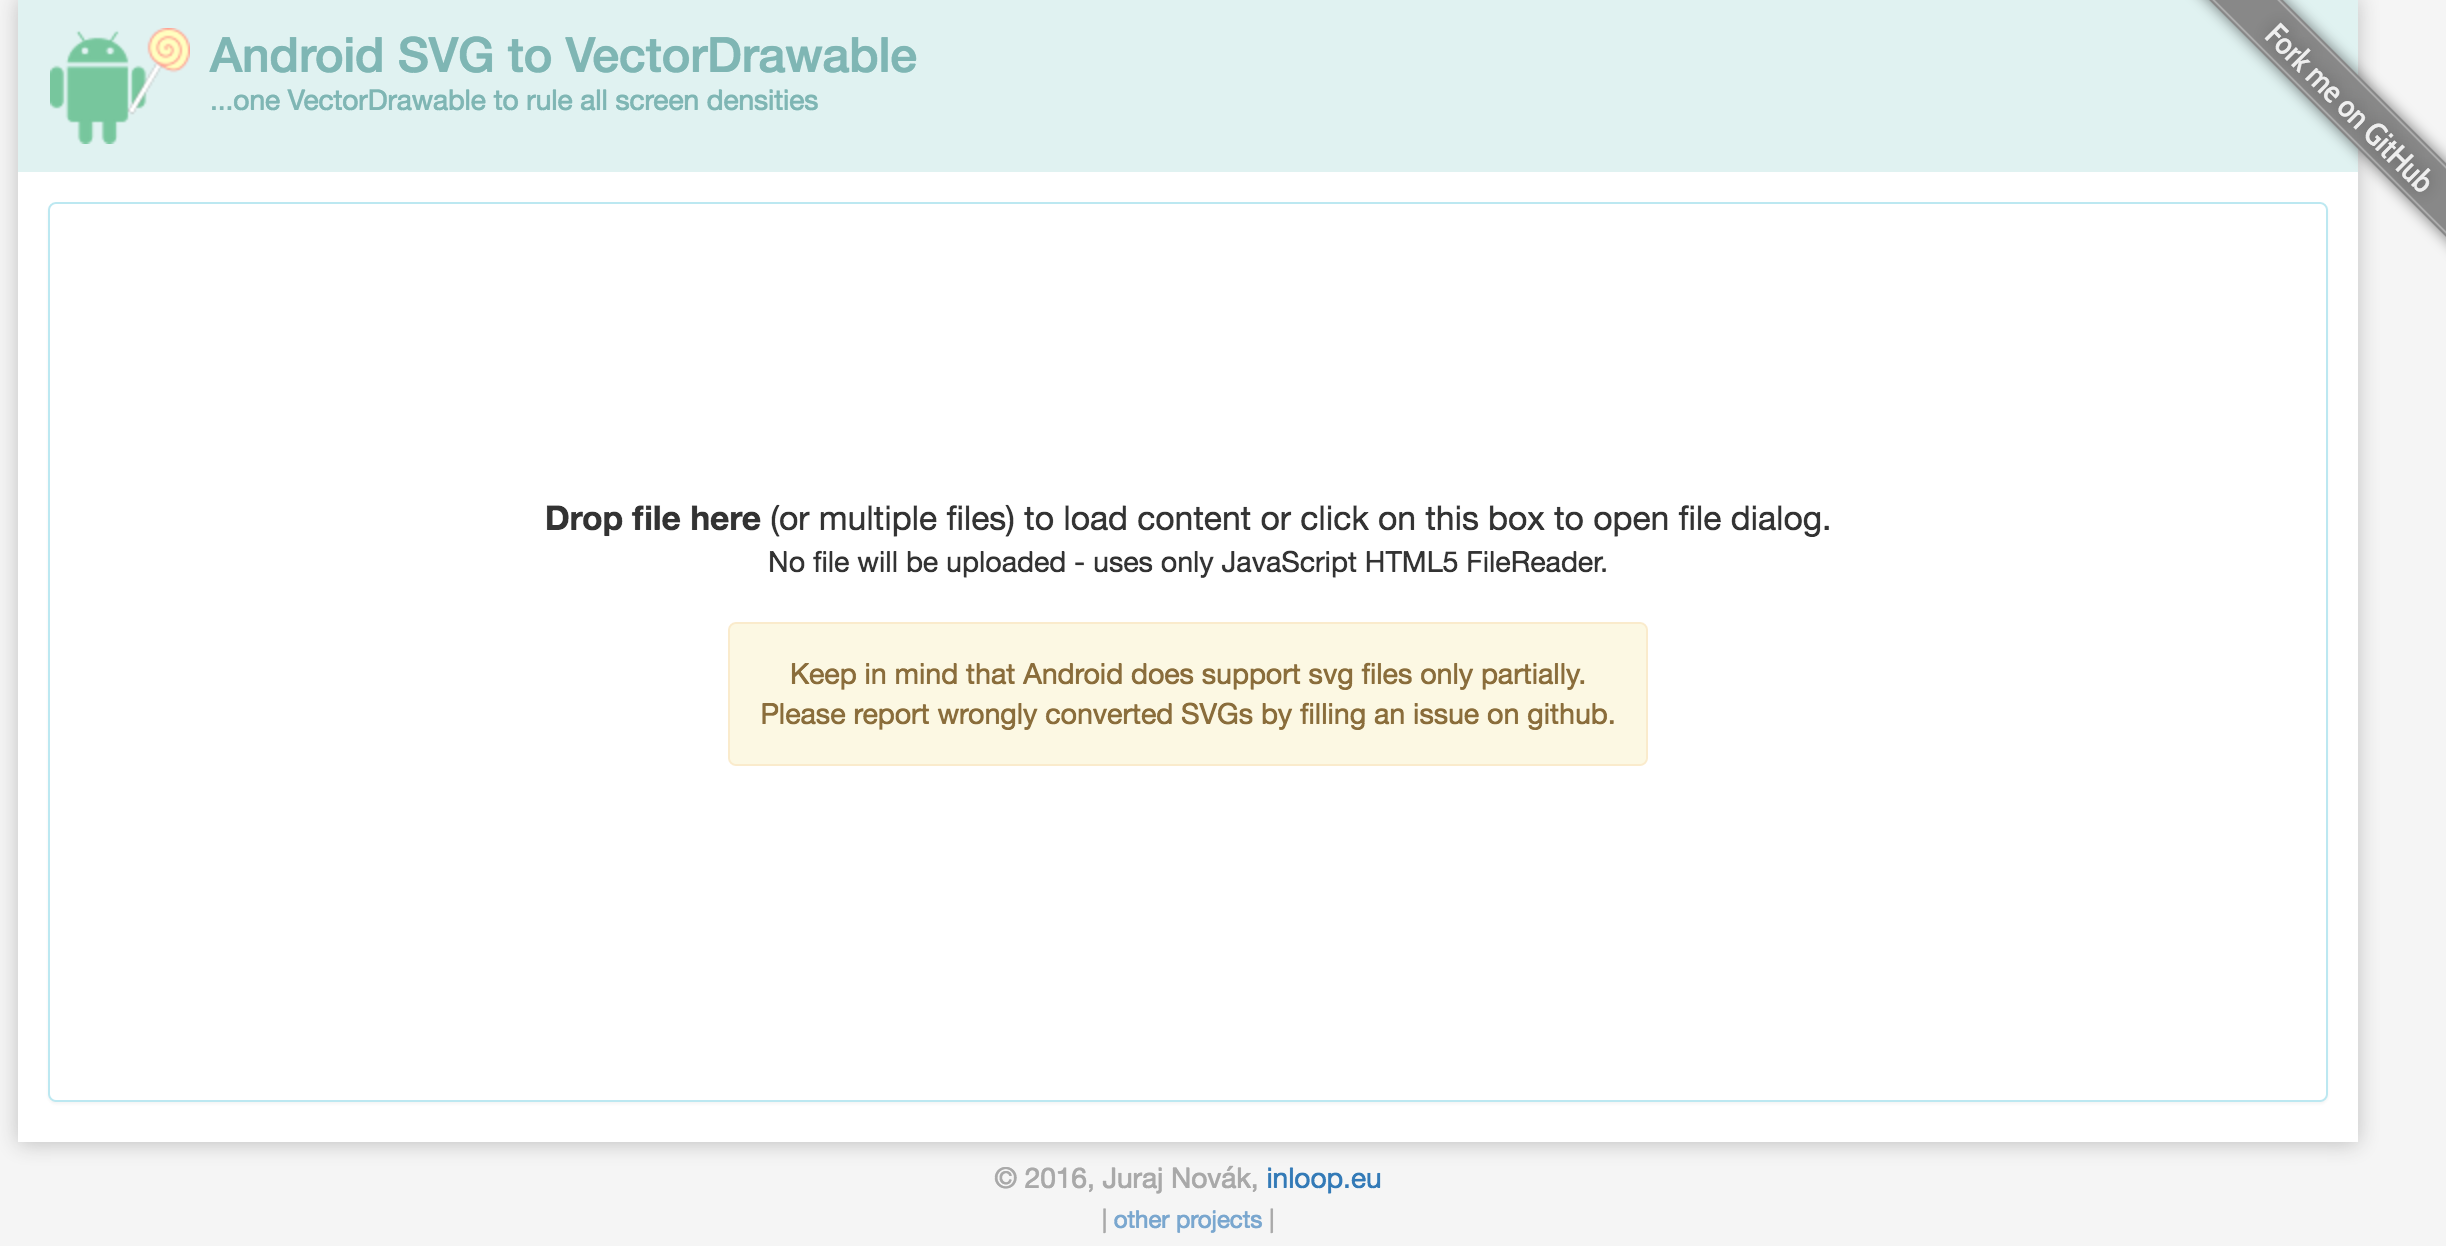
不要求开发者都去学习使用这些设计工具,开发者可以利用一些工具,自己转换一些比较基础的图像,http://inloop.github.io/svg2android/ 就是这样一个非常牛逼的网站,可以在线将普通图像转换为Android Vector Drawable。如图所示:
或者,还可以使用SVG的编辑器来进行SVG图像的编写,例如http://editor.method.ac/
使用Android Studio
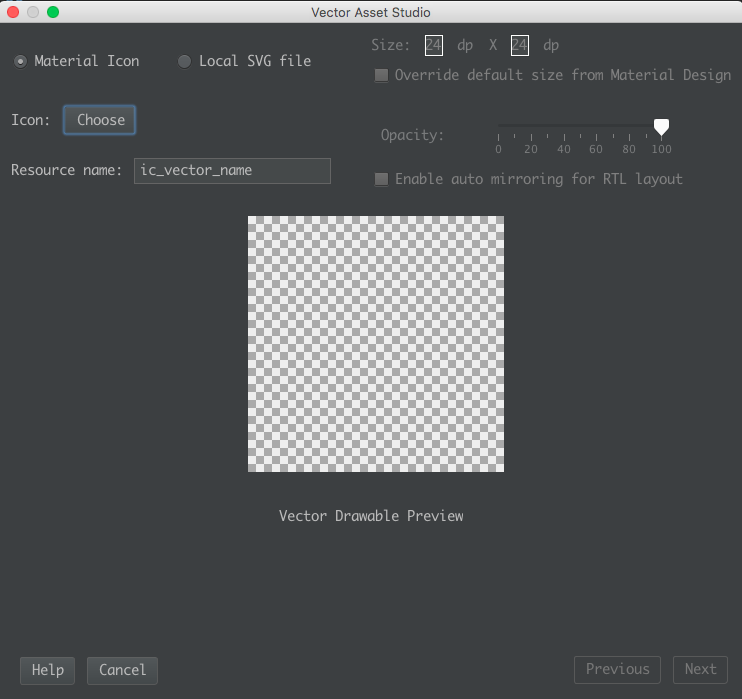
利用Android Studio的Vector Asset,可以非常方便的创建Vector图像,甚至可以直接通过本地的SVG图像来生成Vector图像,如图所示:
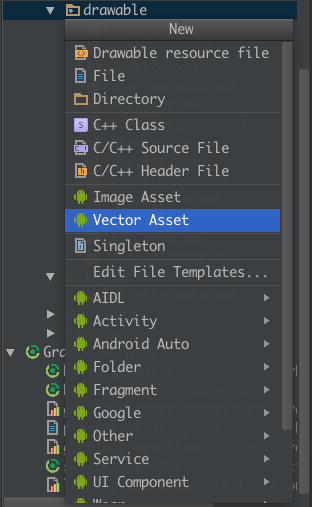
进去之后,就可以生成Vector图像,如图所示:
Google的兼容之路
只兼容L+
Vector是在Android L中提出来的新概念,所以在刚开始的时候是只兼容L+的。
Gradle Plugin 1.5的兼容
从Gradle Plugin 1.5开始,Google支持了一种兼容方式,即在Android L之上,使用Vector,而在L之下,则使用Gradle将Vector生成PNG图像。
Android gradle plugin 1.5发布以后,加入了一个跟VectorDrawable有关的新功能。Android build tools 提供了另外一种解决兼容性的方案,如果编译的版本是5.0之前的版本,那么build tools 会把VectorDrawable生成对应的png图片,这样在5.0以下的版本则使用的是生成的png图,而在5.0以上的版本中则使用VectorDrawable.在build.gradle添加generatedDensities配置,可以配置生成的png图片的密度。
AppCompat23.2的兼容
从AppCompat23.2开始,Google开始支持在低版本上使用Vector。
静态Vector图像
我们有很多方法能够得到这些Vector,那么如何使用它们呢,Android 5.0以上的使用就不讲了,不太具有普遍代表性,我们从pre-L版本的兼容开始做起。
pre-L版本兼容
VectorDrawableCompat依赖于AAPT的一些功能,它能保持最近矢量图使用的添加的属性ID,以便他们可以被pre-L版本之前的引用。
在Android 5.0之前使用Vector,需要aapt来对资源进行一些处理,这一过程可以在aapt的配置中进行设置,如果没有启用这样一个flag,那么在5.0以下的设备上运行就会发生android.content.res.Resources$NotFoundException。
首先,你需要在项目的build.gradle脚本中,增加对Vector兼容性的支持,代码如下所示:
使用Gradle Plugin 2.0以上:
android {

    defaultConfig {
        vectorDrawables.useSupportLibrary = true
    }
}
使用Gradle Plugin 2.0以下,Gradle Plugin 1.5以上:
android {
  defaultConfig {
    // Stops the Gradle plugin’s automatic rasterization of vectors
    generatedDensities = []
  }
  // Flag to tell aapt to keep the attribute ids around
  aaptOptions {
    additionalParameters "--no-version-vectors"
  }
}
像前面提到的,这种兼容方式实际上是先关闭AAPT对pre-L版本使用Vector的妥协,即在L版本以上,使用Vector,而在pre-L版本上,使用Gradle生成相应的PNG图片,generatedDensities这个数组,实际上就是要生成PNG的图片分辨率的数组,使用appcompat后就不需要这样了。
当然,最重要的还是添加appcompat的支持:
compile 'com.android.support:appcompat-v7:23.4.0'同时,确保你使用的是AppCompatActivity而不是普通的Activity。
Vector图像
一个基本的Vector图像,实际上也是一个xml文件,如下所示:
<vector xmlns:android="http://schemas.android.com/apk/res/android"
        android:width="200dp"
        android:height="200dp"
        android:viewportHeight="500"
        android:viewportWidth="500">

    <path
        android:name="square"
        android:fillColor="#000000"
        android:pathData="M100,100 L400,100 L400,400 L100,400 z"/>

</vector>
显示如图所示:
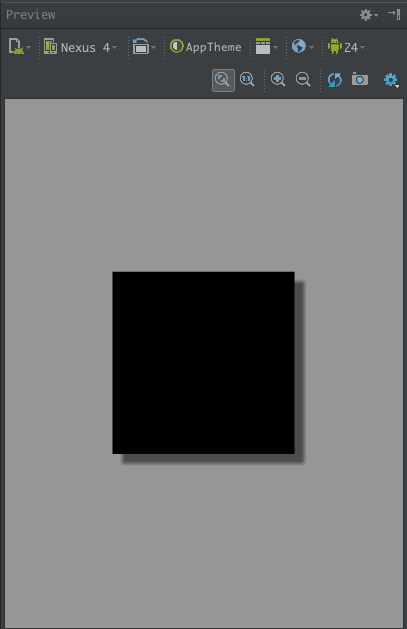
这里需要解释下这里的几个标签:
- android:width \ android:height:定义图片的宽高
- android:viewportHeight \ android:viewportWidth:定义图像被划分的比例大小,例如例子中的500,即把200dp大小的图像划分成500份,后面Path标签中的坐标,就全部使用的是这里划分后的坐标系统。
这样做有一个非常好的作用,就是将图像大小与图像分离,后面可以随意修改图像大小,而不需要修改PathData中的坐标。
- android:fillColor:PathData中的这些属性就不详细讲了,与Canvas绘图的属性基本类似。
在控件中使用
有了静态的Vector图像,就可以在控件中使用了。
可以发现,这里我们使用的都是普通的ImageView,好像并不是AppcomatImageView,这是因为使用了Appcomat后,系统会自动把ImageView转换为AppcomatImageView。
ImageView\ImageButton
对于ImageView这样的控件,要兼容Vector图像,只需要将之前的android:src属性,换成app:srcCompat即可,示例代码如下所示:
<ImageView
    android:id="@+id/iv"
    android:layout_width="wrap_content"
    android:layout_height="wrap_content"
    app:srcCompat="@drawable/vector_image"/>
在代码中设置的话,代码如下所示:
ImageView iv = (ImageView) findViewById(R.id.iv);
iv.setImageResource(R.drawable.vector_image);
setBackgroundResource也是可以设置Vector的API
Button
Button并不能直接使用app:srcCompat来使用Vector图像,需要通过Selector来进行使用,首先,创建两个图像,用于Selector的两个状态,代码如下所示:
selector1.xml
<vector xmlns:android="http://schemas.android.com/apk/res/android"
        android:width="24dp"
        android:height="24dp"
        android:viewportHeight="24.0"
        android:viewportWidth="24.0">
    <path
        android:fillColor="#FF000000"
        android:pathData="M14.59,8L12,10.59 9.41,8 8,9.41 10.59,12 8,14.59 9.41,16 12,13.41 14.59,16 16,14.59 13.41,12 16,9.41 14.59,8zM12,2C6.47,2 2,6.47 2,12s4.47,10 10,10 10,-4.47 10,-10S17.53,2 12,2zM12,20c-4.41,0 -8,-3.59 -8,-8s3.59,-8 8,-8 8,3.59 8,8 -3.59,8 -8,8z"/>
</vector>
selector2.xml
<vector xmlns:android="http://schemas.android.com/apk/res/android"
        android:width="24dp"
        android:height="24dp"
        android:viewportHeight="24.0"
        android:viewportWidth="24.0">
    <path
        android:fillColor="#FF000000"
        android:pathData="M11,15h2v2h-2zM11,7h2v6h-2zM11.99,2C6.47,2 2,6.48 2,12s4.47,10 9.99,10C17.52,22 22,17.52 22,12S17.52,2 11.99,2zM12,20c-4.42,0 -8,-3.58 -8,-8s3.58,-8 8,-8 8,3.58 8,8 -3.58,8 -8,8z"/>
</vector>
selector.xml
<?xml version="1.0" encoding="utf-8"?>
<selector xmlns:android="http://schemas.android.com/apk/res/android">
    <item android:drawable="@drawable/selector1" android:state_pressed="true"/>
    <item android:drawable="@drawable/selector2"/>
</selector>
非常简单,只是把普通的Selector中的图像换成了Vector图像而已,接下来,在Button中使用这个Selector即可:
<Button
    android:id="@+id/btn"
    android:layout_width="70dp"
    android:layout_height="70dp"
    android:background="@drawable/selector"/>
然后运行,如果你认为可以运行,那就是太天真了,都说了是兼容,怎么能没有坑呢,这里就是一个坑……
这个坑实际上是有历史渊源的,Google的一位开发者在博客中写到:
First up, this functionality was originally released in 23.2.0, but then we found some memory usage and Configuration updating issues so we it removed in 23.3.0. In 23.4.0 (technically a fix release) we’ve re-added the same functionality but behind a flag which you need to manually enable.
实际上,他们的这个改动,就影响了类似DrawableContainers(DrawableContainers which reference other drawables resources which contain only a vector resource)这样的类,它的一个典型,就是Selector(StateListDrawable也是)。这个开发者在文中提到的flag,就是下面的这段代码,放在Activity的前面就可以了:
static {
    AppCompatDelegate.setCompatVectorFromResourcesEnabled(true);
}
开启这个flag后,你就可以正常使用Selector这样的DrawableContainers了。同时,你还开启了类似android:drawableLeft这样的compound drawable的使用权限,以及RadioButton的使用权限,以及ImageView’s src属性。
RadioButton
RadioButton的Button同样可以定义,代码如下所示:
<RadioButton
    android:layout_width="50dp"
    android:layout_height="50dp"
    android:button="@drawable/selector"/>
动态Vector基础
动态Vector才是Android Vector Drawable的精髓所在
动态的Vector需要通过animated-vector标签来进行实现,它就像一个粘合剂,将控件与Vector图像粘合在了一起,一个基础的animated-vector代码如下所示:
<animated-vector
    xmlns:android="http://schemas.android.com/apk/res/android"
    android:drawable="@drawable/XXXXX1">

    <target
        android:name="left"
        android:animation="@animator/XXXXX2"/>

</animated-vector>
实际上这里面只有两个重点是需要关注的,XXXXX1和XXXXX2。一个具体的示例如下所示:
<animated-vector
    xmlns:android="http://schemas.android.com/apk/res/android"
    android:drawable="@drawable/ic_arrow">

    <target
        android:name="left"
        android:animation="@animator/anim_left"/>

    <target
        android:name="right"
        android:animation="@animator/anim_right"/>

</animated-vector>
这里表示目标图像是drawable/ic_arrow,对left、right分别使用了anim_left、anim_right动画。这里的name属性,就是在静态Vector图像中group或者path标签的name属性。
animated-vector标签在现在的Android Studio中实际上是会报错的,但这个并不影响编译和运行,属于Android Studio的Bug。
XXXXX1是目标Vector图像,也就是静态的Vector图像,例如:
<vector xmlns:android="http://schemas.android.com/apk/res/android"
        android:width="120dp"
        android:height="120dp"
        android:viewportHeight="24.0"
        android:viewportWidth="24.0">

    <group android:name="left">
        <path
            android:fillColor="#FF000000"
            android:pathData="M9.01,14L2,14v2h7.01v3L13,15l-3.99,-4v3"/>
    </group>

    <group android:name="right">
        <path
            android:fillColor="#FF000000"
            android:pathData="M14.99,13v-3L22,10L22,8h-7.01L14.99,5L11,9l3.99,4"/>
    </group>

</vector>
可以发现,这里的Vector图像比之前我们看见的要多了一个group标签。group标签的作用有两个:
- 对Path进行分组,由于我们后面需要针对Path进行动画,所以可以让具有同样动画效果的Path在同一个Group中
- 拓展动画效果,单个的path标签是没有translateX和translateY属性的,因此无法使用属性动画来控制path translateY,而group标签是有的,所以我们需要先将相关的path标签元素包裹在一个个的group标签中.
XXXXX2实际上就是模板要实现的动画,动画效果实际上就是基础的属性动画,例如:
anim_left.xml
<objectAnimator
    xmlns:android="http://schemas.android.com/apk/res/android"
    android:duration="1000"
    android:interpolator="@android:interpolator/anticipate_overshoot"
    android:propertyName="translateX"
    android:repeatCount="infinite"
    android:repeatMode="reverse"
    android:valueFrom="0"
    android:valueTo="-10"
    android:valueType="floatType"/>
anim_right.xml
<objectAnimator
    xmlns:android="http://schemas.android.com/apk/res/android"
    android:duration="1000"
    android:interpolator="@android:interpolator/anticipate_overshoot"
    android:propertyName="translateX"
    android:repeatCount="infinite"
    android:repeatMode="reverse"
    android:valueFrom="0"
    android:valueTo="10"
    android:valueType="floatType"/>
在代码中使用
ImageView imageView = (ImageView) findViewById(R.id.iv);
AnimatedVectorDrawableCompat animatedVectorDrawableCompat = AnimatedVectorDrawableCompat.create(
        this, R.drawable.square_anim
);
imageView.setImageDrawable(animatedVectorDrawableCompat);
((Animatable) imageView.getDrawable()).start();
动态Vector兼容性问题
向下兼容问题
一说到兼容,就不得不提到坑,几乎所有的为了兼容而做的改动,都会留下一些不可填满的坑,动态Vector动画也不例外,虽然Google已经对Vector图像进行了Android 2.1以上的兼容,但对于动态Vector动画,还是有很多限制的,例如:
- Path Morphing,即路径变换动画,在Android pre-L版本下是无法使用的。
- Path Interpolation,即路径插值器,在Android pre-L版本只能使用系统的插值器,不能自定义。
- Path Animation,即路径动画,这个一般使用贝塞尔曲线来代替,所以没有太大影响。
向上兼容问题
除了在低版本上的兼容性问题,在L版本以上,也存在兼容性问题,即继承了AppCompatActivity的界面,如果直接设置ImageView的srcCompat,那么Path Morphing动画是无法生效的,因为默认的AppCompatActivity已经默认使用ImageViewCompat给转换了,但是AnimatedVectorDrawableCompat是不支持Path Morphing动画的,所以,在AppCompatActivity界面里面就无效了。
解决办法很简单,即使用代码来给ImageView添加动画:
ImageView imageView = (ImageView) view;
AnimatedVectorDrawable morphing = (AnimatedVectorDrawable) getDrawable(morphing);
imageView.setImageDrawable(morphing);
if (morphing != null) {
    morphing.start();
}
注意不要使用AnimatedVectorDrawableCompat即可。
抽取string兼容问题
开发者有时候为了代码简洁可能会把Vector图像中的pathData放到string.xml中,然后在Vector图像中引用string。
但这种方式如果通过生成png来兼容5.0以下机型的话,会报pathData错误,编译器不会去读取string.xml,只能把pathData写到Vector图像中,动画文件中也是一样,这也是为了兼容做出的牺牲吗,不得而知。
其它兼容问题
其它非常奇怪、诡异、不能理解的兼容性问题,只能通过版本文件夹的方式来进行兼容了,例如drawable-v21和drawable,分别创建两个文件名相同的资源在两个文件夹下,这样在21以上版本,会使用drawable-v21的资源,而其它会使用drawable下的资源。
动态Vector进阶
用好ObjectAnimator
所谓Vector动画进阶,实际上就是在利用ObjectAnimator的一些属性,特别是trimPathStart、trimPathEnd这两个针对Vector的属性(要注意pathData属性不兼容pre-L)。
这两个属性的官方文档如下所示:
android:trimPathStart
The fraction of the path to trim from the start, in the range from 0 to 1.
android:trimPathEnd
The fraction of the path to trim from the end, in the range from 0 to 1.
android:trimPathOffset
Shift trim region (allows showed region to include the start and end), in the range from 0 to 1.
其实很简单,就是一个图像的截取,设置一个比例即可,即当前绘制多少比例的图像,其余部分不绘制,Start和End分别就是从PathData的Start和End开始算,大家参考几个例子就能理解了。
理解Path Morph
Path Morph动画是Vector动画的一个高级使用,说到底,也就是两个PathData的转换,但是这种转换并不是随心所欲的,对于两个PathData,它们能进行Path Morph的前提是,它们具有相同个数的关键点,即两个路径的变换,只是关键点的坐标变化,掌握了这一个基本原理,实现Path Morph就非常容易了。
学习Vector
在Github上我开源了一个Vector的动画Demo库,地址如下所示:
https://github.com/xuyisheng/VectorDemo
这个Demo分为两部分,一部分是可以兼容Android pre-L版本和L+版本的Vector动画,另一部分(通过Actionbar的按钮切换)是只能兼容L+的Vector动画。
每个Vector动画,基本都包含四部分内容,即:
- Vector:图像资源
- Animated-vector:动画、图像粘合剂
- ObjectAnimator:动画资源
- 代码:启动动画
每个Vector动画通过这四个部分去进行分析,就非常清晰了。
这里展示下Demo的效果图:
Vector性能问题
有读者在文章后面留言,询问VectorDrawable的性能问题,这里解释一下。
- Bitmap的绘制效率并不一定会比Vector高,它们有一定的平衡点,当Vector比较简单时,其效率是一定比Bitmap高的,所以,为了保证Vector的高效率,Vector需要更加简单,PathData更加标准、精简,当Vector图像变得非常复杂时,就需要使用Bitmap来代替了
- Vector适用于ICON、Button、ImageView的图标等小的ICON,或者是需要的动画效果,由于Bitmap在GPU中有缓存功能,而Vector并没有,所以Vector图像不能做频繁的重绘
- Vector图像过于复杂时,不仅仅要注意绘制效率,初始化效率也是需要考虑的重要因素
- SVG加载速度会快于PNG,但渲染速度会慢于PNG,毕竟PNG有硬件加速,但平均下来,加载速度的提升弥补了绘制的速度缺陷。
Google的这个视频中,已经对Vector的效率问题做了解释,可以参考下:
https://www.youtube.com/watch?v=wlFVIIstKmA&feature=youtu.be&t=6m3s
https://medium.com/@shemag8/animated-vector-drawable-e4d7743d372c#.3vkt12j20
https://github.com/jpuderer/AnimatedButton
Recommend
-
37
原标题上海滩造芯往事作者杨健楷来源投中网旗下CV智识2018财年,台积电营收突破一万亿新台币,折合超300亿美元,而中芯国际略超30亿美元,两者之间差了十倍。早在20年前,在研究完台湾地区的半导体产业变迁后,上海官员江上舟得出了这样一个结论
-
23
存量运营开始逐渐流行,各大公司也开始启动自己的用户运营计划了。笔者最近负责了一个会员成长体系的建设,个中曲折,与大家分享。 互联网进入到新的时期,存量意识越来越被人群所重视。这种意识不仅在互联网行业甚嚣尘上,甚至最近一家传统行业的公司找到我,要做...
-
8
加密货币的持久战:道路曲折,远方万丈光芒刘教链2021-05-22热度: 62128从各项指标来看,比特币和整个市场经过调整,不是更孱弱了,而是更健...
-
5
Java——永存、曲折、低谷、重生! – Android开发中文站你的位置:Android开发中文站 > Java基础 > Java——永存、曲折、低谷、重生!...
-
5
记一次曲折的多资源文件拆分折腾过程 发表于 2021-09-05...
-
8
这篇文章上次修改于 07/01/21,可能其部分内容已经发生变化,如有疑问可询问作者。3个月前,曾经有过想法重构现在的后台。Vue 3 也正式发布很久了,所以是时候重构到 Vue 3 了。但是由于当时尝试了很多 UI 库之后都没有找到...
-
4
本篇是上篇文章—— 记一次曲折的多资源文件拆分折腾过程(1) 的续篇。在上篇文章找到了导致...
-
4
记一次曲折的多资源文件拆分折腾过程(上) 发表于 2021-09-0...
-
6
在前面两篇文章 记一次曲折的多资源文件拆分折腾过程(1) 和
-
7
曲折的 iPad 网页调试之路 曲折的 iPad 网页调试之路 2022.11.28 做个技术宅
About Joyk
Aggregate valuable and interesting links.
Joyk means Joy of geeK