

90行代码让微信地球转起来,太酷了!(python实现)
source link: https://blog.csdn.net/weixin_41261833/article/details/106950202
Go to the source link to view the article. You can view the picture content, updated content and better typesetting reading experience. If the link is broken, please click the button below to view the snapshot at that time.
1.微信地球
手机重启后打开微信的一瞬间,会看到一幅有名的图片,上面站着一个张小龙。
你可曾想过这样一个问题,如果上面那个地球转起来会是怎样?
2.效果图
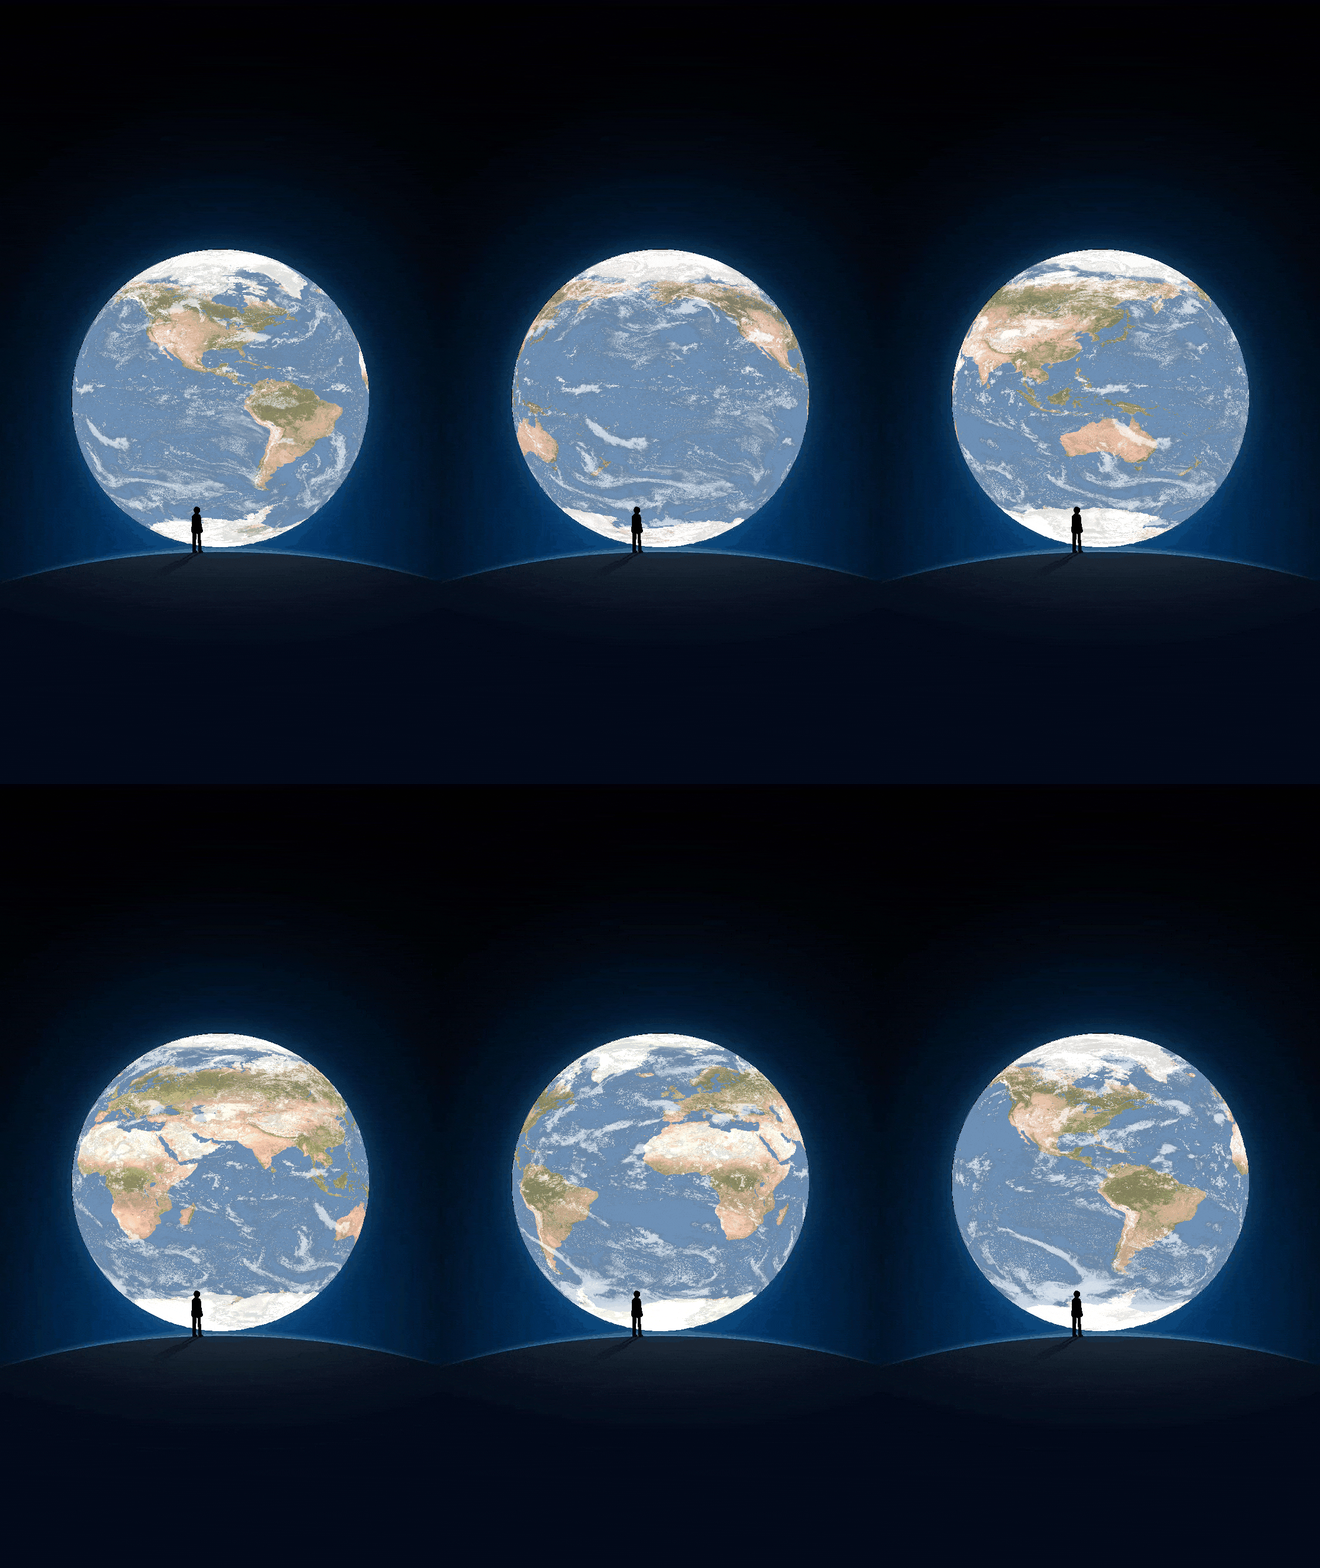
效果简直不要太酷炫,我只能直呼太牛逼!那么这样一个酷炫的操作是怎么做出来的呢?我们接着往下看。
3.素材准备
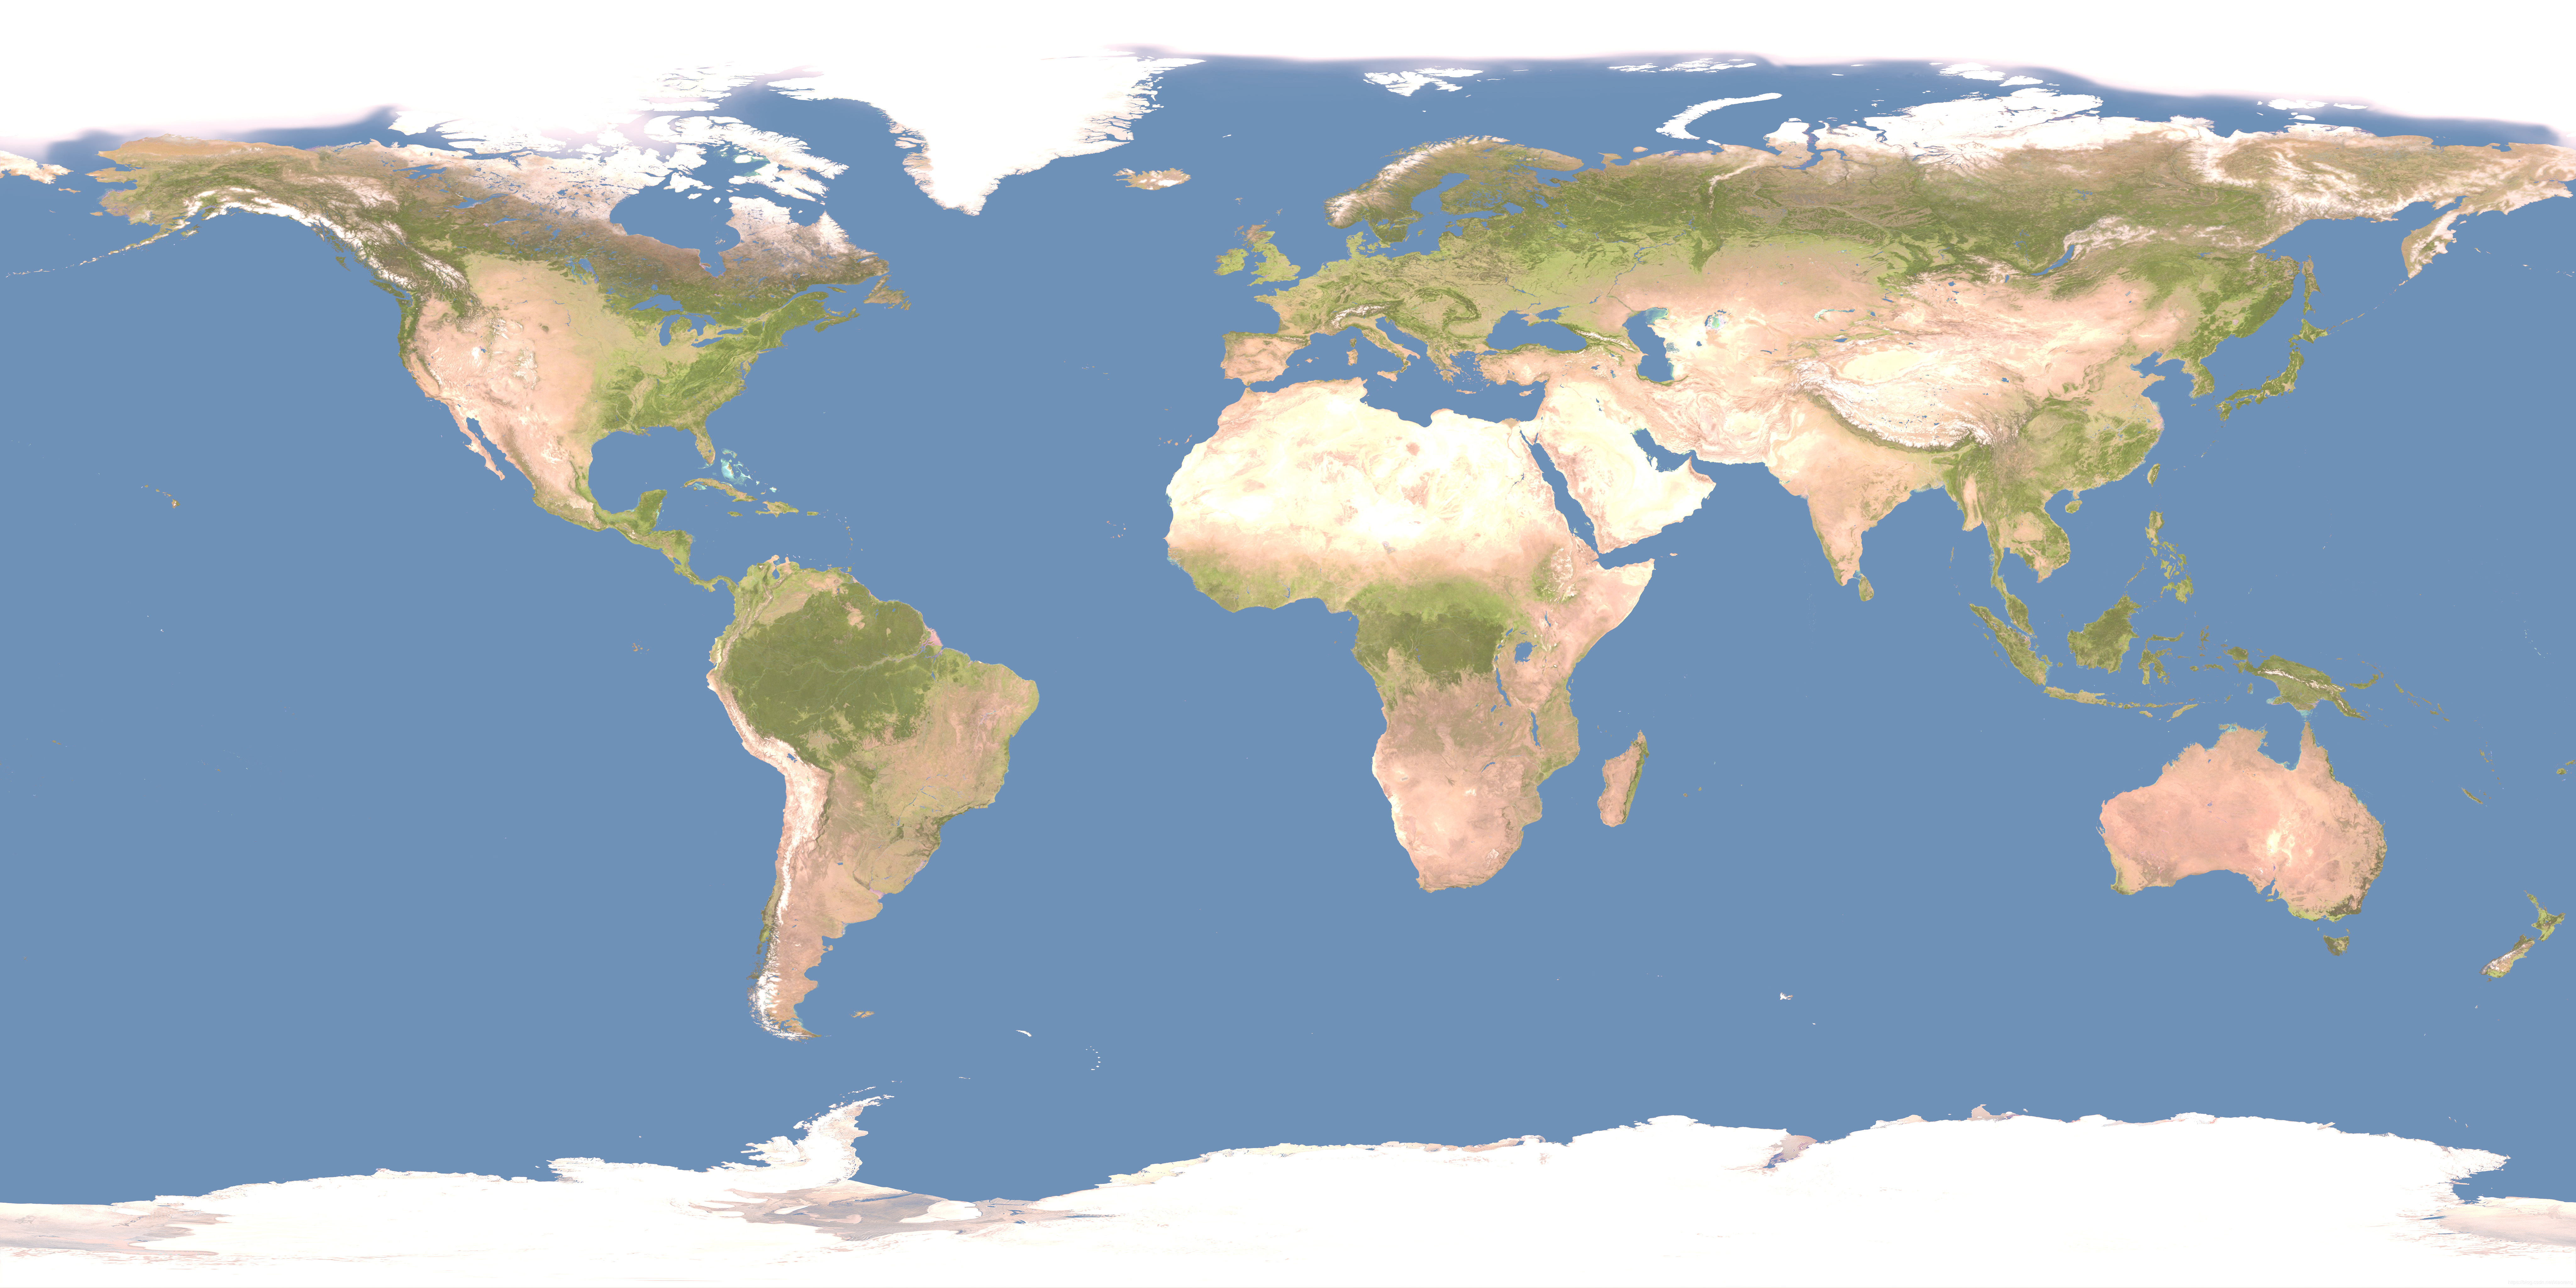
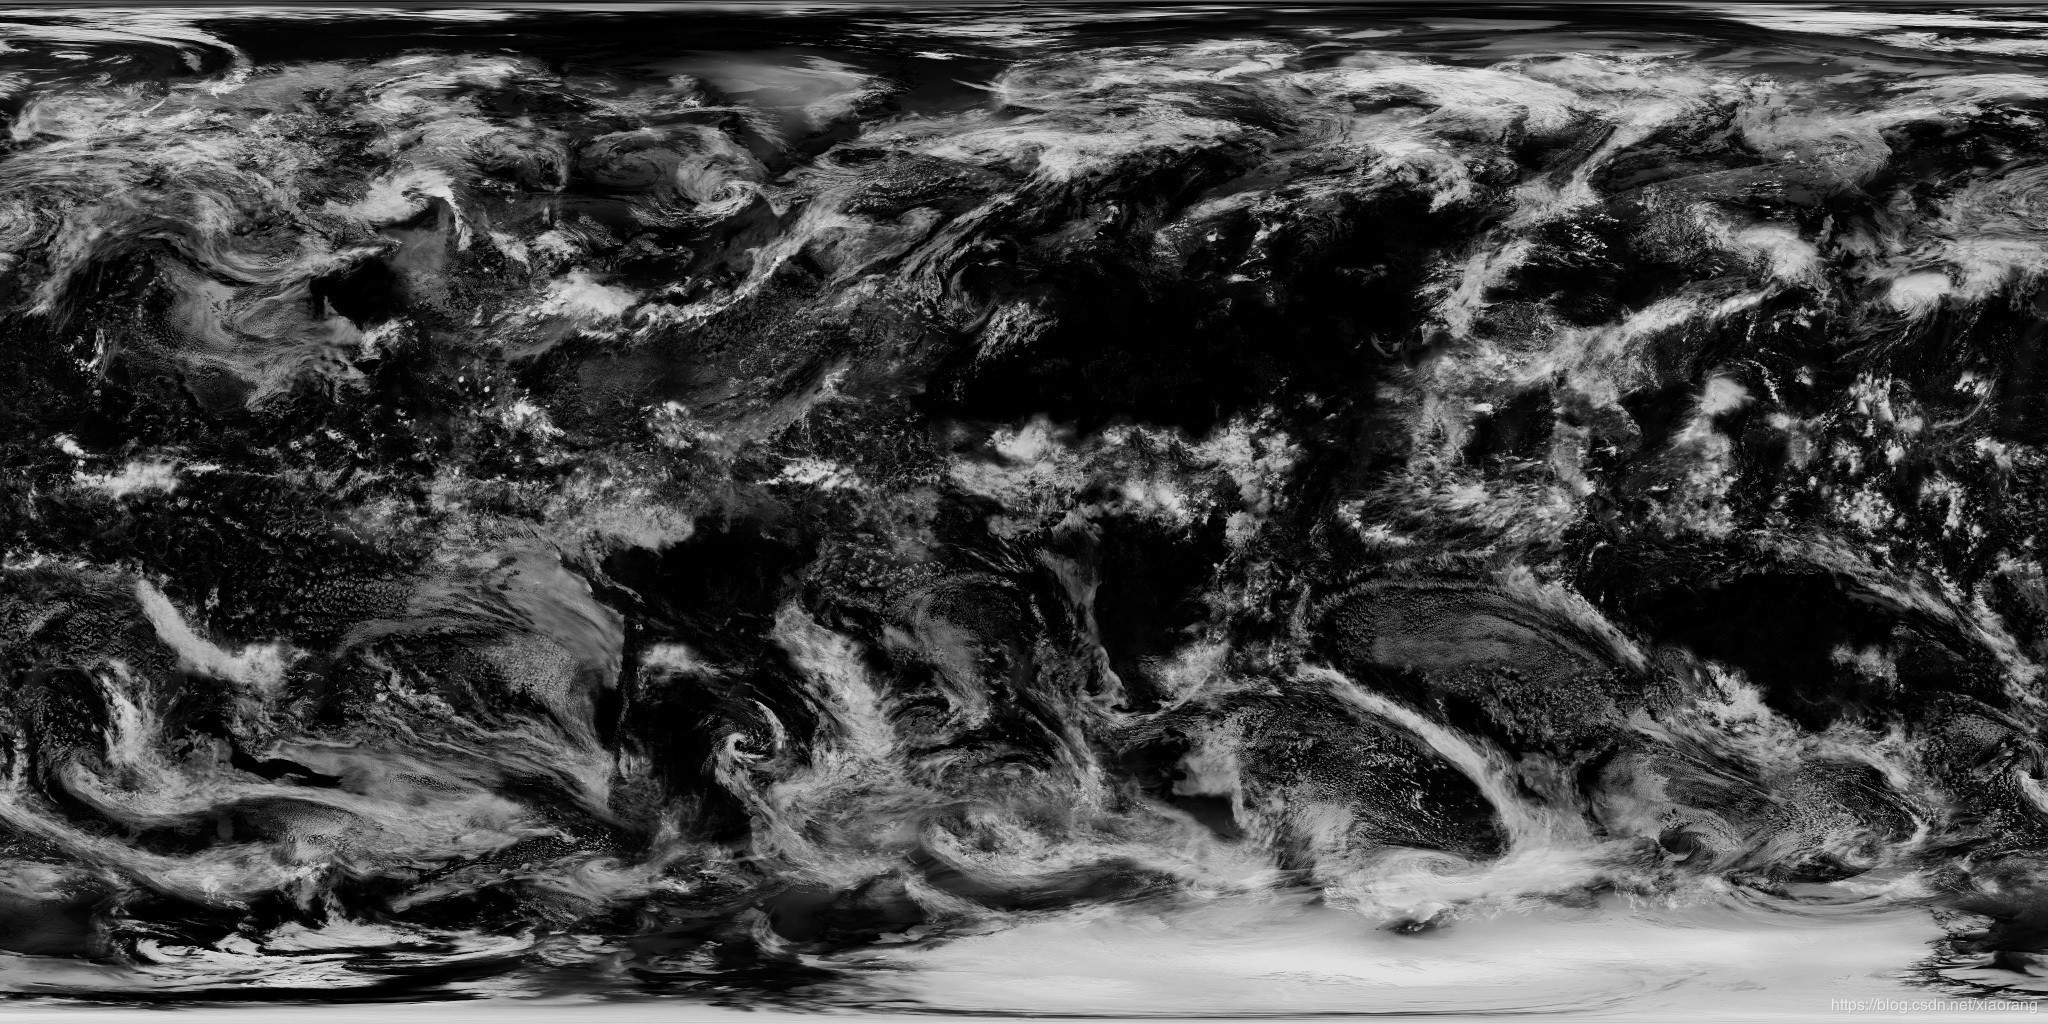
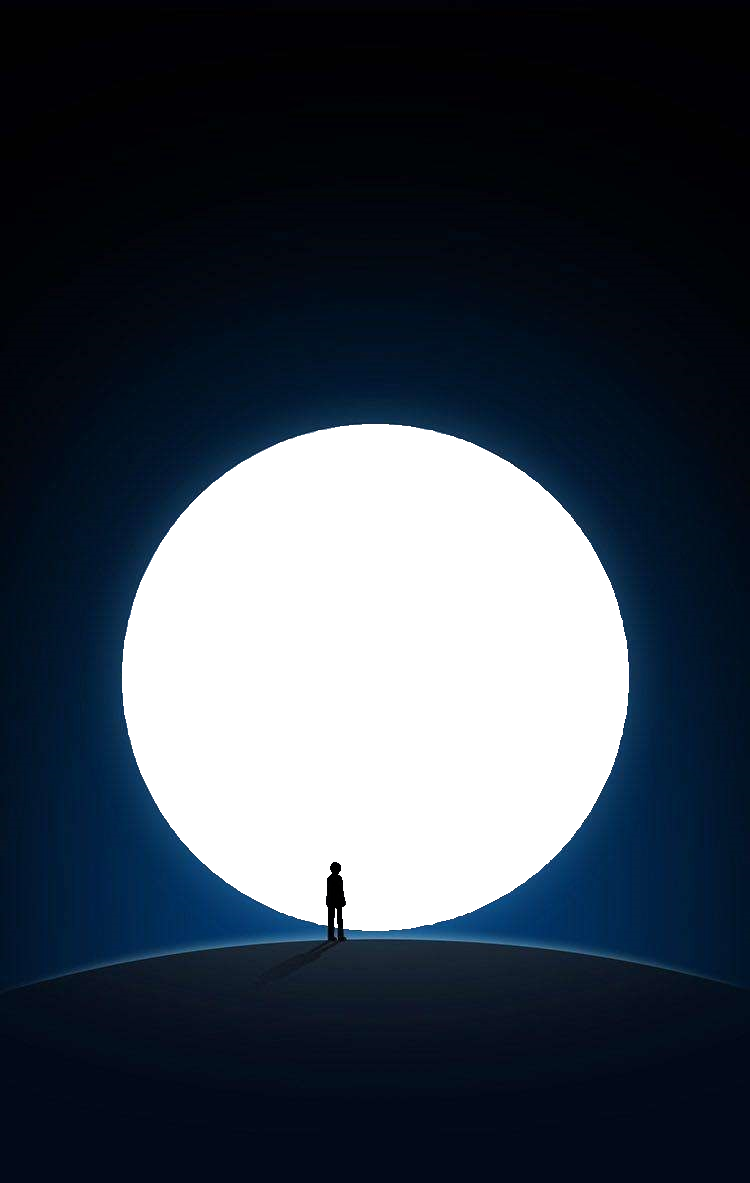
这里共需要准备三个素材:1.地球表面素材;2.云图素材;3.微信地球的抠图素材。
1)地球表面素材
2)云图素材
3)微信地球的抠图素材
4.基本原理
基本的贴图方法在本博前面的文章《用python实现旋转地球》中讲过了,具体可以参考下面的链接,这里重点讲双层素材的动态效果。云图是灰度图,白色地方代表云层厚,黑色的地方代表那里云层薄,我们根据颜色设置不同的透明度。
https://blog.csdn.net/xiaorang/article/details/106692489
如果云图与地面的选择速度相同,会显得不自然,我们这里让云层旋转速度比地面旋转速度慢一半,产生相对运动的效果。
这样带来的问题是,地球旋转360°后云图只旋转了180°,必须加倍到720°才能实现连续运动。
具体的云层透明度设置,参数需根据实际效果进行调整。
5.GIF压缩
顺便给大家介绍一个比较好用的压缩GIF的在线工具,链接如下。
https://www.iloveimg.com/zh-cn/compress-image/compress-gif
直接生成的GIF动图有超过传输限制,无法上传,用此工具压缩后文件体积大幅缩小,但图片效果没有肉眼可以察觉的影响。
6.完整代码
分步骤的具体逻辑讲解,请看《用python实现旋转地球》这个文章,链接我们在上面已经展示,这里贴一下完整代码。
from PIL import Image, ImageDraw
import math
import numpy as np
import imageio

def calcSphereXY2XYZ(px, py, maxHeight, longOffset):
    v0x= np.array(px)
    v0y= np.array(py)
    v03= np.subtract(v0x, maxHeight)
    v04= np.subtract(v0y, maxHeight)
    v1x= np.true_divide(v03, maxHeight)
    v1y= np.true_divide(v04, maxHeight)
    # print(max(v1x), min(v1x))
    v07= np.power(v1x,2)
    v08= np.power(v1y,2)
    v09= np.add(v07,v08)
    v0a= np.subtract(1,v09)
    v1z= np.power(v0a,1/2)                                  # z
    # print('z:', max(v1z), min(v1z))
    v1lat= np.multiply(v1y, math.pi/2)                      # lat
    v0lon= np.arctan2(v1z, -v1x)
    v1lon= np.add(v0lon, longOffset)                       # long
    v2lon= np.fmod(v1lon, math.pi*2)                       # long
    return v2lon, v1lat

def calcShpereLatLong2XY(vlon, vlat, width, height):
    v3x0=np.multiply(vlon, width/2/math.pi)
    v3y0=np.multiply(vlat, height/math.pi)
    v3y1=np.add(v3y0, height/2)
    v3x2=v3x0.astype(np.integer)
    v3y2=v3y1.astype(np.integer)
    return v3x2, v3y2

def getPic(a):
    # imgBack= Image.open('地球3.jpg')
    imgBack= Image.open('世界地球日地图_8K_2.jpg')
    imgCloud= Image.open('世界地球云地图_8K.jpg')
    width= imgBack.size[0]
    height= imgBack.size[1]
    imgBack= imgBack.convert('RGBA')
    arrayBack= np.array(imgBack)
    arrayCloud= np.array(imgCloud)
    circleSize= 508
    img2= Image.new('RGBA', (circleSize,circleSize))
    img= Image.new('RGBA', (circleSize,circleSize), 'black')
    w= img.size[0]
    h= img.size[1]
    pxList=[]
    pyList=[]
    for i in range(w):
        for j in range(h):
            r= math.sqrt((i-w/2)**2+(j-h/2)**2)
            if r<circleSize/2:
                pxList.append(i)
                pyList.append(j)

    nplon, nplat= calcSphereXY2XYZ(pxList, pyList, h/2, a)
    nplon2, nplat2= calcSphereXY2XYZ(pxList, pyList, h/2, a/2)
    # nplon, nplat= rotSphere(nplon, nplat, )
    npx, npy= calcShpereLatLong2XY(nplon, nplat, width-1, height)
    npx2, npy2= calcShpereLatLong2XY(nplon2, nplat2, width-1, height)
    color= arrayBack[npy, npx]
    color2= arrayCloud[npy2, npx2]
    for i in range(len(pxList)):
        x= pxList[i]
        y= pyList[i]
        cc=color[i]
        # print(cc)
        cc= tuple(cc)
        img.putpixel((x,y), cc)
        c2= color2[i]
        c0= int(c2[0]*1.6)
        if c0>255:
            c0=255
        c_alpha= int(c2[0]*0.9)
        c2= (c0,c0,c0,c_alpha)
        img2.putpixel((x,y), c2)
    r,g,b,a= img2.split()
    img.paste(img2, (0,0), mask=a)
    return img

if __name__=='__main__':
    frames=[]
    str1= '微信地球_mask.png'
    img1= Image.new('RGB', (750,1334))
    img2= Image.open(str1)
    for i in range(0, 720, 12):
        a= -i*math.pi/ 180
        img= getPic(a)
        img1.paste(img,(122,424))
        r,g,b,alpha=img2.split()
        img1.paste(img2, (0,0), mask=alpha)
        str1= 'temp%03d.png'%i
        print(str1)
        img1.save(str1)
        im = imageio.imread(str1)
        frames.append(im)
        # img.show()
    imageio.mimsave('earth.gif', frames, 'GIF', duration=0.20)
如果你对文中的代码仍然有疑问,可以关注下方作者的CSDN博客,可作者面对面交流。
关注微信公众号『数据分析与统计学之美』,后台回复“微信地球”获取本文代码和完整图片!看到这里,麻烦您点个再看,让更多朋友看到哦!
Recommend
-
 5
5
/ 写在前面 / 「Cool Company 全球酷公司」系列专题诞生于夏日的周一小组会,把视野放至全球,专注发...
-
 1
1
这场光影秀,太酷了!_哔哩哔哩_bilibili 这场光影秀,太酷了!
-
 6
6
这两天热搜上一个接一个的高校录取通知书看的Tommy我是真眼馋,原想重温一下16年夏天开箱喜悦的我,在没考上清...
-
 0
0
太酷了!艺术家以黑夜为灵感,刺绣神秘的外星人和UFO 乔瓦娜·马可 / 刺...
-
 3
3
Curses 首先出场的是 Curses[1]。 Curse Curses 是一个能提供基于文本终端窗...
-
 2
2
太酷!vivo X Fold将配备全球首款3D超声双屏幕指纹 评论(0)
-
 4
4
在昨天的 CES Day0 会上,有许多 PC 大厂在现场展示了今年上半年即将上市的新品,我给出的趋势评价是:算力当先,实用主义回归。 但在今天正式开展的 Day1 活动上,还有更多 PC 厂商「拖家带口」来到现场,有那么一瞬间,我们以为自己来错了电脑展。 ...
-
 4
4
...
-
 0
0
让Python代码飞起来,高手必用十个VSCode插件 作者:奇酷教育 2023-03-31 15:10:32 作为一名 Python 程序员,VSCode 中的插件能够帮助我们更高效地进行开发,提高代码的质量和效率。
-
 2
2
...
About Joyk
Aggregate valuable and interesting links.
Joyk means Joy of geeK