

How to Install and Use MySQL on Ubuntu 16.04
source link: https://www.fullstackpython.com/blog/install-mysql-ubuntu-1604.html
Go to the source link to view the article. You can view the picture content, updated content and better typesetting reading experience. If the link is broken, please click the button below to view the snapshot at that time.

MySQL is a common open source relational database for creating, reading, updating and deleting data in Python web applications. Let's learn how to install MySQL on Ubuntu 16.04 and then run a few SQL queries within the command line client.
We will not go over connecting via Python applications using object-relational mappers (ORMs) but these steps can be used as a prerequisite to working with an ORM such as SQLAlchemy or Peewee.
Tools We Need
In this tutorial we'll use the following components:
- Ubuntu 16.04.2 (this tutorial should also work on other Ubuntu versions)
- MySQL
Install MySQL
We can install MySQL by using the apt package manager. First make sure
your packages list are up to date. Open the terminal and run this apt
command.
sudo apt-get update
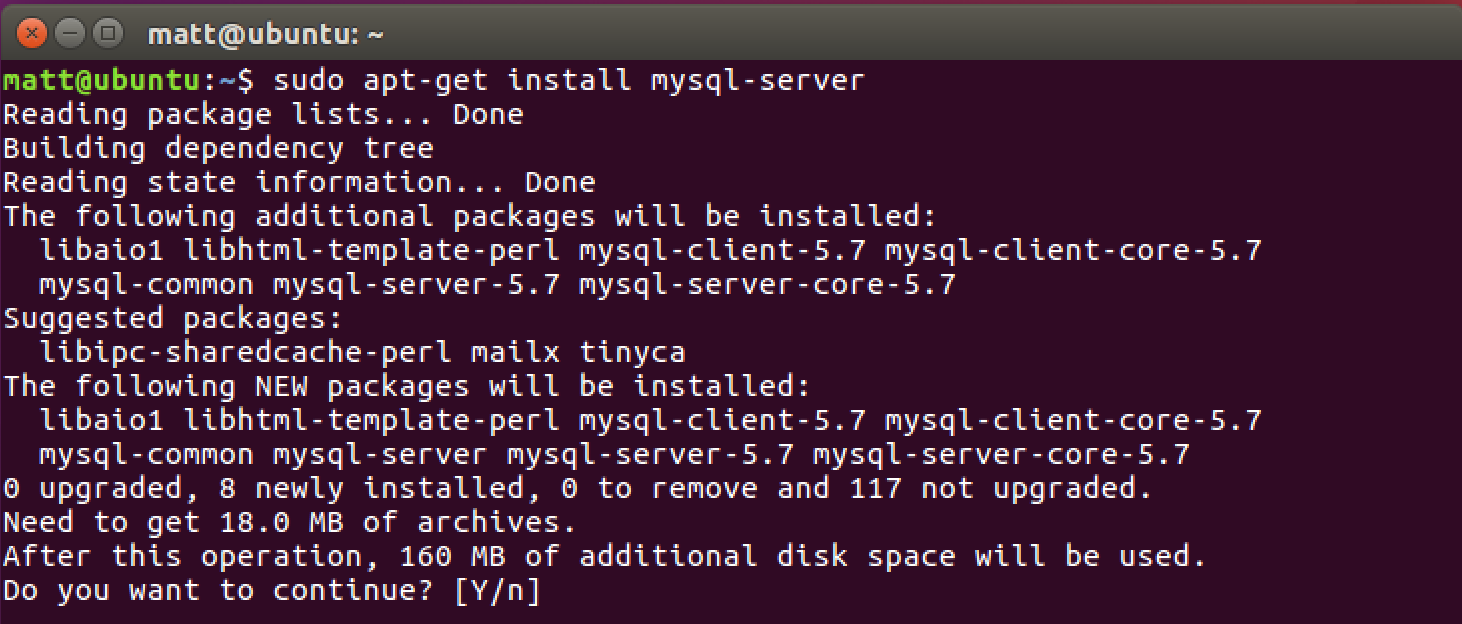
We need to install the mysql-server package, which downloads the required
files, configures the initial database set up and handles running MySQL
as a system service. Run this apt command to get the process started.
sudo apt-get install mysql-server
Enter 'y' when prompted with whether or not you want to install the new package.
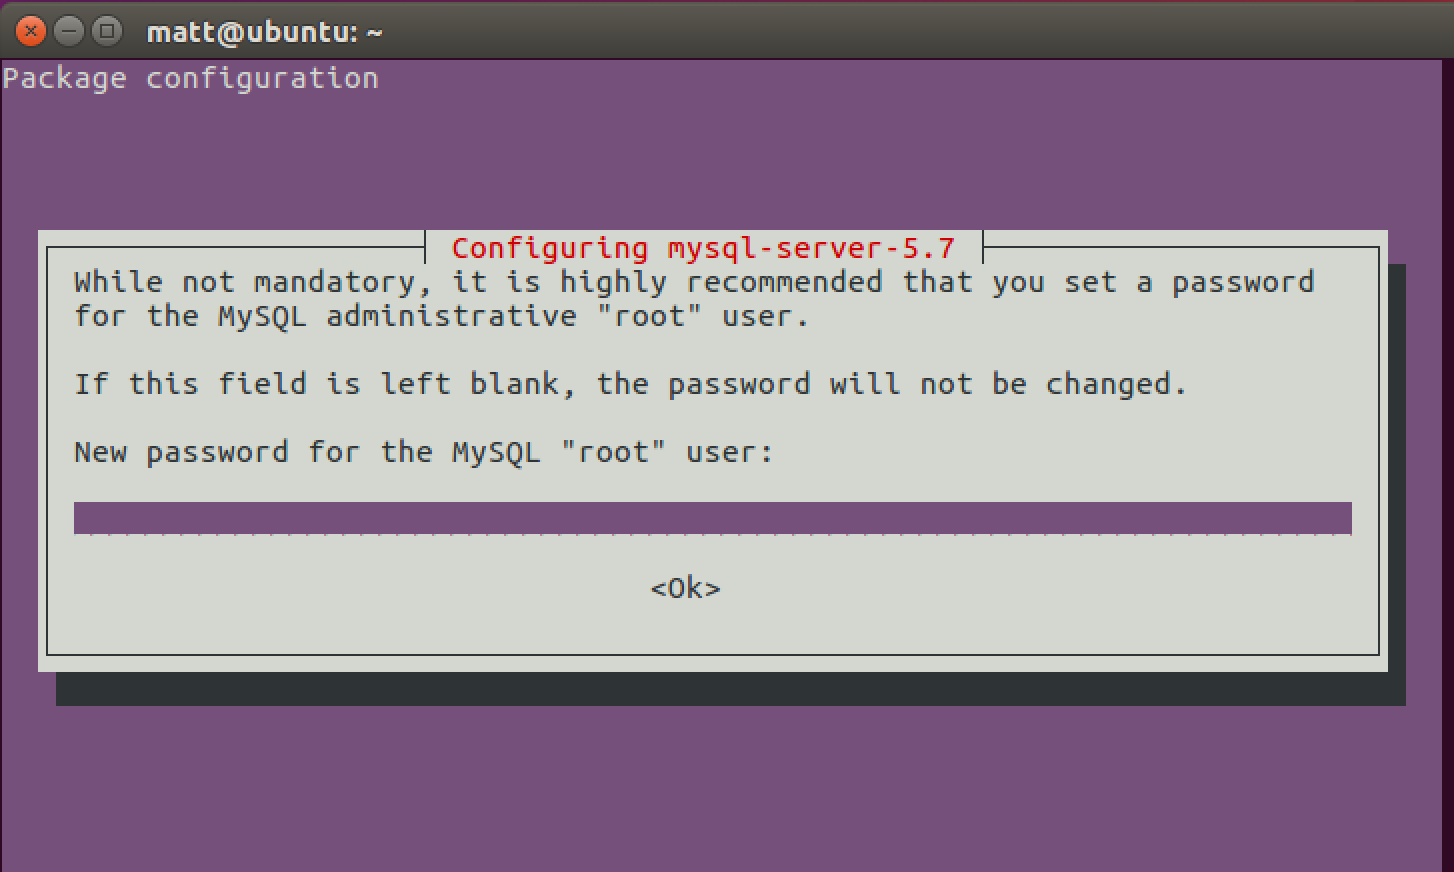
An administrative screen asking for a new root password will appear in the middle of the package installation process. Enter your chosen new password twice and the installation will continue.
In a moment the installation will finish and you'll be back at the command prompt.
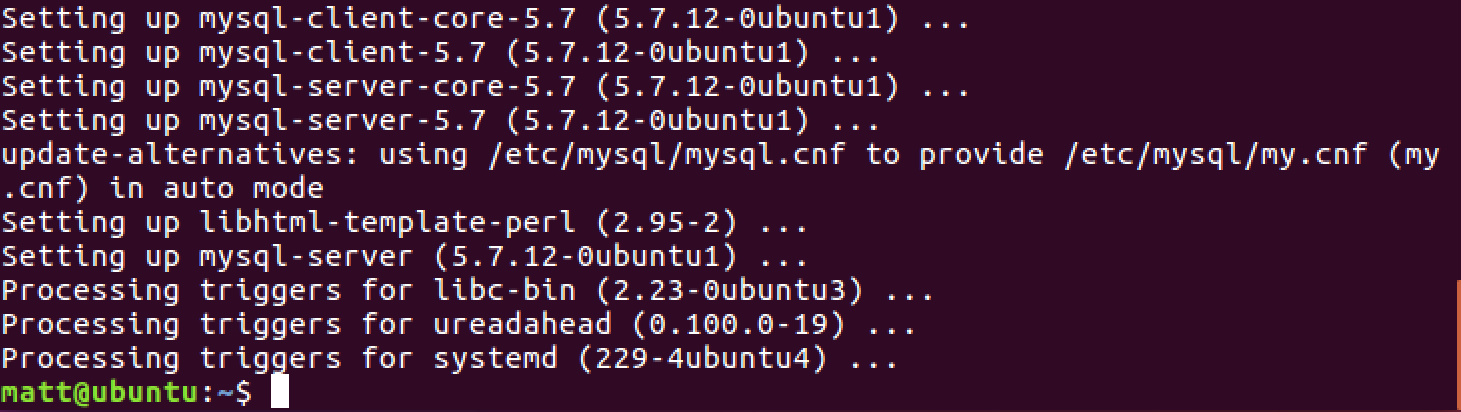
MySQL is now installed with a root user. However, we do not want to have our applications connect to the database with that user, so next we will create a new non-root user.
Securing MySQL
MySQL is installed with a basic configuration meant for development and testing purposes. However, the configuration is not secure for production enviroments, therefore it comes with a utility to handle basic security. Run the following command and answer the questions based on your environment requirements.
sudo mysql_secure_installation
When you finish running the script you should see the following output and be back at the command prompt.
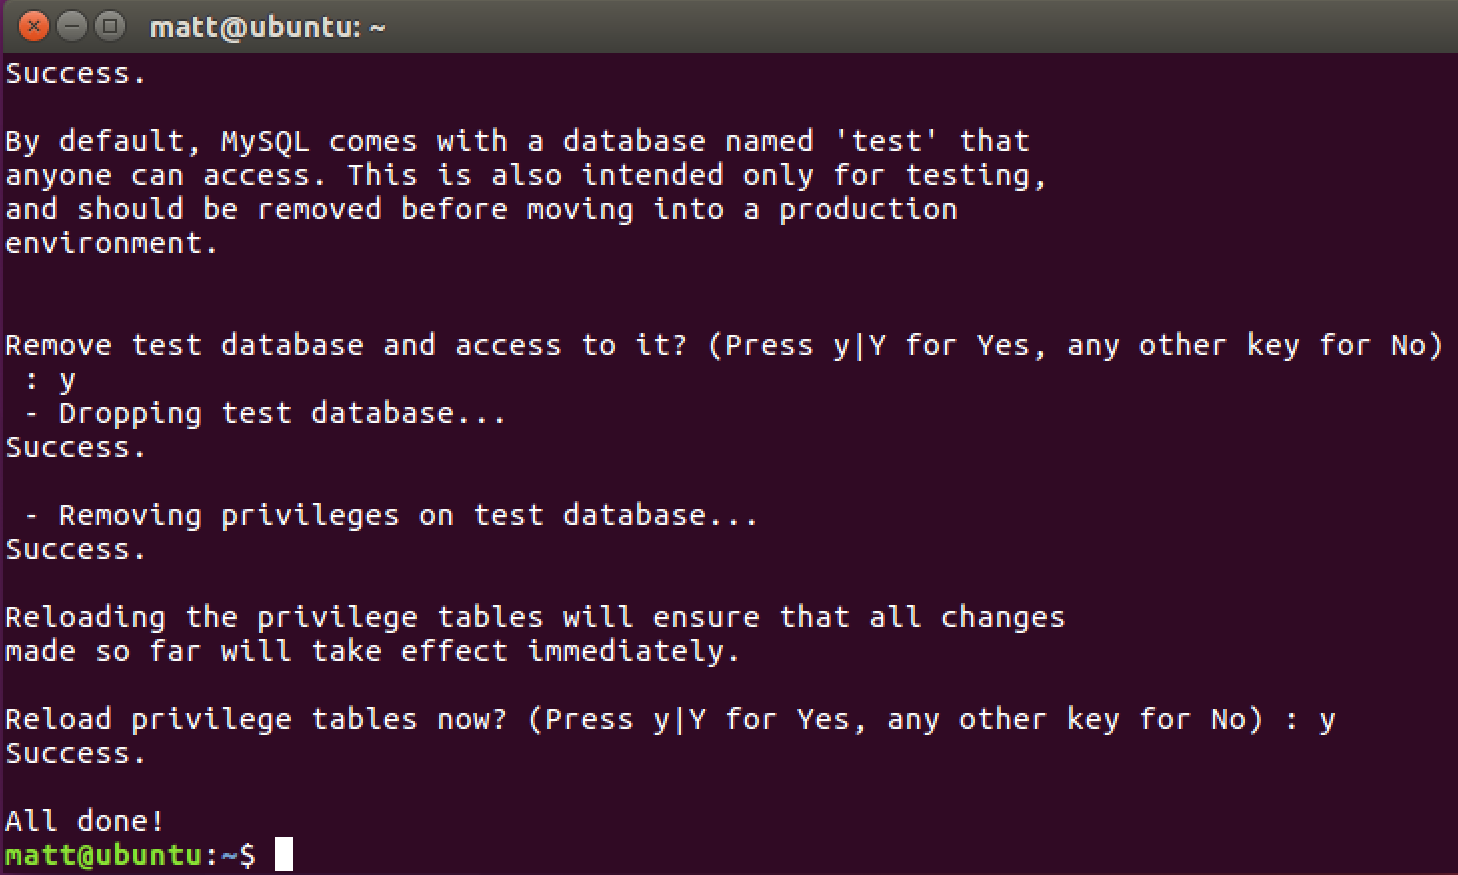
Our MySQL instance has basic security in place but we need to create a non-root user for applications to interact with the database.
Creating MySQL Users
To create a non-root user, connect to the MySQL instance with the
mysql command line client.
mysql -u root -p
Now use the CREATE USER command to generate a new user. Make sure to
change "mynewuser" and "goodPassword" with your own values.
CREATE USER 'mynewuser'@'localhost' IDENTIFIED BY 'goodPassword';
No output after the command is good - that means the command succeeded.

We need to apply privileges to the new user so it can handle basic database operations. Again, make sure to replace the default username in this command with your new username.
GRANT ALL PRIVILEGES ON * . * TO 'mynewuser'@'localhost';

It's a good idea to reload the privileges to make sure our new user's permissions are in place.
FLUSH PRIVILEGES;
Now that our permissions are reloaded we can connect with the new user.
New User Connection
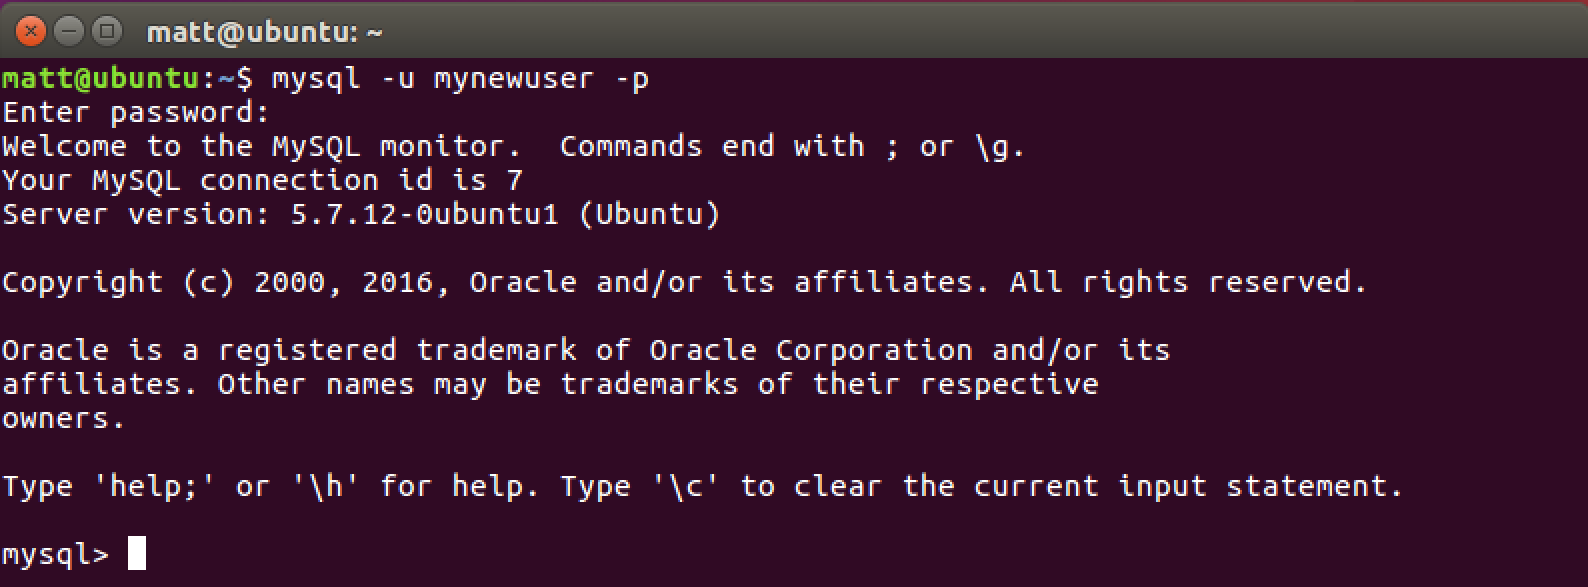
We're set to connect to the database with our new user. Exit the MySQL client with "Ctrl-d". Reconnect using a slightly different command than we used earlier.
mysql -u mynewuser -p
Create a new database with the CREATE DATABASE command.
CREATE DATABASE fullstackpython;

Connect to the new database with the USE command.
use fullstackpython;

Create a simple new table with the CREATE TABLE command.
CREATE TABLE pages (name VARCHAR(50), url VARCHAR(1024));
Our table is ready to go - we can interact with it using the
SELECT, INSERT, UPDATE and DELETE SQL commands.
What's next?
We now have our MySQL instance installed and ready for interaction. Take a look at the MySQL, relational databases and object-relational mappers (ORMs) pages for more tutorials.
Questions? Tweet @fullstackpython or post a message on the Full Stack Python Facebook page.
See something wrong in this post? Fork this page's source on GitHub and submit a pull request.
Recommend
-
12
Tutorial How To Install and Use Docker on Ubuntu 18.04 Docker
-
6
-
12
Tutorial How To Install and Use SQLite on Ubuntu 20.04 Open Source
-
12
Install and Use Percona Toolkit on Ubuntu 20.04/18.04 LTSSearch ComputingForGeeksIn this blog post, we will...
-
8
-
10
Install and Use Guacamole Remote Desktop on Ubuntu 20.04Search ComputingForGeeksThe convenience of having on...
-
10
Install and Use Hugo On Ubuntu 18.04In this guide, I’ll take you through the steps to install and use Hugo on Ubuntu 18.04 / Debian 10 Desktop and Server editions. Hugo has been confirmed to be the fastest open-source static site generator wr...
-
6
Install and Use Syncthing on Ubuntu 20.04|18.04Syncthing is an open source continuous file synchronization used to sync files between two or more computers in a network. This guide will cover the installation and usage of Syncthing on Ubuntu...
-
10
-
13
How to Install and Configure MySQL on Ubuntu By Rumaisa Niazi Published 3 hours ago Want to set up your own relational...
About Joyk
Aggregate valuable and interesting links.
Joyk means Joy of geeK