

月光中的污点 | Nginx 整合 Lua 实现动态生成缩略图
source link: https://www.extlight.com/2019/10/09/Nginx-%E6%95%B4%E5%90%88-Lua-%E5%AE%9E%E7%8E%B0%E5%8A%A8%E6%80%81%E7%94%9F%E6%88%90%E7%BC%A9%E7%95%A5%E5%9B%BE/
Go to the source link to view the article. You can view the picture content, updated content and better typesetting reading experience. If the link is broken, please click the button below to view the snapshot at that time.

最近在开发一个项目,涉及到缩略图的功能,常见的生成缩略图的方案有以下几个:
人工创建
1
2
3
由美工 PS 出缩略图,然后上传到服务器上进行访问。

缺点:操作繁琐
工具包创建
1
2
3
上传原图到后台时,后台借用工具(如:Thumbnailator)创建缩略图

缺点:无法灵活获取更多尺寸的缩略图
第三方平台
1
2
3
如七牛云平台,在原图链接地址后加缩略图尺寸(如:http://images.xxx/abc.jpg_400x400.jpg)灵活生成缩略图

缺点:收费
很明显,第三个方案是比较好的,但是由于收费,笔者便放弃该方案。
那有没有既免费又能动态生成缩略图的方案呢?答案是肯定的,且看下文。
二、实现思路
实现功能需要用到 3 个工具:
1
2
3
4
5
Nginx:负责 web 服务器

GraphicsMagick:负责生成缩略图

Lua:负责控制缩略图尺寸以及调用 GraphicsMagick
大致的运行原理如下:
1
2
3
4
5
首先在 Nginx 中整合 Lua,由 Lua 处理响应请求。

当 Nginx 接收到图片请求时解析 url 获取图片尺寸传到 Lua 脚本,Lua 则调用 GraphicsMagick 生成缩略图

Lua 将生成的缩略图返回到客户端
如需了解更多资料,请查看文章末尾提供的链接。
三、准备工作
测试环境:IP 为 192.168.2.16 的 CentOS 7.x 系统
先安装依赖包
1
yum install -y gcc g++ gcc-c++ zlib zlib-devel openssl openssl-devel pcre pcre-devel
3.1 安装 Lua 即时编译器
1
2
3
4
git clone https://github.com/openresty/luajit2.git

cd luajit2
make && make install
vim /etc/profile 添加如下配置:
1
2
export LUAJIT_LIB=/usr/local/lib
export LUAJIT_INC=/usr/local/include/luajit-2.1
保存后重新编译 source /etc/profile。
创建软连接:
1
ln -s /usr/local/lib/libluajit-5.1.so.2 /lib64/libluajit-5.1.so.2
3.2 安装 GraphicsMagick
1
2
3
4
5
6
7
8
9
wget https://sourceforge.net/projects/graphicsmagick/files/graphicsmagick/1.3.33/GraphicsMagick-1.3.33.tar.gz

tar -zxvf GraphicsMagick-1.3.33.tar.gz
cd GraphicsMagick-1.3.33
./configure --prefix=/usr/local/GraphicsMagick --enable-shared
make && make install

# 检测安装是否成功
/usr/local/GraphicsMagick/bin/gm version
注意:在执行 “gm covert” 时如果报错:“No decode delegate for this image format” 需要安装对应的依赖包
1
2
3
4
5
# jpeg 相关
wget http://www.ijg.org/files/jpegsrc.v9c.tar.gz

# png 相关
wget https://download.sourceforge.net/libpng/libpng-1.6.37.tar.gz
同样是解压后执行 make && make install
3.3 安装 Nginx
笔者事先通过 yum 方式安装 nginx,但是扩展模块依赖 configure 命令,因此需要下载相同版本的源码包重新编译。
查看 Nginx 已安装的模块:
1
nginx -V
1
--prefix=/etc/nginx --sbin-path=/usr/sbin/nginx --modules-path=/usr/lib64/nginx/modules --conf-path=/etc/nginx/nginx.conf --error-log-path=/var/log/nginx/error.log --http-log-path=/var/log/nginx/access.log --pid-path=/var/run/nginx.pid --lock-path=/var/run/nginx.lock --http-client-body-temp-path=/var/cache/nginx/client_temp --http-proxy-temp-path=/var/cache/nginx/proxy_temp --http-fastcgi-temp-path=/var/cache/nginx/fastcgi_temp --http-uwsgi-temp-path=/var/cache/nginx/uwsgi_temp --http-scgi-temp-path=/var/cache/nginx/scgi_temp --user=nginx --group=nginx --with-compat --with-file-aio --with-threads --with-http_addition_module --with-http_auth_request_module --with-http_dav_module --with-http_flv_module --with-http_gunzip_module --with-http_gzip_static_module --with-http_mp4_module --with-http_random_index_module --with-http_realip_module --with-http_secure_link_module --with-http_slice_module --with-http_ssl_module --with-http_stub_status_module --with-http_sub_module --with-http_v2_module --with-mail --with-mail_ssl_module --with-stream --with-stream_realip_module --with-stream_ssl_module --with-stream_ssl_preread_module --with-cc-opt='-O2 -g -pipe -Wall -Wp,-D_FORTIFY_SOURCE=2 -fexceptions -fstack-protector-strong --param=ssp-buffer-size=4 -grecord-gcc-switches -m64 -mtune=generic -fPIC' --with-ld-opt='-Wl,-z,relro -Wl,-z,now -pie'
下载 nginx 源码包和 lua 扩展包:
注意:此处的安装有版本兼容问题,因此最好复制粘贴地址进行下载和安装!!!
1
2
3
4
5
6
7
8
9
10
11
12
13
14
15
16
17
wget http://nginx.org/download/nginx-1.16.1.tar.gz
wget https://github.com/simpl/ngx_devel_kit/archive/v0.3.0.tar.gz
wget https://github.com/openresty/lua-nginx-module/archive/v0.10.14.tar.gz

tar -zxvf nginx-1.16.1.tar.gz
tar -xzf v0.3.0.tar.gz
tar -xzf v0.10.14.tar.gz

cd nginx-1.16.1

./configure 已安装的模块 --add-module=/root/ngx_devel_kit-0.3.0 --add-module=/root/lua-nginx-module-0.10.14

make

cp /usr/local/nginx/sbin/nginx /usr/local/nginx/sbin/nginx.bak

cp ./objs/nginx /usr/local/nginx/sbin/
注意:不要 make install
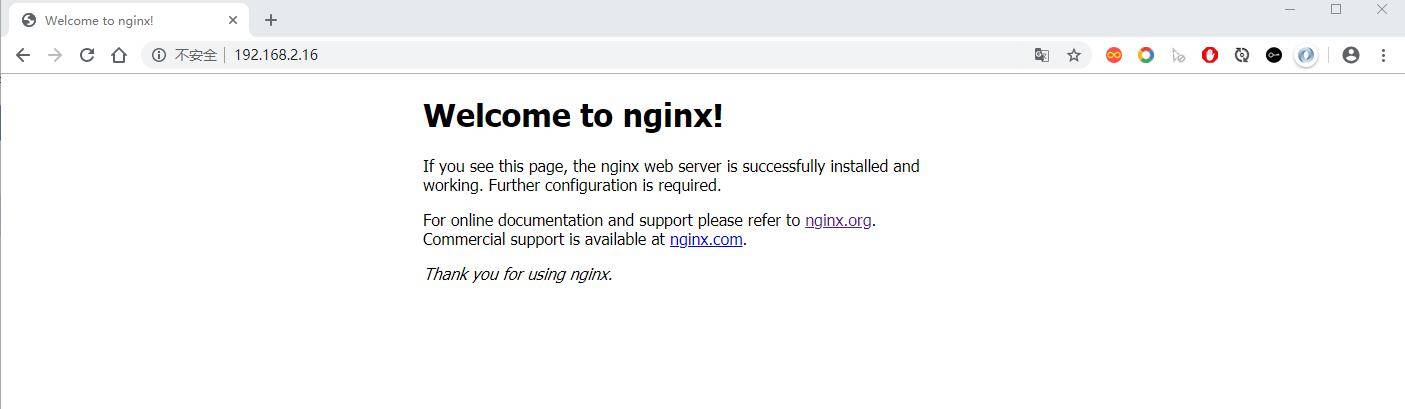
启动 nginx
1
/usr/local/nginx/sbin/nginx
访问到下图说明安装成功:
四、实战演练
4.1 访问原图
在 nginx 的目录中创建一个名为 images 的目录,在该目录中放入 1.png 的图片。
配置 nginx.conf:
1
2
3
4
5
6
7
8
9
10
11
12
13
14
15
16
17
18
19
server {
    listen       80;
    server_name  localhost;

#charset koi8-r;

#access_log  logs/host.access.log  main;

root  /usr/local/nginx/images/;

location / {
       root html;
       index index.html;
    }

location ~* \.(gif|jpg|jpeg|png)$ {
        root  /usr/local/nginx/images/;
    }
}
重启 Nginx 访问图片:
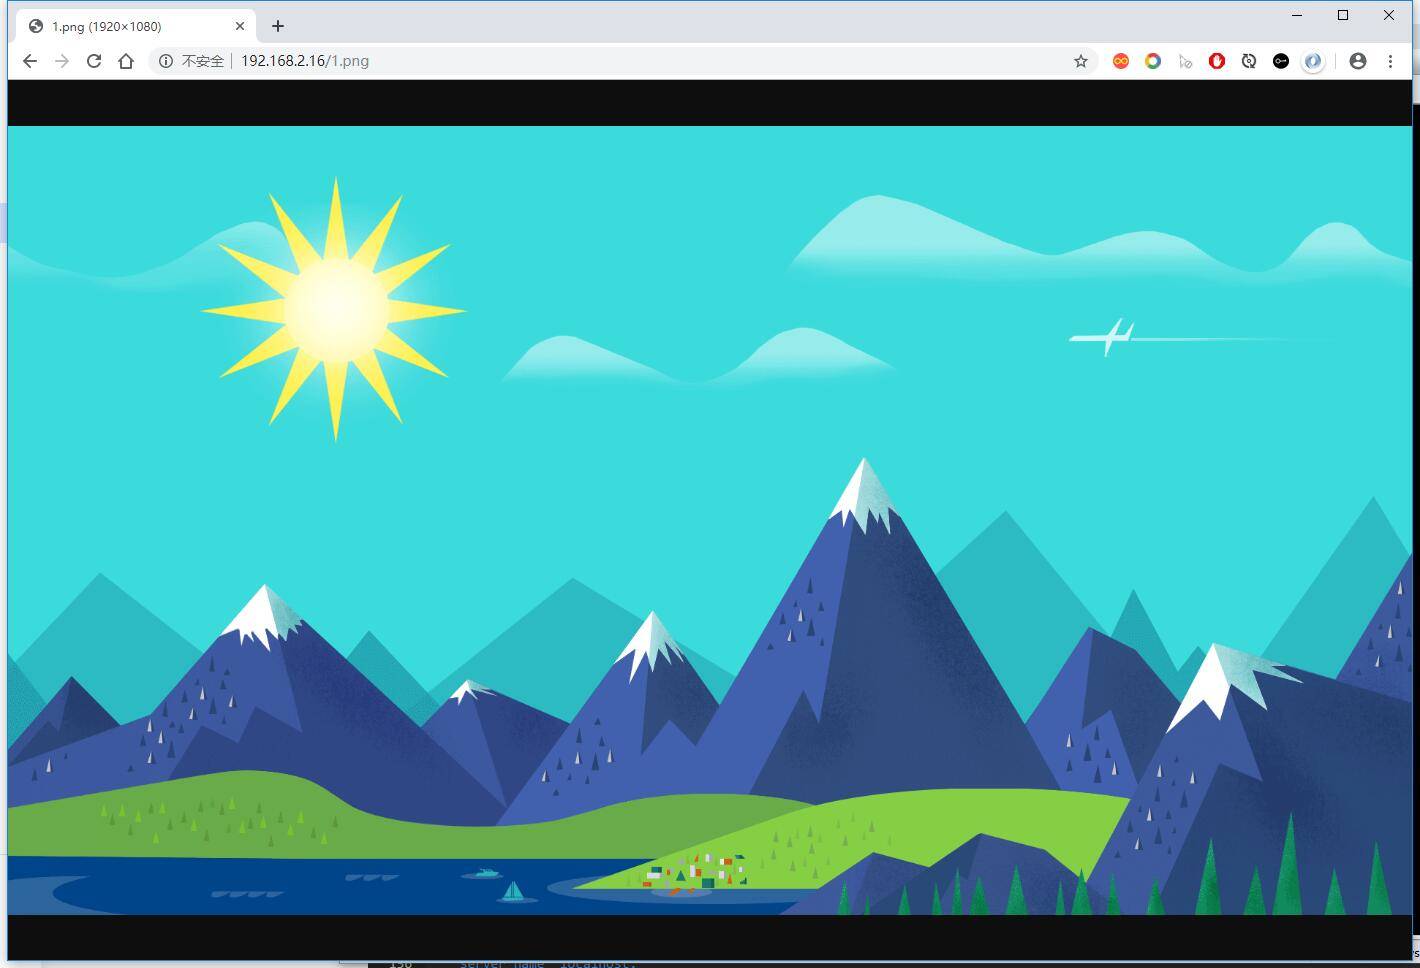
成功访问原图。
4.2 访问缩略图
修改 nginx.conf 文件:
1
2
3
4
5
6
7
8
9
10
11
12
13
14
15
16
17
18
19
20
21
22
23
24
25
26
27
server {
    listen       80;
    server_name  localhost;

#charset koi8-r;

#access_log  logs/host.access.log  main;

root  /usr/local/nginx/images/;

location / {
       root html;
       index index.html;
    }

location ~* (.*\.(jpg|jpeg|gif|png))_(\d+)x(\d+)\.(jpg|jpeg|gif|png)$ {
        if (!-f $request_filename) {
                set $request_filepath /usr/local/nginx/images/$1;
                set $width $3;
                set $height $4;
                set $ext $5;
                content_by_lua_file /usr/local/nginx/lua/ImageResizer.lua;
        }
        # 注意:改配置必须放在 if 之后
        root  /usr/local/nginx/images/;
    }
}
在 /usr/local/nginx/lua/ 目录下创建 ImageResizer.lua 文件,内容如下:
1
2
3
4
5
local command = "/usr/local/GraphicsMagick/bin/gm convert   -auto-orient -strip " .. ngx.var.request_filepath ..
 " -resize " .. ngx.var.width .. "x" .. ngx.var.height .. " +profile \"*\" " .. ngx.var.request_filepath .. "_"
.. ngx.var.width .. "x" .. ngx.var.height .. "." .. ngx.var.ext;
os.execute(command);
ngx.exec(ngx.var.request_uri);
重启 Nginx 访问图片,在原图 url 后添加缩略图尺寸(_600x600.png):

我们再查看存放图片的目录:

已经动态生成图片了。
五、参考资料
Recommend
-
17
一、Hexo Boot Hexo Boot 是基于 Spring Boot + MySQL 开发的一套开源的博客系统。前身是 ml-blog 博客系统,在此基础上演变和扩展而来。 二、扩展功能 Hexo Boot 博客系统除了继承 ml-blog 博客系统的文章管理、分类管理、系统参数设...
-
16
1systemctl start firewalld.service1systemctl stop firewalld.service1systemctl restart firewalld.service12345...
-
9
Spring Cloud 入门 之 Config 篇(六) 光的瞬间 2019 年 09 月 11 日 2009 ...
-
13
随着业务的扩展,微服务会不对增加,相应的其对外开放的 API 接口也势必增多,这不利于前端的调用以及不同场景下数据的返回,因此,我们通常都需要设计一个 API 网关作为一个统一的 API 入口,来组合一个或多个内部 API。 二、简单介绍 2.1 AP...
-
10
Flyway 是一款开源的数据库版本管理工具,它更倾向于规约优于配置的方式。Flyway 可以独立于应用实现管理并跟踪数据库变更,支持数据库版本自动升级,并且有一套默认的规约,不需要复杂的配置,Migrations 可以写成 SQL 脚本,也可以写在 Java 代码中,不仅支持...
-
8
前段时间笔者搭建一个博客系统放在服务器上,为了提高访问速度和减轻服务器访问压力,决定将页面中的静态资源使用 CDN 进行加速访问。
-
11
XXL-JOB 基础教程XXL-JOB 基础教程 | 月光中的污点 ...
-
7
上一篇 Spring Cloud Alibaba 系列之 Nacos 篇(服...
-
7
System.getProperty 参数『 System.getProperty 参数 』 2021 年 03 月 18 日71 浏览Java...
-
20
CSS3 之 filter 属性『 CSS3 之 filter 属性 』 2021 年 03 月 18 日78 浏览在编写前端页面...
About Joyk
Aggregate valuable and interesting links.
Joyk means Joy of geeK