

Hacking a UCTRONICS Robot Car With JupyterHub
source link: https://dzone.com/articles/hacking-a-uctronics-robot-car-with-jupyterhub
Go to the source link to view the article. You can view the picture content, updated content and better typesetting reading experience. If the link is broken, please click the button below to view the snapshot at that time.
Hacking a UCTRONICS Robot Car With JupyterHub
Why use default apps when you can tweak your own?
Last week, I assembled a Raspberry Pi-based car kit. I bought the kit from Amazon. (Affiliate link.) The car has a live video camera, a sonic collision sensor, and a line-following sensor. You'll need a Raspberry Pi to go with it. I recommend a 3 B+.
The car works with an Android or iOS app, and the apps are functional enough, but where's the fun in simply relying on them?
We must hack this car!
First, we need to make a few configuration changes to make hacking it easier. You’ll need a monitor with an HDMI cable, a USB keyboard, and a USB mouse for these first few steps.
You’ll also need Wi-Fi so you can connect to the car drive it around without a cable following it.
After we’re done, you’ll be able to control your car via Wi-Fi from any web browser.
Wi-Fi Configuration
UCTRONICS configures the car to act as a Wi-Fi Access point. It creates a network named UCTRONICS with the password 12345678.
This makes connecting to the robot while still having access to the Internet difficult since it requires a second network connection. So, let’s switch the car over to Wi-Fi client mode and connect it to your home network.
UCTRONICS has instructions for switching it over on their GitHub page. This isn't the only way to do it, but it's easy enough.
xxxxxxxxxx
$ cd ~/UCTRONICS_Smart_Robot_Car_RaspberryPi/
$ sudo chmod +x sta_Config.sh
$ sudo ./sta_Config.sh
$ sudo reboot
Here’s how to open a terminal if you’re not familiar with how: Connect the car to a monitor and screen and turn it on.
After it boots, you’ll see a screen similar to this. I’m using VNC for these screenshots. You’ll have better screen quality with a direct connection.
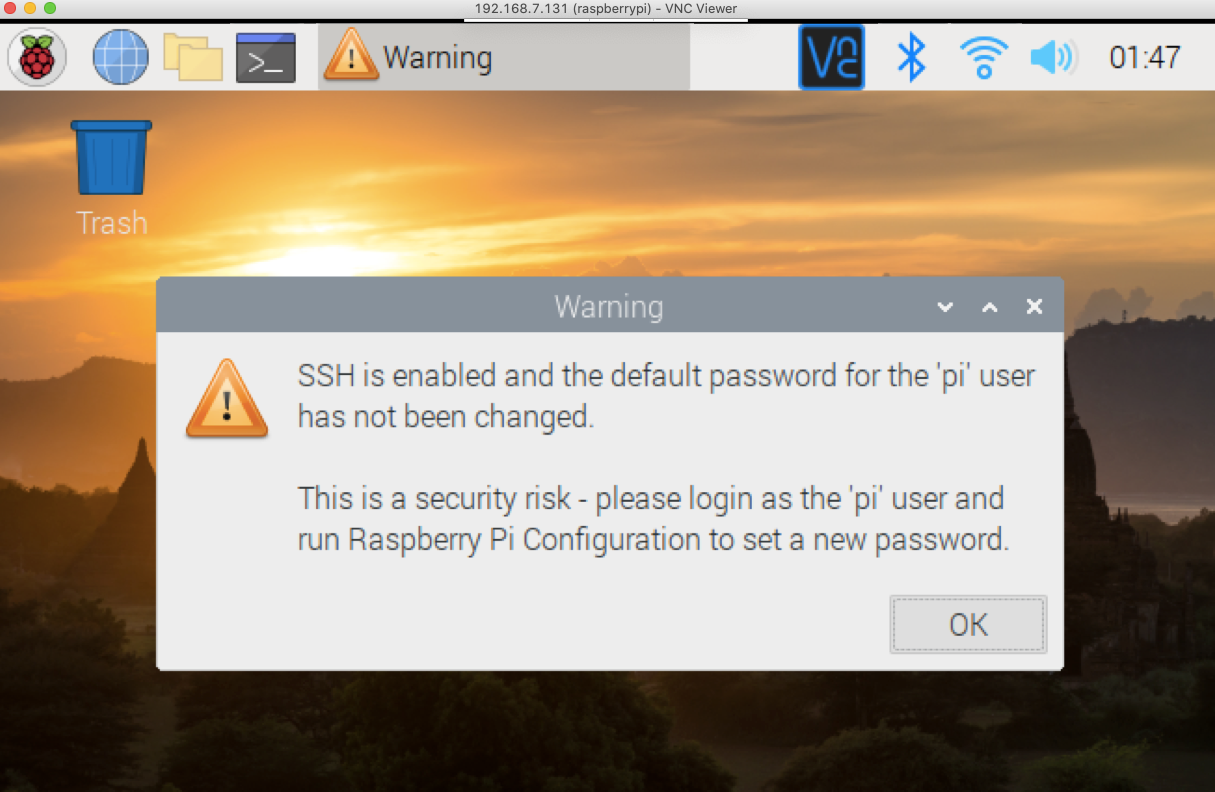
Dismiss the warning for now. We’ll take care of that later.
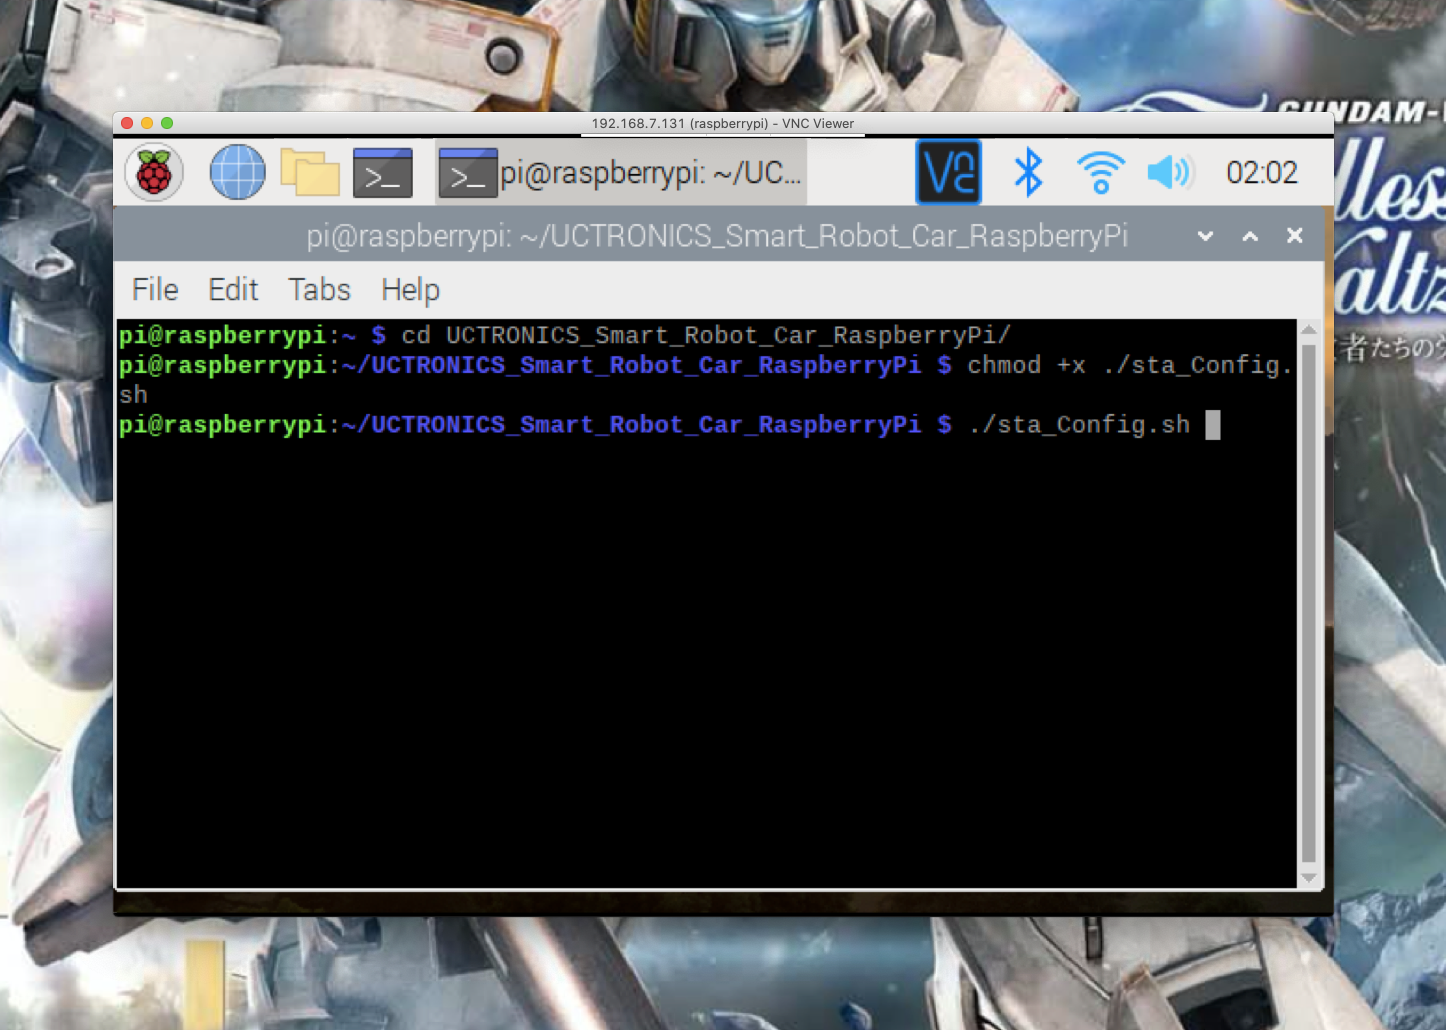
Click the terminal icon to open a command shell.
Now, enter the commands in the instructions above. With my robot, the script rebooted the car for me. I never made it to the reboot command.
Now, wait for the car to finish rebooting, and you’ll be back at the desktop. Click on the Wi-Fi icon on the upper right-hand side of the screen, select your network, and enter the password, just as you would for Windows or macOS.

You’re on the air!
Now, get the car’s new IP address. Open another terminal and enter the command ip addr.
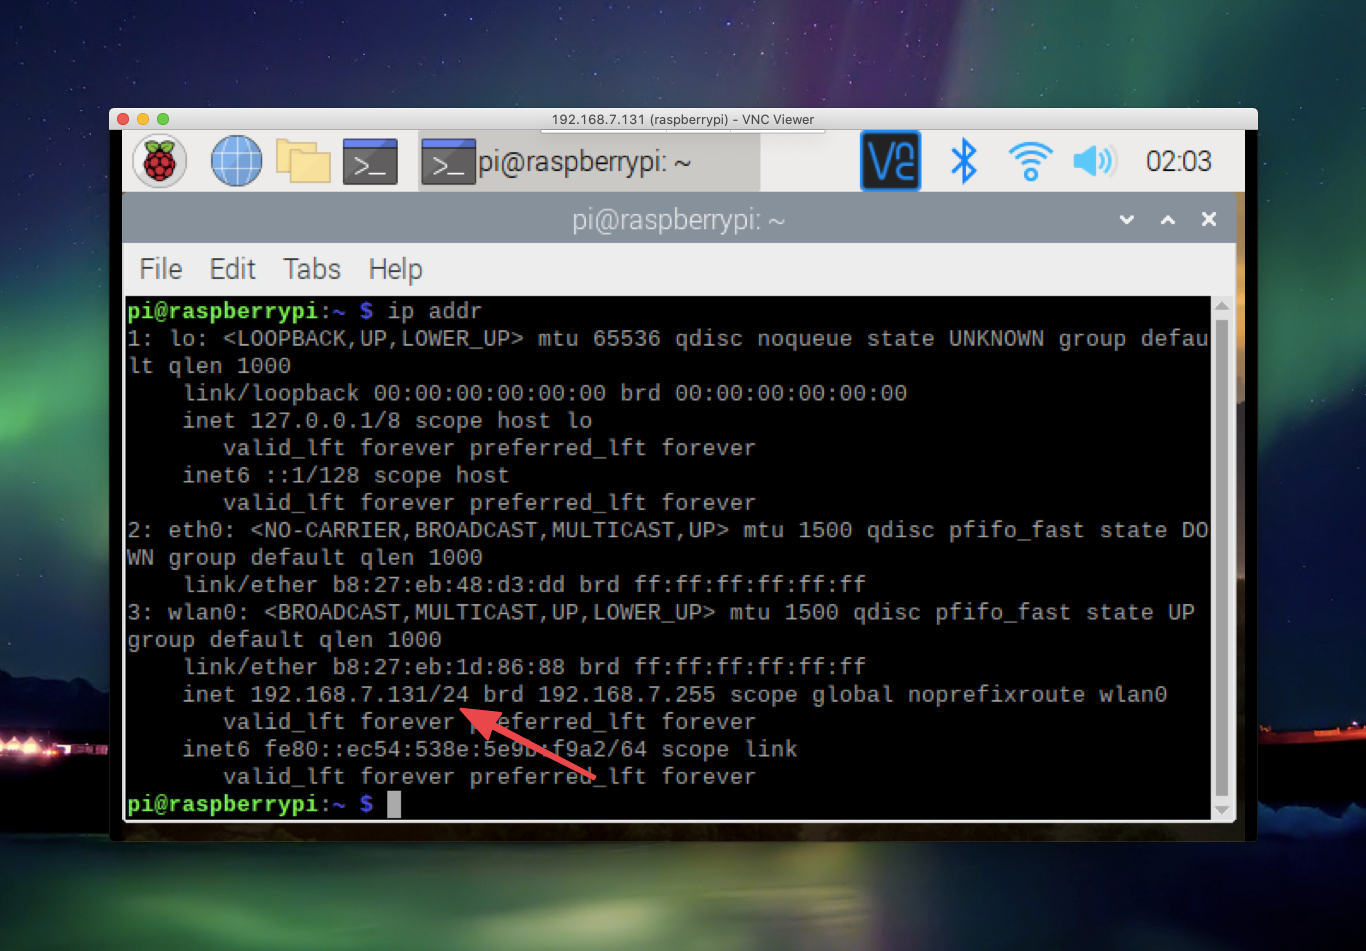
On my system the address is 192.168.7.131.
Hopefully, your Wi-Fi router will give your car the same address every time it starts. If not, find the documentation for it and read about how to assign static IP addresses.
Finally, type passwd at the command prompt and change the login password to something other than raspberry.
Install WiringPi and JupyterHub
Now it’s time to install the Python libraries you’ll need to get hacking.
First, install WiringPi. We’ll be using this library to talk to the robot hardware.
Enter sudo pip3 install wiringpi into a terminal.
xxxxxxxxxx
pi@raspberrypi:~ $ sudo pip3 install wiringpi
Looking in indexes: https://pypi.org/simple, https://www.piwheels.org/simple
Collecting wiringpi
Using cached https://files.pythonhosted.org/packages/06/bf/7c4ec17172f72917707dddeacfa02eae80b56ad3b7b5674a4258e62b2f5a/wiringpi-2.60.0-cp37-cp37m-linux_armv7l.whl
Installing collected packages: wiringpi
Successfully installed wiringpi-2.60.0
pi@raspberrypi:~ $
Your output might be slightly different. The important part is “Successfully installed wiringpi.”
Next, install notebook and jupyterhub with pip3. These packages will allow you to write and execute Python commands in a web browser.
xxxxxxxxxx
pi@raspberrypi:~ $ sudo pip3 install notebook jupyterhub
Looking in indexes: https://pypi.org/simple, https://www.piwheels.org/simple
Collecting notebook
Using cached https://files.pythonhosted.org/packages/81/e3/f92ab5688f53dc58dd2cc1b330828024527bb4e8d29bf980a096909b66e5/notebook-6.1.5-py3-none-any.whl
Collecting jupyterhub
Using cached https://files.pythonhosted.org/packages/47/15/b2c89e4b6fc5f1c321bfc416311236f168e83f5e07c519e5a58fe2b9e94d/jupyterhub-1.2.2-py3-none-any.whl
(output cut for space)
Installing collected packages: notebook, jupyterhub
Successfully installed jupyterhub-1.2.2 notebook-6.1.5
pi@raspberrypi:~ $
You’ll see a lot of output, and this install may take a few minutes.
Finally, install two more Raspian packages for Jupyterhub. Enter these two commands into the terminal.
xxxxxxxxxx
$ sudo apt-get install npm
(Lots of output)
$ sudo npm install -g configurable-http-proxy
(More output)
Configure JupyterHub
Now it’s time to set up JupyterHub. We’re almost there!
xxxxxxxxxx
pi@raspberrypi:~ $ sudo su -
root@raspberrypi:~# pwd
/root
root@raspberrypi:~# jupyterhub --generate-config
Writing default config to: jupyterhub_config.py
root@raspberrypi:~#
The first commands put you in the root (superuser) account. This is generally discouraged, but the next few steps create a configuration file for Jupyterhub in root’s home directory, so becoming root makes things easier.
Next. pwd verifies that you’re in the right place.
Finally, you told Jupyterhub to write the config.
Now, run Jupyterhub and make sure it’s ready to go.
From the same directory, run jupyterhub -f jupyterhub_config.py
xxxxxxxxxx
root@raspberrypi:~# jupyterhub -f jupyterhub_config.py
[I 2020-12-06 02:47:47.344 JupyterHub app:2332] Running JupyterHub version 1.2.2
[I 2020-12-06 02:47:47.345 JupyterHub app:2363] Using Authenticator: jupyterhub.auth.PAMAuthenticator-1.2.2
[I 2020-12-06 02:47:47.345 JupyterHub app:2363] Using Spawner: jupyterhub.spawner.LocalProcessSpawner-1.2.2
[I 2020-12-06 02:47:47.345 JupyterHub app:2363] Using Proxy: jupyterhub.proxy.ConfigurableHTTPProxy-1.2.2
[I 2020-12-06 02:47:47.352 JupyterHub app:1412] Loading cookie_secret from /root/jupyterhub_cookie_secret
[I 2020-12-06 02:47:47.432 JupyterHub proxy:461] Generating new CONFIGPROXY_AUTH_TOKEN
[W 2020-12-06 02:47:47.438 JupyterHub app:1687] No admin users, admin interface will be unavailable.
[W 2020-12-06 02:47:47.439 JupyterHub app:1689] Add any administrative users to `c.Authenticator.admin_users` in config.
[I 2020-12-06 02:47:47.439 JupyterHub app:1718] Not using allowed_users. Any authenticated user will be allowed.
[I 2020-12-06 02:47:47.629 JupyterHub app:2402] Initialized 0 spawners in 0.007 seconds
[W 2020-12-06 02:47:47.642 JupyterHub proxy:656] Running JupyterHub without SSL. I hope there is SSL termination happening somewhere else...
[I 2020-12-06 02:47:47.642 JupyterHub proxy:659] Starting proxy @ http://:8000
02:47:51.373 [ConfigProxy] info: Proxying http://*:8000 to (no default)
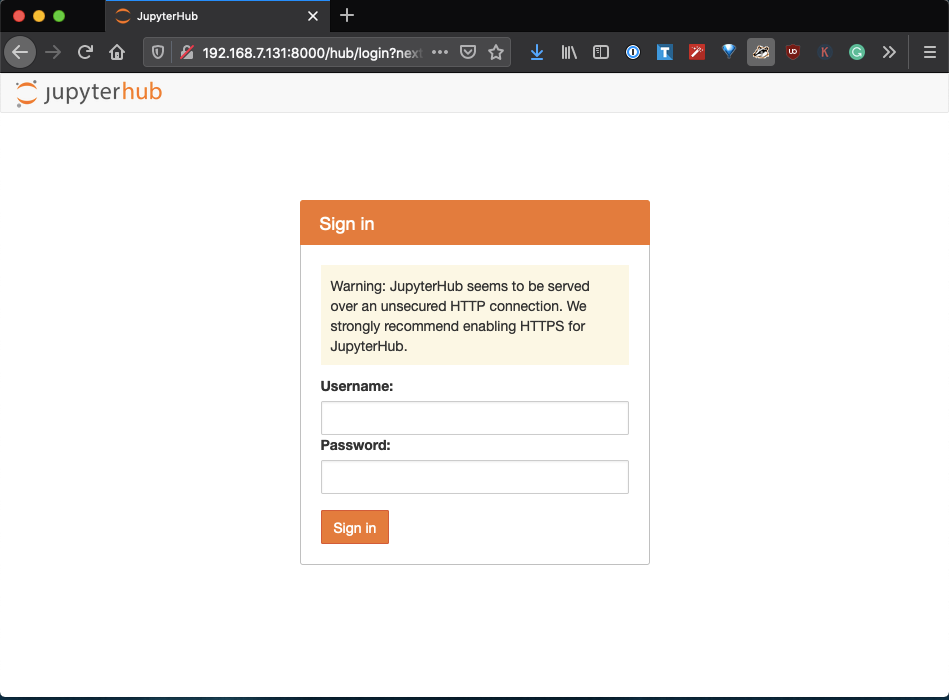
After Jupyterhub starts, point a web browser at your robot’s IP address, followed by :8000. So on my system, it's https://192.168.7.131:8000
You’re ready to code after one more step!
Quit JupyterHub with CTRL-C. Then exit the root shell with exit.
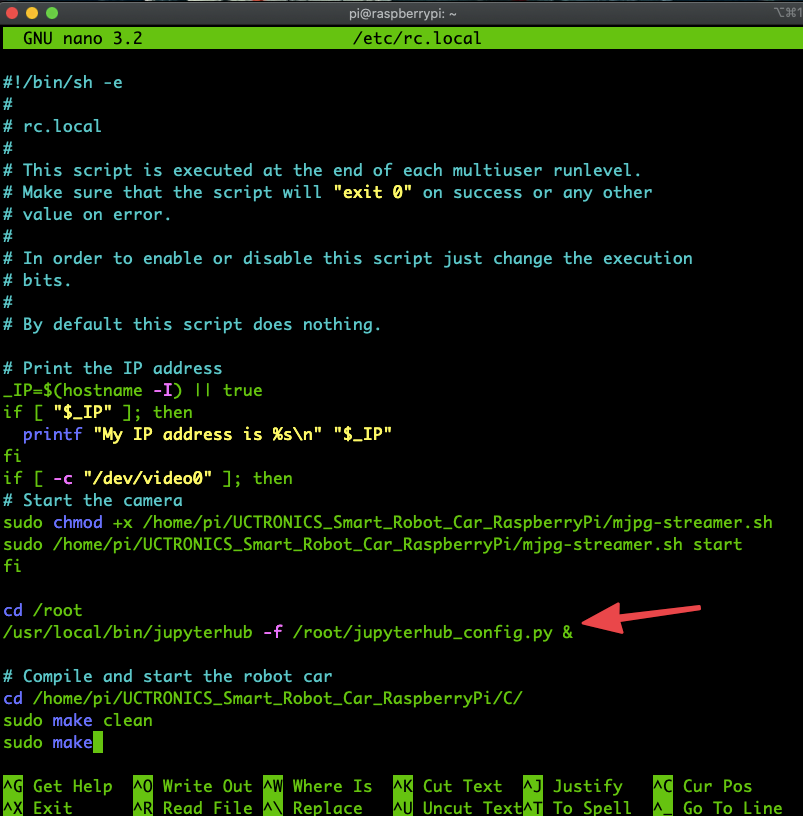
Now, edit /etc/rc.local and add these 2 lines.
xxxxxxxxxx
cd /root
/usr/local/bin/jupyterhub -f /root/jupyterhub_config.py &
I used the nano editor.
xxxxxxxxxx
pi@raspberrypi:~ $ sudo nano /etc/rc.local
Now, reboot the car.
xxxxxxxxxx
pi@raspberrypi:~ $ sudo reboot
When it comes back, you can attach a browser to Jupyterhub.
Beep! Beep!
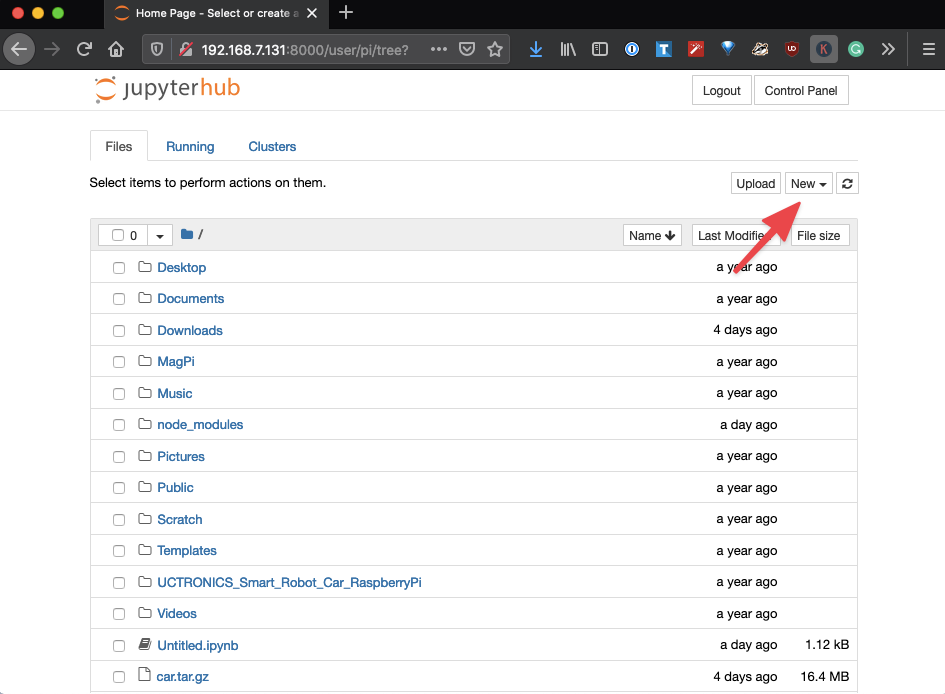
Login to JupyterHub with the pi account. You’ll be taken to a screen like this. Click on the new button and select Python 3.
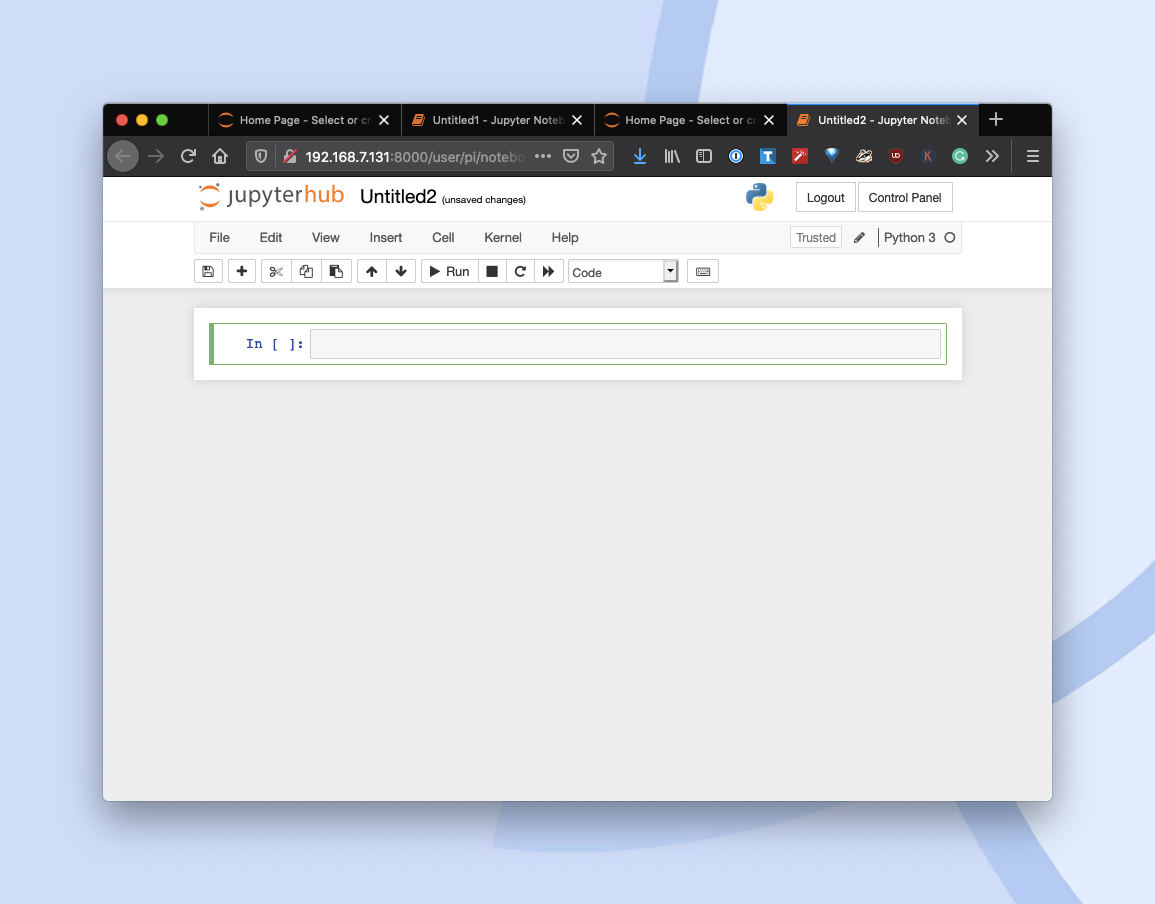
Jupyter will take you to a code window.
Enter this code:
import time
import wiringpi
wiringpi.wiringPiSetup()
wiringpi.digitalWrite(26, 1)
time.sleep(.5)
wiringpi.digitalWrite(26, 0)
wiringpi.digitalWrite(26, 1)
time.sleep(.5)
wiringpi.digitalWrite(26, 0)
Then click “run.”
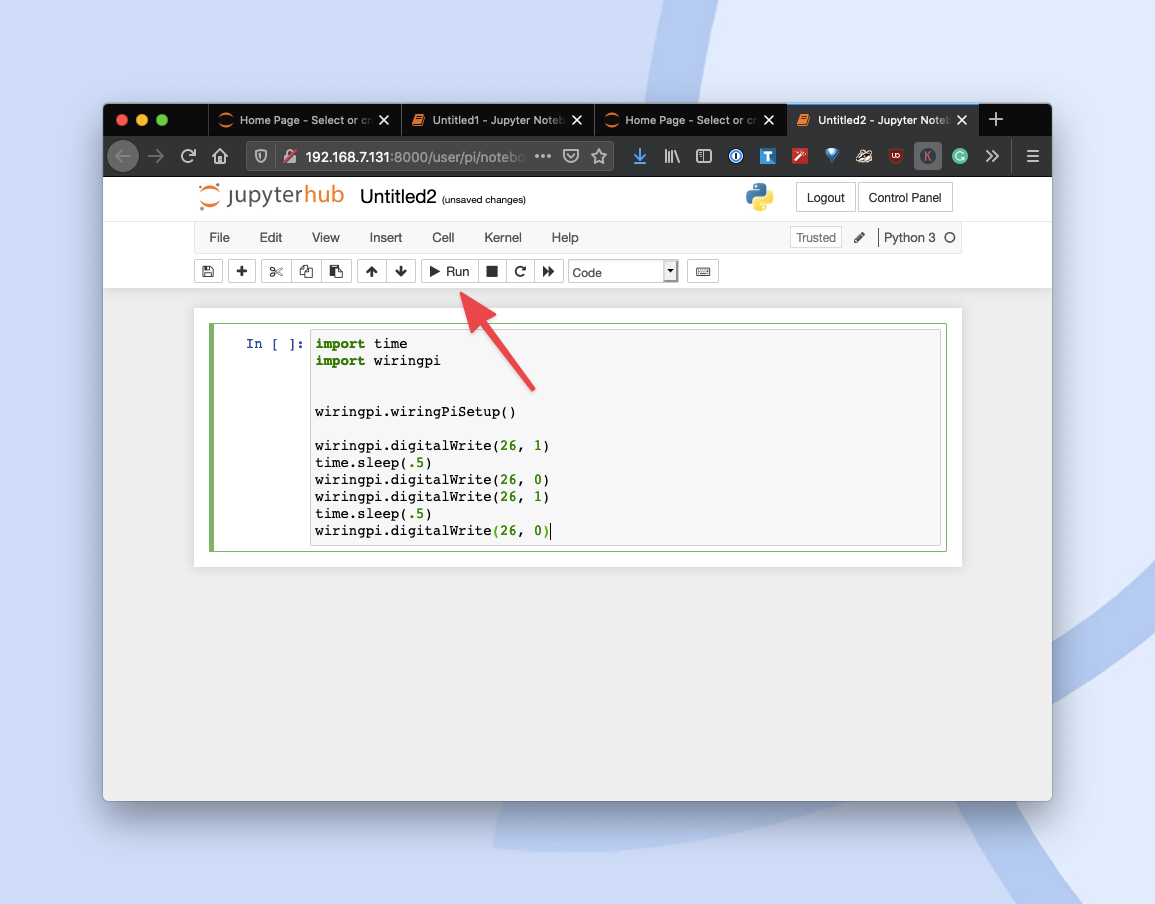
The car will beep twice. You can program your car from a browser!
What Just Happened?
It's almost time to wrap this up for the week. But before I do, I'll give you an overview of the code.
WiringPi is a common library for talking to hardware via Arduino and Raspberry Pi. The digitalwrite() function allows you to send messages to specific pins on hardware attached to the Pi. Pin #26 is the beeper. 1 means turn on, 0 means turn off. So you told the robot to beep for a half-second twice.
So next, you'll need to figure out the pin numbers for the rest of the hardware on this robot and how to read and write from them.
More next week!
Recommend
About Joyk
Aggregate valuable and interesting links.
Joyk means Joy of geeK