

Sketchfab Community Blog - » Art Spotlight: Yoruba Mask
source link: https://sketchfab.com/blogs/community/art-spotlight-yoruba-mask/
Go to the source link to view the article. You can view the picture content, updated content and better typesetting reading experience. If the link is broken, please click the button below to view the snapshot at that time.
Art Spotlight: Yoruba Mask
Back to overview 15 December 2020Artist
My name is Michael Goddard, I’m a Canadian, Vancouver-based VFX Lighting Artist with a passion for 3D, games, drones, and photography.
You can find my professional profile on LinkedIn or follow my photography on Instagram.
Motivation
I had a long discussion with an art collector who was looking into digitizing artwork to broaden access to art, which led to my exploration of photogrammetry. It is also a technique that shows up in more and more digital content, from games to film and television, with The Mandalorian being a prominent recent example. With continued exploration, I also became interested in the potential for real-time usage of photogrammetry models for VR and games.
Aligning with my interest in Open Source workflows, the choice of software in this pursuit was a high priority to me.
This Yoruba mask was gifted to me and originates from the collection of the artist Norbert Klassen (1941-2011). It seemed a great subject for exploring the entire workflow from start to finish.
Workflow Overview
The workflow starts with capturing the images and converting the raw files to JPEGs using Adobe DNG Converter. Then I bring the JPEG images into Meshroom, which computes the dense 3D mesh and textures. Instant Meshes can then be used to retopologize the resulting mesh into something more clean and optimized. Then, in Blender, using the dense Meshroom mesh, in combination with the retopologized mesh, I create a cleaner model with better UVs and bake the textures onto it. Now the model and textures can be exported for easy use in other software.
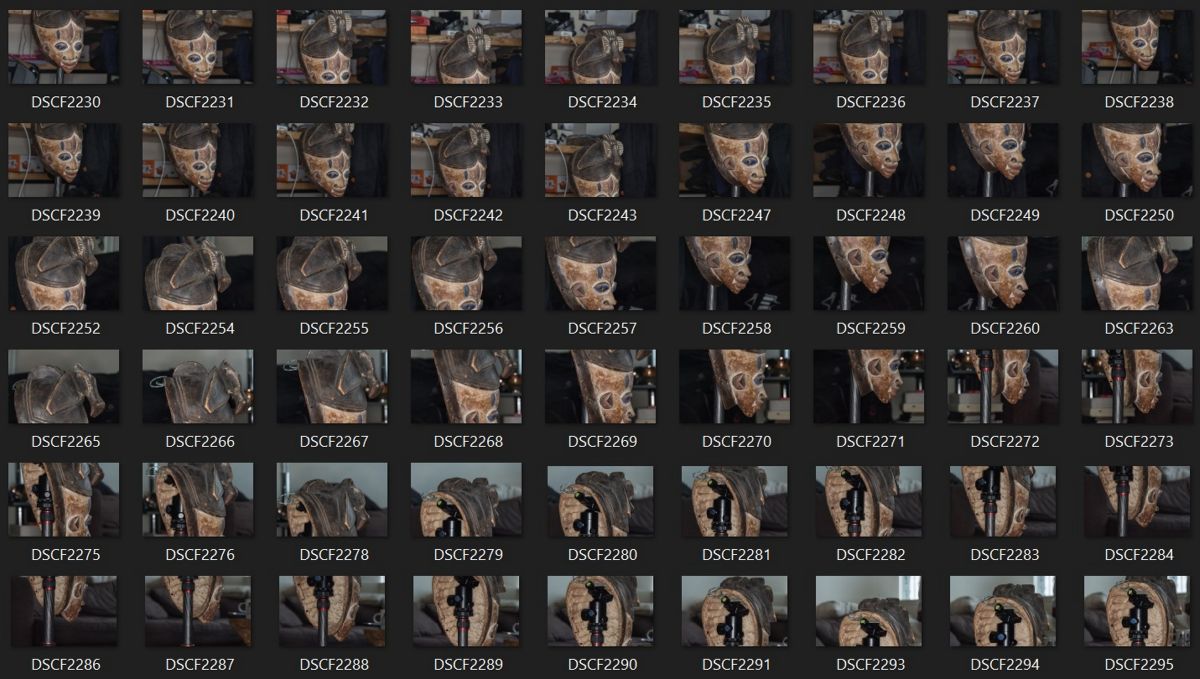
1. Image capture
2. Adobe DNG Converter
3. Meshroom
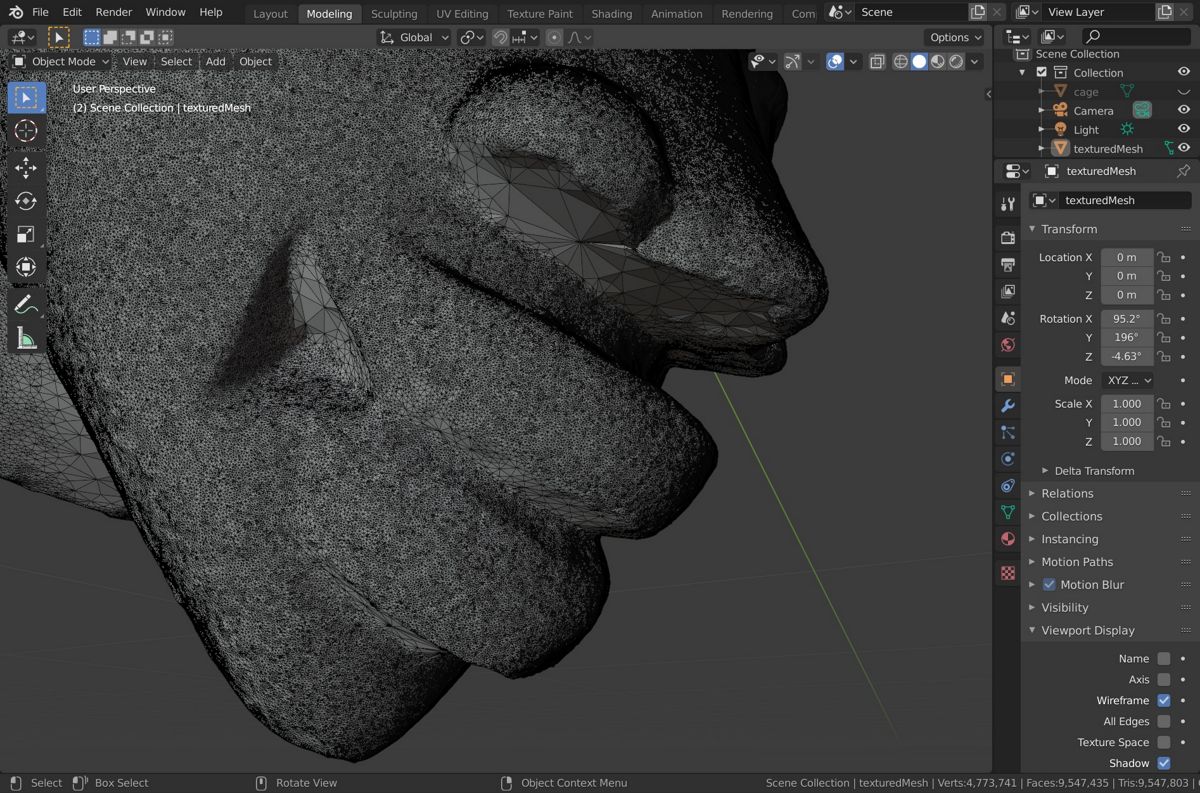
4. Blender – Rough Clean-up
5. Instant Meshes – Retopologize dense mesh
6. Blender – Final Steps
7. Upload to Sketchfab 
Workflow
1. Capturing Images
- Mount the mask on a tripod to give the best results, minimizing shadowing from floor, wall, etc., allowing capturing of the back, bottom, and top of the mask.
- High f-stop, and high shutter speed recommended, to minimise depth of field and any camera motion blur. The sharper the images, the better.
- Take pictures with locked off settings, same ISO, aperture, shutter speed, white balance, etc.
- Lens-mounted ring flash helps to normalize lighting and shadows. Nevertheless, even lighting overall is recommended.
- Take lots of pictures with lots of overlap, you want to give Meshroom lots of similar details to track and match. Discard any blurry or out-of-focus images.
- Use a polarizing lens filter is recommended for anything with reflectivity.
2. Adobe DNG Converter
- Convert Raw images to JPG
3. Meshroom
Default settings work pretty well most of the time, but here are a few recommended settings to tweak:
- FeatureExtraction > Describer Types > sift, akaze
- FeatureExtraction > Describer Preset > High and Ultra (will yield better results, but will take a long time to resolve)
- FeatureMatching > Describer Types > sift, akaze
- FeatureMatching > Guided Matching On
- StructureFromMotion > Describer Types > sift, akaze
- DepthMap > Downscale > 1
- DepthMapFilter > Min Consistent Cameras > 2
- DepthMapFilter > Min Consistent Cameras Bad Similarity > 3
- Texturing > Fill Holes On

4. Blender – Rough Clean-up
- Clean up the model at this stage, reorient the model and delete any faces you don’t want.
- This mesh is extremely dense right now, so work carefully and don’t overdo it, you’ll have another chance to clean up the model after retopologizing.
- Export your cleaned up mesh as an OBJ.
5. Instant Meshes – Retopologize dense mesh
- Decimate and retopologize the mesh at this stage.
- I recommend using the comb to define the lineflow of the remesh process.

6. Blender – Final Steps
- Import the new mesh you’ve exported via Instant Meshes.
- Clean up this new mesh further, deleting unneeded faces, filling holes in the mesh, etc.
- UV unwrap the new mesh. Auto unwrap works, but marking seams is better.
- Bake diffuse maps and normal maps using Blender Cycles. Here is a good tutorial for the process of baking textures in Blender.
- Export as obj, and remember to save the baked maps

I hope this was helpful, and thanks for checking out my work!
Recommend
About Joyk
Aggregate valuable and interesting links.
Joyk means Joy of geeK