

Using React Native Elements with the Ignite Bowser boilerplate
source link: https://shift.infinite.red/using-react-native-elements-with-the-ignite-bowser-boilerplate-7efb8f88c86a
Go to the source link to view the article. You can view the picture content, updated content and better typesetting reading experience. If the link is broken, please click the button below to view the snapshot at that time.

Using React Native Elements with the Ignite Bowser boilerplate

Ignite Bowser is the most popular React Native boilerplate, and React Native Elements (originally created by Nader Dabit) is the most popular UI toolkit for React Native. So it makes sense to use them together!

Here’s how to do that.
If you haven’t installed React Native yet, we have two free courses — one for macOS and one for Windows! You can also use Bowser’s new Expo capability to skip the installation step if you want to get going fast.
Spin up a new Ignite Bowser app
Start by creating a new Ignite Bowser app. I’m going to use Expo, but you can do --no-expo if you’d prefer to use vanilla React Native. Or leave that flag off and Ignite CLI will ask you. :-)
npx ignite-cli new PizzaApp -b bowser --expo
Once it’s generated, cd into the new folder and run yarn and yarn start (or react-native run-ios or react-native run-android if you’re not using Expo).
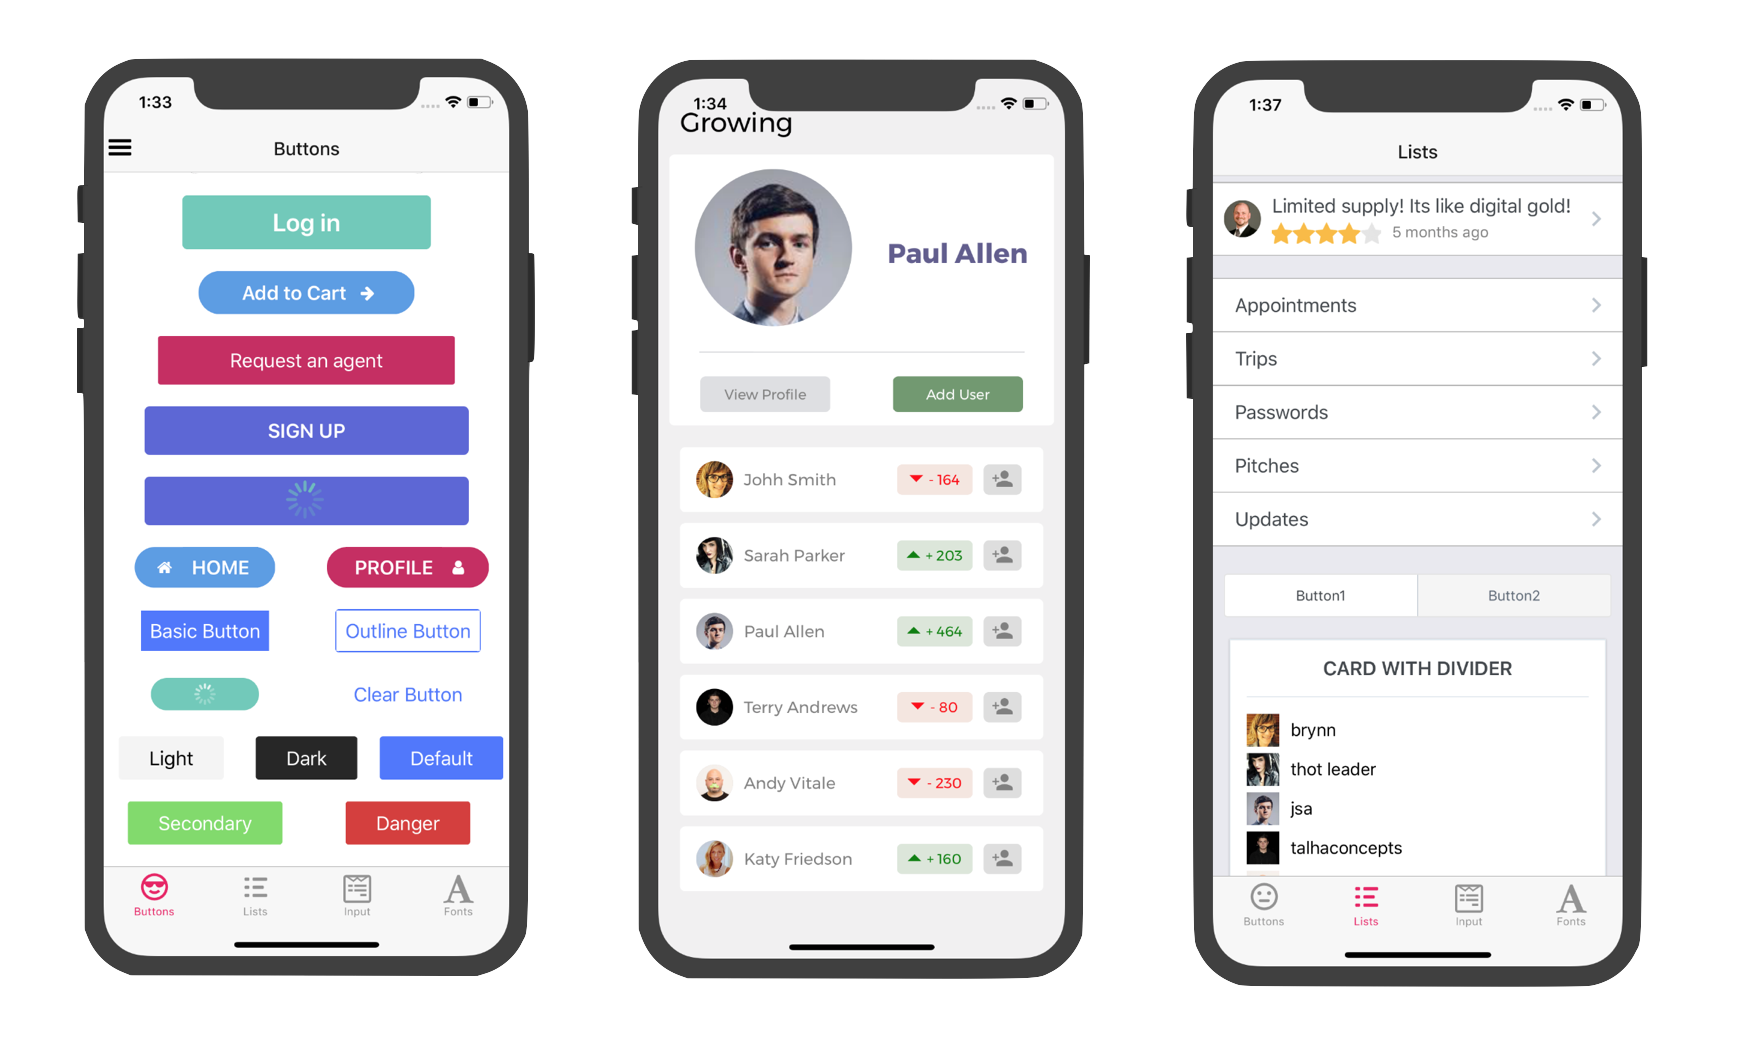
You should see the standard Bowser starter screen:

While Bowser comes with some standard elements, it’s not meant to be a full-fledged UI toolkit (although there are rumors we may be working on one….)
So, let’s integrate React Native Elements into this app!
Install React Native Elements
Add react-native-elements by running the following command (if you’re not using Expo, try these instructions instead):
expo install react-native-elements @expo/vector-icons
Add React Native Elements ThemeProvider to app.tsx
The React Native Elements “ThemeProvider” allows you to apply styling across your entire app without having to edit the styles on each element. We’ll need to wrap your components at some level with the ThemeProvider component.
In your code editor of choice, go to ./app/app.tsx and add the following to the imports near the top:
import { ThemeProvider } from 'react-native-elements'Then scroll down to the app root and wrap it with the ThemeProvider:
  // otherwise, we're ready to render the app
  return (
    <RootStoreProvider value={rootStore}>
      <SafeAreaProvider>
        <ThemeProvider>
          <RootNavigator
            ref={navigationRef}
            initialState={initialNavigationState}
            onStateChange={onNavigationStateChange}
          />
        </ThemeProvider>
      </SafeAreaProvider>
    </RootStoreProvider>
  )
}
Adding our first elements
Let’s go to the WelcomeScreen and add some RN Elements components.
In ./app/screens/welcome-screen/welcome-screen.tsx, add the following to the top imports:
import { Avatar } from "react-native-elements"Then replace the “Bowser” image with a new avatar:
<View style={{ flex: 1, alignItems: "center", padding: 20 }}>
  <Avatar
    rounded
    size="xlarge"
    source={{
      uri: "https://twitter.com/jamonholmgren/profile_image?size=original",
    }}
  />
</View>
When you reload the app, you should see my face. Change the URL above to see someone else’s face.

Build an entire screen with RN Elements
One element isn’t enough — let’s build an entire screen out.
Let’s replace the contents of the DemoScreen, which you can see if you tap the “Continue” button on the WelcomeScreen.
Open ./app/screens/demo-screen/demo-screen.tsx and replace everything in that file with this:
import * as React from "react"
import { View, ViewStyle, TextStyle } from "react-native"
import { ParamListBase } from "@react-navigation/native"
import { NativeStackNavigationProp } from "react-native-screens/native-stack"
import { Screen, Header } from "../../components"
import { spacing } from "../../theme"
export interface DemoScreenProps {
  navigation: NativeStackNavigationProp<ParamListBase>
}const FULL: ViewStyle = { flex: 1 }
const CONTAINER: ViewStyle = {
  paddingHorizontal: spacing[4],
}
const HEADER: TextStyle = {
  paddingVertical: spacing[1],
  paddingHorizontal: 0,
}
const HEADER_TITLE: TextStyle = {
  fontSize: 18,
  textAlign: "center",
  color: "#000000",
}export const DemoScreen: React.FunctionComponent<DemoScreenProps> = props => {
  const goBack = React.useMemo(() => () => props.navigation.goBack(), [props.navigation])
  return (
    <View style={FULL}>
      <Screen style={CONTAINER} preset="scroll">
        <Header
          headerText="React Native Elements"
          leftIcon="back"
          onLeftPress={goBack}
          style={HEADER}
          titleStyle={HEADER_TITLE}
        />
      </Screen>
    </View>
  )
}
This is just a basic screen. So let’s add a bunch of React Native Elements components.
import * as React from "react"
import { View, ViewStyle, TextStyle } from "react-native"
import { ParamListBase } from "@react-navigation/native"
import { NativeStackNavigationProp } from "react-native-screens/native-stack"
import { Screen, Header } from "../../components"
import { spacing } from "../../theme"
import { Avatar, Text, Card } from "react-native-elements"
export interface DemoScreenProps {
navigation: NativeStackNavigationProp<ParamListBase>
}const FULL: ViewStyle = { flex: 1 }
const CONTAINER: ViewStyle = {
paddingHorizontal: spacing[4],
}
const HEADER: TextStyle = {
paddingVertical: spacing[1],
paddingHorizontal: 0,
}
const HEADER_TITLE: TextStyle = {
fontSize: 18,
textAlign: "center",
color: "#000000",
}const profiles = [
{
name: "Jamon Holmgren",
twitter: "jamonholmgren",
bio: `Founder/CTO @infinite_red • 🤗 happy guy • ✝️ Lutheran • organizer @ChainReactConf • #reactnative core • coding like I’m 12 • 'JAYmen'`,
},
{
name: "Todd Werth",
twitter: "twerth",
bio: `CEO and Founder of
@infinite_red
. I also code and design, not as often as I'd like though. Photographer, plant eater, podcaster: http://building.infinite.red`,
},
{
name: "Gant Laborde",
twitter: "gantlaborde",
bio: `🧳 CIO @infinite_red
🧠 Google Dev Expert
👀 Immortal (so far)
🤖 http://AI-FYI.com
🧙Open Sourcerer
📕 Author
🎥 MDE
👁 Oracle GA
🌎 World Speaker
🤯Top Psychic 2035`,
},
]export const DemoScreen: React.FunctionComponent<DemoScreenProps> = props => {
const goBack = React.useMemo(() => () => props.navigation.goBack(), [props.navigation])
return (
<View style={FULL}>
<Screen style={CONTAINER} preset="scroll">
<Header
headerText="React Native Elements"
leftIcon="back"
onLeftPress={goBack}
style={HEADER}
titleStyle={HEADER_TITLE}
/>
{profiles.map(p => (
<Card key={p.name}>
<View style={{ flex: 1, flexDirection: "row" }}>
<Avatar
source={{ uri: `https://twitter.com/${p.twitter}/profile_image?size=original` }}
rounded
size={"large"}
/>
<Text h4 style={{ alignSelf: "center", padding: 10 }}>
{p.name}
</Text>
</View>
<View style={{ paddingTop: 20 }}>
<Text style={{ fontSize: 16 }}>{p.bio}</Text>
</View>
</Card>
))}
</Screen>
</View>
)
}
This gives us a nice list of Twitter bios, like so:

That’s it for this quick tutorial!
Resources
This is just the beginning of your journey into Ignite Bowser and React Native Elements. Check out the following articles, documentation, and talks:
Recommend
About Joyk
Aggregate valuable and interesting links.
Joyk means Joy of geeK