
9

Power Apps 定制提交表单后的效果
source link: https://www.cnblogs.com/jianyus/p/13917119.html
Go to the source link to view the article. You can view the picture content, updated content and better typesetting reading experience. If the link is broken, please click the button below to view the snapshot at that time.
Power Apps 定制提交表单后的效果
前言
Power Apps 默认提交以后的效果比较丑,如下图:
正文
对于我们做项目开发的人来说,这样的效果根本没法跟客户交代!
所以,我们就需要找到替代方式,我这里用了一个比较傻的方法,就是点击button以后,触发一个弹出层,在弹出层里插入一个GIF动图。
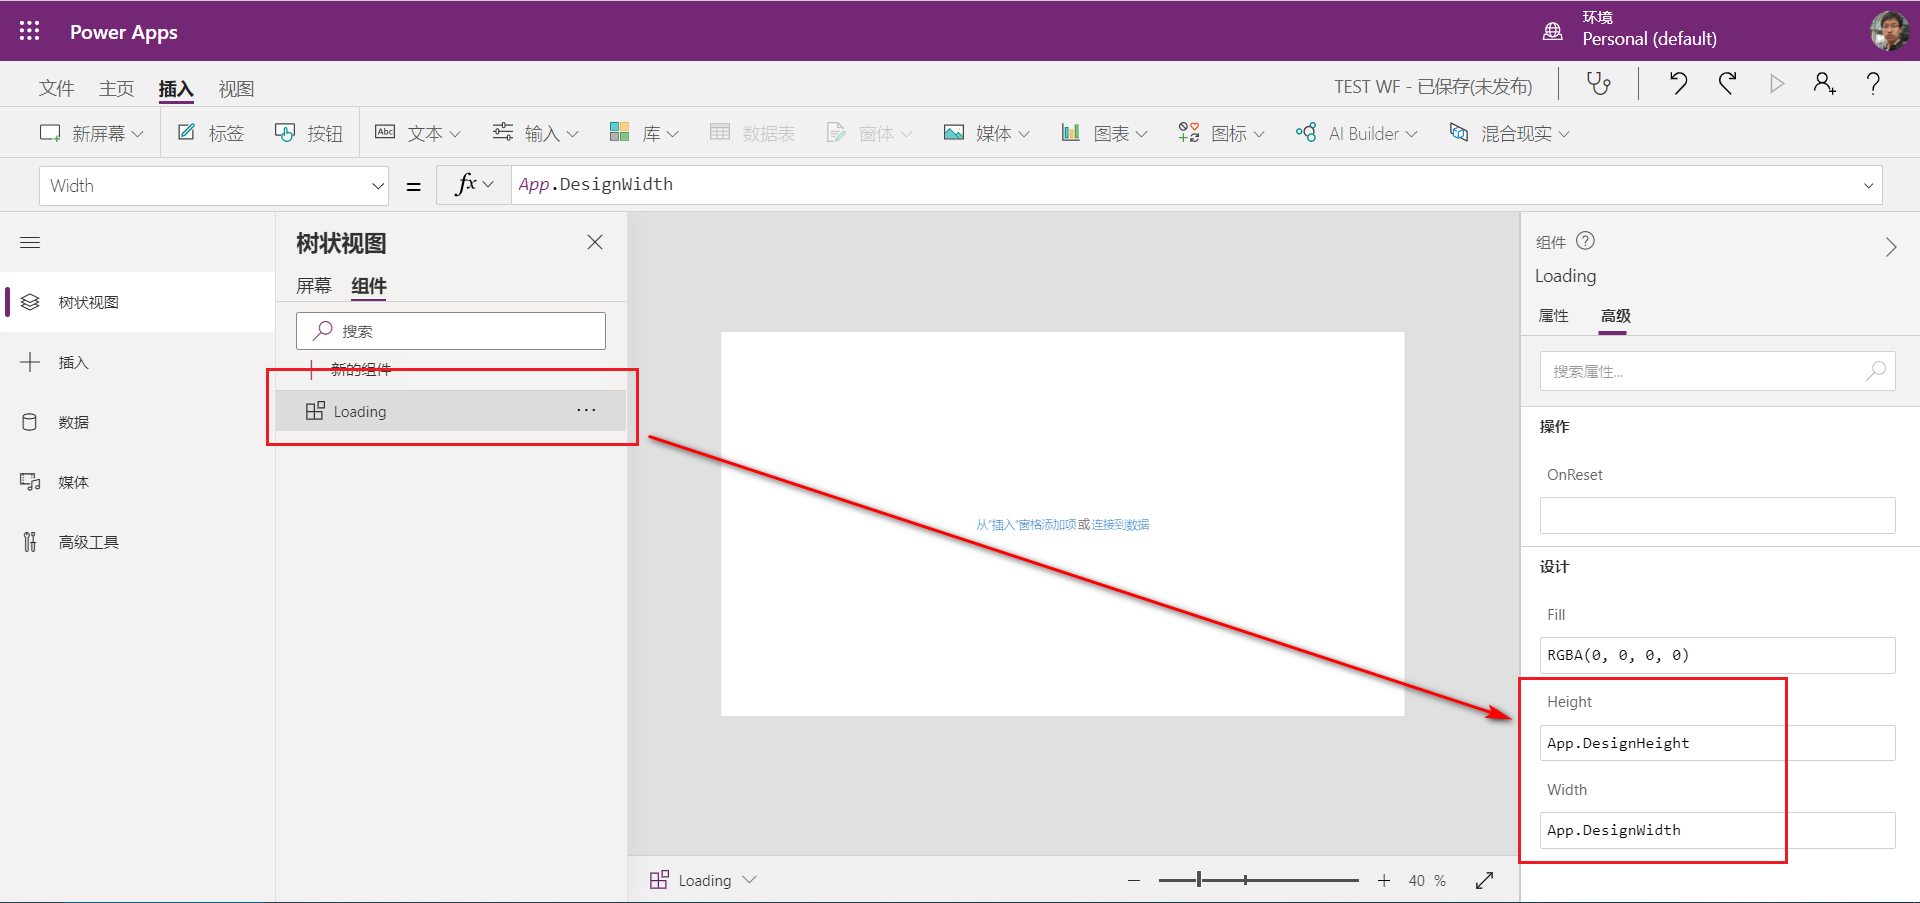
首先,创建一个组件,分别设置宽和高为App.DesignWidth和App.DesignHeight如下图:
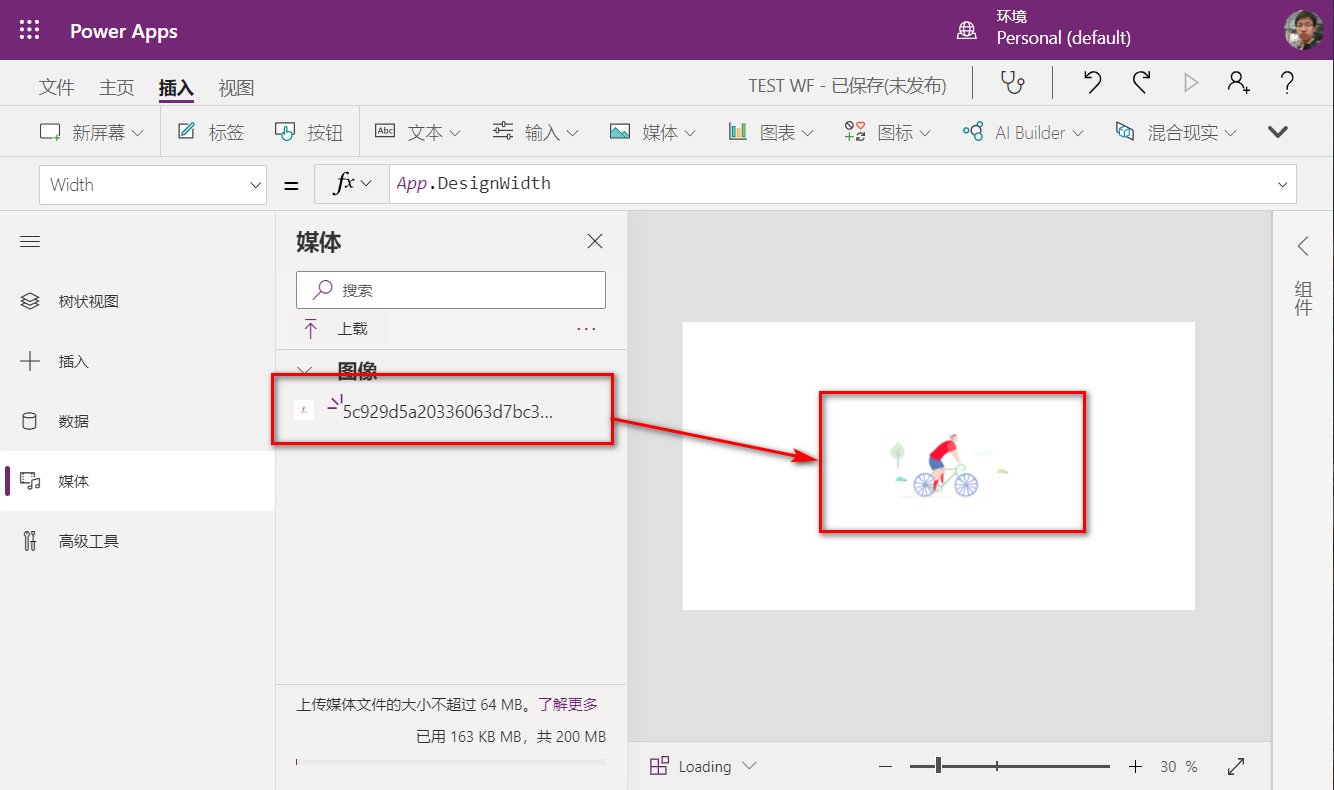
然后,在组件里插入一张动图,如下图:
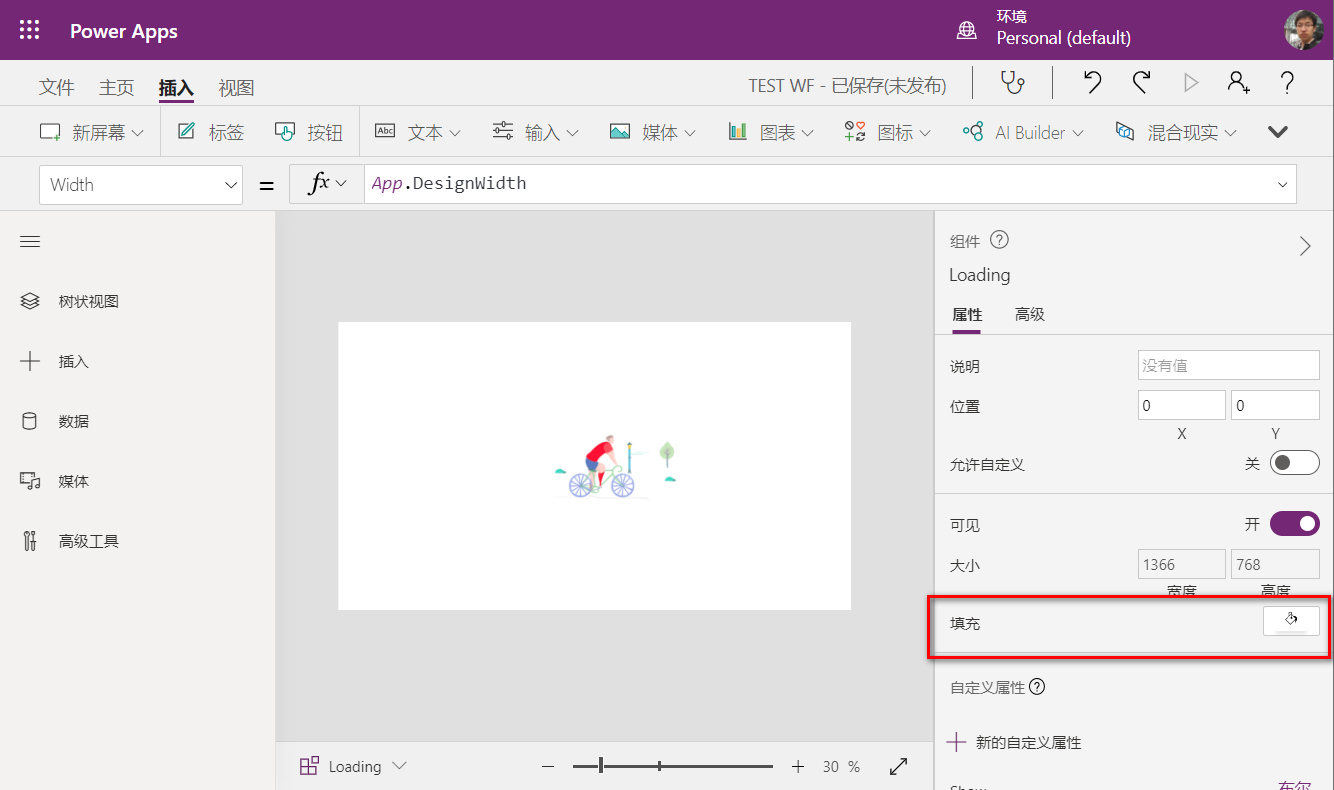
当然,这样还是不够的,还需要设置一个属性,把组件的填充颜色变成白色就好了,因为透明无法遮挡,如下图:
最后,只需要把组件添加到屏幕上,然后设置提交的时候显示就可以了,如下图:
结束语
当然,操作完成以后,还是需要跳到一个操作成功的页面,然后还需要把状态设置回来,否则每次进这个页面,都会是加载动图的样子了。
Recommend
About Joyk
Aggregate valuable and interesting links.
Joyk means Joy of geeK