

修改休眠模式以节省 macOS 睡眠时的电池电量 | 始终
source link: https://liam.page/2020/07/26/change-hibernatemode-to-save-battery-on-macOS/?
Go to the source link to view the article. You can view the picture content, updated content and better typesetting reading experience. If the link is broken, please click the button below to view the snapshot at that time.
切换到 Mac 已经有六年了;一直以来,就发现 MacBook Pro 在扣上盖子睡眠时,会有明显的掉电现象。我觉着这么多年,我一直没去处理它,也是挺能忍的。
然而今天忍不了了哇。
GUI 设置
一般用户自然是会从 GUI 设置当中找寻相关线索。
于是我们打开「系统偏好设置」-「节能」-「电池」标签。
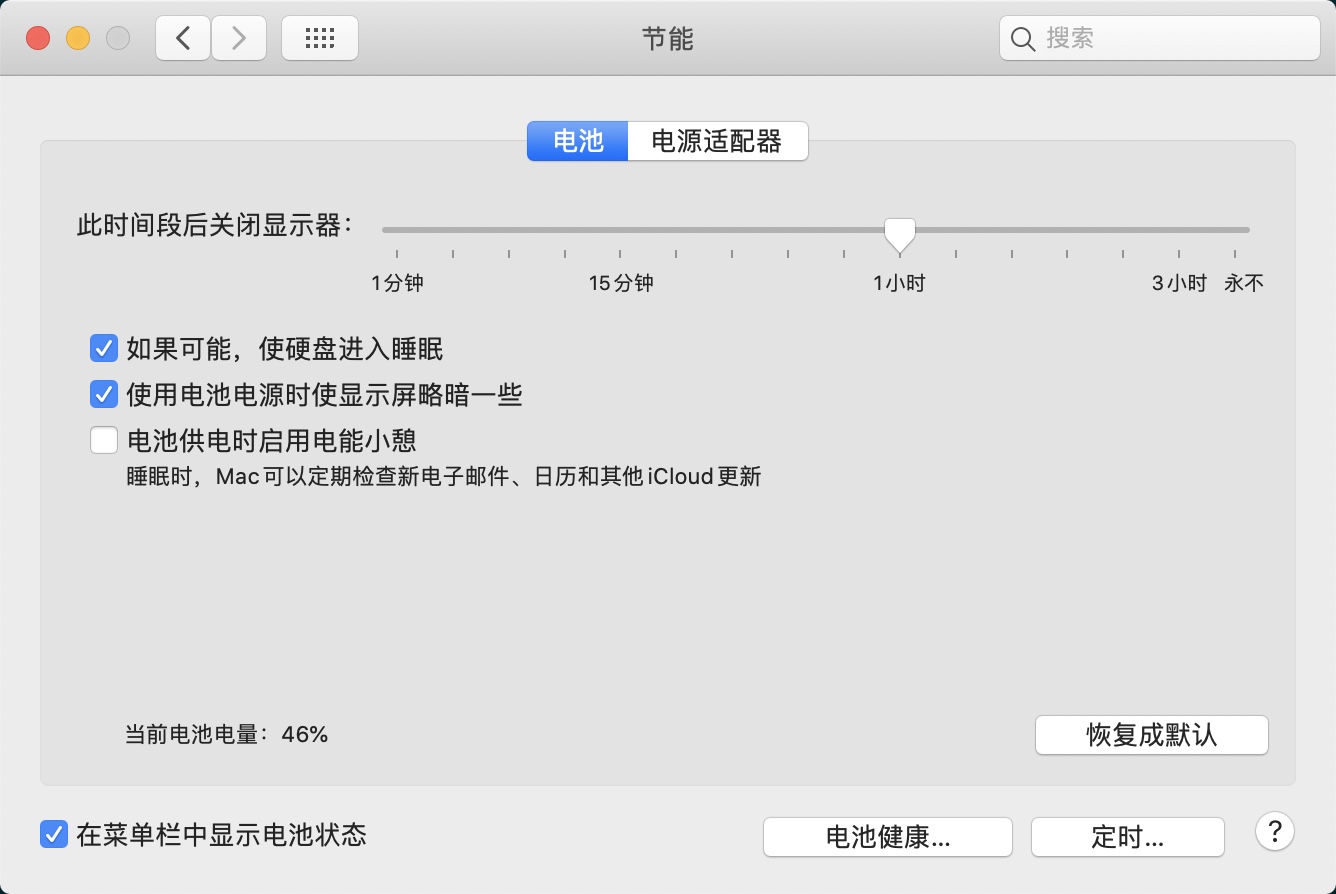
可见,除了关闭显示器的时间,我的设置已经尽可能节能了;而我们讨论的是合盖睡眠的场景,所以关闭显示器的时间在这里不影响。
macOS 睡眠机制
既然 GUI 设置不解决问题,我们就要考虑深入了解 macOS 的睡眠机制了。
在 Google 上检索 macOS hibernate,比较可惜的是未能找到 Apple 官方的文档。不过,在 Stack Exchange 上我找到了这篇回答。
按照这篇回答的说法,macOS 默认的睡眠,会关闭屏幕,但会维持用于内存(RAM)的供电。这样一来,一旦打开盖子,macOS 就能立即恢复。若是电池电量低于某个预设阈值,则会将内存中的数据转储到硬盘,而后彻底断电。
这样一来,macOS 睡眠时掉电就解释得通了。
原作者还提供了一个 Apple 官方的链接,但无法打开。根据链接内容,看起来是 pmset 这个命令的 man 内容。于是在终端中执行 man pmset 查看相关信息。
- macOS 的睡眠有两种状态
- 不断电,数据存储在内存中,可以快速恢复。我们称这种状态为睡眠(Sleep)
- 断电,数据存储在硬盘中,恢复得较慢。我们称这种状态为休眠(Hibernate/Stand-by)
- 睡眠和休眠可以组合出三种模式,由
hibernatemode控制hibernatemode = 0,这是桌面设备的默认值。系统只睡眠,不休眠,不将数据存储在硬盘中。hibernatemode = 3,这是移动设备的默认值。系统默认睡眠,在一定时间后或电量低于阈值将数据存储在硬盘中,而后休眠。这是所谓的安全睡眠(Safe-Sleep)。hibernatemode = 25。只休眠,不睡眠。
- 无论是安全睡眠模式还是休眠模式,从磁盘上恢复时,都会需要一定的时间(经测试,大约 3 秒钟)屏幕才会被点亮。
对于 hibernatemode = 3,即安全睡眠模式,又有几个参数来控制细节。
- 当剩余电量大于
highstandbythreshold(默认 50%)时,在standbydelayhigh秒(默认 86,400,即一整天)后进入休眠。 - 当剩余电量小于
highstandbythreshold时,在standbydelaylow秒(默认 10,800,即三小时)后进入休眠。
实际操作看看
搞清楚具体机制之后,我们就可以做更多细节设置了。
如果你不在乎每次开盖后需要等待 3 -- 5 秒屏幕才电量,那么你可以直接禁用安全睡眠模式,盒盖休眠。
1 | sudo pmset -b hibernatemode 25 |
如果你仍然希望使用安全睡眠模式,但希望不要掉电得太厉害,则可以适当修改 highstandbythreshold 和 standbydelayhigh/standbydelaylow 的值。比如我是这样设置的。
1 | # When Using Battery |
如此一来,我的节能设置如下:
1 | $ pmset -g custom |
Recommend
-
62
电池又出问题 三星Note 8电量耗尽后无法充电
-
65
问与答 - @NextHuang - 因工作需要,和客户的微信中有大量的信息、金额、excel 等,并需要记录或保存文件到电脑。场景 1:下班后,客户发信息,手机回复,到家打开电脑,继续处理。场景 2:客户半夜发信息,手机
-
7
充电时间长了会对电池造成损害,所以在电池 100% 充满时要拔掉电源线。电池充电或放电时没有默认的应用程序来通知,需要安装第三方应用来通知你。 来源:
-
3
MagSafe外接电池体验:缓解电量焦虑,iPhone 12用户的绝佳拍档!-极果 MagSafe外接电池体验:缓解电量焦虑,iPhone 12用户...
-
1
汽车 为防LG电池起火,雪佛兰将电量缩减至8成,苹果会因此换供应商吗 电科技葆康11-22 13:55 94091 此前,雪佛兰Bolt EV出现了多起起火事故,为此通用...
-
1
Windows 是如何实现睡眠向休眠切换的? V2EX › Windows Windows 是如何实现睡眠向休眠切换的?
-
5
手机开启低电量模式可以保护电池吗? 新酷产品第一时间免费试玩,还有众多优质达人分享独...
-
5
V2EX › Windows 笔记本的 S3 睡眠,在约两三个小时后,自动变成 S4 休眠
-
3
原文地址:Windows系统禁用和重新启用休眠(非睡眠) Windows系统禁用和重新启用休眠(非睡眠)...
-
3
器→工具, 工具软件 Windows和MacOS的睡眠和休眠 ...
About Joyk
Aggregate valuable and interesting links.
Joyk means Joy of geeK