
31

LTUI v1.7 发布, 一个基于lua的跨平台字符终端UI界面库
source link: https://tboox.org/cn/2020/05/06/ltui-v1.7/?
Go to the source link to view the article. You can view the picture content, updated content and better typesetting reading experience. If the link is broken, please click the button below to view the snapshot at that time.
LTUI v1.7 发布, 一个基于lua的跨平台字符终端UI界面库
LTUI是一个基于lua的跨平台字符终端UI界面库。
此框架源于xmake中图形化菜单配置的需求,类似linux kernel的menuconf去配置编译参数,因此基于curses和lua实现了一整套跨平台的字符终端ui库。 而样式风格基本上完全参照的kconfig-frontends,当然用户也可以自己定制不同的ui风格。
另外,LTUI是完全跨平台的,windows上的terminal终端也是完全支持的,在windows上ltui会采用pdcurses来进行窗口绘制。
然而之前的版本,并不支持布局随终端窗口的大小调整,来自动调整布局,如果窗口变大,那边整个视图还是会保留原有的大小。 而在当前v1.7版本中,我进行了局部重构,来支持窗口Resize,以及所有views布局的自适应调整。
之前的版本:
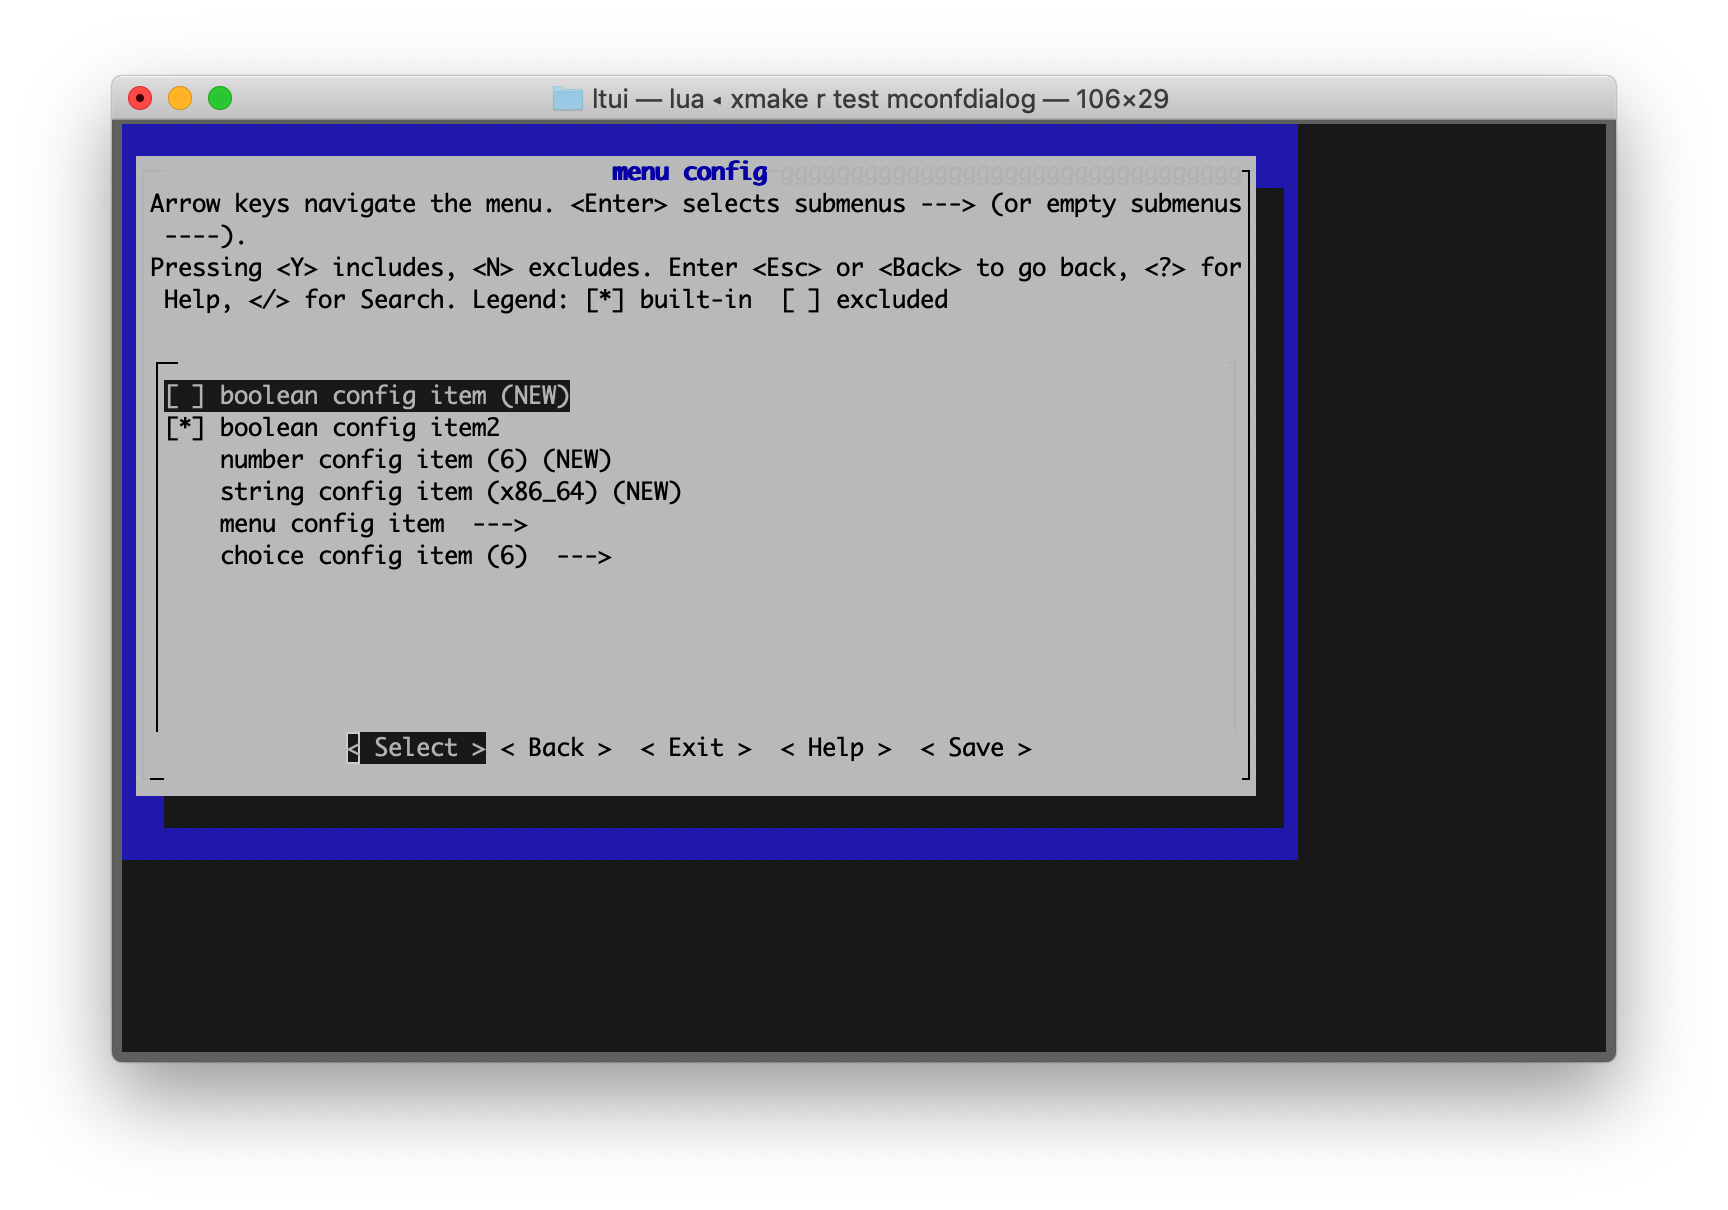
新版本的效果:
$ luarocks install ltui
如果要运行自带的测试,你需要先安装lua或者luajit程序去加载运行ltui源码仓库中的测试程序:
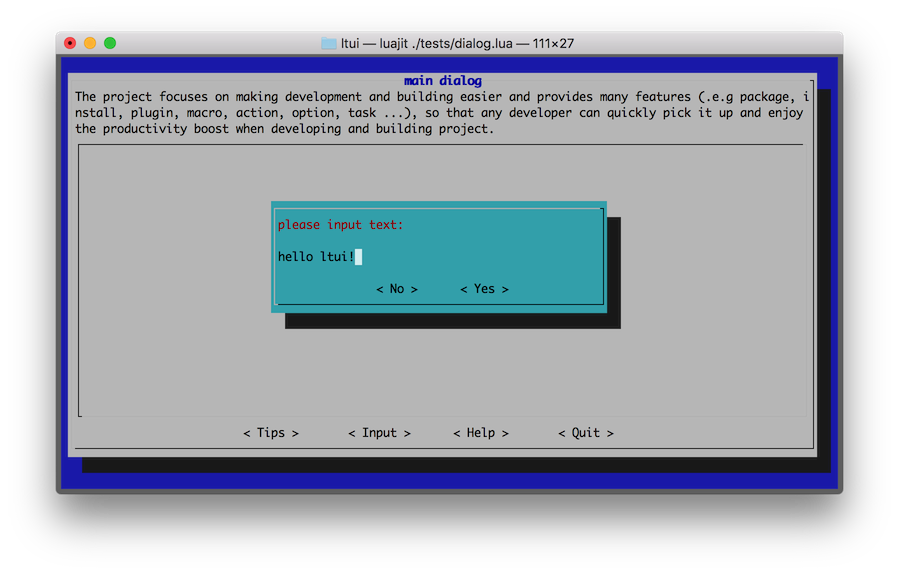
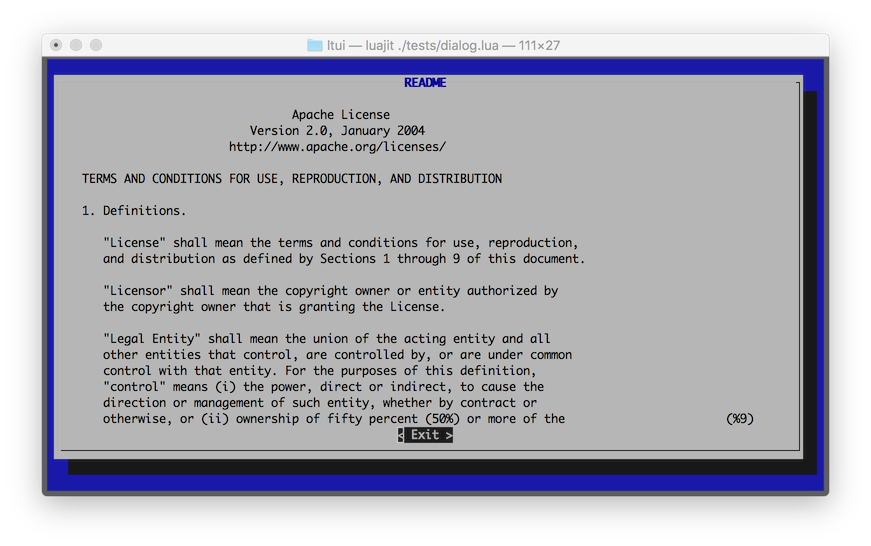
$ lua tests/dialog.lua
$ lua tests/window.lua
$ lua tests/desktop.lua
$ lua tests/inputdialog.lua
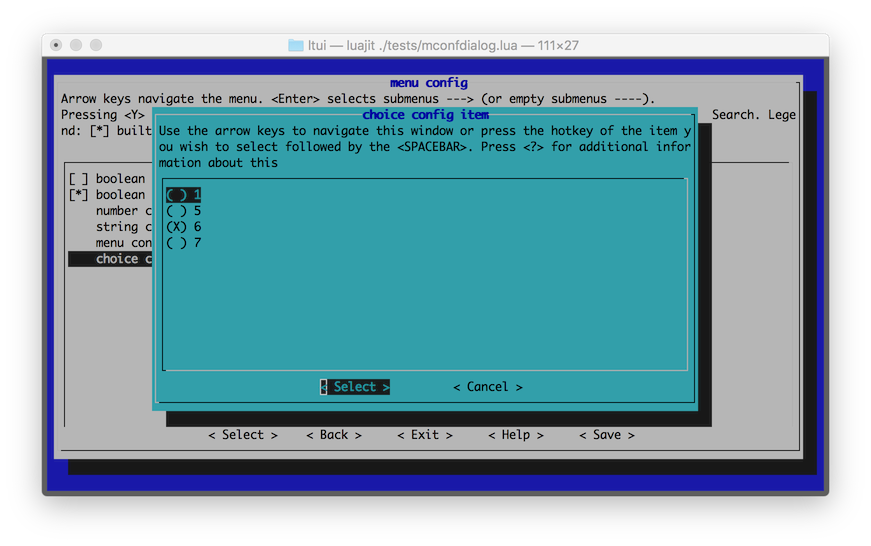
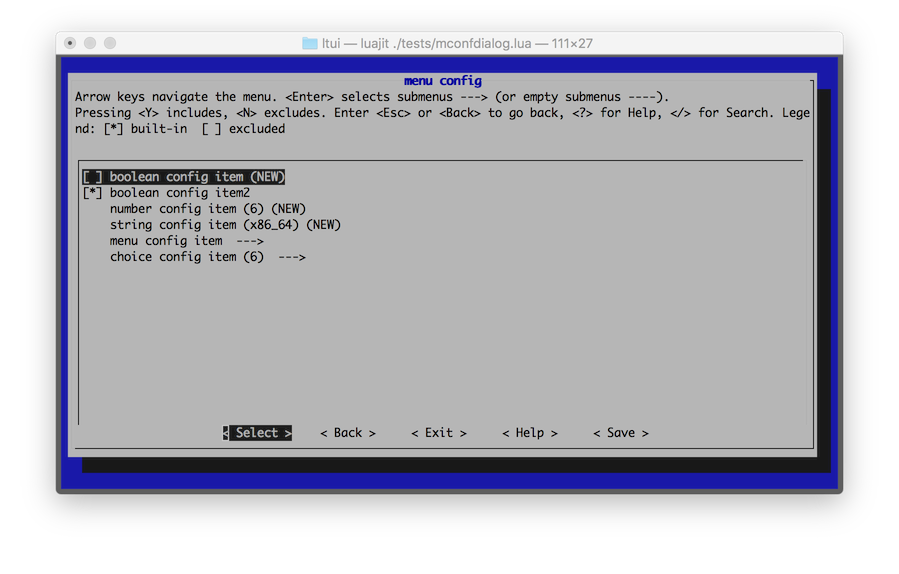
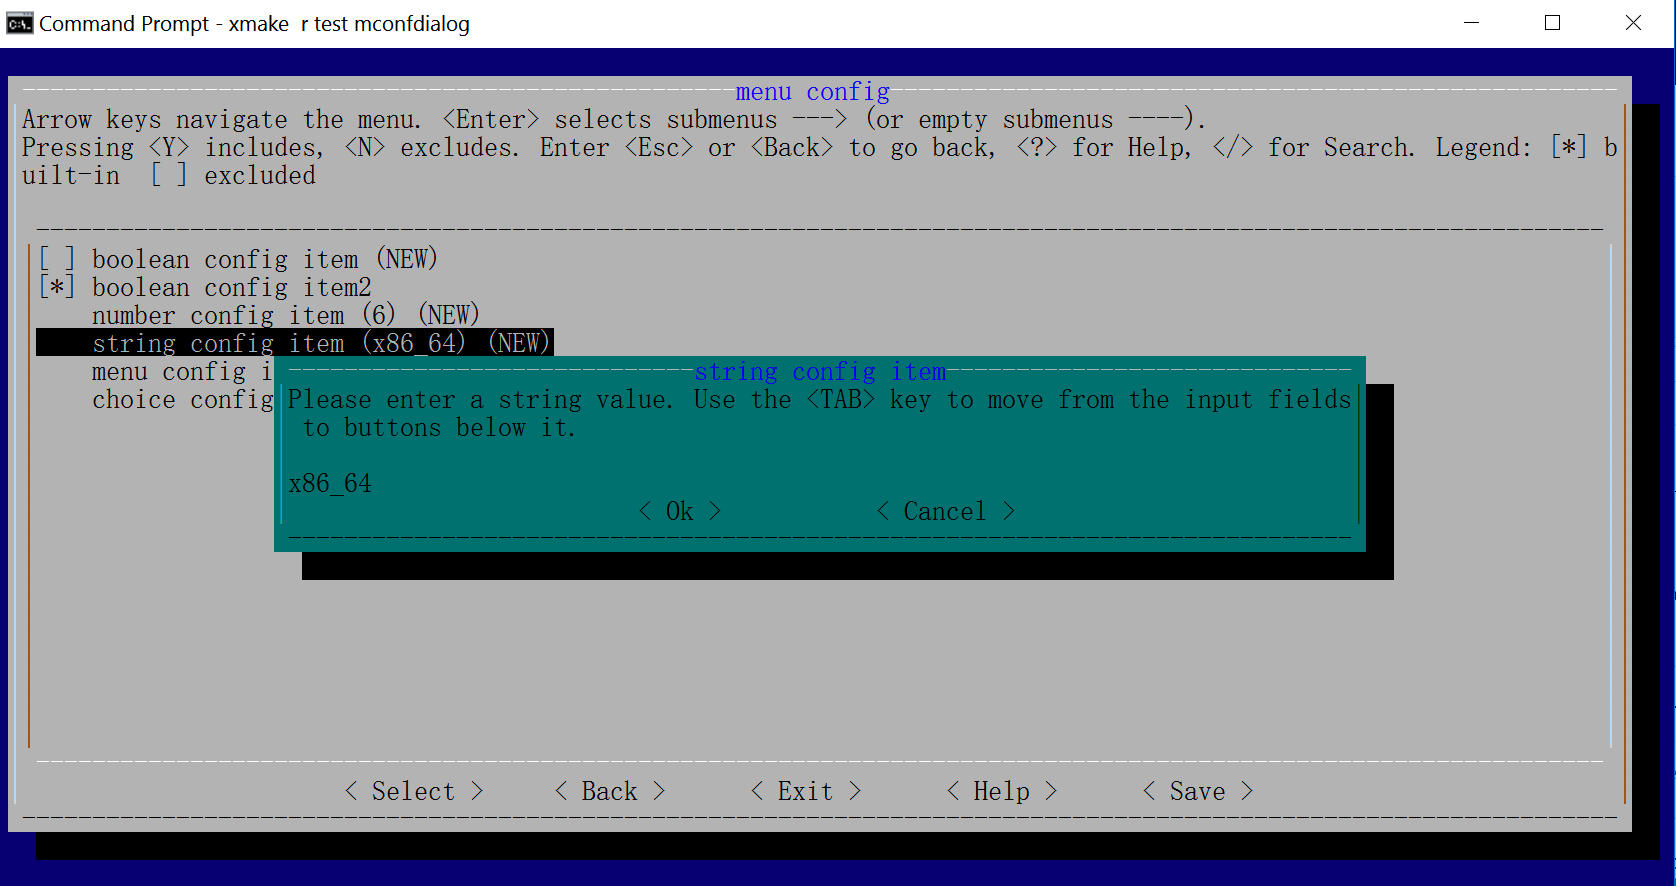
$ lua tests/mconfdialog.lua
$ luajit tests/dialog.lua
$ luajit tests/window.lua
$ luajit tests/desktop.lua
$ luajit tests/inputdialog.lua
$ luajit tests/mconfdialog.lua
通常只要luarocks安装好后就可以使用,如果想要本地调试,也可以源码编译后直接运行测试,首先我们需要先安装跨平台构建工具:xmake
$ xmake
xmake会自动下载lua, ncurses等相关依赖,然后我们直接通过xmake run加载相关测试程序即可:
$ xmake run test dialog
$ xmake run test window
$ xmake run test desktop
$ xmake run test inputdialog
$ xmake run test mconfdialog
local ltui        = require("ltui")
local application = ltui.application
local event       = ltui.event
local rect        = ltui.rect
local window      = ltui.window
local demo        = application()

function demo:init()
    application.init(self, "demo")
    self:background_set("blue")
    self:insert(window:new("window.main", rect {1, 1, self:width() - 1, self:height() - 1}, "main window", true))
end

demo:run()
local lab = label:new("title", rect {0, 0, 12, 1}, "hello ltui!"):textattr_set("white")
local btn = button:new("yes", rect {0, 1, 7, 2}, "< Yes >"):textattr_set("white")
function demo:init()
    -- ...

    local dialog_input = inputdialog:new("dialog.input", rect {0, 0, 50, 8})
    dialog_input:text():text_set("please input text:")
    dialog_input:button_add("no", "< No >", function (v) dialog_input:quit() end)
    dialog_input:button_add("yes", "< Yes >", function (v) dialog_input:quit() end)
    self:insert(dialog_input, {centerx = true, centery = true})
end
| 视图 | 对话框 | 其他 |
|---|---|---|
| view | dialog | event |
| panel | boxdialog | action |
| label | textdialog | canvas |
| button | inputdialog | curses |
| border | mconfdialog | program |
| window | choicedialog | application |
| menubar | point | |
| menuconf | rect | |
| textedit | object | |
| textarea | ||
| statusbar | ||
| choicebox | ||
| desktop |
Windows平台
Recommend
About Joyk
Aggregate valuable and interesting links.
Joyk means Joy of geeK