
https://towardsdatascience.com/face-recognition-using-javascript-api-face-api-js...
source link: https://t.co/zDFjIqlw4V
Go to the source link to view the article. You can view the picture content, updated content and better typesetting reading experience. If the link is broken, please click the button below to view the snapshot at that time.
Face Detection Using JavaScript API — face-api.js


Face-API.js
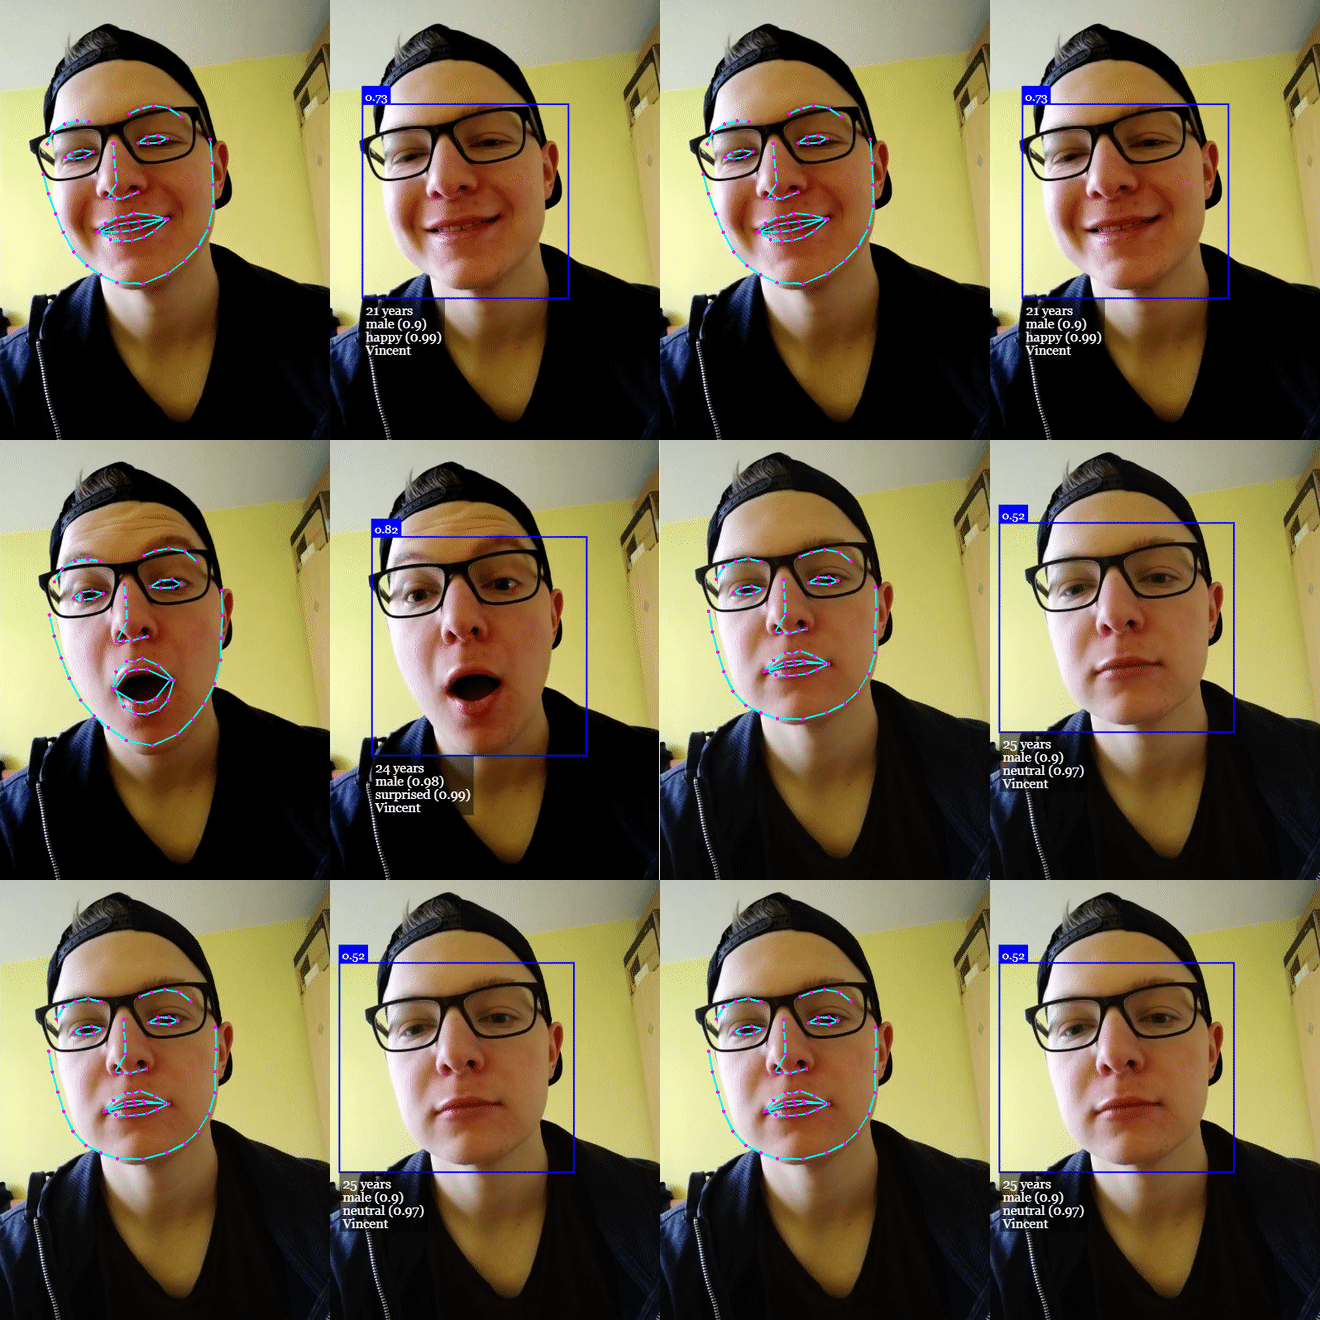
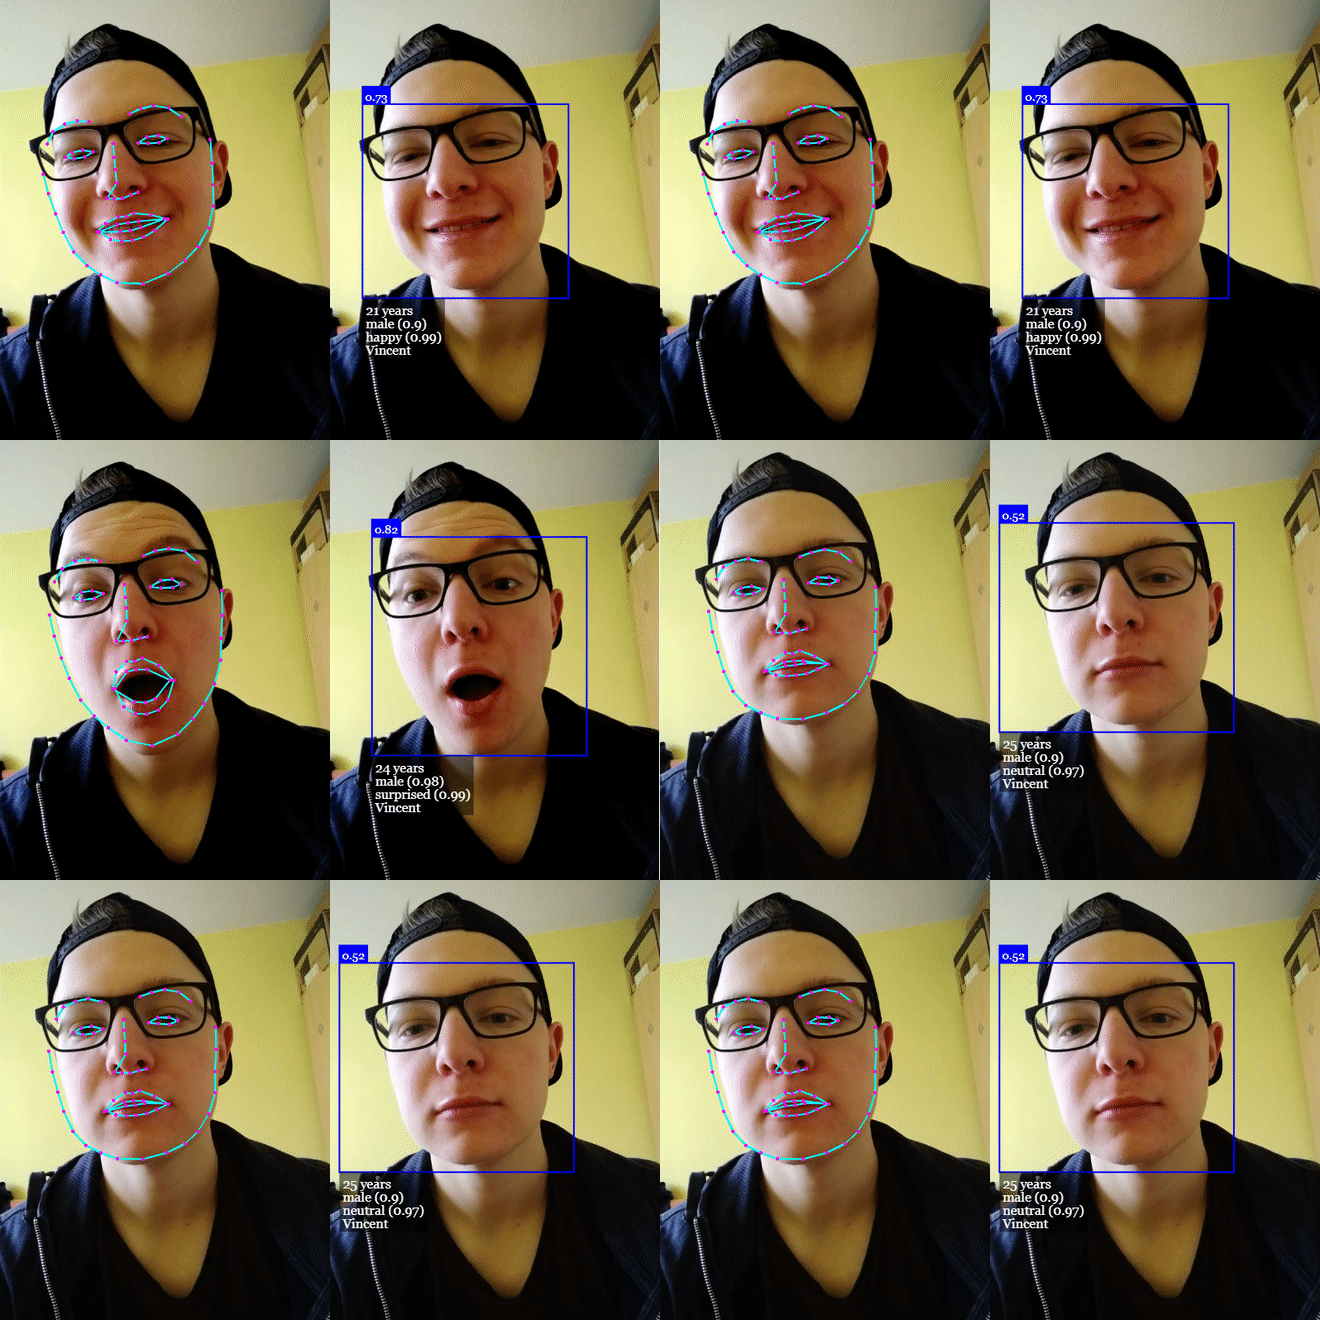
In this article, we will learn about face detection (Age/Gender/Face Positions/Mood) using face-api.js and the nearby object detection (Person/Phone etc) using coco-ssd model on the web browser.
face-api.jsis a javascript module, built on top of tensorflow.js core, which implements several CNNs (Convolutional Neural Networks) to solve face detection, face recognition and face landmark detection, optimized for the web and for mobile devices.
Let’s start now,
Prerequisite :
- Basic understanding of React.js (You may choose any library or frontend framework of your choice)
- Basic understanding of p5.js library.
- Installed create-react-app and Node.js version >= 10.15.1
Let’s create a react project,
npx create-react-app object_face_detection
cd object_face_detection
Now, install the below dependencies
npm install @tensorflow-models/coco-ssd
npm install @tensorflow/tfjs-converter
npm install @tensorflow/tfjs-core
npm install face-api.js
npm install p5
npm install react-p5-wrapper
Let’s understand each dependency one by one-
@tensorflow-models/coco-ssd— This will be used for other object detection like phone, wall, etc. around the face.Coco-ssdis a TensorFlow model already trained with a lot of general images and can directly be used inside a browser. You may read here — https://github.com/tensorflow/tfjs-models/tree/master/coco-ssd@tensorflow/tfjs-converter—This convert TensorFlow saved models and keras models to be used by tensorflow.js directly. By that I mean there are a lot of models already made/trained using python or R but the model saved format is different from what the TensorFlow.js use/consume. So this dependency is required to convert other models into TensorFlow's consumable format.@tensorflow/tfjs-core— Tensorflow core javascript library. You may read this — https://www.tensorflow.org/js/tutorials/setup. The face-api.js is made on top of this dependency.face-api.js— This is the core API for this article and will be used for face detection. To learn more — https://github.com/justadudewhohacks/face-api.js?files=1P5— This is another great library that has evolved in recent times, for our context we will use it for webcam video and for drawing a red color box around the detected face and objects. You may read — https://p5js.orgreact-p5-wrapper— This is just a reactjs wrapper written over p5js functionality. So Instead of writing one, we will use it to save time.
Now let’s dive into coding 💻
Before we start, we need to download the face-api.js model (already build to do face and mood detection). So let’s create a folder called models inside our public folder and download the file present at — https://github.com/justadudewhohacks/face-api.js/tree/master/weights
The models folder will look like

We will now create a file called ObjectDetectionSketch.js inside our src folder, that will have all our logic.
The file will have some import statements as below
import * as p5 from 'p5'import "p5/lib/addons/p5.dom";import * as cocoSsd from '@tensorflow-models/coco-ssd';import * as faceapi from 'face-api.js';
- p5 and p5.dom — needed to work with p5js, bear it with me, after a few paragraphs you will understand the exact usage.
- cocoSsd and faceapi— You already know it by now.
Next, we will define our face-API model URL
const MODEL_URL = '/models'
// this will pick public folder by default
Now, we will create our function called sketch (the wrapper function that will have all our logic)
export default function sketch (p) {}
Inside the sketch function, we will define a few variables and four functions, two custom and two from p5.js called setup and draw .
Variables
// Variables// save current camera image
let capture = null;// save cocossd Model
let cocossdModel = null;// to save the result of cocossd and face-api results
let cocoDrawings = [];
let faceDrawings = [];
Custom Functions
// Custom Function// Used to store the result of coco-ssd model
function showCocoSSDResults(results) {
    const id = capture.id();
    cocoDrawings = results;
}// used to store the result for the face-api.js model
function showFaceDetectionData(data) {
    faceDrawings = data;
}
P5.js Functions
// P5.js Functions
p.setup = async function() {}
p.draw = function() {}
Let’s understand both p5 functions in detail. 🚀
Setup function
The p5.js Setup will be called automatically once page loads. We are overriding p5 built-insetup function to initiate some details that we require. Below are the steps that we will do inside our setup function.
1. Load three face-api.js models that we are going to use for face detection.
await faceapi.loadSsdMobilenetv1Model(MODEL_URL);
await faceapi.loadAgeGenderModel(MODEL_URL);
await faceapi.loadFaceExpressionModel(MODEL_URL);
2. Create a p5.js canvas
p.createCanvas(1280, 720);
3. Implement camera capture ability to canvas.
const constraints = {
  video: {
      mandatory: {
      minWidth: 1280,
      minHeight: 720
      },
      optional: [{ maxFrameRate: 10 }]
  },
  audio: false
};capture = p.createCapture(constraints, () => {});
4. Set the video Id and size.
capture.id("video_element");
capture.size(1280, 720);
capture.hide(); // this is require as we don't want to show the deafault video input
5. Load the cocoSsd model and save it locally.
cocoSsd.load().then((model) => {
  try {
      cocossdModel = model;
  } catch(e) {
      console.log(e);
  }
}).catch((e) => {
    console.log("Error occured : ", e);
});
Draw function
The draw function of p5js is called if anything is drawn over p5js canvas. Inside our custom draw function, we will do the following steps.
- Set the background as white and draw our image over it. Also, add the transparency so that anything drawn further to canvas will be transparent.
p.background(255);
p.image(capture, 0, 0);
p.fill(0,0,0,0);
2. Code to render the coco-ssd model result.
cocoDrawings.map((drawing) => {
  if (drawing) {
      p.textSize(20);
      p.strokeWeight(1);
      const textX = drawing.bbox[0]+drawing.bbox[2];
      const textY = drawing.bbox[1]+drawing.bbox[3];

const confidenetext = "Confidence: "+ drawing.score.toFixed(1);
      const textWidth = p.textWidth(confidenetext);

const itemTextWidth = p.textWidth(drawing.class);
      p.text(drawing.class, textX-itemTextWidth-10, textY-50);p.text(confidenetext, textX-textWidth-10, textY-10);
      p.strokeWeight(4);
      p.stroke('rgb(100%,100%,100%)');
      p.rect(drawing.bbox[0], drawing.bbox[1], drawing.bbox[2], drawing.bbox[3]);
  }
});
Here we have a cocoDrawings object that contains current object details detected by coco-ssd model. The shape of the object looks like
{
  "bbox": [
    6.165122985839844,
    2.656116485595703,
    1034.7143936157227,
    712.3482799530029
  ],
  "class": "person",
  "score": 0.9296618103981018
}
We use this object data to draw a rectangle that defines the position of the current object with the name of what is detected (person in the above case) and score.
It's a basic p5js code to draw text and rectangle. If you find it hard to understand then give a shot to p5.js docs and within an hour you will have it. — https://p5js.org/
We can have multiple objects that will be drawn on canvas as they will get detected.
3. Code to render the face-api.js model result.
faceDrawings.map((drawing) => {
  if (drawing) {
    p.textSize(15);
    p.strokeWeight(1);   const textX = drawing.detection.box._x+drawing.detection.box._width;
    const textY = drawing.detection.box._y+drawing.detection.box._height;

const confidenetext = "Gender: "+ drawing.gender;
    const textWidth = p.textWidth(confidenetext);
    p.text(confidenetext, textX-textWidth, textY-60);    const agetext = "Age: "+ drawing.age.toFixed(0);
    const ageTextWidth = p.textWidth(agetext);
    p.text(agetext, textX-ageTextWidth, textY-30);    const copiedExpression = drawing.expressions;
    const expressions = Object.keys(copiedExpression).map((key) => {
        const value = copiedExpression[key];
        return value;
    })    const max = Math.max(...expressions);

const expression_value =    Object.keys(copiedExpression).filter((key) => {
        return copiedExpression[key] === max;
    })[0];    const expressiontext = "Mood: "+ expression_value;
    const expressionWidth = p.textWidth(expressiontext);
    p.text(expressiontext, textX-expressionWidth, textY-10);

p.strokeWeight(4);
    p.stroke('rgb(100%,0%,10%)');
    p.rect(drawing.detection.box._x, drawing.detection.box._y, drawing.detection.box._width, drawing.detection.box._height);
  }
});
Here we are defining text size, drawing the data that we got from face-api.js onto our p5.js canvas.
Now each detected face have below data returned by the face-api.js model
{
  "detection": {
    "_imageDims": {
      "_width": 1280,
      "_height": 720
    },
    "_score": 0.6889822483062744,
    "_classScore": 0.6889822483062744,
    "_className": "",
    "_box": {
      "_x": 121.50997161865234,
      "_y": 15.035667419433594,
      "_width": 507.80059814453125,
      "_height": 531.7609024047852
    }
  },
  "gender": "male",
  "genderProbability": 0.9683359265327454,
  "age": 30.109874725341797,
  "expressions": {
    "neutral": 0.9950351715087891,
    "happy": 0.0000017113824242187547,
    "sad": 0.000005796719960926566,
    "angry": 0.00000466804613097338,
    "fearful": 1.3292748013427058e-9,
    "disgusted": 3.015825145169515e-9,
    "surprised": 0.004952521994709969
  }
}
You can see we are getting face as a rectangle coordinate, gender along with age and expressions data
Rectangle coordinates we can pull from detection._box and for expressions, we have all expressions and their corresponding score. So,
const copiedExpression = drawing.expressions;
const expressions = Object.keys(copiedExpression).map((key) => {
    const value = copiedExpression[key];
    return value;
})const max = Math.max(...expressions);const expression_value = Object.keys(copiedExpression).filter((key) => {
    return copiedExpression[key] === max;
})[0];
With the above code, we will estimate and get height scorer expression and display inside a rectangle
The most difficult part is to fit text inside rectangle, So we did a not so good implementation but it works.
So we remove this width from x coordinate of the box and also 10 more to have some margin from the left border and display text.
const ageTextWidth = p.textWidth(agetext);
p.text(agetext, textX-ageTextWidth, textY-30);
But wait 🤔, All this is fine but where is the code that detects the face and the other object.
So here it is👇
4. The code to detect the face and other meta-objects.
faceapi.detectAllFaces(capture.id())
  .withAgeAndGender()
  .withFaceExpressions()
  .then((data) => {
    showFaceDetectionData(data);
});if(capture.loadedmetadata) {
    if (cocossdModel) {
        cocossdModel
        .detect(document.getElementById("video_element"))
        .then(showCocoSSDResults)
        .catch((e) => {
            console.log("Exception : ", e);
        });
    }
}
And we are done 🎢 and ready to test.
Inside the terminal do
cd object_face_detection
npm start
Here is the output of trying —
https://github.com/overflowjs-com/object_face_detection_webcam_react — is the repository for the code if you find it difficult to flow along with this article.
Note: This implementation is slow as we are loading all models in browser and doing in real-time
Recommend
About Joyk
Aggregate valuable and interesting links.
Joyk means Joy of geeK