

Build a QR Scanner: A React Native Camera Tutorial
source link: https://www.tuicool.com/articles/hit/ZZZ7fyN
Go to the source link to view the article. You can view the picture content, updated content and better typesetting reading experience. If the link is broken, please click the button below to view the snapshot at that time.
In this React Native Camera tutorial, we will create a QR code reader app. It will be able to read QR codes in real time and render their content to the screen at the time of detection. We will be using React Native’s CLI Quickstart.
(Note: If you need help setting this up, you can always refer to the React Native Getting Started page —don’t forget to click on the “React Native CLI Quickstart” button, as “Expo CLI Quickstart” comes preselected at the time of writing this article.)
Why React Native?
React Native is a valuable framework that borrows React’s paradigm and design principles to enable lightning fast, cross-platform development of snappy UIs. Facebook, Airbnb, Uber, and many others already have their latest apps built with React Native.
What Is React Native Camera?
React Native Camera (RNCamera) is the go-to component when it comes to implementing camera functionality in a React Native app. This component helps you communicate with the native OS through some simple functions so you can use device hardware. You can build your apps around these functions without getting into the hassle of native code. RNCamera already supports:
- Photographs
- Videos
- Face detection
- Barcode scanning
- Text recognition (Android only)
Note that RNCamera used to come in two flavors:
- RNCamera
- RCTCamera (deprecated)
…so make sure to use RNCamera so that you can keep getting the latest updates.
Note:React Native Camera is heavily based on the Expo camera module and going back and forth between the two is pretty easy.
Creating Your First App Using RNCamera
Before we begin our React Native QR scanner, there are some dependencies we’ll need to install.
Installing RNCamera’s Dependencies
Our setup needs a minimum of JDK version 1.7 (which you most likely have) and if you’re on Android you’ll require buildToolsVersion
newer than 25.0.2. (To be sure, there is a more detailed and up-to-date list in the docs
.)
First let’s get started by creating a new React Native project:
react-native init CameraExample
Now let’s deploy the first version of our React Native Camera example over our phone.
cd CameraExample
react-native run-android
It should look like the screenshot below:

Now it’s time to install the react-native-camera
package in our project. We will use the “Mostly automatic install with react-native” option. (There are others like Mostly automatic install with CocoaPods
and Manual install
, but we will stick to the first option, as it’s the most efficient.) Simply run:
npm install react-native-camera --save
react-native link react-native-camera
You must also add the following permissions to android/app/src/main/AndroidManifest.xml
:
package="com.cameraexample">

     <uses-permission android:name="android.permission.INTERNET" />
+    <uses-permission android:name="android.permission.CAMERA" />
+    <uses-permission android:name="android.permission.RECORD_AUDIO"/>
+    <uses-permission android:name="android.permission.READ_EXTERNAL_STORAGE" />
+    <uses-permission android:name="android.permission.WRITE_EXTERNAL_STORAGE" />

     <application
       android:name=".MainApplication"
You’ll also need to set the dimension strategy in android/app/build.gradle
—it has no default and you’ll get an error if you don’t define it
:
defaultConfig {
         applicationId "com.cameraexample"
         minSdkVersion rootProject.ext.minSdkVersion
+        missingDimensionStrategy 'react-native-camera', 'general'
         targetSdkVersion rootProject.ext.targetSdkVersion
         versionCode 1
         versionName "1.0"
Note: The dimension strategy should normally be set to general
as above. However, you can set it to mlkit
instead, if you’d like to use MLKit for text/face/barcode recognition
.
After the installation, you will need to use run-android
to install the new dependencies:
react-native run-android
If everything went well, you should see the same React Native welcome screen on your device or simulator again.
Setting Up the Camera
First, let’s start by modifying App.js
and importing RNCamera
there:
import { RNCamera } from 'react-native-camera';
Next, we’ll modify the render
function to include our newly imported RNCamera
. Notice the style
attribute added to the camera in order for it to take the full screen. Without these styles, you may not be able to see the camera render on your screen, as it will not occupy any space:
render() {
     return (
       <View style={styles.container}>
-        <Text style={styles.welcome}>Welcome to React Native!</Text>
-        <Text style={styles.instructions}>To get started, edit App.js</Text>
-        <Text style={styles.instructions}>{instructions}</Text>
+        <RNCamera
+          ref={ref => {
+            this.camera = ref;
+          }}
+          style={{
+            flex: 1,
+            width: '100%',
+          }}
+        >
+        </RNCamera>
       </View>
     );
   }
After adding this code, your interface should have the camera on, full-screen, just like the screenshot below:
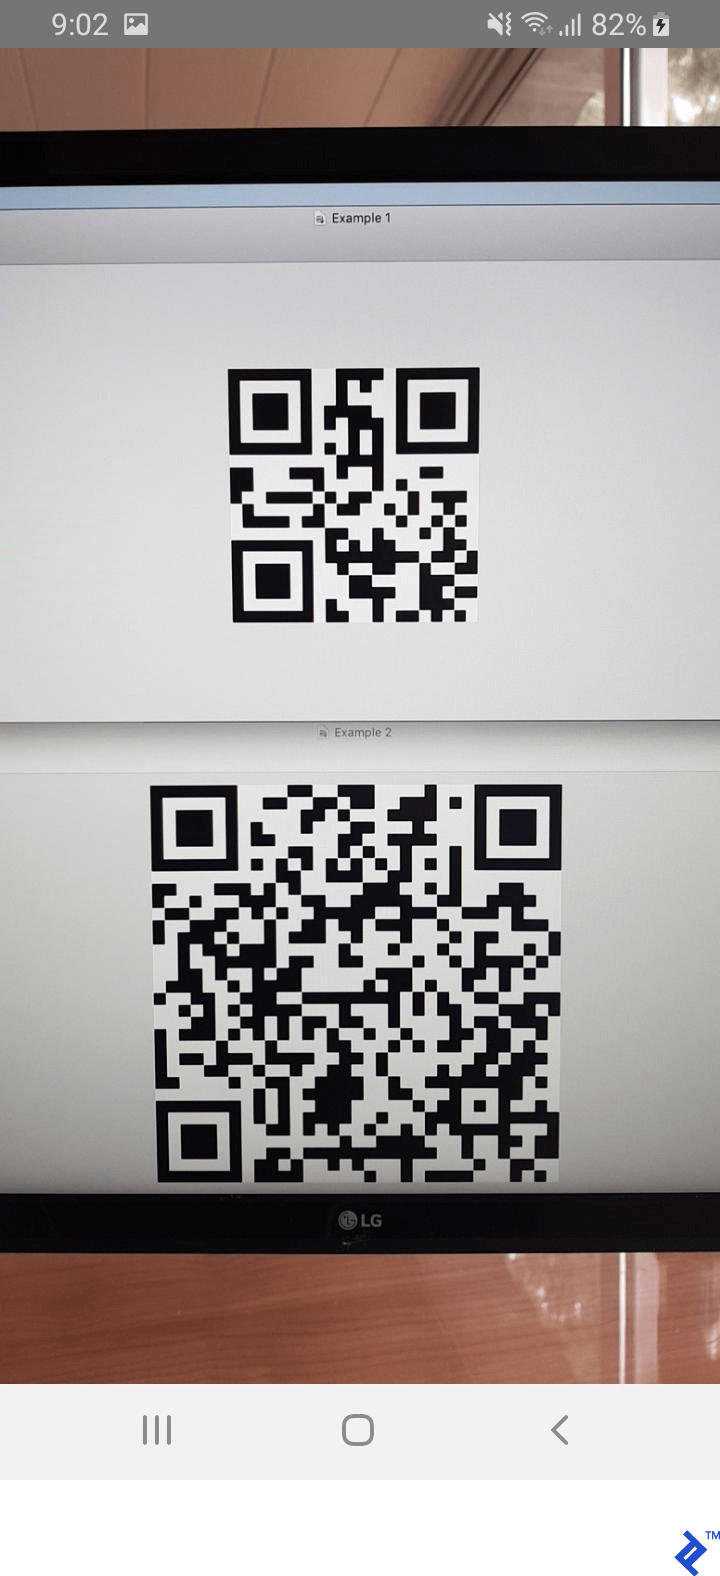
Now we can see barcodes (as we can seeour test QR codes showing on the monitor above) but we can’t read them yet. Let’s use RNCamera’s algorithm to recognize what is written inside each of them.
Reading Barcode Information
In order to read barcode information, we will use the onGoogleVisionBarcodesDetected
prop so that we can call a function and extract the information. Let’s add that in the <RNCamera>
component and link it to a barcodeRecognized
function to take care of it. Note that onGoogleVisionBarcodesDetected
returns an object containing the barcodes
property, which contains an array of all the barcodes recognized in the camera.
Note:The onGoogleVisionBarcodesDetected
QR code technology is only available on Android, but if you’d like a cross-platform approach, you’d better go with onBarCodeRead
. It supports only a single barcode at a time—using it as a fallback is left as an exercise for the reader.
Here’s how our <RNCamera>
should look after adding onGoogleVisionBarcodesDetected
:
<RNCamera
          ref={ref => {
            this.camera = ref;
          }}
          style={{
            flex: 1,
            width: '100%',
          }}
          onGoogleVisionBarcodesDetected={this.barcodeRecognized}
        >
        </RNCamera>
And now we can handle the barcodes in App.js
with the function below, which will only warn us when a barcode is detected and should display its content on the screen:
barcodeRecognized = ({ barcodes }) => {
    barcodes.forEach(barcode => console.warn(barcode.data))
  };
Here’s how it looks in action:

Rendering Barcode Overlays
The previous screenshot now shows the information contained in the barcode but does not allow us to know which message belongs to which barcode. For this, we will go deeper into the barcodes
returned from onGoogleVisionBarcodesDetected
and try to pinpoint each of the barcodes on our screen.
But first, we will need to save the recognized barcodes into the state so that we can access it and render an overlay based on the contained data. We will now modify our previously defined function to look like this:
barcodeRecognized = ({ barcodes }) => this.setState({ barcodes });
We will now need to add a state
object initialized to an empty array of barcodes so that it doesn’t create any errors in our render
functions:
export default class App extends Component<Props> {
  state = {
    barcodes: [],
  }
// ...
Let’s now create the renderBarCodes
function which should be added inside the <RNCamera>
component:
<RNCamera
          ref={ref => {
            this.camera = ref;
          }}
          style={{
            flex: 1,
            width: '100%',
          }}
          onGoogleVisionBarcodesDetected={this.barcodeRecognized}
        >
          {this.renderBarcodes()}
        </RNCamera>
This function should now take the barcodes recognized from the state and show them on-screen:
renderBarcodes = () => (
    <View>
      {this.state.barcodes.map(this.renderBarcode)}
    </View>
  );
Notice that the mapping is pointed to renderBarcode
which should render each barcode on the screen. I’ve added some minor styling in order for us to be able to recognize those easily:
renderBarcode = ({ bounds, data }) => (
    <React.Fragment key={data + bounds.origin.x}>
      <View
        style={{
          borderWidth: 2,
          borderRadius: 10,
          position: 'absolute',
          borderColor: '#F00',
          justifyContent: 'center',
          backgroundColor: 'rgba(255, 255, 255, 0.9)',
          padding: 10,
          ...bounds.size,
          left: bounds.origin.x,
          top: bounds.origin.y,
        }}
      >
        <Text style={{
          color: '#F00',
          flex: 1,
          position: 'absolute',
          textAlign: 'center',
          backgroundColor: 'transparent',
        }}>{data}</Text>
      </View>
    </React.Fragment>
  );
Each barcode recognized has:
bounds
data
type
Using those three parameters as we have in the render function above gives the following result:

Cross-platform Deployment
As mentioned, RNCamera abstracts the native parts of the camera module into a universal cross-platform language. It’s important to note that some of the features would be only available on one platform or they may have a different way to be written on another. To make sure that what you intend to build is supported on all the platforms you require, make sure to always read the documentation as a first step. Furthermore, it is always better to test the edge cases on different devices after you’re done your implementation, so that you are sure about the robustness of your product.
Go Forth and Decode
I hope this small taste of augmented reality development has been helpful, and that you now have the basic React Native Camera app running on your phone or simulator. Feel free to drop a comment if you have any questions or requests!
Recommend
About Joyk
Aggregate valuable and interesting links.
Joyk means Joy of geeK