

How to Edit the Footer in WordPress ?
source link: https://www.geeksforgeeks.org/how-to-edit-the-footer-in-wordpress/
Go to the source link to view the article. You can view the picture content, updated content and better typesetting reading experience. If the link is broken, please click the button below to view the snapshot at that time.
How to Edit the Footer in WordPress ?
WordPress is an open-source Content Management System framework. it is a tool that organizes the whole process of creating, storing, and showcasing web content in an optimal way. WordPress started its journey as an improvement tool to enhance the regular typography of day-to-day writing. But it was taken as a blogging tool and as we reach the last quarter of this year WordPress stands strong as the most used WCM system used and that also not only in the blogging community. In this article, we will discuss how to preview the posts on WordPress.
In this article, we are going to see how to edit the WordPress footer. we can add a new element as well as we can delete elements from the footer. Follow the below steps to know how to edit the WordPress footer.
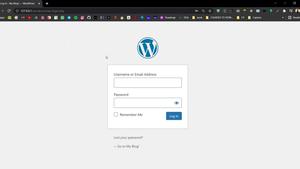
Step 1: Go to the WordPress login panel and enter the username and password to log in to WordPress. You can access the login panel by adding /login in at the end of your website URL. In my case, it is – http://127.0.0.1/wordpress/wp-login.php
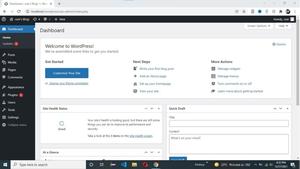
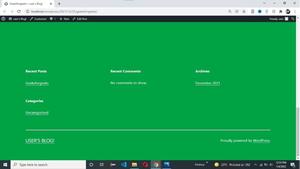
After successful login, your dashboard looks like this.
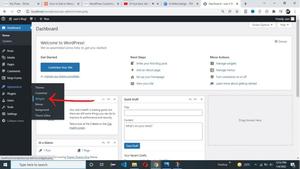
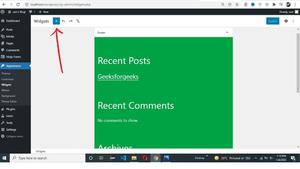
Step 2: Go to Appearance >> Widgets.
Step 3: Now if you want to remove any element then click on the element and use this shortcut key Shift + Alt + Z.
Step 4: After removing your elements click on the update button. In the below image, you can see search box is successfully removed from our footer.
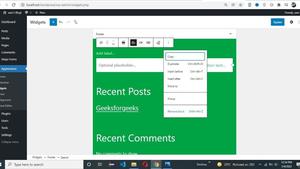
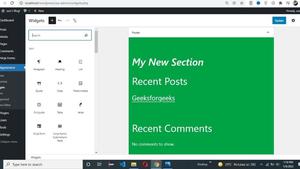
Step 5: if you want to add a new section in your footer then click on add button.
Step 6: Drag and drop the element that you want to add to your footer. After adding elements click on the Update button.
After inserting a new element our footer looks like this.
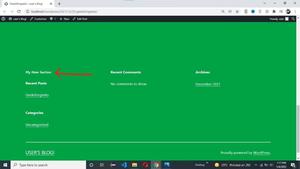
In the above example, we add theMy New Section heading in our footer.
Here's a complete roadmap for you to become a developer: Learn DSA -> Master Frontend/Backend/Full Stack -> Build Projects -> Keep Applying to Jobs
And why go anywhere else when our DSA to Development: Coding Guide helps you do this in a single program! Apply now to our DSA to Development Program and our counsellors will connect with you for further guidance & support.
Recommend
About Joyk
Aggregate valuable and interesting links.
Joyk means Joy of geeK