

IOC容器-Bean管理注解方式
source link: https://blog.51cto.com/u_15740728/5906972
Go to the source link to view the article. You can view the picture content, updated content and better typesetting reading experience. If the link is broken, please click the button below to view the snapshot at that time.
注解开发使用的多、加深了对各个注解的使用理解。
1、什么是注解
(1)注解是代码特殊标记,格式:@注解名称(属性名称=属性值, 属性名称=属性值…)
(2)使用注解,注解作用在类上面,方法上面,属性上面
(3)使用注解目的:简化 xml 配置
2、Spring 针对 Bean 管理中创建对象提供注解
四个注解功能是一样的,都可以用来创建 bean 实例
(1)@Component
(2)@Service
(3)@Controller
(4)@Repository
3、基于注解方式实现对象创建
第一步 引入依赖

第二步 开启组件扫描
1 、如果扫描多个包,多个包使用逗号隔开
2 、扫描包上层目录
<context:component-scan base-package="com.zyz.spring5"></context:component-scan>
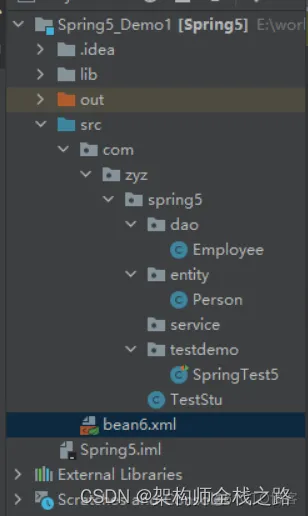
第三步 创建类,在类上面添加创建对象注解
package com.zyz.spring5.dao;
import org.springframework.stereotype.Component;

/**
 * @author Lenovo
 * @version 1.0
 * @data 2022/9/25 16:35
 */

//在注解里面 value 属性值可以省略不写
//默认值是类名称,首字母小写
//UserService -- userService
@Component(value = "employee")//<bean id="employee" class=".."/>
public class Employee {
    private String ename;
    private String gender;


    public void setEname(String ename) {
        this.ename = ename;
    }

    public void setGender(String gender) {
        this.gender = gender;
    }


    public void sayShow() {
        System.out.println("sayShow.........");
    }

    public void say() {
        System.out.println("我的部门是:"  + "  姓名:" + this.ename + "   性别:" + this.gender);
    }
}
4、开启组件扫描细节配置
指定哪些包被扫描、哪些不被扫描
use-default-filters=“false” 表示现在不使用默认 filter,自己配置 filter 。context:include-filter ,设置扫描哪些内容
<context:component-scan base-package="com.atguigu" use-defaultfilters="false">
 <context:include-filter type="annotation"

expression="org.springframework.stereotype.Controller"/>
</context:component-scan>
下面配置扫描包所有内容
context:exclude-filter: 设置哪些内容不进行扫描
<context:component-scan base-package="com.atguigu">
 <context:exclude-filter type="annotation"

expression="org.springframework.stereotype.Controller"/>
</context:component-scan>
5、基于注解方式实现属性注入
5.1 @Autowired:根据属性类型进行自动装配
第一步 把 service 和 dao 对象创建,在 service 和 dao 类添加创建对象注解
第二步 在 service 注入 dao 对象,在 service 类添加 dao 类型属性,在属性上面使用注解
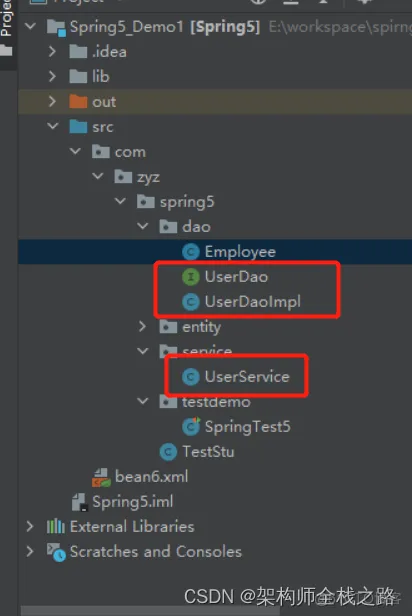
UserDao.java
package com.zyz.spring5.dao;


/**
 * @author Lenovo
 * @version 1.0
 * @data 2022/10/16 14:31
 */

public interface UserDao {
    public void say();
}
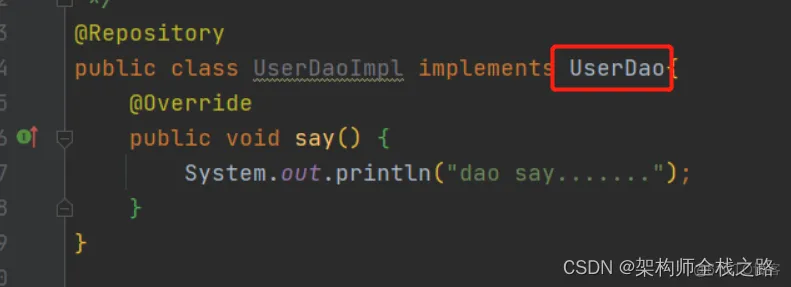
UserDaoImpl.java
package com.zyz.spring5.dao;

import org.springframework.stereotype.Repository;

/**
 * @author Lenovo
 * @version 1.0
 * @data 2022/10/16 14:31
 */

@Repository
public class UserDaoImpl implements UserDao{
    @Override
    public void say() {
        System.out.println("dao say.......");
    }
}
UserService.java
package com.zyz.spring5.service;
import com.zyz.spring5.dao.UserDao;
import org.springframework.beans.factory.annotation.Autowired;
import org.springframework.stereotype.Service;
/**
* @author Lenovo
* @version 1.0
* @data 2022/10/16 14:33
*/
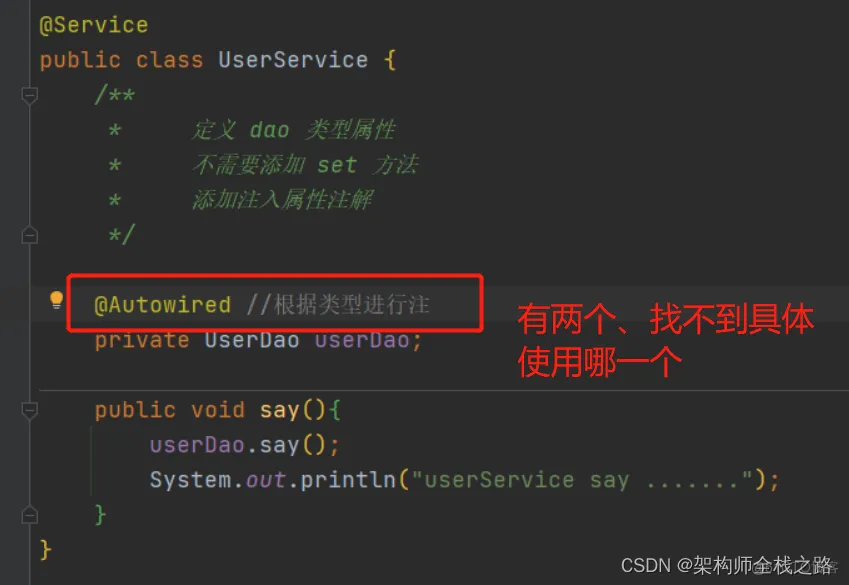
@Service
public class UserService {
/**
* 定义 dao 类型属性
* 不需要添加 set 方法
* 添加注入属性注解
*/
@Autowired
private UserDao userDao;
public void say(){
userDao.say();
System.out.println("userService say .......");
}
}
bean6.xml
<?xml version="1.0" encoding="UTF-8"?>
<beans xmlns="http://www.springframework.org/schema/beans"
       xmlns:xsi="http://www.w3.org/2001/XMLSchema-instance"
       xmlns:context="http://www.springframework.org/schema/context"
       xsi:schemaLocation="http://www.springframework.org/schema/beans http://www.springframework.org/schema/beans/spring-beans.xsd
       http://www.springframework.org/schema/context http://www.springframework.org/schema/context/spring-context.xsd">

    <context:component-scan base-package="com.zyz"></context:component-scan>


</beans>
测试
    @Test
    public void testDemo2(){
        ClassPathXmlApplicationContext context = new ClassPathXmlApplicationContext("bean6.xml");
        UserService userService = context.getBean("userService", UserService.class);
        userService.say();

    }
测试结果
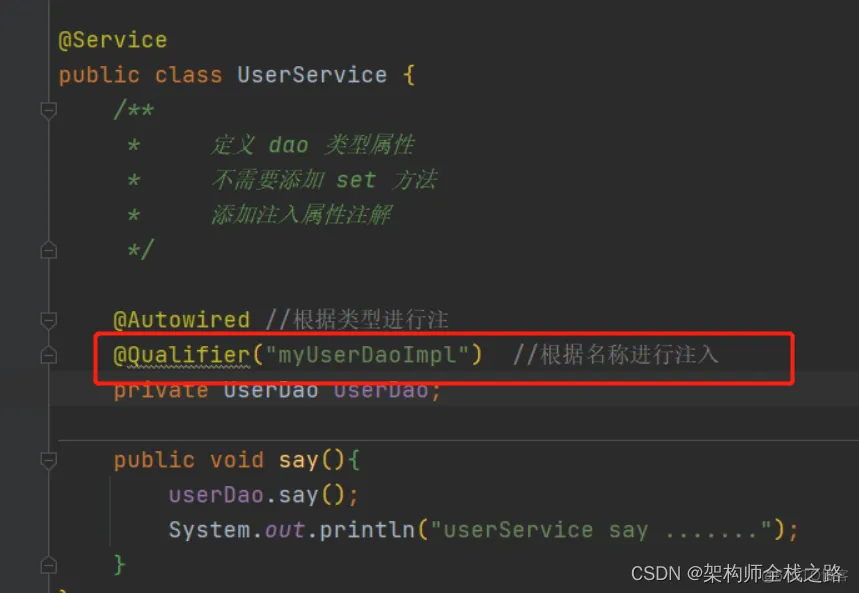
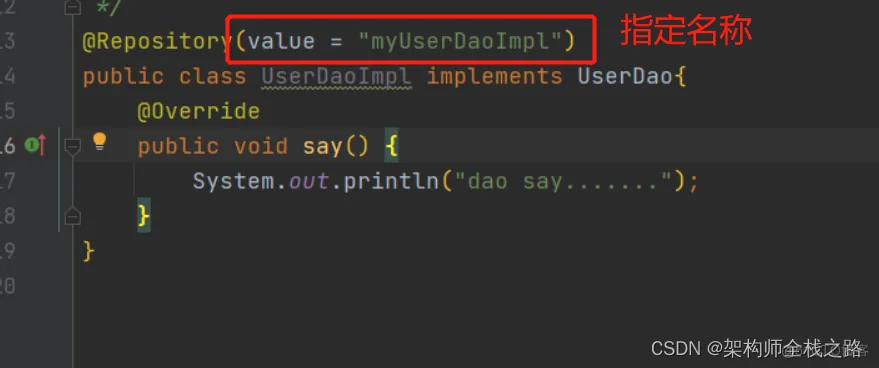
5.2 @Qualifier:根据名称进行注入
这个@Qualifier 注解的使用,和上面@Autowired 一起使用
如果有两个类、继承了同一个接口。此时
@Qualifier的作用就出来了、可以指定对应的名称、注入的时候、根据对应的名称进行注入。
如果不使用@Qualifier、两个类继承同一个接口、然后注入。会出现的错误


解决方法:使用@Qualifier。就可以解决该问题
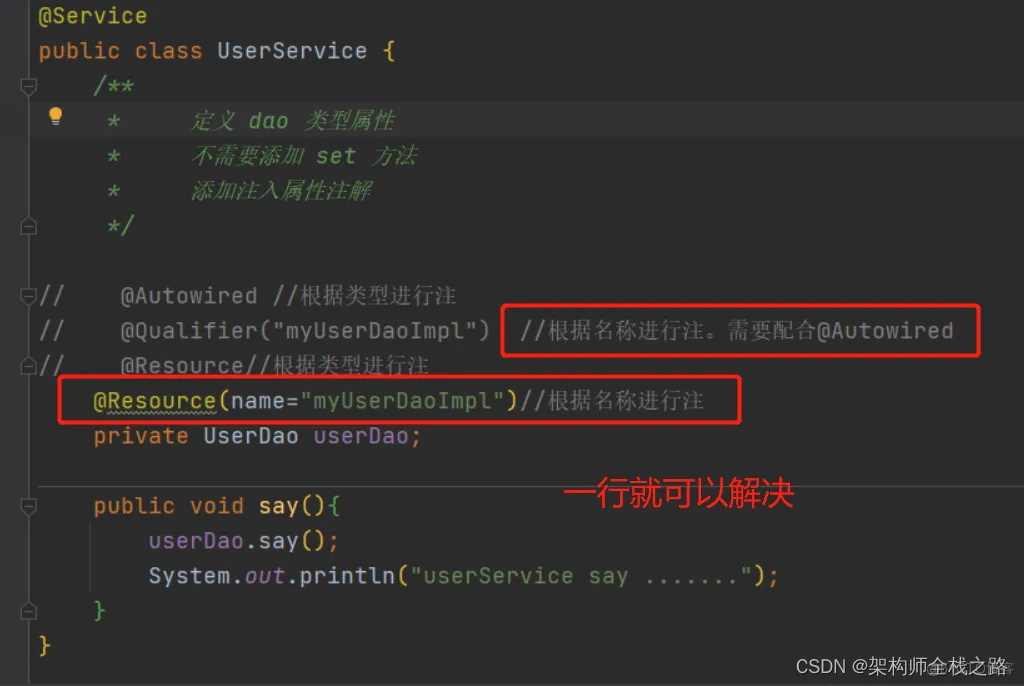
5.3@Resource:可以根据类型注入,可以根据名称注入
//@Resource //根据类型进行注入
@Resource(name="myUserDaoImpl") //根据名称进行注入
private UserDao userDao;
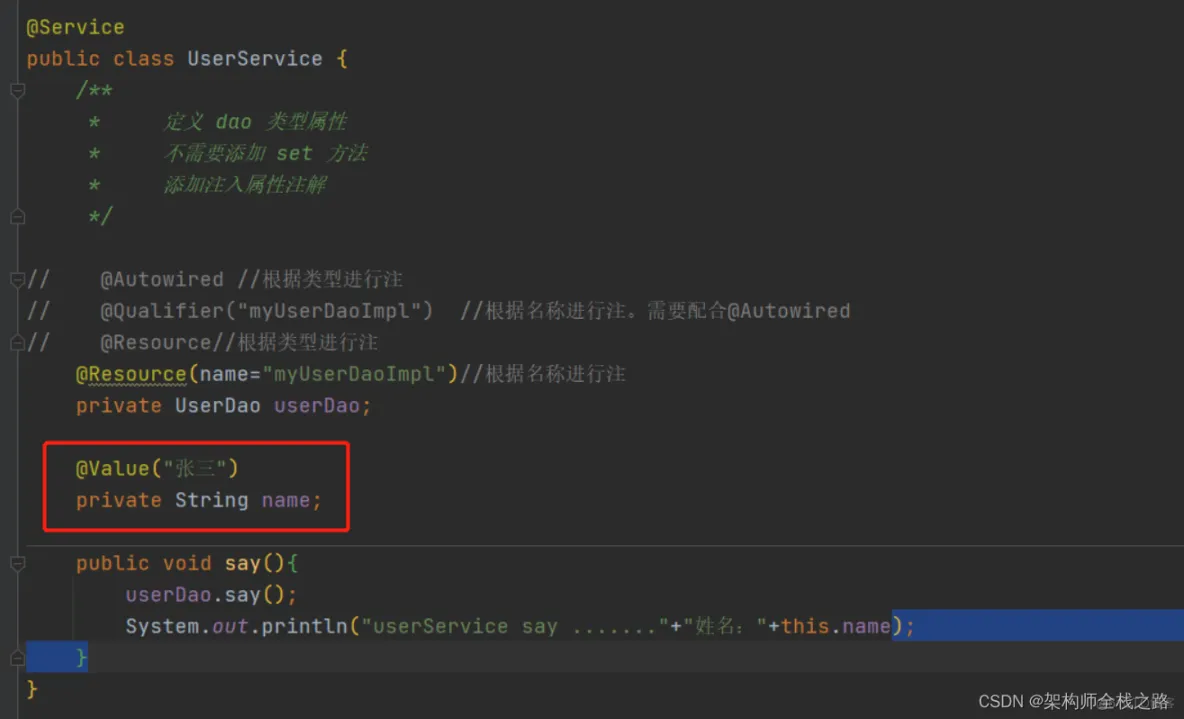
5.4 @Value:注入普通类型属性
 @Value("张三")
 private String name;
测试结果
6、完全注解开发
- 1 创建配置类,替代 xml 配置文件
SpringConfig.java
package com.zyz.spring5.config;

import org.springframework.context.annotation.ComponentScan;
import org.springframework.context.annotation.Configuration;

/**
 * @author Lenovo
 * @version 1.0
 * @data 2022/10/16 15:31
 */
@Configuration //作为配置类,替代 xml 配置文
@ComponentScan(basePackages = {"com.zyz"})
public class SpringConfig {
}
    @Test
    public void testDemo3(){
        //加载配置类
        ApplicationContext context = new AnnotationConfigApplicationContext(SpringConfig.class);
        UserService userService = context.getBean("userService", UserService.class);
        userService.say();

    }
- 3 测试结果

Recommend
About Joyk
Aggregate valuable and interesting links.
Joyk means Joy of geeK