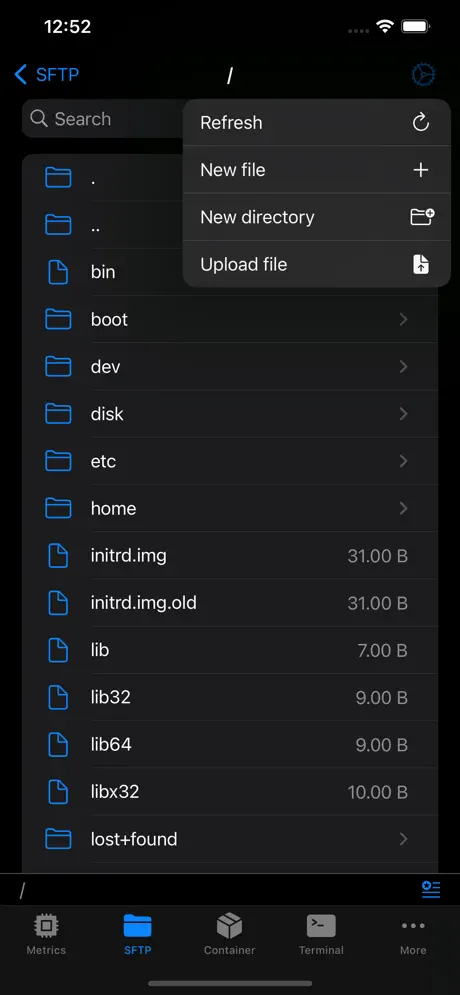
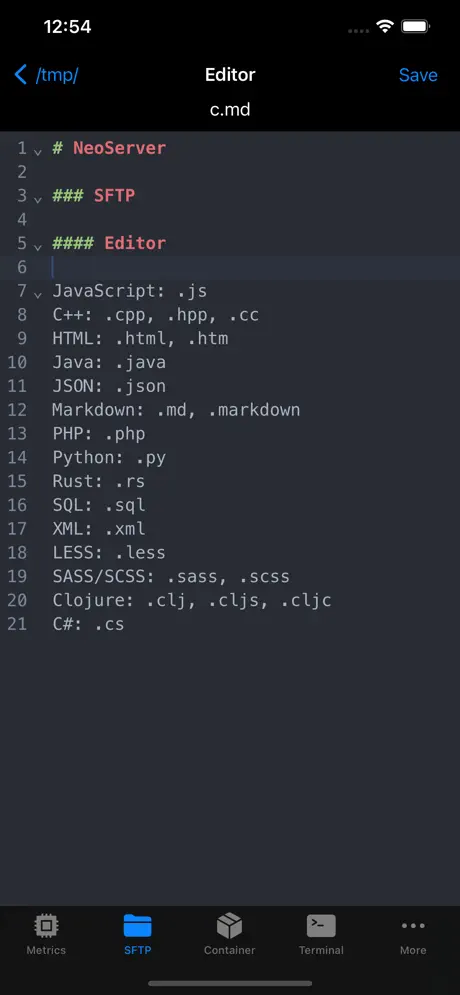
One-click open terminal via neoserver:// scheme link on iOS
Index
 NeoServer
NeoServer
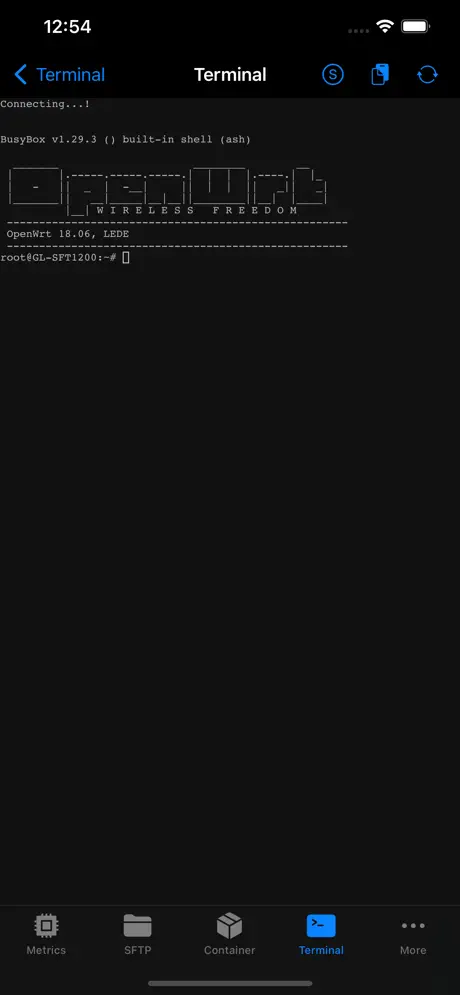
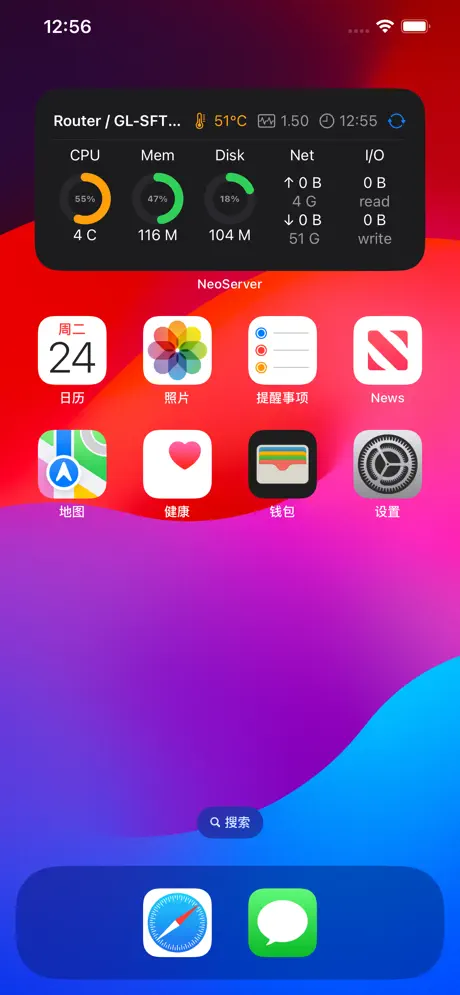
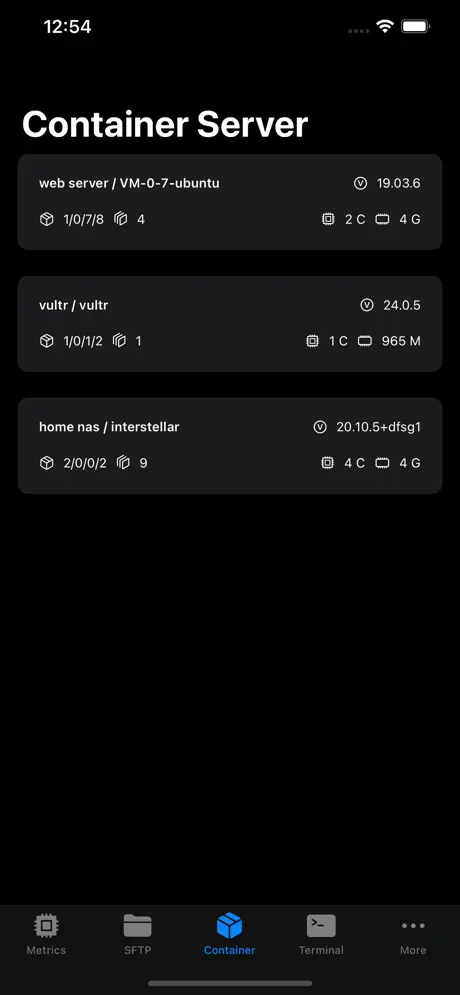
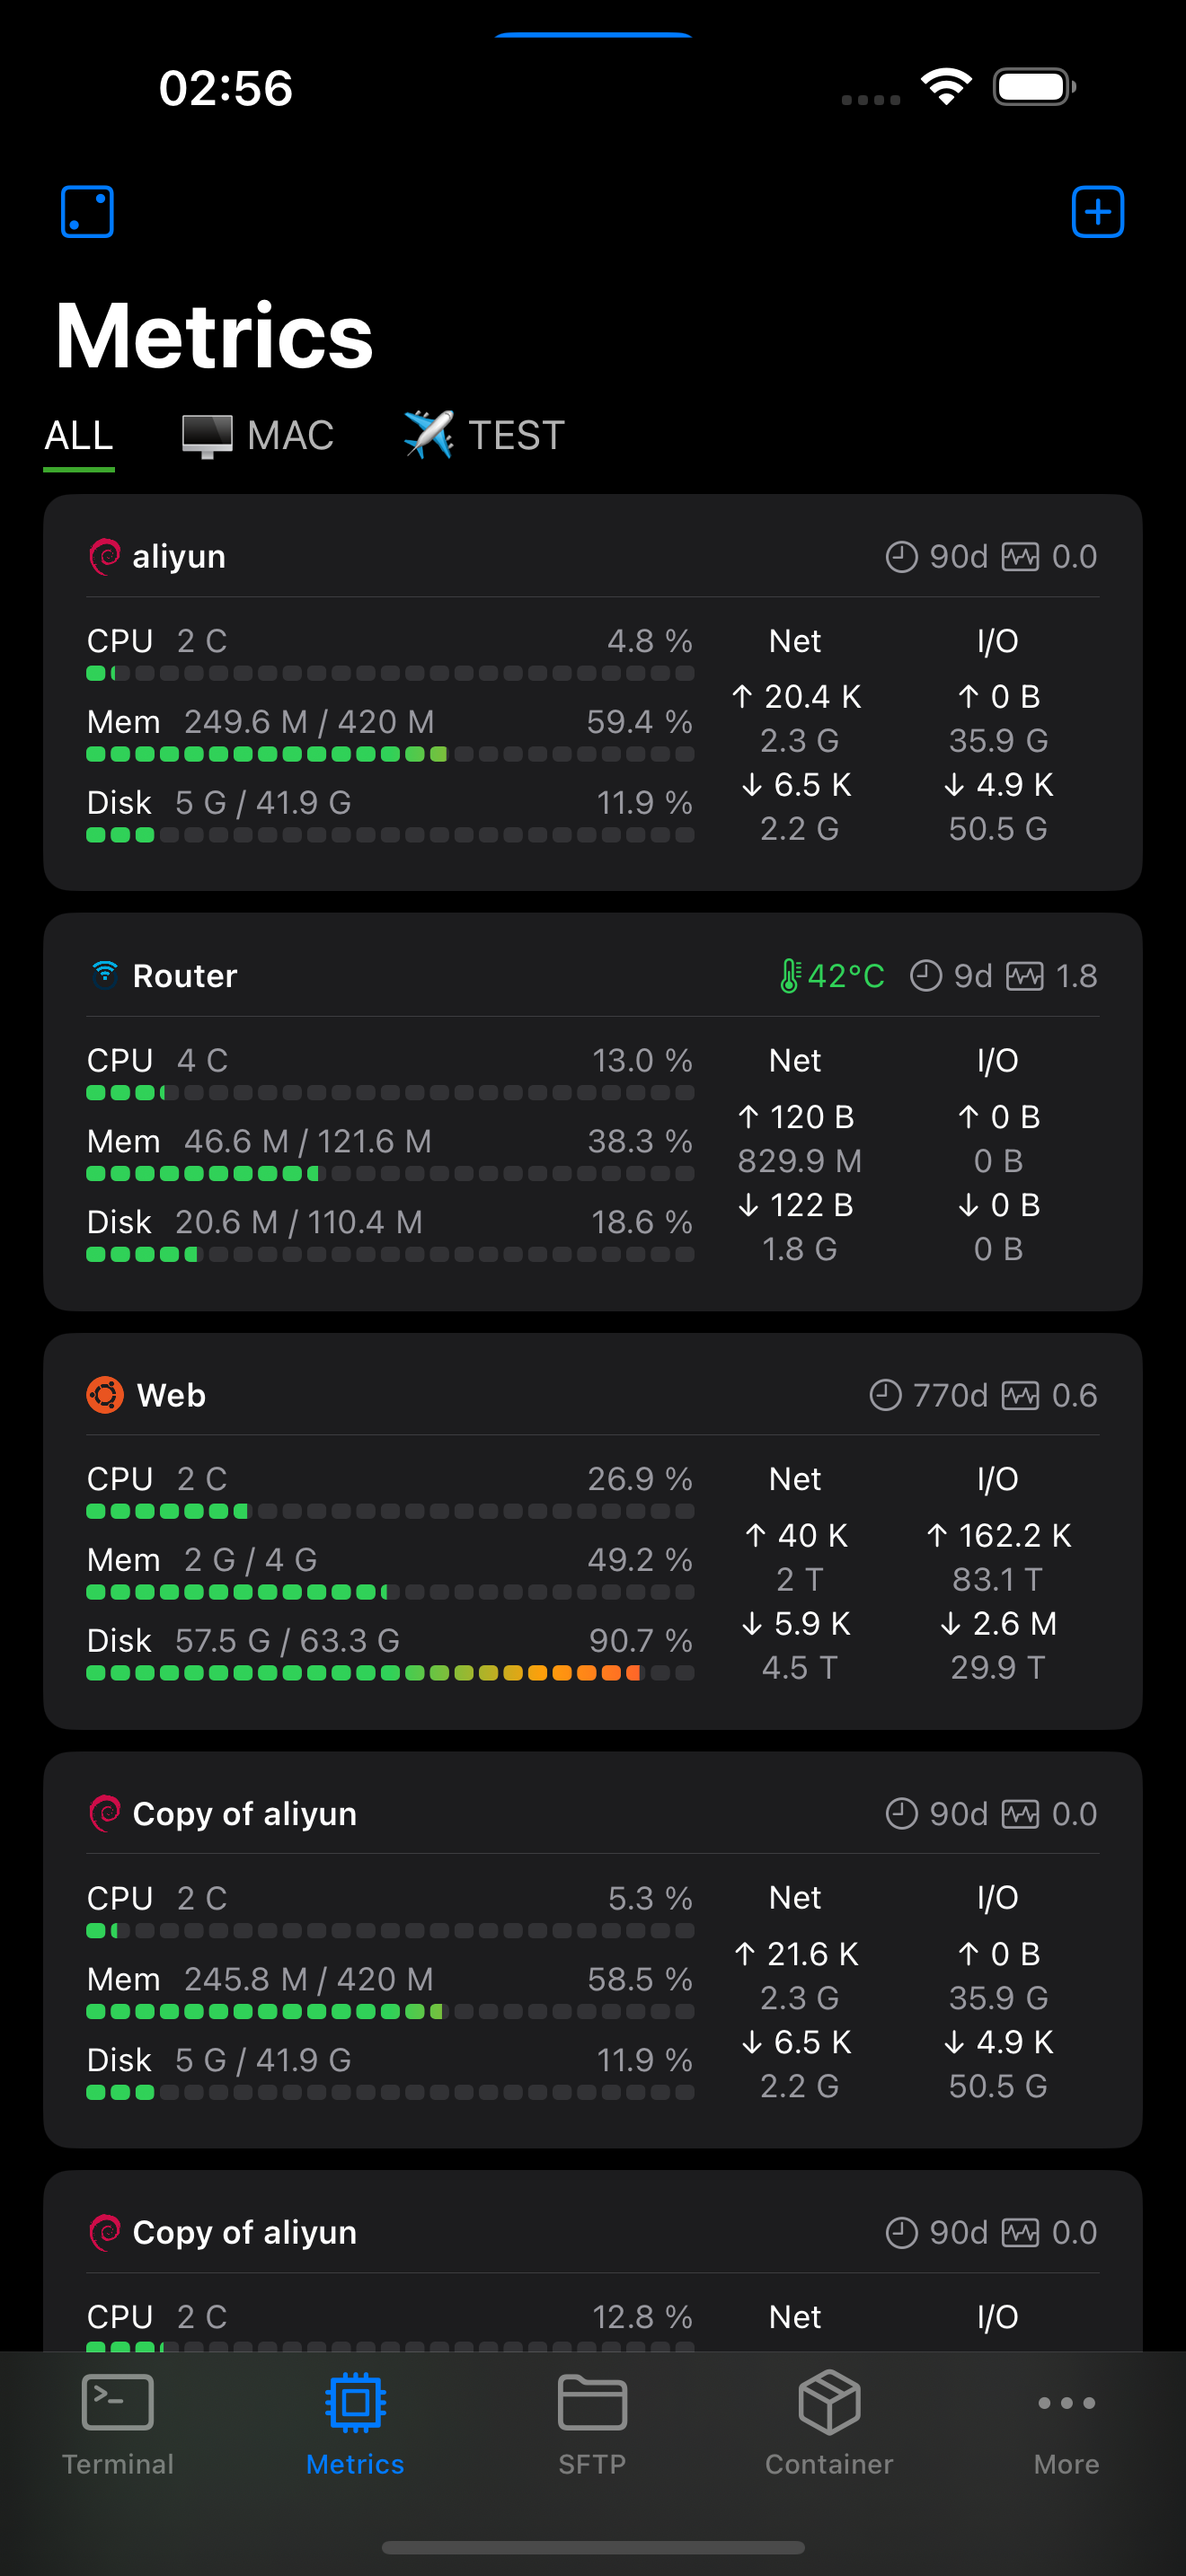
NeoServer offers a comprehensive management solution for your servers, NAS (Network Attached Storage), and Linux-based routers across iPhone, iPad, and Mac platforms.


A neoserver:// link, just one click, and NeoServer automatically wakes up, connects to the server, and opens the terminal exactly where you want it—
maybe to a specific machine, a specific tmux session, or a certain directory.
Save it to Safari favorites, Notes, desktop icons, or Siri Shortcuts, or AirDrop it to a colleague, it just works.
1. How to write a terminal link
All terminal links look like this:
neoserver://terminal?host=<server>&port=<port>&user=<user>&name=<terminal_alias>&tmuxName=<tmux_session>&zellijName=<zellij_session>&workdir=<directory>&command=<command>| Parameter | Required | What to fill in |
|---|---|---|
host |
✅ | Server IP or domain. Required, leaving it blank invalidates the link. |
port |
❌ | SSH port, defaults to 22 if omitted. Valid range is 1–65535; invalid values invalidate the link. |
user |
❌ | Login username, defaults to root if omitted. |
name |
❌ | The alias name for this terminal (for display purposes only, not used for server matching). |
tmuxName |
❌ | Automatically enter this tmux session upon connection. |
zellijName |
❌ | Automatically enter this zellij session upon connection. |
workdir |
❌ | Automatically cd into this remote directory upon connection. |
command |
❌ | Automatically execute a command upon connection (with a carriage return). Use %0A to separate multiple lines. |
⚠️ Priority:
tmuxName>zellijName>command>workdir.
tmuxName/zellijNameandcommanddo not combine: if a session name is provided, it will only attach to that session, andcommandwill be ignored (attaching takes over the terminal input, preventing commands from being injected).commandcan be used withworkdir: it willcdinto the directory first, then execute the command.tmuxName/zellijName/workdirare mutually exclusive.nameis purely a display name; it coexists with anything and does not affect the logic above.
Just copy the examples and modify them to fit your needs:
# Simplest: only provide host
neoserver://terminal?host=1.2.3.4

# Specify port and user
neoserver://terminal?host=1.2.3.4&port=2222&user=deploy

# Connect and directly enter the tmux session named main
neoserver://terminal?host=1.2.3.4&user=root&tmuxName=main

# Connect and directly enter the zellij session named dev
neoserver://terminal?host=1.2.3.4&user=root&zellijName=dev

# Connect and automatically cd to the logs directory
neoserver://terminal?host=1.2.3.4&user=root&workdir=/var/log/nginx

# Give this terminal an alias name (for display in lists, not used for matching)
neoserver://terminal?host=1.2.3.4&user=root&name=production server

# Connect and automatically execute ls -la (%20 = space)
neoserver://terminal?host=1.2.3.4&user=root&command=ls%20-la

# First cd into /var/log, then execute tail -f syslog
neoserver://terminal?host=1.2.3.4&user=root&workdir=/var/log&command=tail%20-f%20syslog

# Multiple lines: first cd /tmp then pwd (%0A = line break)
neoserver://terminal?host=1.2.3.4&user=root&command=cd%20%2Ftmp%0Apwd
2. After connecting, where will the terminal land
This is the most useful part of terminal links—depending on the parameters you provide, the terminal will open in different places after connecting:
| Parameters you provide | Terminal state after connecting |
|---|---|
Only host (+ optional port/user) |
Opens a standard terminal, landing in the user's home directory |
tmuxName=main |
Automatically tmux attach to the main session, returning to exactly where you left off |
zellijName=dev |
Automatically enters the dev zellij session |
workdir=/var/log |
Automatically cd into the /var/log directory |
command=ls -la |
Automatically types and executes this command once the terminal is ready |
workdir=/var/log&command=tail -f syslog |
First cd into /var/log, then executes tail -f syslog |
Why distinguish between these three?
- tmux / zellij sessions: If the network drops, the app is closed, or you reconnect from another phone, the session persists and processes are not lost. You can share a tmux session on a server with a colleague, allowing both of you to enter the same screen to troubleshoot together.
- Directory: Instead of manually typing
cd /opt/app/logsevery time you connect, let the link drop you right there. - Command: Automatically run a command upon connecting, such as pulling logs, checking statuses, or running a deployment script. This can be stacked with
workdir(entering the directory before running).
namedoes not affect the post-connection behavior; it simply gives the terminal a recognizable name for easy identification in the list.
3. Copy the link inside the App (no need to write manually)
Writing links manually is prone to errors. NeoServer allows one-click copying in three places. Once copied, you can paste it anywhere.
1. Copy the link for "this server"
Servers tab · Server list → Swipe left on a server → Copy Scheme Link
The copied link looks like:
neoserver://terminal?host=...&port=...&user=...2. Copy in terminal quick mode
Terminal tab · Server list (quick mode) → Long press a server → Copy Scheme Link
3. Copy the link for "this session" ⭐ Most useful
Terminal tab · Session list → Long press a session → Copy Scheme Link
This link packages "connect to server X's session Y":
- If the session is tmux → automatically includes
&tmuxName=... - If the session is zellij → automatically includes
&zellijName=... - Standard session → only includes
host/port/user
A Link Copied prompt will pop up upon successful copy, and the link will be in your clipboard.
✏️ The copied link only contains
host/port/user(session links also includetmuxNameorzellijName). Want to addname(alias) orcommand(auto-execute)? Manually append them to the end of the link; the App does not generate these two at the moment.💡 Long press and copy a currently running tmux session to send to a colleague. They can open it with NeoServer to directly attach to the same session—both of you will enter the exact same terminal screen.
4. How to open this link
neoserver:// is an iOS link protocol. Anywhere you can click a link, it can wake up NeoServer:
- Safari: Paste it into the address bar and hit enter, or save it to favorites and click it.
- Notes / Reminders: Save an entry, and click it for direct access.
- Shortcuts: Paste the link into an "Open URL" action → you can bind it to Siri voice, desktop icons, or automations.
- AirDrop: Send a link between two iPhones, and the recipient can click to connect instantly.
- Mail: Send the link as text; the recipient can copy it into Safari to open.
📱 When clicking
neoserver://for the first time on your device, iOS will prompt "Open in NeoServer?". Just confirm, and it won't prompt again.
5. Three practical scenarios
🏠 Scenario 1: Turning "connect to production tmux" into a desktop icon
You need to connect to the main tmux session on the production server every day. Instead of opening the App → finding the server → connecting → attaching every time, turn it into an icon:
- Copy this server's link in the App, then manually append
&tmuxName=main; - Open iOS "Shortcuts" → Create new → Add a "URL" action, and paste this link;
- Add an "Open URL" action;
- Click Share → Add to Home Screen, name it "Connect Prod", and choose an icon.
From now on, clicking this icon on your desktop will automatically connect NeoServer and enter the main session, completely hands-free.
🎙️ Scenario 2: Connecting with voice
Connect the above Shortcut to Siri, and set a phrase like "Hey Siri, connect prod". Once spoken, your phone will connect automatically.
🤝 Scenario 3: Throwing a session to a colleague
- Terminal · Session list → Long press this session → Copy Scheme Link;
- Send it to a colleague (AirDrop / WeChat both work);
- They open it with NeoServer → automatically attach to the same tmux session.
(Prerequisite: The NeoServer server library on their iPhone must also be able to connect to the same host.)
🖥️ Scenario 4: Running a command with one tap from a desktop icon
If you need to check a machine's container status daily and don't want to manually type docker ps every time you connect:
- Copy the server link, and manually append
&command=docker%20ps; - Follow Scenario 1 to turn it into a desktop icon, and name it "Container Status".
From now on, click the icon → NeoServer connects → automatically executes docker ps, and the results will print directly in the terminal.
6. Terminal link FAQs
Q: I clicked the link, but it connected to the wrong server?
A: NeoServer finds servers based on host (+ port if provided + user if provided). If you have two servers in your library with the same host, it will connect to the first match. Providing the port or user allows for precise differentiation.
Q: What happens if I click a link for a server that isn't in my library?
A: The "New Server" page will no longer pop up. It will now directly use the host/port/user from the link to open a temporary terminal on the fly:
- It prioritizes trying credential-less authentication (suitable for scenarios like Tailscale SSH where the connection itself has already verified identity);
- If the server requires a password, it falls back to NeoServer's existing password / keyboard-interactive authentication;
- The temporary server is not written into your server library; it is released once closed;
- However, a snapshot containing no passwords or private keys is left in "Recent Sessions", so you can still reconnect by tapping it after restarting the App.
The original link's name / tmuxName / zellijName / workdir / command will take effect as usual.
Q: Can I include the password directly in the link to avoid typing it every time?
A: No. This is a security restriction—links will never carry passwords. Even if you manually add password=xxx, it will be ignored. Passwords are only handled via the App's internal Keychain.
Q: What is name used for?
A: It's simply an alias name for this terminal session, making it easier for you to identify in lists. It does not participate in server matching—two links with the same host but different names will still connect to the same server.
Q: Are there security risks with command?
A: A little, so you need to be aware. command will automatically execute (with a carriage return) upon connecting. Any App or webpage can issue a neoserver://...&command=... link, so do not click unknown links containing a command. The iOS "Open in NeoServer?" prompt acts as the sole interception point the first time; for servers requiring passwords, it cannot inject credentials anyway and will simply fall back to standard authentication.
Q: Can I enter directories with Chinese characters or spaces into workdir?
A: Yes. Just write it directly, for example, workdir=/home/me/my logs. The App will automatically handle special characters.
The most reliable method is to copy it using the App rather than writing it manually.
Q: No response after clicking?
A: ① Make sure it starts with neoserver://; ② The first time, it will prompt for "Open in NeoServer" confirmation; ③ Check that host is not left blank; ④ It doesn't matter if the App isn't in the foreground, it will wake up automatically.
Q: Can it be opened on Android / Windows?
A: No. neoserver:// is only recognized by iPhones / iPads with NeoServer installed.
Features
Multi Device
Support across multiple platforms: iPhone, iPad, Mac.
iCloud Sync
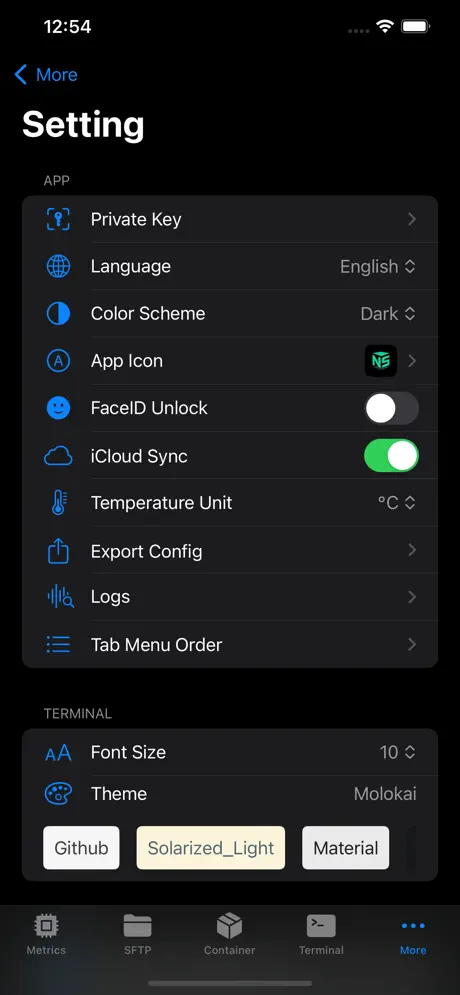
iCloud Sync ensures all your configuration information is securely stored in iCloud, facilitating seamless synchronization across your multiple devices.
Security
Security, featuring support for password and biometric (FaceID, TouchID) unlocking mechanisms.
A wealth of features.
providing support for SSH terminal, script execution, containers management, and metrics monitoring with zero server-side configuration required.
Screenshots