

How to use Postman to call SuccessFactors API using OAuth authentication method...
source link: https://blogs.sap.com/2023/02/02/how-to-use-postman-to-call-successfactors-api-using-oauth-authentication-method-and-sap-offline-saml-assertion-generator./
Go to the source link to view the article. You can view the picture content, updated content and better typesetting reading experience. If the link is broken, please click the button below to view the snapshot at that time.
How to use Postman to call SuccessFactors API using OAuth authentication method and SAP Offline SAML Assertion generator.
How to use Postman to call SuccessFactors API using OAuth authentication method.
Introduction:
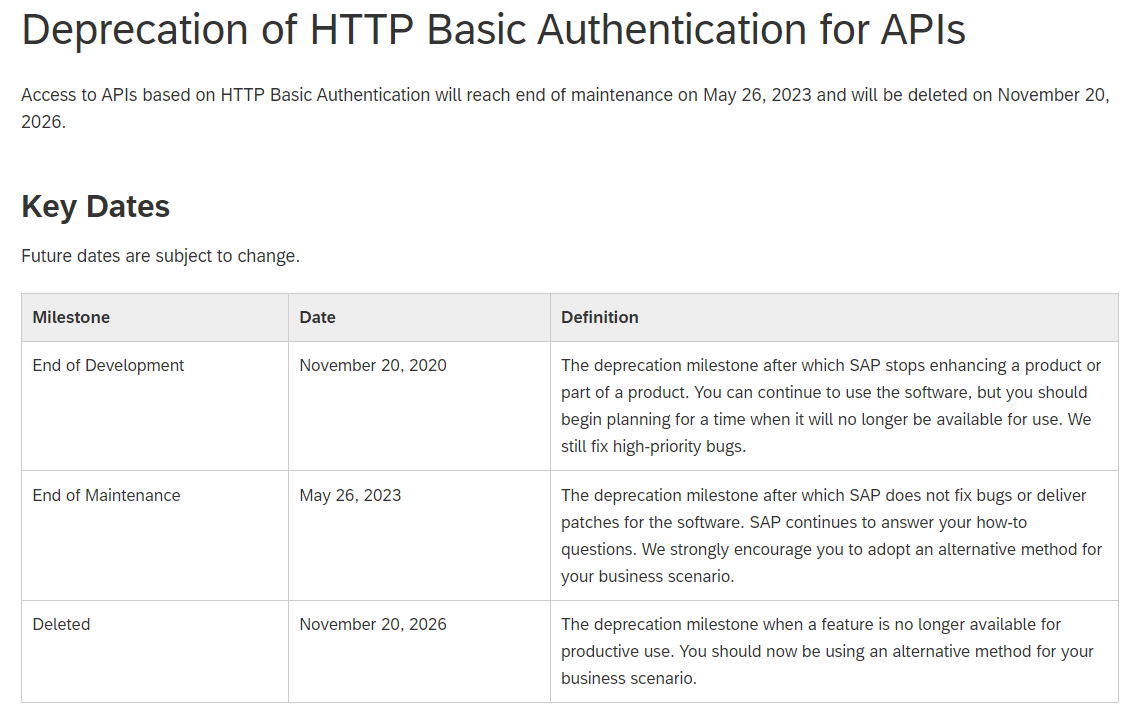
With the upcoming removal of basic authentication on November 20, 2026, it’s important to start using OAuth as your go-to authentication method for new integration scenarios. This tutorial will guide you through the process of using OAuth authentication method on Postman, a highly valuable tool for integration development.
Additionally, with Deprecation of OAuth IdP API /oauth/idp, we need to use other way to generate SAML assertions. In this tutorial we will use the SAP provided offline SAML assertion generator tool

Reference:
https://launchpad.support.sap.com/#/notes/3239495
This tutorial was created by combining information from various sources and personal experiences. Let’s get started!
Prerequisites:
Familiarity with Postman, SuccessFactors, and Windows OS.
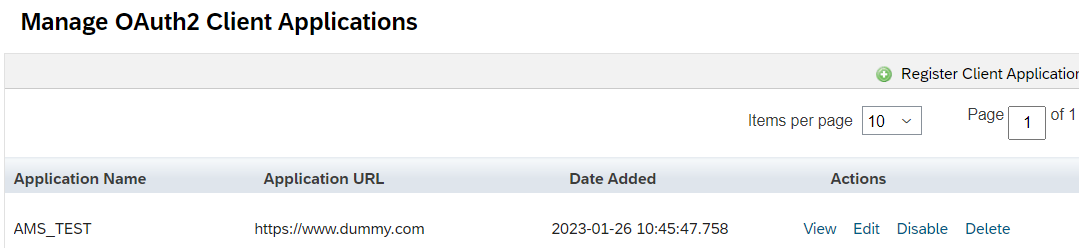
A client has been registered already in SuccessFactors:
Step-by-Step instructions:
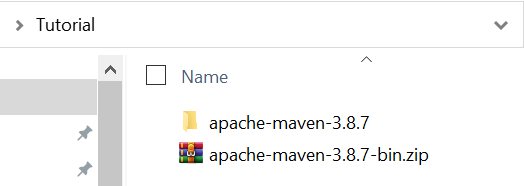
- Download Apache Maven from binary files from https://maven.apache.org/download.cgi
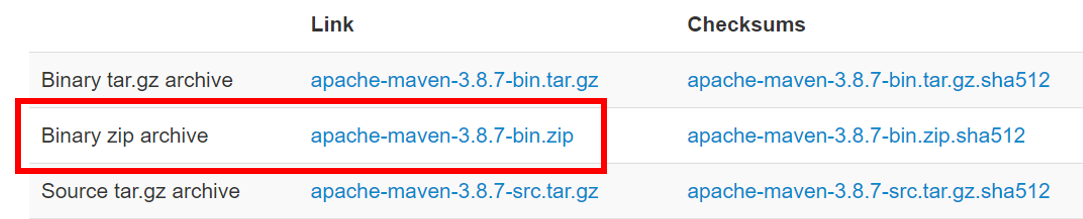
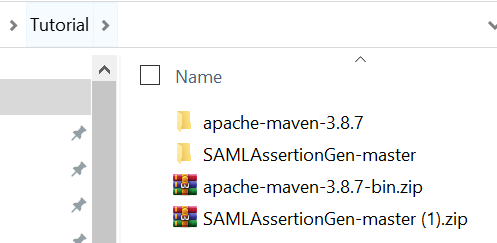
Once downloaded, go to your downloads folder and move the file to a more secure folder. For example, I have placed mine in a folder I created on my desktop (C:\Users\HPX360\Desktop\Tutorial).
Extract the zip file.
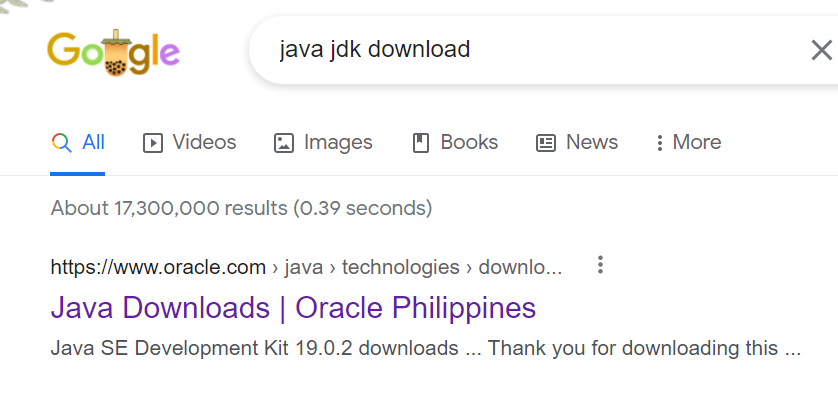
2. Download and install Java JDK.
Do a google search for “Java JDK downloads”, since the URL depends on where you’re from.
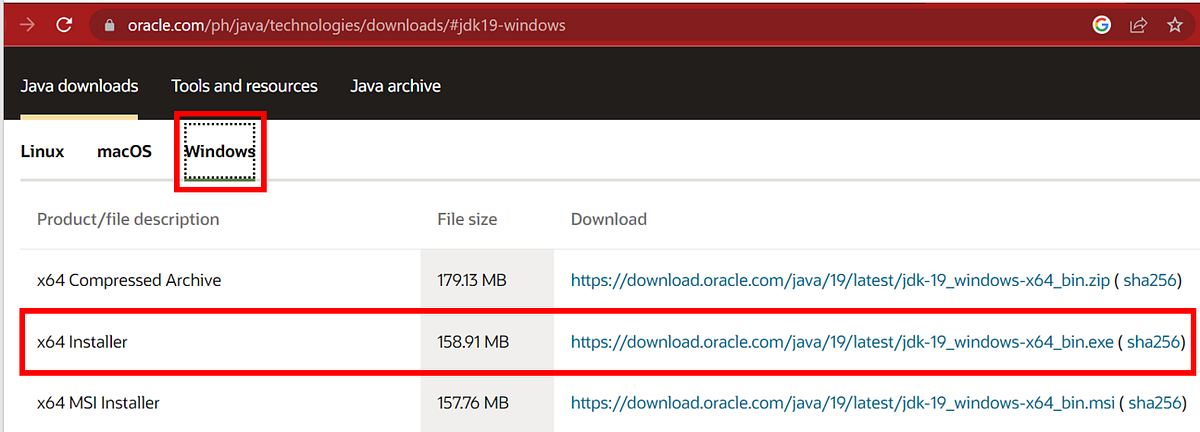
Click the Windows Tab and download the x64 Installer.
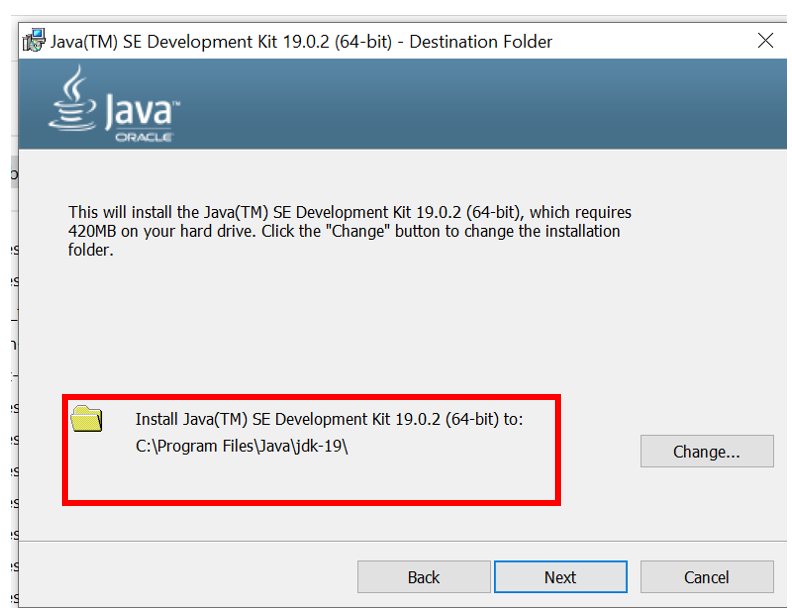
Go to your downloads folder and install it.
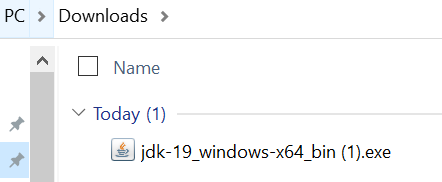
Take note of the installation folder (C:\Program Files\Java\jdk-19)
3. Set up Environment Variables on your Machine.
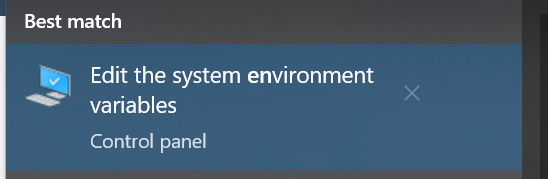
Use the search bar beside the windows button and search for “environment”

From the result, choose “Edit the system environment variables”
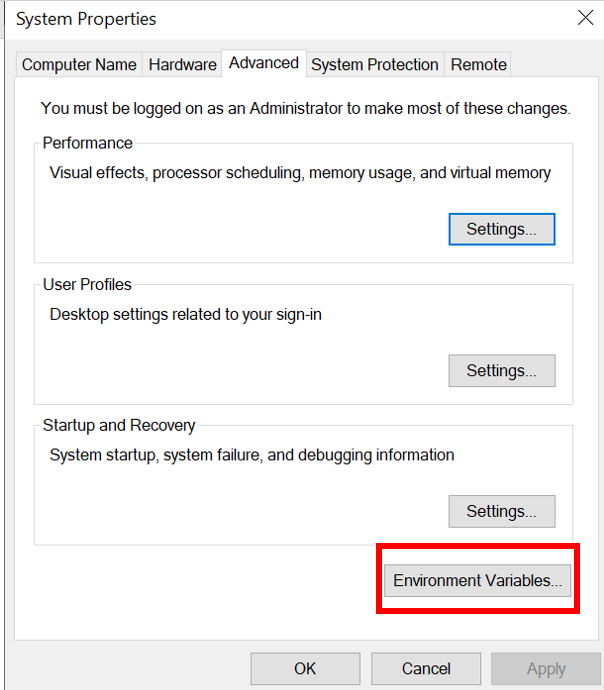
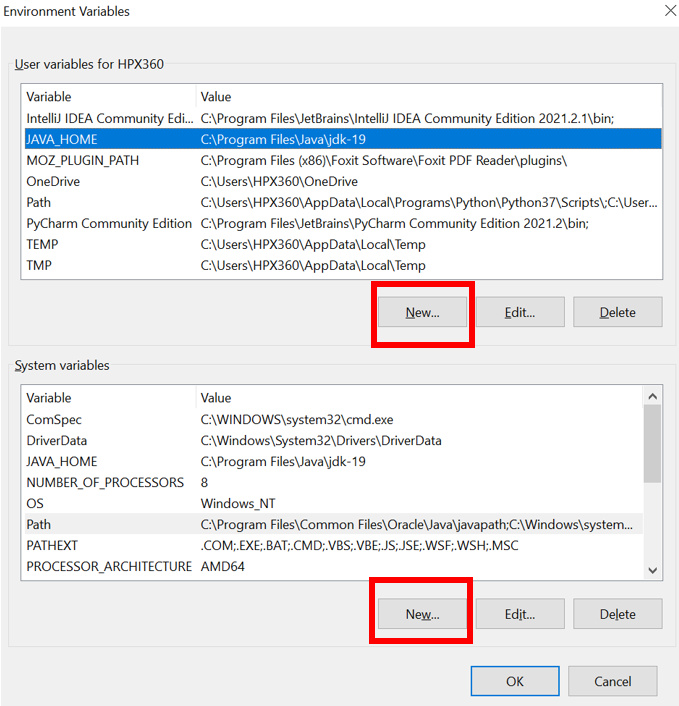
Click Environment Variables…
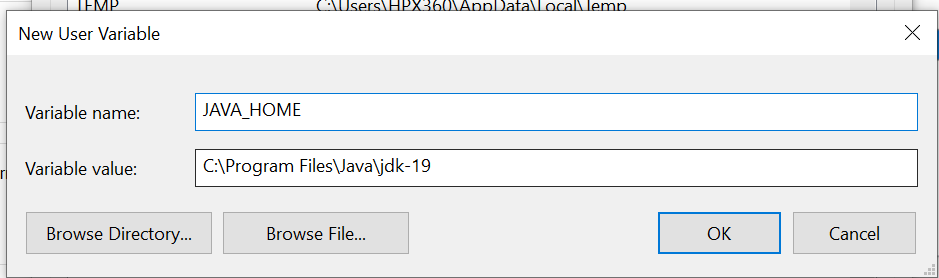
Add the JAVA_HOME variable on the user and system variables by clicking the New button
Variable name: JAVA_HOME
Variable value: installation folder of Java JDK you downloaded earlier.
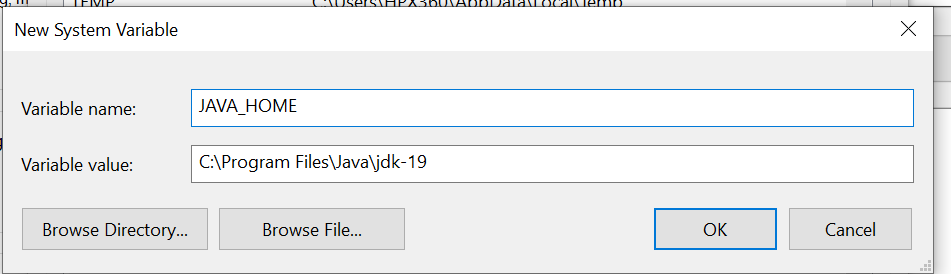
Add the same values to the system variable.
Add your Maven folder location to the Path variable of your machine.
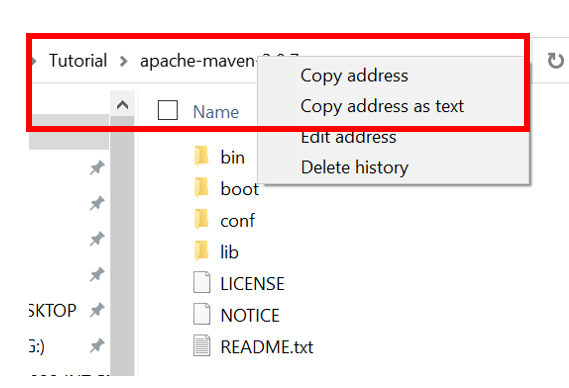
To know the folder location address, in our example, we can go to the folder then right-click on the top part, and click copy address as text.
Example: C:\Users\HPX360\Desktop\Tutorial\apache-maven-3.8.7
In my machine, there is already a Path variable so I just click Edit and then click New then add the maven directory to both user and system variables.

Click OK and another OK to save the variables
3. Download and extract the SAP Provided SAML Generation tool
https://launchpad.support.sap.com/#/notes/3031657

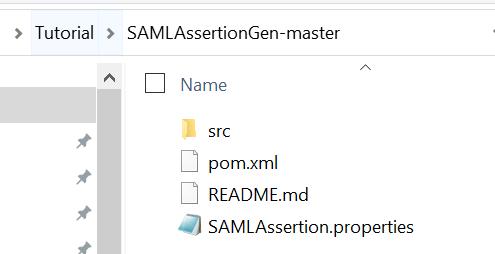
Save it in the tutorial folder and extract the zip file.
4. Set up SAML assertion SAP offline tool.
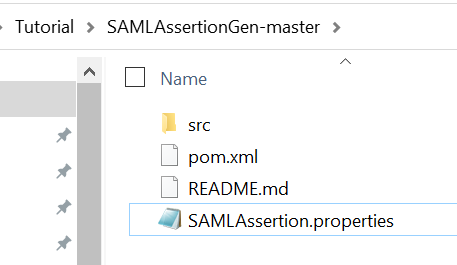
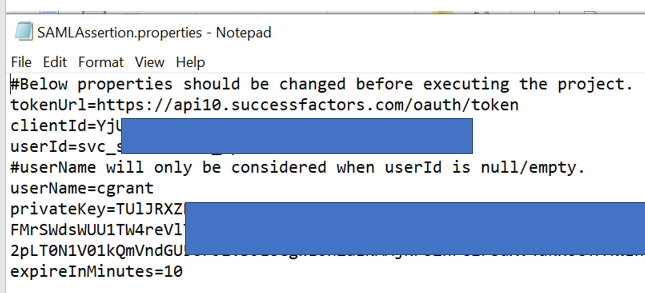
Inside the folder you extracted earlier, open the SAMLAssertion.Properties file via the notepad editor of your choice.
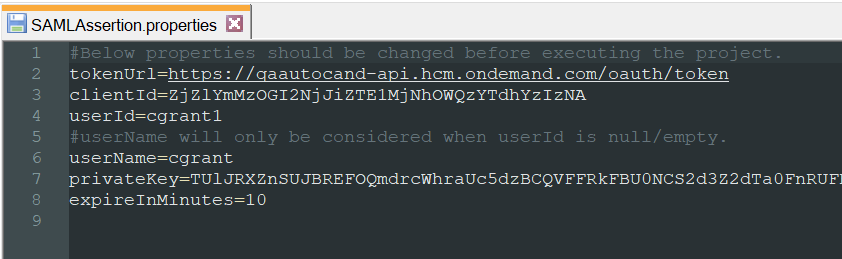
Change the properties on the file with the ones from your SuccessFactors Tenant and save the file.
tokenUrl = https://<Tenant API URL>/oauth/token
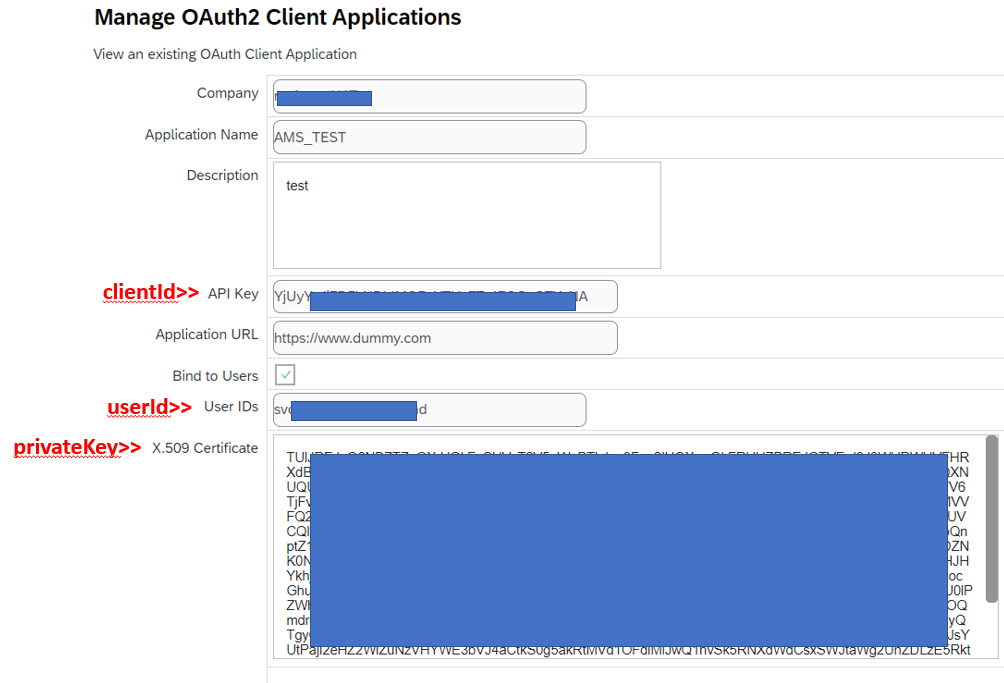
clientID = API Key from the registered client in SuccessFactors
userId = User ID used by the registered client in SuccessFactors
userName = leave it as it is
privateKey = X.509 certificate from the registered client in SuccessFactors
5. Generate SAML assertion using the SAP offline tool.
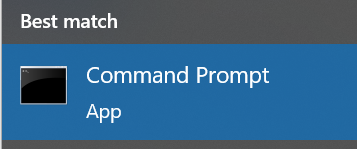
Open a command prompt from the search button then click Command Prompt App

Enter cd <<folder where you extracted the SAML offline tool>> then hit Enter.
Example:

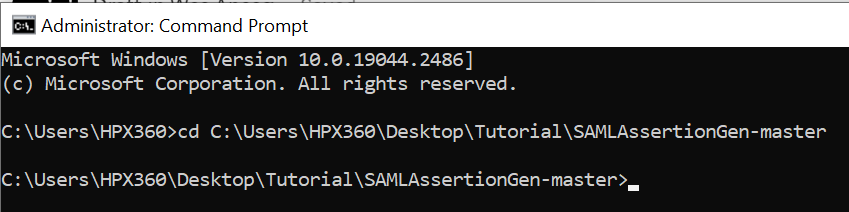
Enter the command: mvn compile exec:java -Dexec.args=”SAMLAssertion.properties” and hit Enter

If all steps were setup correctly then you should get an output like the one below:
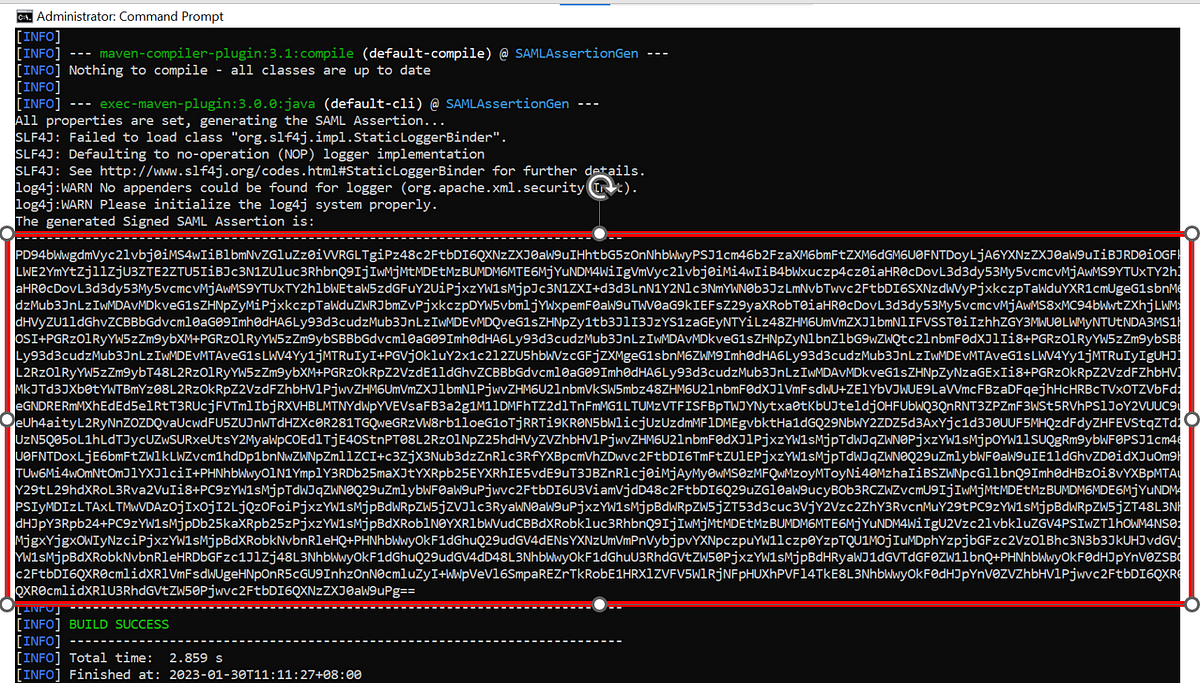
Copy and paste the generated Assertion on something like a notepad.
6. Postman Setup and API test call
Use the assertion we generated earlier to get the SuccessFactors token.
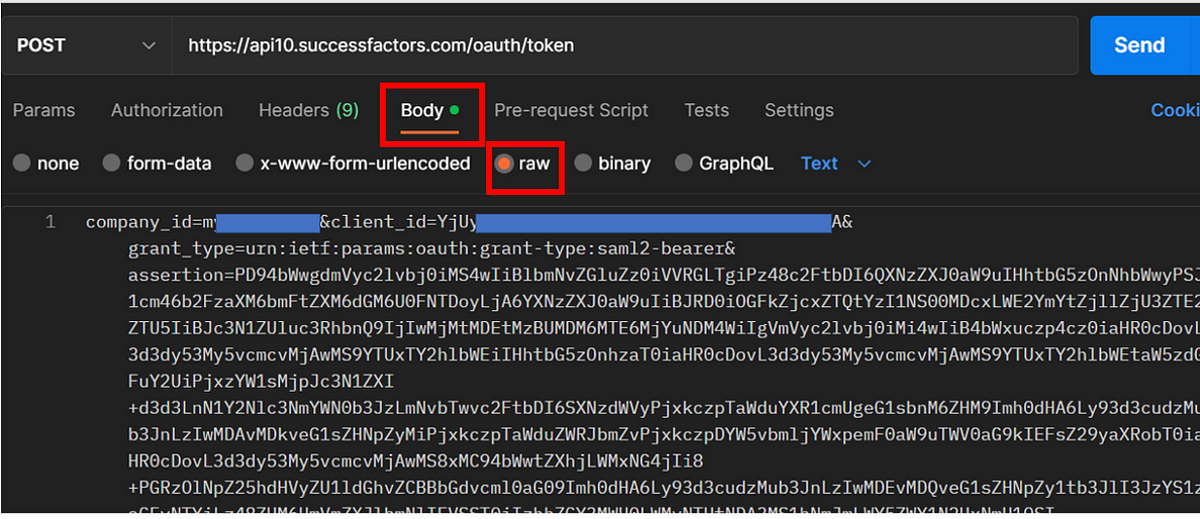
Make a POST request to https://<Tenant API URL>/oauth/token
Go to Body tab choose raw and enter the value company_id=<SuccessFactors Company Id>&client_id=<SuccessFactors API Key>&grant_type=urn:ietf:params:oauth:grant-type:saml2-bearer&assertion=<Assertion we generated earlier>
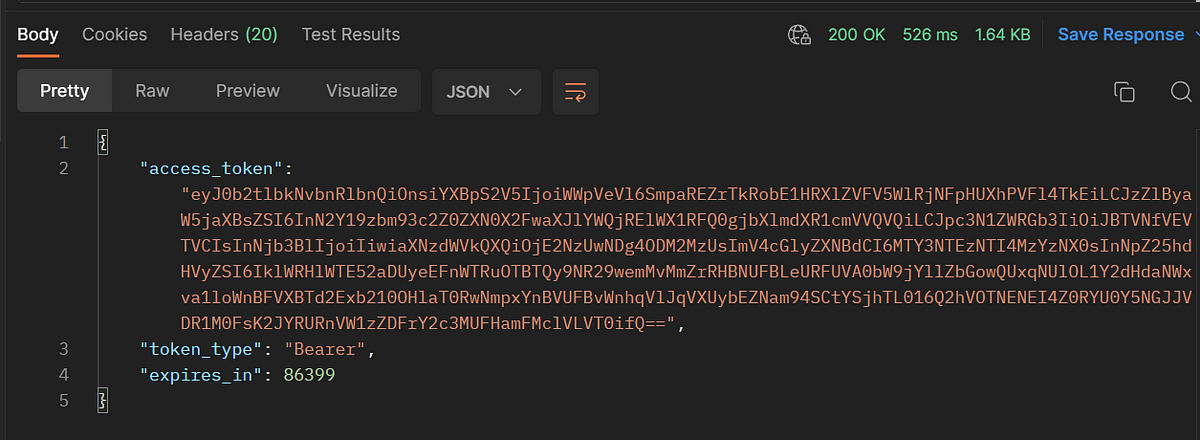
You will get the token as response. Copy this token.
Create a get request. Use any API call that you usually use for testing.
Go to Headers then add “Authorization” in the Key with value:
Bearer <token we got from the POST response>
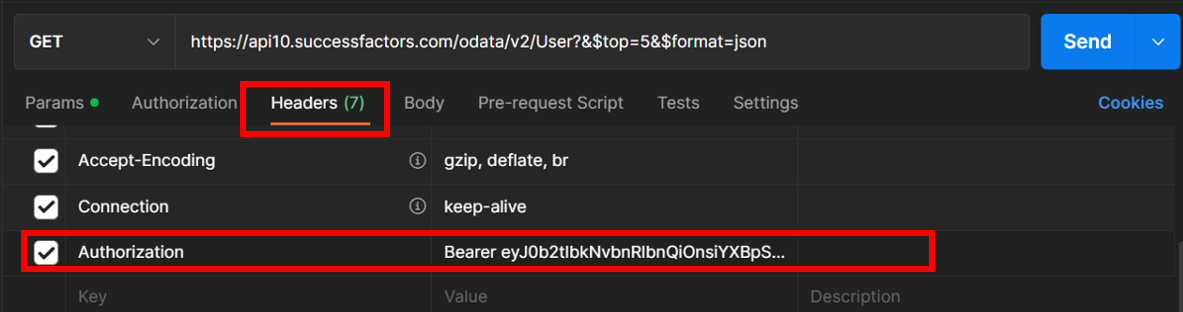
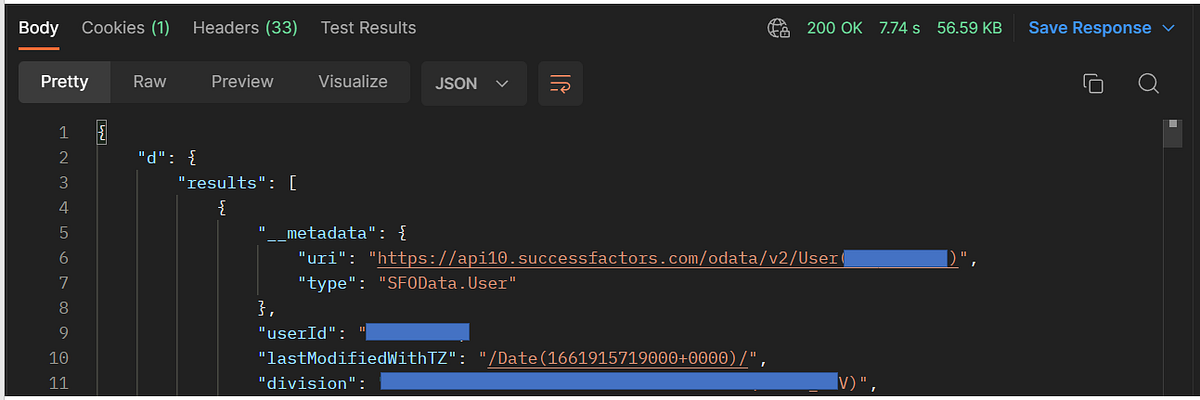
Hit send to do the GET request and you will get the desired result. 
Remember that the assertion has an expiry and once expired you need to repeat steps #5 and 6 again.
That’s it for this tutorial! I hope you found it helpful and informative. If you have any questions or need further clarification, please feel free to ask. Your feedback is greatly appreciated! Thank you for your time! Give me an applaud below if you liked this tutorial! 
Recommend
About Joyk
Aggregate valuable and interesting links.
Joyk means Joy of geeK