

Angular Basics: Conditional Content Projection
source link: https://www.telerik.com/blogs/angular-basics-conditional-content-projection
Go to the source link to view the article. You can view the picture content, updated content and better typesetting reading experience. If the link is broken, please click the button below to view the snapshot at that time.
Today we’ll explore components that use conditional content projection to render content only when specific conditions are met—conditional content projection.
Implementing Content Projection
We have looked into an introduction to content projection in an earlier post and at multi-slot content projection in another. There are three ways to implement content projection in Angular, according to the Docs:
- Single-slot content projection. With this type of content projection, a component accepts content from a single source.
- Multi-slot content projection. In this scenario, a component accepts content from multiple sources.
- Conditional content projection. Components that use conditional content projection render content only when specific conditions are met.
In today’s post, we will be looking at the last one, conditional content projection in Angular.
Before You Start
Developers of all levels, from beginners to experts can read this post—it does not matter if you are familiar with beginner concepts in Angular. Here are a few things you should have to be able to follow through this article’s demonstration:
- An integrated development environment like VS Code
- Node version 11.0 installed on your machine
- Node Package Manager version 6.7 (it usually ships with Node installation)
- Angular CLI version 8.0 or above
- Angular version 12 or above
Other nice-to-have’s include:
- Working knowledge of the Angular framework at a beginner level.
Getting Started
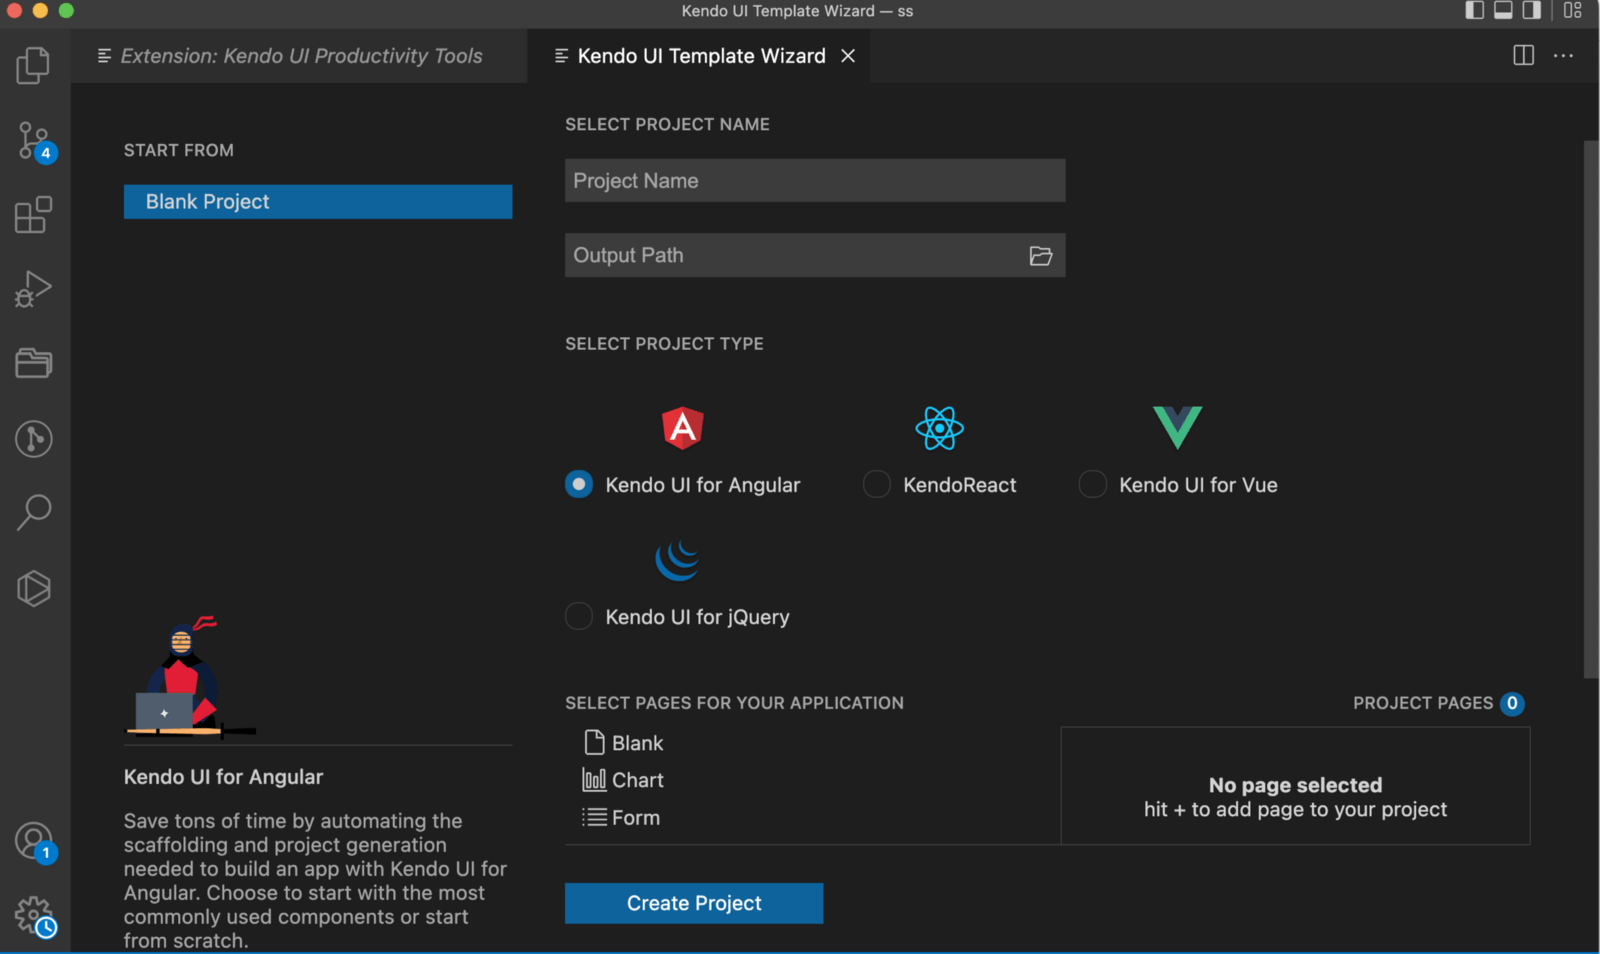
We are going to set up an Angular project using the Kendo UI wizard and then illustrate how ng-content works with the single slot implementation.
Open your VS Code and navigate to the Extensions tab and search for Kendo UI Template Wizard, install it and reload your VS Code application. Now, you have the wizard, let’s get to work!
To use the wizard inside the VS Code app, press Command + Shift + P and select the Kendo UI Wizard and it will open up a prompt where you will name the project and choose the location on your machine you want to be located.

Now your application has been generated, just like that. Open the project in VS Code and open up a new terminal and run the command below to install all the packages with their latest versions.
npm install
After the installation is complete, let’s test out if we got everything right. Run the Angular development server with this command:
ng serve
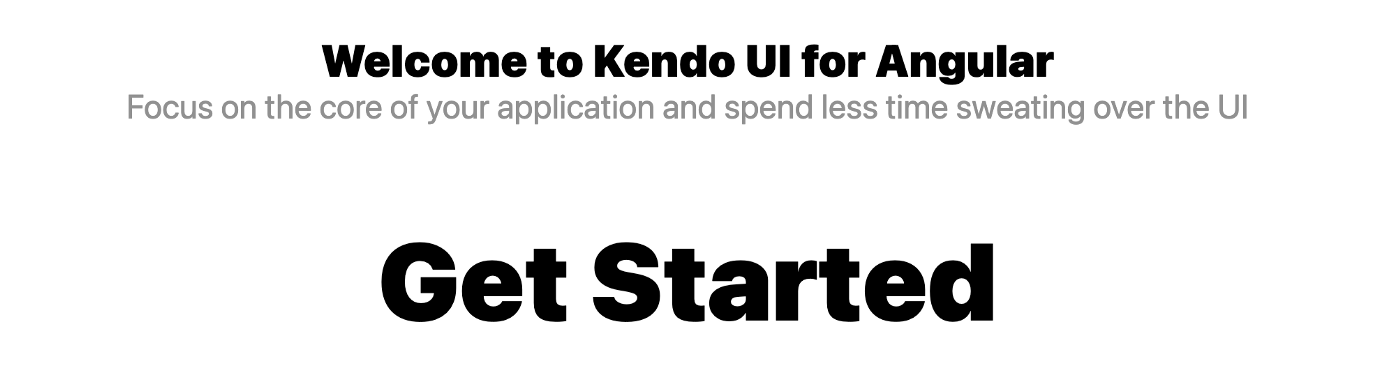
Open your browser to http://localhost:4200/home and it should look like this:
Conditional Implementation
Angular also lets you also decide to add conditions to projected content so it can be displayed only when a set condition is met. Let’s start where we stopped with multi-slot content projection.
Create a new component, and call it projected.
Make sure the header component HTML file looks like this:
<div class='container-fluid'>
<div class="d-flex border-bottom py-2">
    <div class="d-flex">
        <div class='project-name d-flex'>
            <ng-content select="#cars"></ng-content>
        </div>
    </div>
    <div class='d-flex ml-auto nav'>
        <ng-content select=".books"></ng-content>
    </div>
</div>
</div>
- The app component HTML file should be replaced with this:
<div class="content">
    <app-header>
        <div id="cars">
            Hello world, I am projected!
        </div>
        <app-projected class="books"></app-projected>
    </app-header>
    <router-outlet></router-outlet>
</div>
<div class="footer">
    <app-footer></app-footer>
</div>
Adding the Conditional Statement
For this, we will create a button to show projected content when the value is true and hide the content when the value is false. Inside the header component, replace the code block with this one:
<div class='container-fluid'>
<div class="d-flex border-bottom py-2">
    <div class="d-flex">
        <div class='project-name d-flex'>
            <ng-content></ng-content>
        </div>
    </div>
    <div class='d-flex ml-auto nav'*ngIf="display">
        <ng-content select="app-projected"></ng-content>
    </div>
</div>
</div>
Angular lets you write conditional statements for ng-content. Here, we tell Angular to display the div if display is true. All we do in the template file is to specify an input for display like this:
import { Component, Input } from '@angular/core';
@Component({
    selector: 'app-header',
    templateUrl: './header.component.html'
})
export class HeaderComponent {
  @Input() public display = false;
}
Everything else about how the display is handled or toggled, we set in the app component.
Angular Basics: Introduction to ngFor Directive in Angular
Learn more about looping through lists in Angular using the ngFor directive and keywords like index, first and last.
Projecting the Content
We are still trying to project the hello message and the text in the projected component.
<div class="content">
    <button (click)="toggleLight()">{{title}}</button>
    <app-header [display]="display">
        <div>
            Hello world, I am projected!
        </div>
        <app-projected></app-projected>
    </app-header>
    <router-outlet></router-outlet>
</div>
<div class="footer">
    <app-footer></app-footer>
</div>
Here we added a button a click event to help us with the hide/show effect we are going for. We added the display from the input set in the header component above. Now for the app component file:
import { Component } from '@angular/core';
@Component({
  selector: 'app-root',
  templateUrl: './app.component.html'
})
export class AppComponent {
  title = 'Show Me';
  display = false;
toggleLight(){
    this.display = !this.display;
    this.title = this.display ? 'Hide Me' : 'Show Me';
  }
}
We set a title variable, then we define a function for the button. Now we are ready to go!

Wrapping Up
We can see that our content is all being projected as planned, based on the conditions set on the button we created. With this, we have come to the end of the content projection introductory series in Angular. We have seen the three ways we can project content into a component without knowing the content of such component. Happy hacking!
Next, you may want to read about single-slot content projection or multi-slot content projection.
Recommend
About Joyk
Aggregate valuable and interesting links.
Joyk means Joy of geeK