

在Winform开发中,我们使用的几种下拉列表展示字典数据的方式
source link: https://www.cnblogs.com/wuhuacong/p/16721624.html
Go to the source link to view the article. You can view the picture content, updated content and better typesetting reading experience. If the link is broken, please click the button below to view the snapshot at that time.

在Winform开发中中,我们为了方便客户选择,往往使用系统的字典数据选择,毕竟选择总比输入来的快捷、统一,一般我们都会简单封装一下,以便方便对控件的字典值进行展示处理,本篇随笔介绍DevExpress控件的几种常见的字典绑定展示方式,希望我们在实际WInform项目中使用到。
1、常规下拉列表的处理
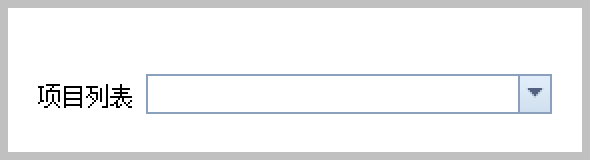
常规的处理方式,可能会使用ComboBoxEdit 控件来承载下拉列表,下拉列表的值可以是固定的列表,也可以来自字典的方式,具体根据实际情况而定,大概的效果如下所示。
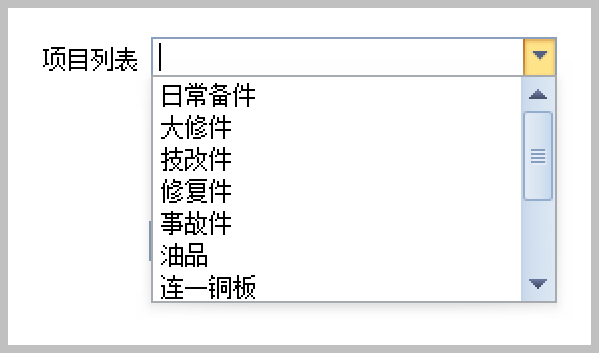
单击下拉列表,会展示一些常规的字典项目,如下效果所示。
如果使用控件原始方式,我们绑定控件的下拉列表值的做法如下所示。
combo.Properties.BeginUpdate();//可以加快
combo.Properties.Items.Clear();
combo.Properties.Items.AddRange(itemList);
combo.Properties.EndUpdate();//可以加快
不过我们一般倾向于高效率的界面处理,一般会编写各类型的界面控件的扩展函数用于快速处理。

不同类型的控件我们用一个独立的扩展文件来处理,这样方便维护的同时,也方便借鉴完善。
例如对于上面的控件,我们的绑定方法的扩展函数如下所示。
/// <summary>
/// 绑定下拉列表控件为指定的数据字典列表
/// </summary>
/// <param name="combo">下拉列表控件</param>
/// <param name="itemList">数据字典列表</param>
/// <param name="defaultValue">控件默认值</param>
/// <param name="emptyFlag">是否加入空值选项</param>
public static void BindDictItems(this ComboBoxEdit combo, List<CListItem> itemList, string defaultValue, bool emptyFlag = true)
{
    combo.Properties.BeginUpdate();//可以加快
    combo.Properties.Items.Clear();
    combo.Properties.Items.AddRange(itemList);
    if (emptyFlag)
    {
        combo.Properties.Items.Insert(0, new CListItem(""));
    }

    if (itemList.Count > 0)
    {
        if (!string.IsNullOrEmpty(defaultValue))
        {
            combo.SetComboBoxItem(defaultValue);
        }
        else
        {
            combo.SelectedIndex = 0;
        }
    }

    combo.Properties.EndUpdate();//可以加快
}
其中方法增加了一些默认值以及是否追加空白项目的处理。
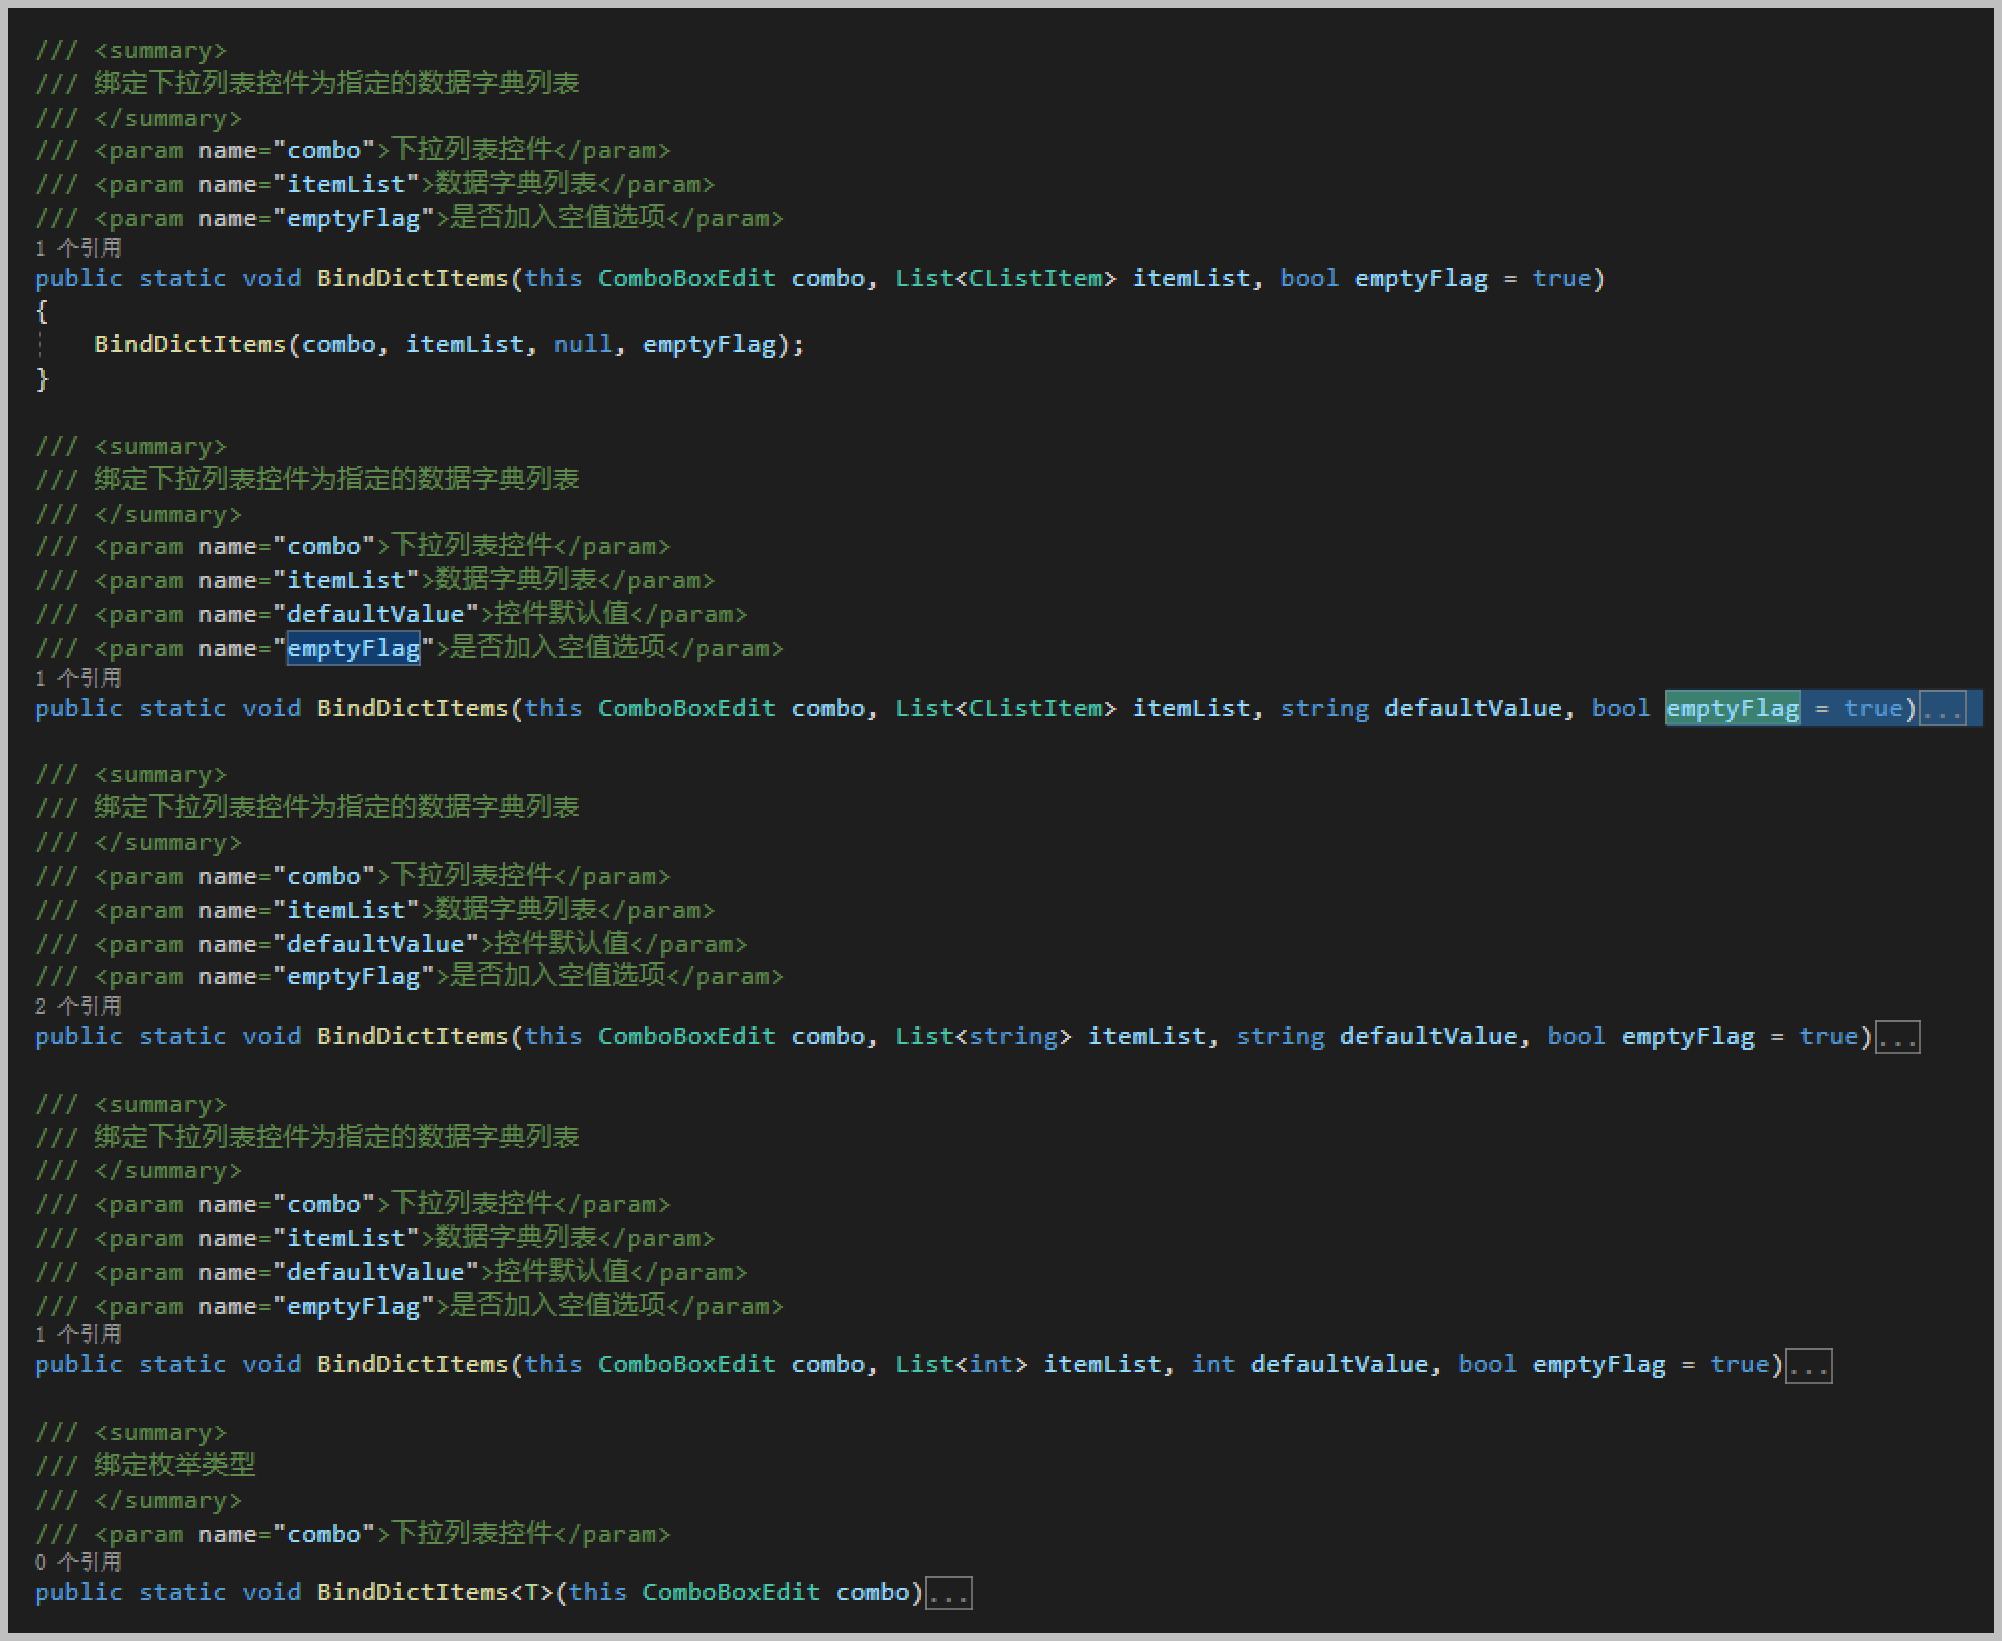
当然,我们为了适应各种数据源的绑定方式,我们重载了很多不同的函数处理,如下截图所示。
当然对于其他同类型的下列列表控件也是这样处理即可。这样界面上,我们就可以指定调用绑定的处理操作了
private void InitDictItem()
{
    this.txtManufacture.Items.Clear();
    this.txtManufacture.Items.AddRange(DictItemUtil.GetDictByDictType("供货商"));

    this.txtBigType.Items.Clear();
    this.txtBigType.Items.AddRange(DictItemUtil.GetDictByDictType("备件属类"));
}
或者,我们可以根据字典的类型,来进一步做一个扩展函数,来简化绑定的处理。
/// <summary>
/// 绑定下拉列表控件为指定的数据字典列表
/// </summary>
/// <param name="control">下拉列表控件</param>
/// <param name="dictTypeName">数据字典类型名称</param>
/// <param name="defaultValue">控件默认值</param>
/// <param name="emptyFlag">是否添加空行</param>
public static void BindDictItems(this ComboBoxEdit control, string dictTypeName, string defaultValue, bool emptyFlag = true)
{
    Dictionary<string, string> dict = BLLFactory<DictData>.Instance.GetDictByDictType(dictTypeName);
    List<CListItem> itemList = new List<CListItem>();
    foreach (string key in dict.Keys)
    {
        itemList.Add(new CListItem(key, dict[key]));
    }

    control.BindDictItems(itemList, defaultValue, emptyFlag);
}
使用了这些简化的扩展函数,我们可以对系统的字典,根据字典类型来进行绑定了。
private void InitDictItem()
{
    this.txtManufacture.BindDictItems("供货商");
    this.txtSearchManufacture.BindDictItems("供货商");
    this.txtSearchDept.BindDictItems("部门");
}
如上代码所示,简化了很多处理,就一个函数就可以绑定了系统字典类型的下拉列表了。
2、带序号的GridLookUpEdit下拉列表
有时候,我们在一些常见的系统里面,经常看到一些带有序号的下拉列表,其实里面就是一个GridControl的控件,我们只需要赋值对应的列表数据源,以及设置显示的列内容,并重写下序号的展示处理就可以实现了。
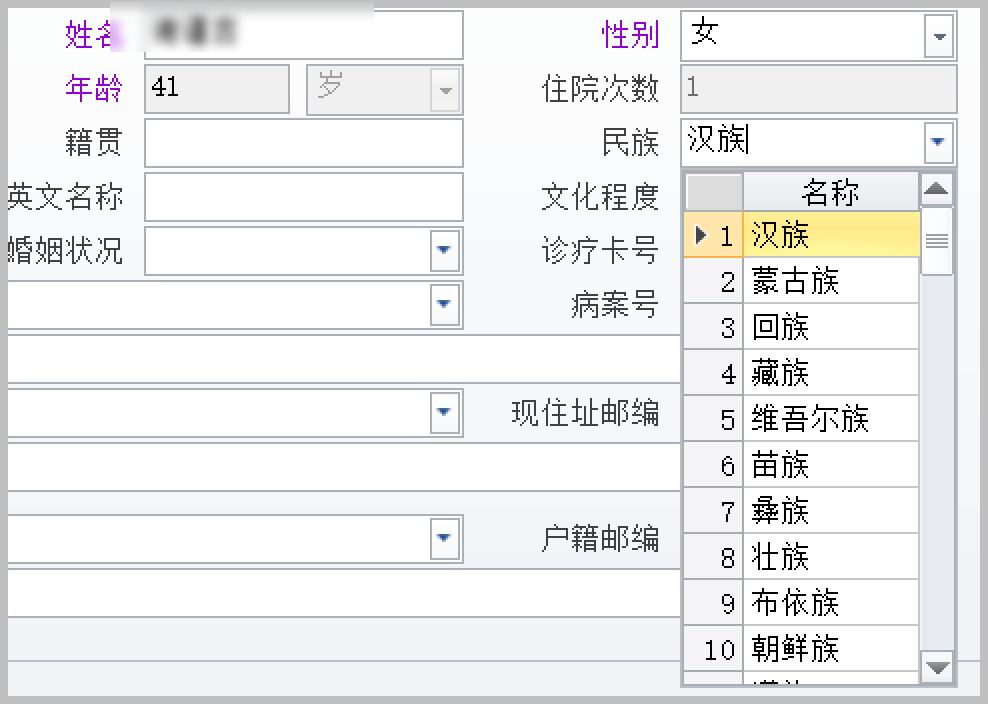
我们先来看看实际的效果。

上面的列表是一个GridControl的内在控件,我们使用这个 GridLookUpEdit下拉列表控件的时候,设置好GridControl的数据源和显示的列就基本上可以了。
//绑定数据源和显示的内容、隐藏值
this.txtProjectList.Properties.DataSource = list;
this.txtProjectList.Properties.ValueMember = "Value";
this.txtProjectList.Properties.DisplayMember = "Text";

//设置Grid显示的列信息
var columns = new List<LookUpColumnInfo>()
{
    new LookUpColumnInfo("Value", "显示名称")
};
for (int i = 0; i < columns.Count; i++)
{
    this.txtProjectList.Properties.View.CreateColumn(columns[i].FieldName, columns[i].Caption,
        columns[i].Width, true, UnboundColumnType.Bound, DefaultBoolean.False, FixedStyle.None);
}

//其他属性设置
this.txtProjectList.Properties.ImmediatePopup = true;
this.txtProjectList.Properties.TextEditStyle = TextEditStyles.Standard;
this.txtProjectList.Properties.PopupWidthMode = DevExpress.XtraEditors.PopupWidthMode.ContentWidth;

//设定列表的序号的宽度和显示文本
this.txtProjectList.Properties.View.IndicatorWidth = 40;
this.txtProjectList.Properties.View.CustomDrawRowIndicator += (s, e) =>
{
    if (e.Info.IsRowIndicator && e.RowHandle >= 0)
    {
        e.Info.DisplayText = (e.RowHandle + 1).ToString();
    }
};
那么如果我们需要使用扩展函数来简化实际的代码,那么应该如何封装这个GridLookupEdit的下列控件呢,我们编写的扩展函数代码如下所示。
        /// <summary>
        /// 绑定控件的数据源
        /// </summary>
        /// <param name="lookup">控件对象</param>
        /// <param name="dataSource">数据源</param>
        /// <param name="displayMember">显示字段</param>
        /// <param name="valueMember">值字段</param>
        /// <param name="showRowIndicator">是否显示序号</param>
        /// <param name="lookUpColumnInfos">显示的列</param>
        /// <returns></returns>
        public static object BindDictItems(this GridLookUpEdit lookup, object dataSource, string displayMember, string valueMember, bool showRowIndicator = true, params LookUpColumnInfo[] lookUpColumnInfos)
        {
            lookup.Properties.DataSource = dataSource;
            lookup.Properties.DisplayMember = displayMember;
            lookup.Properties.ValueMember = valueMember;

            lookup.Properties.View.Columns.Clear();
            for (int i = 0; i < lookUpColumnInfos.Length; i++)
            {
                lookup.Properties.View.CreateColumn(lookUpColumnInfos[i].FieldName, lookUpColumnInfos[i].Caption,
                    lookUpColumnInfos[i].Width, true, UnboundColumnType.Bound, DefaultBoolean.False, FixedStyle.None);
            }
            lookup.Properties.ImmediatePopup = true;
            lookup.Properties.TextEditStyle = TextEditStyles.Standard;

            if (showRowIndicator)
            {
                lookup.Properties.View.IndicatorWidth = 40;
                //重写序号显示,默认不显示数值
                lookup.Properties.View.CustomDrawRowIndicator += (s, e) =>
                {
                    if (e.Info.IsRowIndicator && e.RowHandle >= 0)
                    {
                        e.Info.DisplayText = (e.RowHandle + 1).ToString();
                    }
                };
            }

            return dataSource;
        }
这样处理后,界面上简化了不少代码,如下使用代码所示。
var list = DictItemUtil.GetDictByDictType("备件类别");
var columns = new List<LookUpColumnInfo>()
{
    new LookUpColumnInfo("Value", "显示名称")
};

this.txtProjectList2.BindDictItems(list, "Text", "Value", true, columns.ToArray());
通过上面的两种方式,我们可以得到常见的两种下拉列表的数据绑定展示方式。
而对于其他类似的下拉列表,如树形列表,带搜索的SearchLookupEdit等控件,我们也可以用类似的方式编写自定义的扩展函数,这样我们使用起来就非常方便的了。类似我们下面的做法方式,分门别类的对它们进行一些简单的封装处理。
以上就是我们对于常见控件使用的一些微薄经验,希望大家有所借鉴。
Recommend
About Joyk
Aggregate valuable and interesting links.
Joyk means Joy of geeK