

64 megapixel 'Hawk-Eye' brings high-res imaging to the Pi
source link: https://www.jeffgeerling.com/blog/2022/64-megapixel-hawk-eye-brings-high-res-imaging-pi
Go to the source link to view the article. You can view the picture content, updated content and better typesetting reading experience. If the link is broken, please click the button below to view the snapshot at that time.
64 megapixel 'Hawk-Eye' brings high-res imaging to the Pi
May 11, 2022
Raspberry Pi has two official camera modules: the 8 megapixel Pi Camera, and the 12 megapixel HQ Camera.
Third party camera solution provider ArduCam has supplemented the official cameras with a variety of options for all kinds of Pi-based projects. Just last year they introduced the first camera to bring autofocus to the Pi.
In my review of that camera, I noted the autofocus mechanism was "frustrating sometimes", especially if you expect it to work like a modern smartphone camera, like one on the iPhone.
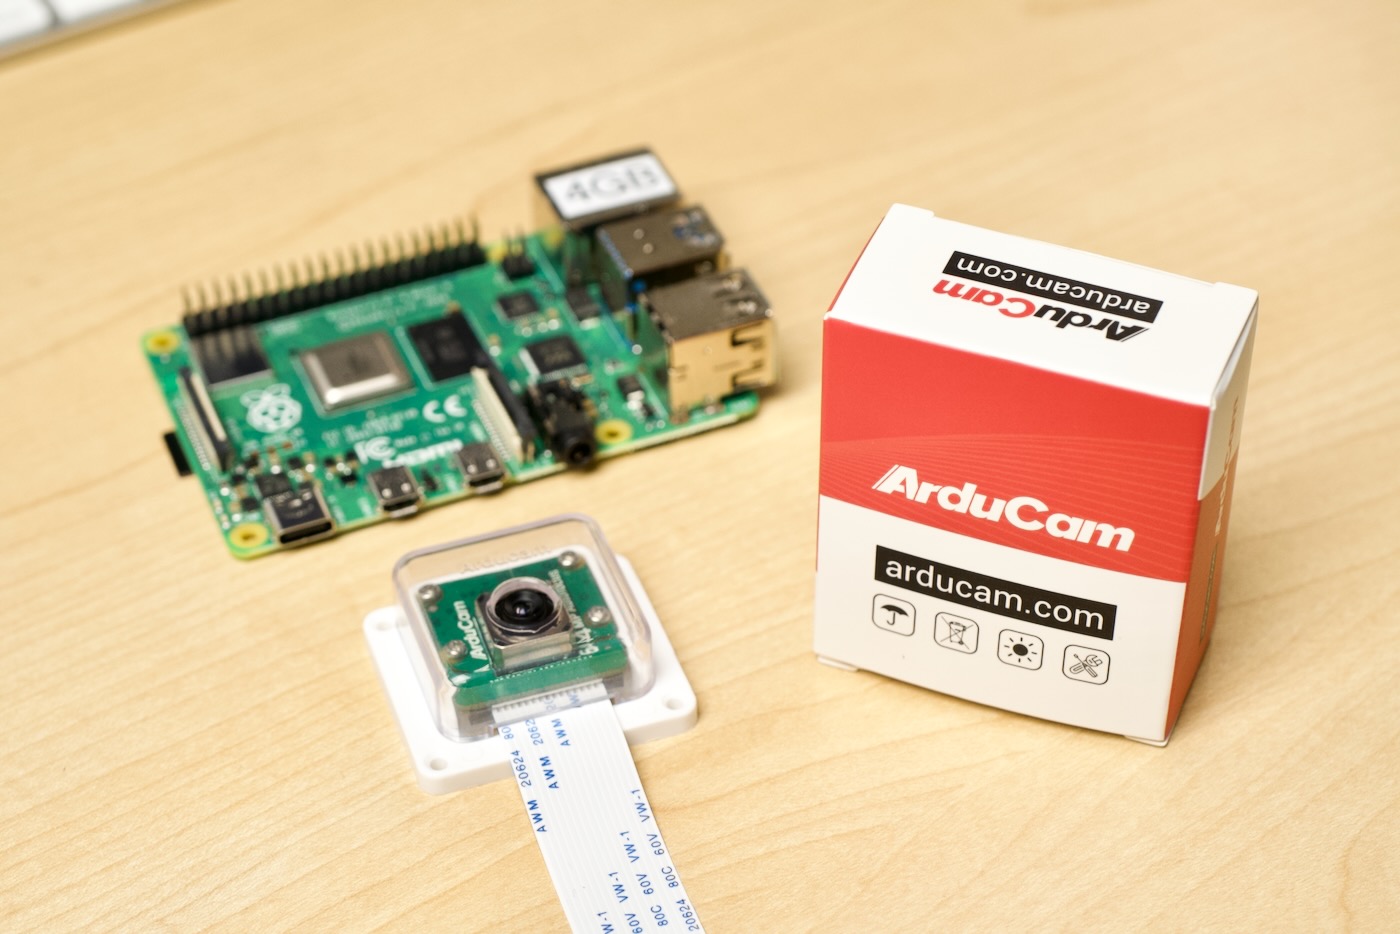
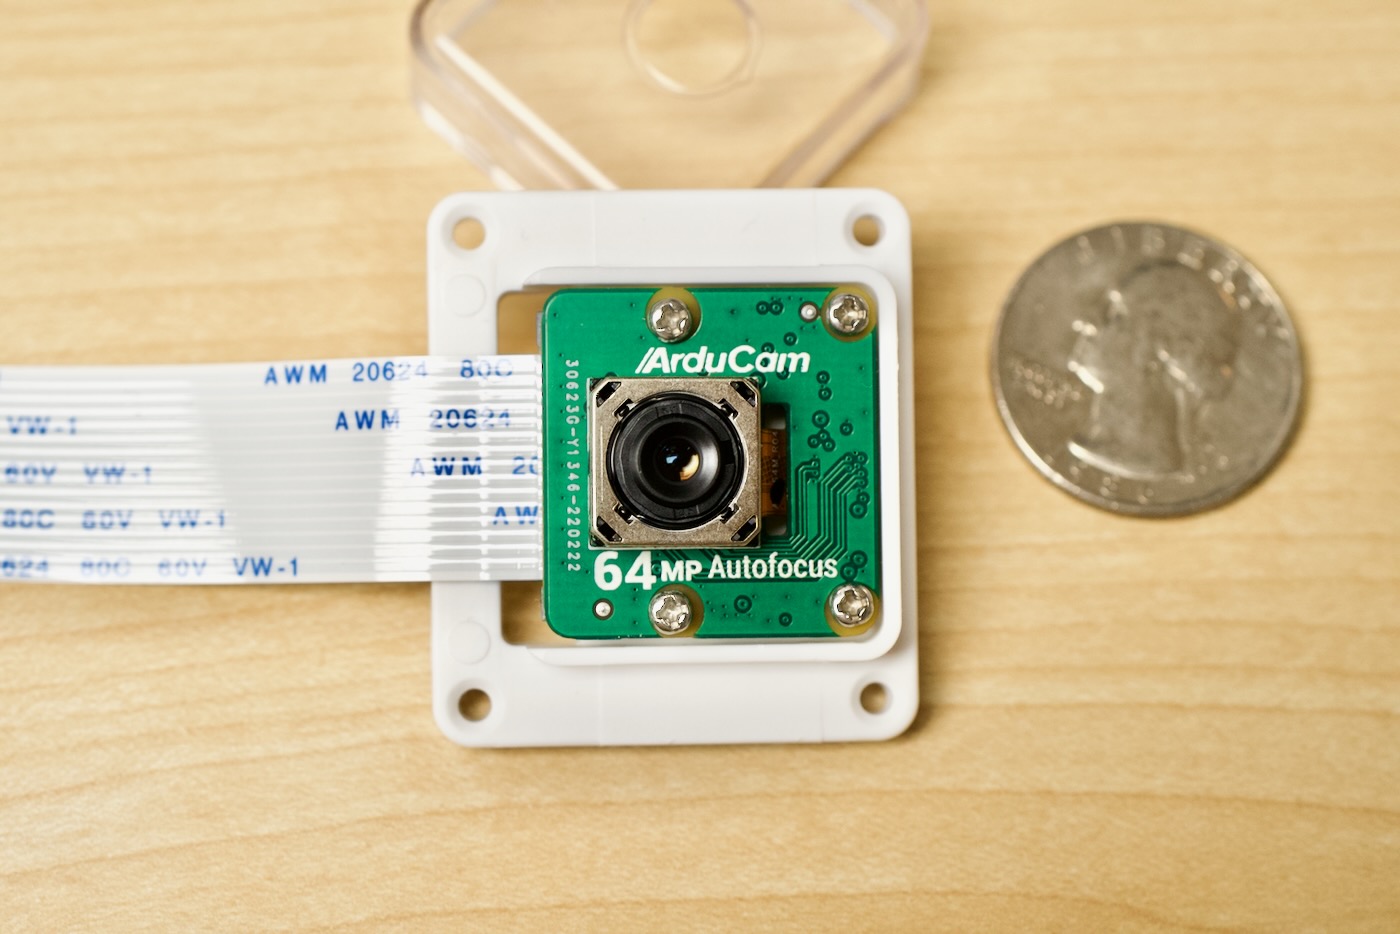
Well, the new 64MP 'Hawk-Eye' Pi camera takes the same autofocus system and straps it to an ultra-high-res 64 megapixel sensor (rumored to be Sony's excellent IMX686), then glues it to a board that fits in most places the official Pi Camera Module goes.
Hardware
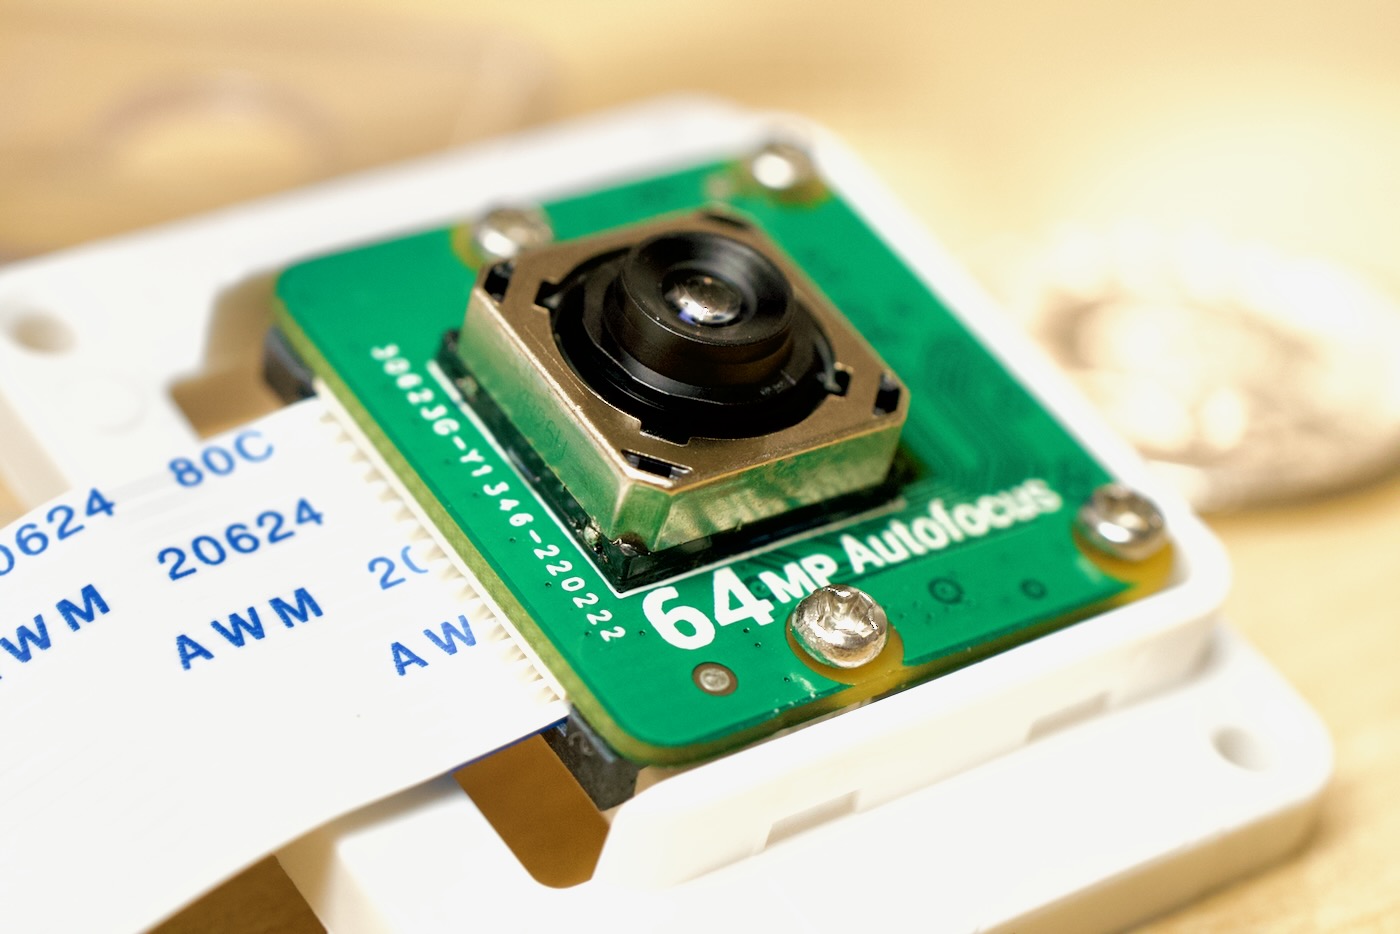
Because this lens is not fixed, it 'clicks' in and out while racking focus. And the electromagnetic focus mechanism also protrudes out from the lens area a bit, so the camera won't fit in all Pi Camera-compatible enclosures.
And because the lens uses that electromagnetic mechanism to achieve focus, this camera might not work in high-vibration environments (think drones and certain robots) as well as a fixed-lens camera.
That said, it feels well built, and comes in a plastic camera enclosure with a standard 1/4" tripod screw on the back.
Setup
To get this camera working, you have to install ArduCam's forked version of libcamera, replacing the default installations on Raspberry Pi OS.
Unfortunately, that means you can't switch between, or mix-and-match official Pi Cameras and ArduCam's offerings. But hopefully their driver work will be upstreamed into the official libcamera libraries at some point, and that won't be an issue. We'll see.
But to install it, I ran the following commands on a fresh Raspberry Pi OS install (32-bit—I haven't tested on a 64-bit system):
To test if things were working, I took a quick shot using the command:
libcamera-still -t 5000 --viewfinder-width 2312 --viewfinder-height 1736 -o 64mp-autofocus-test.jpg --autofocus
The autofocus takes maybe 0.3-0.5 seconds to acquire focus, then the file is saved.
Photo Quality
Using the same vantage point, I took the following image both with the Hawk-Eye and the Pi Camera V2:
You can view the originals on Flickr: Hawk-Eye original (9.3 MB) | Camera Module V2 (1.5 MB).
A few things I've noticed when zooming in to see detail:
- There is banding present on the ArduCam's still images. This is partially due to my lighting (and could be corrected via post processing or by adjusting shutter speed and ISO a bit). But even in video, when zoomed in, it seemed there was always a tiny bit of banding present (often in the form of faint horizontal yellow lines).
- The blacks and darker areas are much better (less noisy with much more detail) on the Hawk-Eye sensor than on the Pi camera, or even the HQ camera. I didn't do any low-light tests, but I imagine they will fare much better on this sensor.
- At resolutions beyond around 30-40 megapixels, diffraction adds a slight bit of 'haze' to the final image. The f/1.8 aperture on this lens is large, but not large enough to overcome diffraction at high resolutions. Luckily, a little post-processing can mute the effects—in fact, this is part of the post-processing most smartphones do automatically to mask similar limitations on their cameras.
As an illustration of that last point, I also took an image of a project I had on my desk:
I cropped in on a portion of the image and applied some sharpening in Photoshop:
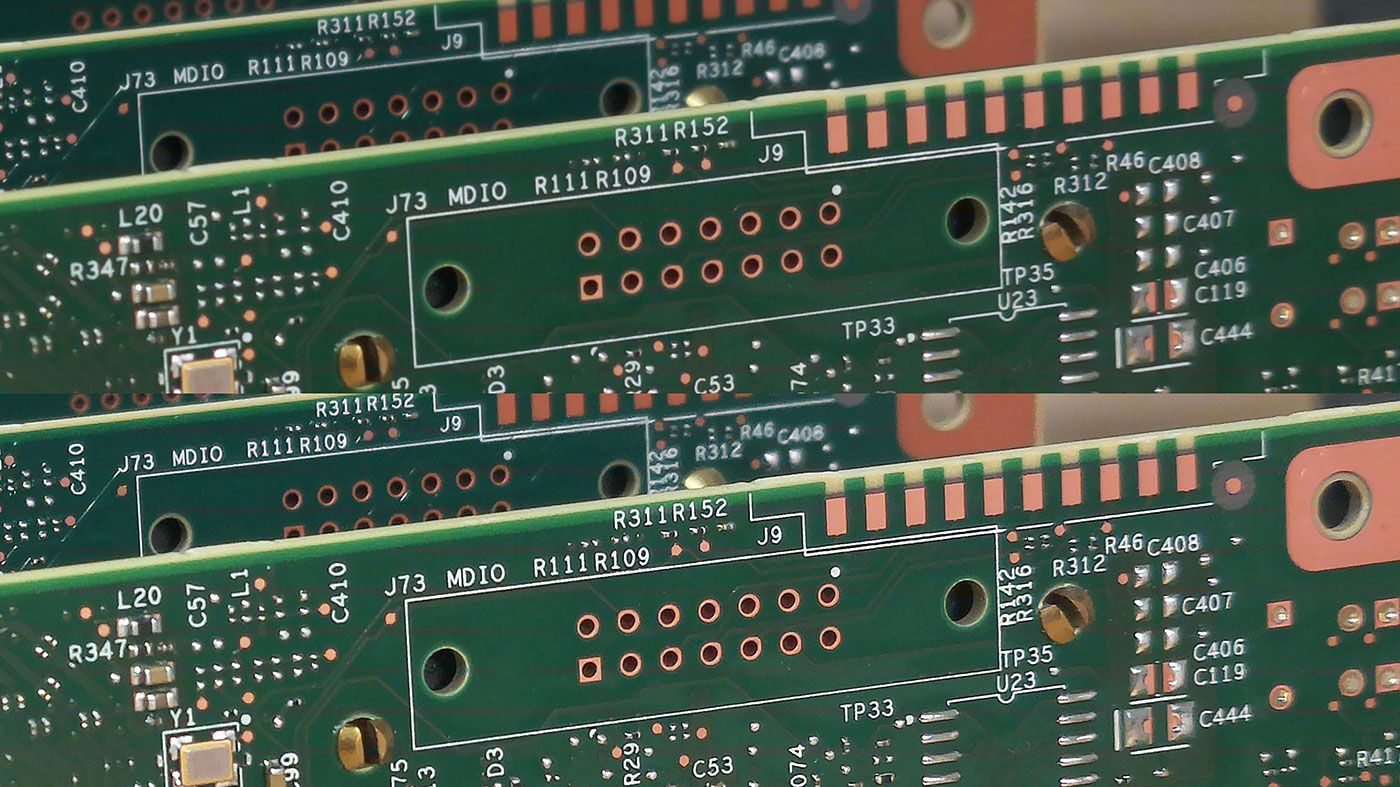
On the top is the straight-out-of-camera result, which clearly shows diffraction at 64 megapixels. On the bottom is the same image with Photoshop's 'Smart Sharpen' filter applied.
The bottom image looks similar to the output of most smartphone cameras these days—outside of the higher-end phones, it's hard to even get at the raw sensor data anymore to see an image like the top one.
Video Quality
For video quality, rather than try to embed samples directly in this post, I recommend watching my YouTube video review of the Hawk-Eye, embedded below:
The default crop for 1080p is much wider than the crop you get on the Pi Camera V2, so you don't have to place the camera as far back to get a comfortable viewing angle if using it as a high-resolution webcam.
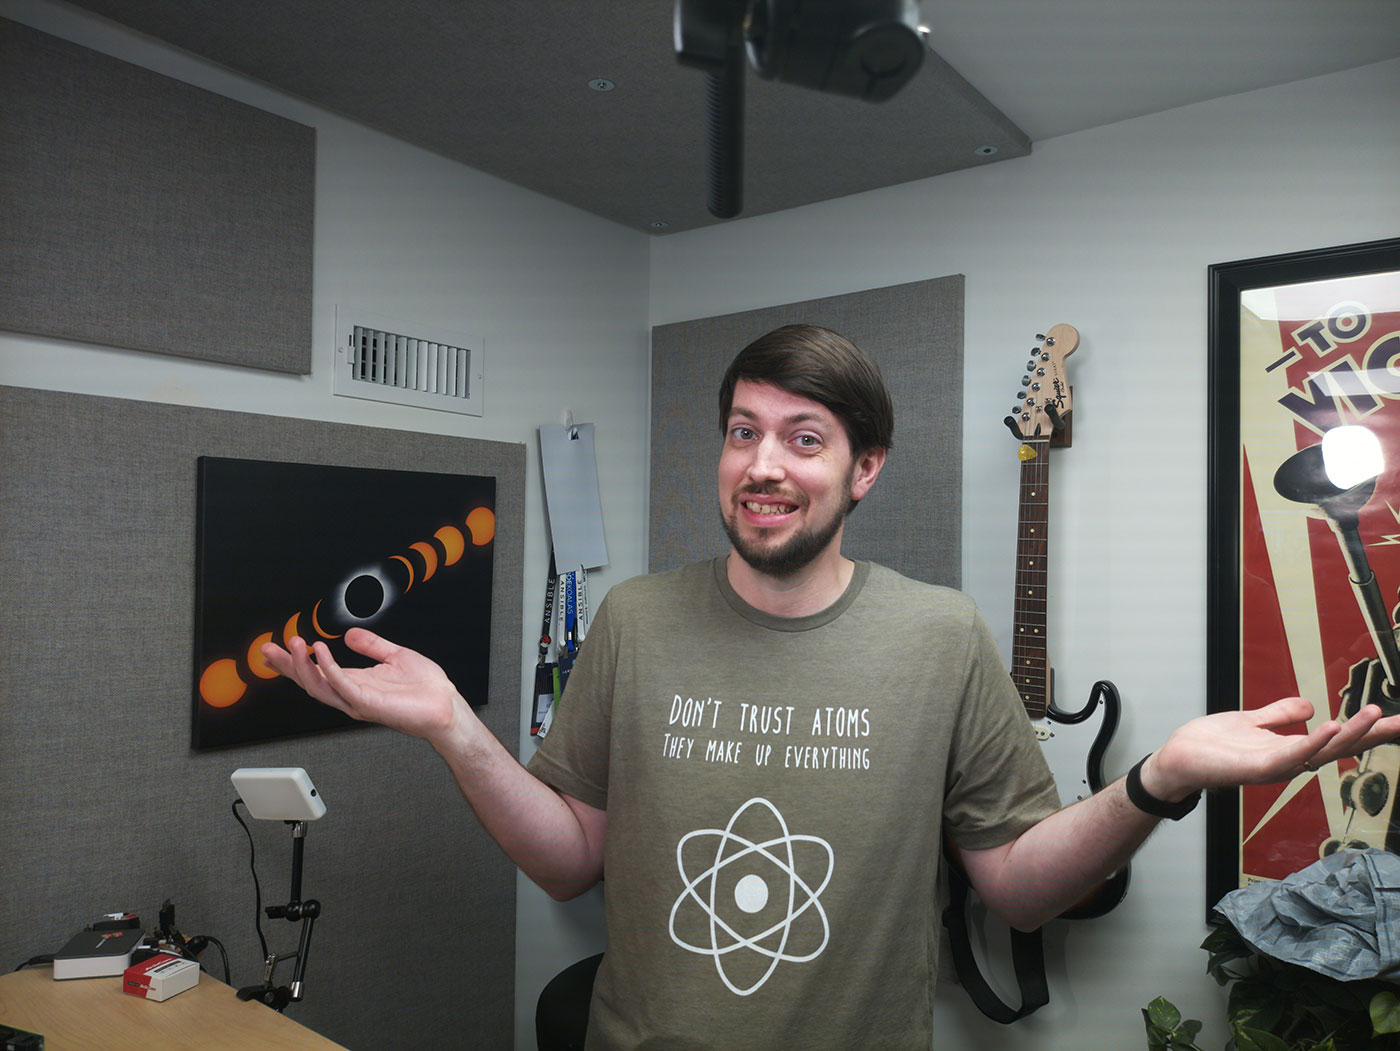
Continuous autofocus works okay, but as you can see from the examples in the YouTube video, an autofocus event doesn't seem to trigger predictably. And more problematic, since the camera software doesn't have something like Apple's Neural engine behind it, autofocus seems to use a rudimentary contrast-detect method, so focusing on an object center frame with a busy background is often futile.
I asked ArduCam if they could offer any more detail about how continuous autofocus works, and this is what they had to say:
The continue-autofocus option constantly monitors the scene with contrast + gradient level + motion detection, every time there’re changes in said values, AF is triggered.
They also sent me this video as a demo of their test setup for the different types of focus you can achieve with auto and manual control.
The autofocus works best if you have a very plain background with a high-contrast subject in the foreground. In my standard video recording environment, the Arducam always focused on the background instead of my face:

The video quality was slightly better overall—and had much better rendition of shadow areas—than either the Pi Camera V2 or HQ Camera.
Conclusion
I recommend watching the video earlier in this post for a better overall picture of how this camera performs—some aspects of its operation are very hard to convey via blog post. But overall, I like what I see.
The camera is a steal at the pre-order price of $35.99. But at the full price of $59.99? It goes from being a no-brainer to being a little harder to choose over the HQ camera, with it's ability to use different lenses or a fixed mount.
But having one of the best smartphone imaging sensors on the market paired with a decent (but sometimes confounding) autofocus mechanism and a pretty sharp lens makes for a great overall package. I think if the software side catches up to the great hardware, this camera has miles of potential.
More info: ArduCam 64MP Hawk-Eye camera on ArduCam.com.
Recommend
About Joyk
Aggregate valuable and interesting links.
Joyk means Joy of geeK