

物聯網筆記 - 為 OLED 顯示器加入自動捲動顯示功能
source link: https://blog.darkthread.net/blog/arduino-prrint-auto-scroll/
Go to the source link to view the article. You can view the picture content, updated content and better typesetting reading experience. If the link is broken, please click the button below to view the snapshot at that time.
Arduino/ESP 程式執行期間要顯示訊息,開發測試期間時可用 Serial.print() 走 USB 線傳回電腦端。實務執行時不可能永遠連著電腦只為了收訊息,一般會外接個小螢幕,古早時代最常用的是照片裡的 1602 液晶螢幕:

內建 I2C 模組的版本只要接四條電線就能動,但它最多只能顯示兩行 16 共 32 個字元,呈現資訊量有限,加上只能顯示英數字符號無法繪圖(即便可以,解析度也低到慘不忍睹),不算好用。
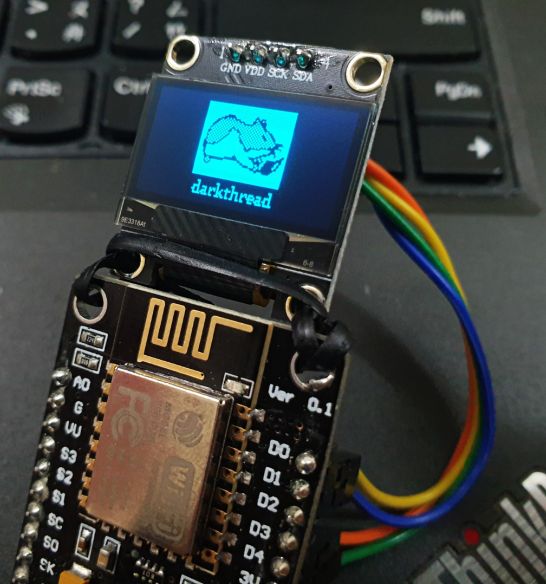
時代在進步,現在可以很容易找到下面這種解析度 128x64 的 OLED 顯示器(SSD1306),價格親民,網拍上 85 元可以買到。一樣內建 I2C 介面四線搞定,預設 6x8 字型一個畫面可以塞進 21x8 = 168 個英數字及符號,配合程式庫還支援各式繪圖功能,頗為實用:
要驅動 SSD1306 必須靠程式庫,大家最常用的非 Adafruit_SSD1306 莫屬,它提供一整套標準繪圖函數(drawLine()、fillRect()... 等一應俱全),還支援 print()、println() 會依字串長度、字型大小拆行,遇到 \n 也會換行,非常方便。但有個缺點 - Adafuit_SSD1306 在列印到螢幕下緣時不會自動往上捲,而是忽略不顯示。
「列印文字超出螢幕範圍要自動往上捲」對一般人來說是天經地義的要求,但在 Arduino/ESP 的世界裡未必。受限於記憶體、運算能力,程式庫通常力求精簡,只放最必要的功能。對寫慣 C#、JavaScript 等高階語言的我來說,改寫 Arduino/ESP 程式帶來最大的衝擊 - 像是養尊處優的城市佬從大都市搬進超級原始的鄉間。以前打開水龍頭就有水、開燈就有光,生活所需隨手可得;現在則得去河邊提水,想省力得自己挖井,吃頓飯要先砍柴生火,生活艱困 N 倍。
我非常想用 OLED 取代 Serial.print(),希望能做到無腦列印偵錯訊息時超出螢幕會自動上捲,但 Adafruit_SSD1306 不支援。試著找替代方案,找到一些網友分享的實作,但就可靠度及功能性,Adafruit 的版本還是讓人較有信心。難道沒有人想過在 Adafruit_SSD1306 加入自動上捲功能?其實有,甚至好幾位網友已發了 PR:Added scrolling capability、added scrollUP() to automatically scroll a display when println() is used、Added autoscrolling,不過可能因為存在版本衝突或其他原因沒被接受。原本想直接改用網友的修改版,但大多有動到另一個專案 Adafruit_GFX,我嫌幅度偏大。我自己的修改哲學通常會避免異動既有邏輯,以微創手術為目標,還會盡可能外加不修改維持相容性。評估之後,我也 Fork 了一份,試著寫了自己理想的版本 - https://github.com/darkthread/Adafruit_SSD1306。
我沒有修改核心讓 print()、println() 就地支援自動上捲,而是另外定義 void ttyPrint(String text) 及 void ttyPrintln(String text) 額外提供自動上捲版本的字串列印,print()、println() 原本支援傳入各種資料型別,要全部實作工程太大,我偷懶把參數型別限縮到 String 一種,如有需要, 將數字、bool 先轉成 String 即可,不算複雜。
寫了一小段程式實測:
#include <Arduino.h>
#include <Wire.h>
#include <Adafruit_I2CDevice.h>
#include <Adafruit_SSD1306.h>

#define SCREEN_ADDRESS 0x3C
Adafruit_SSD1306 display(128, 64, &Wire, -1);

void setup()
{
  Serial.begin(115200);
  while (!Serial) { }
  //Wire.setPins(26, 27); //for ESPro Matrix board

  // SSD1306_SWITCHCAPVCC = generate display voltage from 3.3V internally
  if (!display.begin(SSD1306_SWITCHCAPVCC, SCREEN_ADDRESS))
  {
    Serial.println(F("SSD1306 allocation failed"));
    for (;;)
      ; // Don't proceed, loop forever
  }

  // Clear the buffer
  display.display();
  delay(2500);
  display.setTextColor(WHITE, BLACK);
  display.setCursor(0, 56);
  display.ttyPrintln();
  delay(1000);
  for (int i = 0; i < 256; i++) {
    display.ttyPrint(" " + String(i));
    display.display();
    delay(20);
  }
  display.ttyPrintln();
  display.display();
}
int count = 1;
void loop()
{
  display.ttyPrintln("line - " + String(count++));
  display.display();
  delay(500);
}
執行效果如下,未來要連續輸出文字到 OLED,用 ttyPrintln() 會方便很多。
程式都寫好了,就順手分享給有需求的朋友。如果你是用 VSCode + PlatformIO 開發,只需修改 platformio.ini 將 adafruit/Adafruit SSD1306@^2.4.4 換成 https://github.com/darkthread/Adafruit_SSD1306,馬上就多了 ttyPrint() 及 ttyPrintln() 可用:
程式今天剛寫好,我初步測試沒什麼問題,就當成開放公測好了,大家使用上如發現異常請再回報給我。
Recommend
About Joyk
Aggregate valuable and interesting links.
Joyk means Joy of geeK