
60

GitHub - hunterloftis/pbr: a Physically Based Renderer (PBR) in Go
source link: https://github.com/hunterloftis/pbr
Go to the source link to view the article. You can view the picture content, updated content and better typesetting reading experience. If the link is broken, please click the button below to view the snapshot at that time.
pbr: a golang 3D renderer
Package pbr implements Physically-Based Rendering via a unidirectional CPU-only Monte Carlo path tracer.
pbr uses dep for dependency management.
$ go get github.com/hunterloftis/pbr
$ dep ensure
$ make
Hello, World
func main() {
	floor := surface.UnitCube(material.Plastic(1, 1, 1, 0.05))
	floor.Shift(geom.Vec{0, -0.1, 0}).Scale(geom.Vec{10, 0.1, 10})
	ball := surface.UnitSphere(material.Gold(0.05, 1))
	ball.Scale(geom.Vec{0.1, 0.1, 0.1})

	c := camera.NewSLR().MoveTo(geom.Vec{0, 0, -0.5}).LookAt(geom.Vec{0, 0, 0})
	s := surface.NewList(ball, floor)
	e := env.NewGradient(rgb.Black, rgb.Energy{750, 750, 750}, 7)

	scene := render.NewScene(c, s, e)
	err := render.Iterative(scene, "hello.png", 898, 450, 8, true)
	if err != nil {
		fmt.Fprintf(os.Stderr, "\nError: %v\n", err)
	}
}
Features
- Simple synchronous API, concurrent execution, 100% Go
- A standalone CLI
- .obj and .mtl meshes and materials (Wavefront)
- .hdri environment maps (Radiance)
- Physically-based materials (metalness/roughness workflow)
- Texture maps (base, roughness, metalness)
- Physically-based cameras (depth-of-field, f-stop, focal length, sensor size)
- Direct, indirect, and image-based lighting
- Progressive rendering
Related work
Usage: pbr [--verbose] [--info] [--frames FRAMES] [--time TIME] [--material MATERIAL] [--width WIDTH] [--height HEIGHT] [--scale SCALE] [--rotate ROTATE] [--mark] [--out OUT] [--heat HEAT] [--profile] [--from FROM] [--to TO] [--focus FOCUS] [--lens LENS] [--fstop FSTOP] [--expose EXPOSE] [--bounce BOUNCE] [--indirect] [--ambient AMBIENT] [--env ENV] [--rad RAD] [--floor FLOOR] [--floorcolor FLOORCOLOR] [--floorrough FLOORROUGH] [--sun SUN] [--sunsize SUNSIZE] SCENE

Positional arguments:
  SCENE                  input scene .obj

Options:
  --verbose, -v          verbose output with scene information
  --info                 output scene information and exit
  --frames FRAMES, -f FRAMES
                         number of frames at which to exit [default: +Inf]
  --time TIME, -t TIME   time to run before exiting (seconds) [default: +Inf]
  --material MATERIAL    override material (glass, gold, mirror, plastic)
  --width WIDTH, -w WIDTH
                         rendering width in pixels [default: 800]
  --height HEIGHT, -h HEIGHT
                         rendering height in pixels [default: 450]
  --scale SCALE          scale the scene by this amount
  --rotate ROTATE        rotate the scene by this vector
  --mark                 render a watermark
  --out OUT, -o OUT      output render .png
  --heat HEAT            output heatmap as .png
  --profile              record performance into profile.pprof
  --from FROM            camera location
  --to TO                camera look point
  --focus FOCUS          camera focus ratio [default: 1]
  --lens LENS            camera focal length in mm [default: 50]
  --fstop FSTOP          camera f-stop [default: 4]
  --expose EXPOSE        exposure multiplier [default: 1]
  --bounce BOUNCE, -b BOUNCE
                         number of indirect light bounces [default: 6]
  --indirect             indirect lighting only (no direct shadow rays)
  --ambient AMBIENT      the ambient light color [default: &{1000 1000 1000}]
  --env ENV, -e ENV      environment as a panoramic hdr radiosity map (.hdr file)
  --rad RAD              exposure of the hdr (radiosity) environment map [default: 100]
  --floor FLOOR          size of the floor relative to the scene mesh
  --floorcolor FLOORCOLOR
                         the color of the floor [default: &{0.9 0.9 0.9}]
  --floorrough FLOORROUGH
                         roughness of the floor [default: 0.5]
  --sun SUN              position of a daylight emitter
  --sunsize SUNSIZE      size of the sun [default: 1]
  --help, -h             display this help and exit
  --version              display version and exit
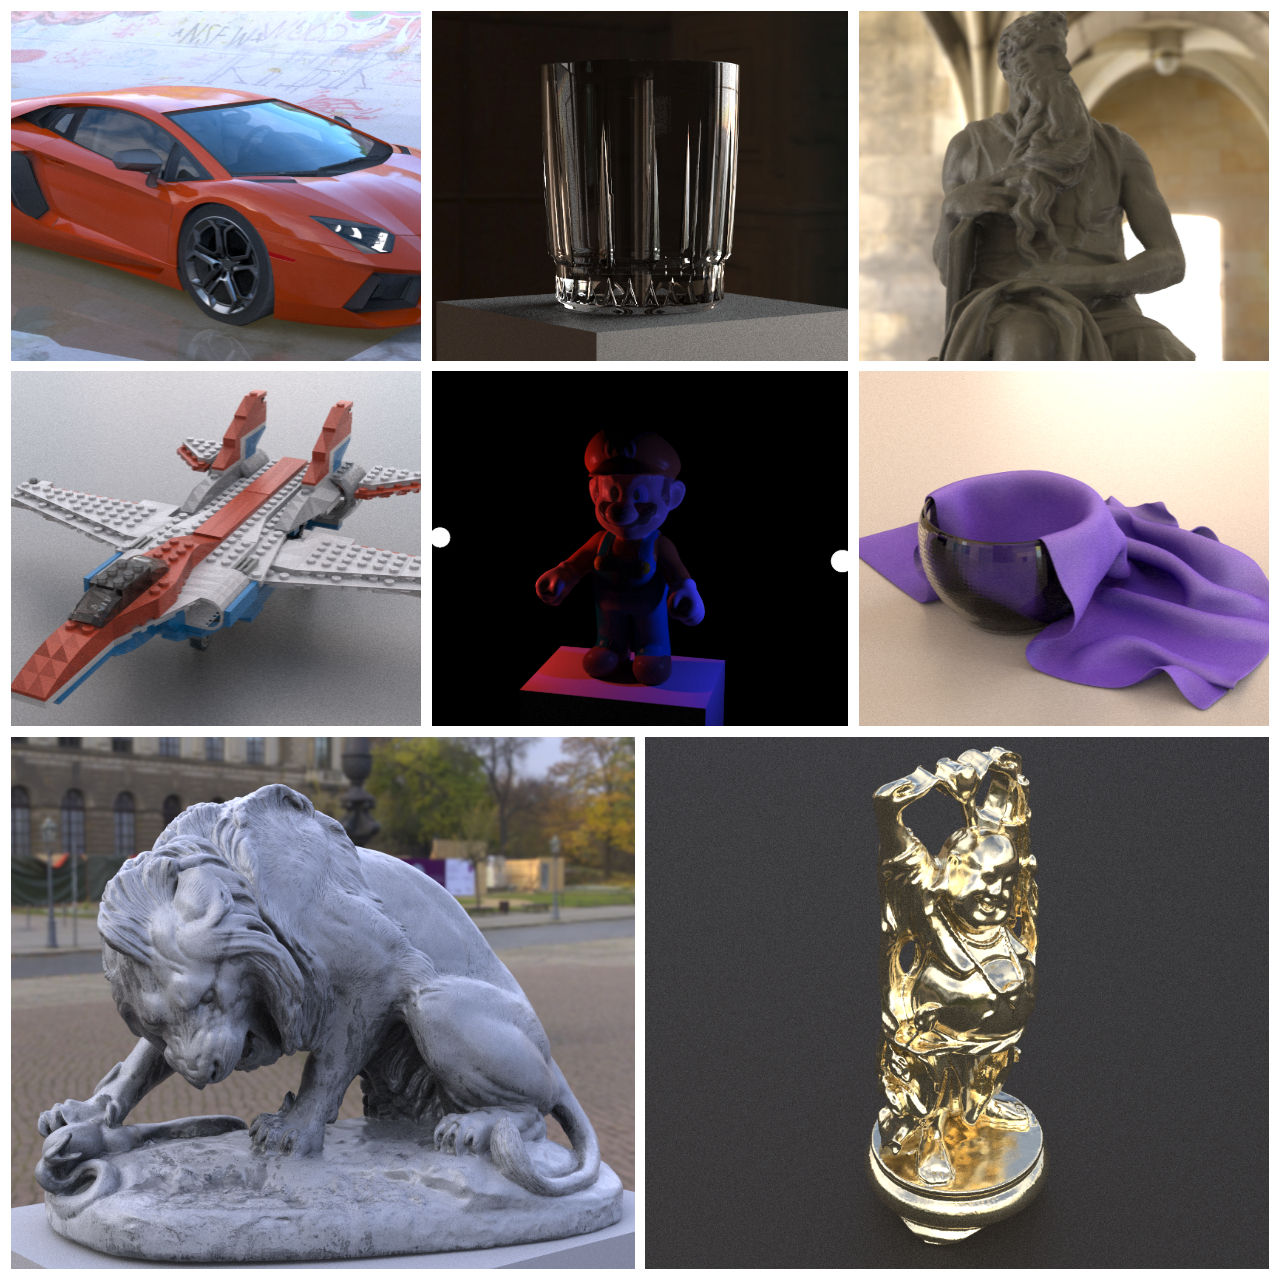
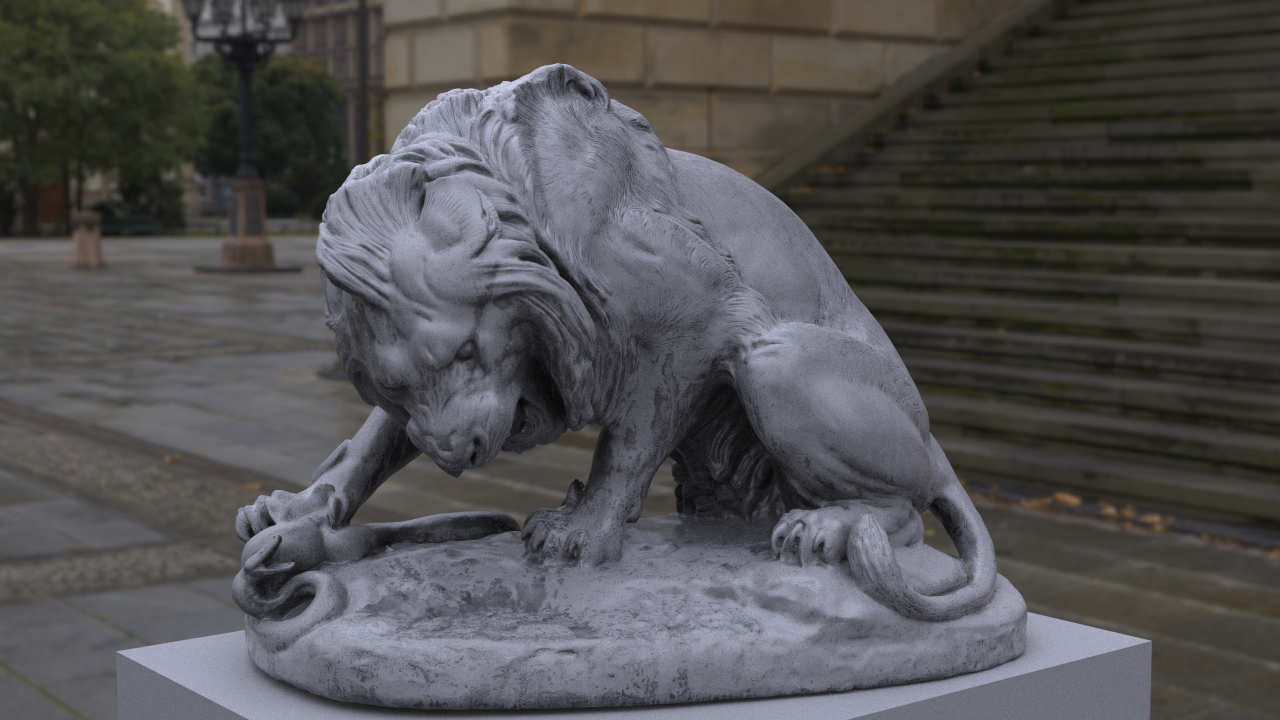
Renders
All of these, and many more are in the Makefile.
To render them yourself, you'll need the fixtures directory of 3D assets:
$ make fixtures
Note: the download is over a gigabyte!


Render Farm
The farm package provides a client and server for quickly spinning up a render farm.
The client workers render a scene and POST samples to the server over HTTP.
The server integrates the samples into a render which it returns at GET /.
To try out the 'toys' render farm example:
$ heroku create
$ heroku stack:set container
$ heroku labs:enable runtime-dyno-metadata
$ git push heroku master
$ heroku scale web=1:performance-l worker=10:performance-l
$ heroku open
Recommend
About Joyk
Aggregate valuable and interesting links.
Joyk means Joy of geeK