

Maintenance Mode in Next.js with Vercel
source link: https://blog.bitsrc.io/maintenance-mode-in-next-js-with-vercel-6cab7f263571
Go to the source link to view the article. You can view the picture content, updated content and better typesetting reading experience. If the link is broken, please click the button below to view the snapshot at that time.
Maintenance Mode in Next.js with Vercel
How To Put An Application To Maintenance Mode in Next.js with Vercel?

Have you had users complain that your application isn’t working while you were in the middle of a reason?
I know I have. In fact, there was this one time where I was releasing a major change to both the backend and the frontend that caused an expected downtime of about 1 hour.
So, our team took precautionary measures to inform our users of this downtime.
However, there were a few users that tried to access the system in the middle of this release and they ran into issues with the system and was sending support tickets because all they saw was this:

Now, looking back at it with what I know now, our team could’ve implemented a maintenance page that could’ve been shown during the release. For example, something like this:
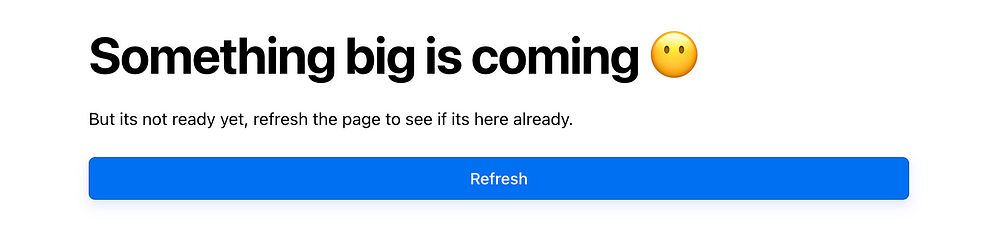
If we did this, none of our users would’ve gotten a bad experience.
So, what I’m trying to say here is that — if you’re releasing something that’s expected to have a downtime, indicate that in your system.
With that in mind, let’s take a look at how we can implement a maintenance page that’s easy to toggle with Next.js and Vercel.
Pst, if you’re interested in diving directly to the code, checkout my Bit Scope.
How Can You Create a Maintenance Page with Next.js + Vercel?
First things first, let’s create a Next.js app.
Fun fact, Gartner predicts that by 2026, 20 cloud platforms and SaaS providers will off component market places to let customers build composable software.
So, why not get ahead and build a composable Next.js app while we’re at it. I’ll be using Bit to build a composable app.
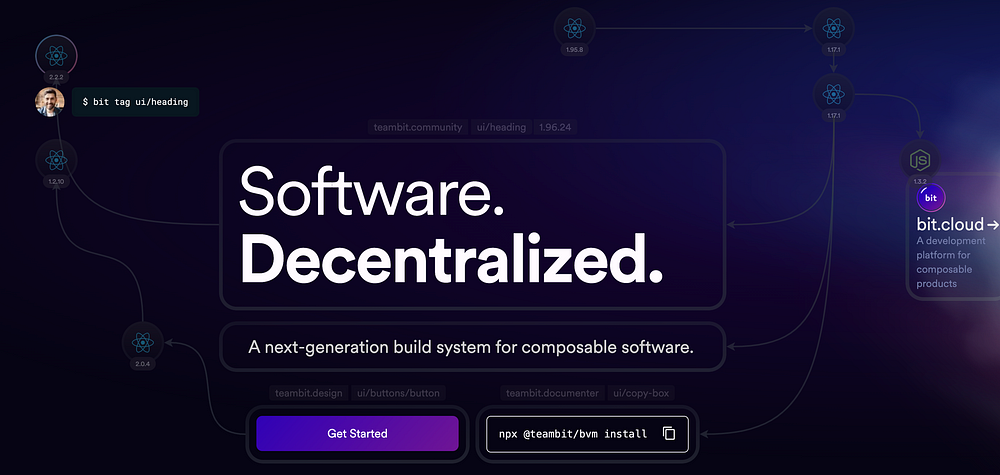
Bit is a next generation build system for composable software that lets you design, build, test and version components in isolated spaces.
Step 01 — Setting up Bit
To create a Next.js app with Bit, let’s first install Bit. Use Bit’s version manager (BVMM) to install Bit globally and then initialize a workspace.
# install bit
npx @teambit/bvm install

# initialize workspace
bit new hello-world-nextjs my-hello-world-nextjs --aspect frontend.nextjs/templates/community-starters/hello-world-nextjs --default-scope dummyorg.nextjs
Make sure to replace dummyorg.next-js with your Bit username and scope name.
Note, workspaces aren’t tied to a language. You can build different components like Node.js, Angular, Next.js and React in a single workspace using Bit Environments.
If you’ve created your workspace successfully, you should see the output below:
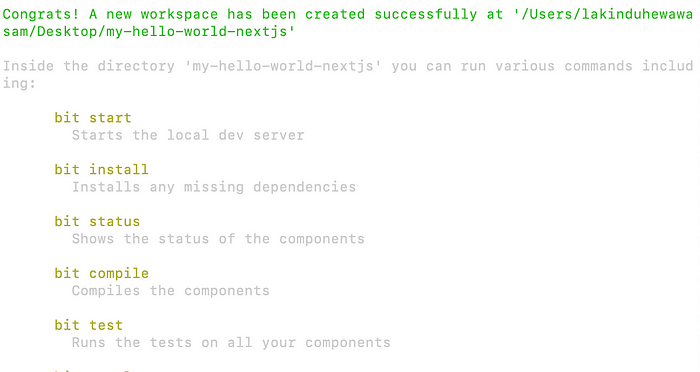
Note, this is a “Starter” workspace. This means that it’s a template that we can use to get a boilerplate Next.js project with Bit.
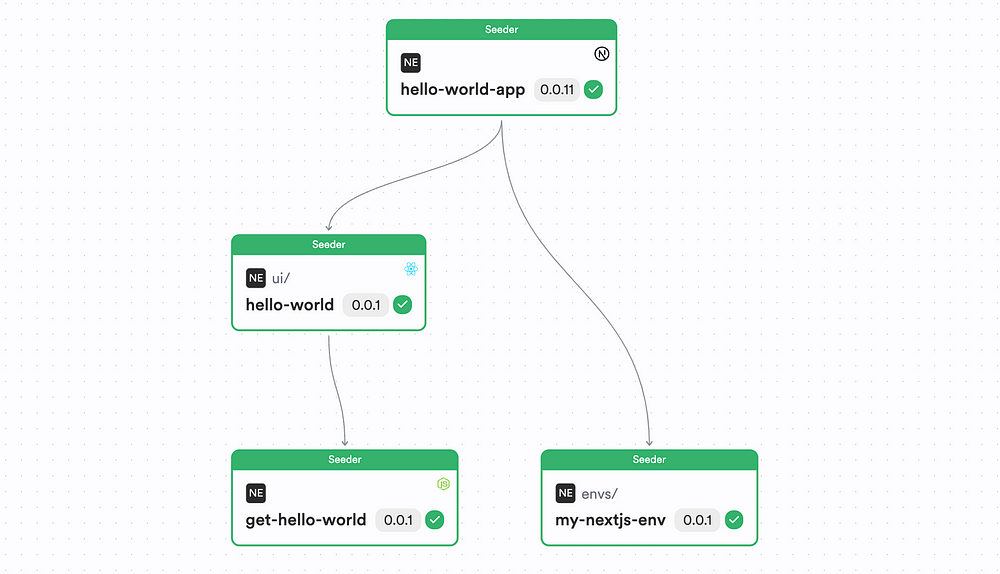
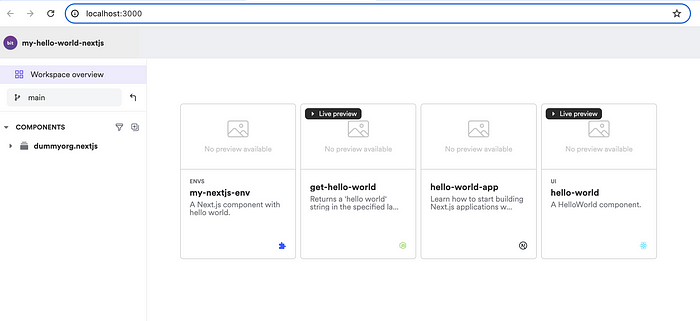
So, after you launch the Bit Server using the command — bit start you'll be able to see a set of components bootstrapped for us:
Step 02: Launching the Next.js app
Well, since we already have an app — hello-world-app, let's launch it outside of the Bit server, and as an independent Next.js app.
To do so, run the command:
bit run hello-world-app
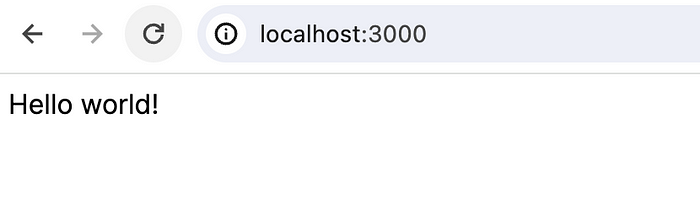
Afterward, you should see your Next.js app spun up:
Okay, now that that’s done, let’s deploy this on Vercel.
Step 03: Deploying a Next.js app on Vercel using Bit
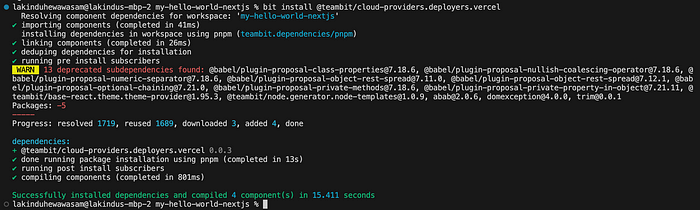
The Bit team offers a Vercel Deployer component that we can use out of the box to deploy apps to Vercel without any Vercel CLI. To do so, let’s first install the Deployer:
bit install @teambit/cloud-providers.deployers.vercel
You should see the output:
Next, head over to your hello-world-app.next-app.cjs file located in your App component and define a deploy configuration as follows:
/** @type {import("@teambit/react.apps.react-app-types").ReactAppOptions} */
const { Vercel } = require('@teambit/cloud-providers.deployers.vercel');

const vercelConfig = {
  accessToken: '<<YOUR-VERCEL-ACCESS-TOKEN>>',
  teamId: '<<YOUR-VERCEL-TEAM-ID>>',
  projectName: '<<YOUR-VERCEL-PROJECT-NAME>>',
  vercelConfig: {
  rewrites: [{ source: '/(.*)', destination: '/server/app' }],
 },
};

module.exports.default = {
 name: 'hello-world-app',
 deploy: Vercel.deploy(vercelConfig),
};
Replace the following with your information:
- Vercel Access Token
- Team ID
- Project Name
After you’ve updated the variables with your information, simply run the command:
bit tag && bit export
Note, make sure you’ve created a Bit scope based on the name you’ve provided when you create your workspace.
Afterward, you should see an output like this, along with a Ripple Build URL:

Visit the URL in your web browser and you can see Bit’s CI Server — Ripple CI building your app and deploying it to Vercel:
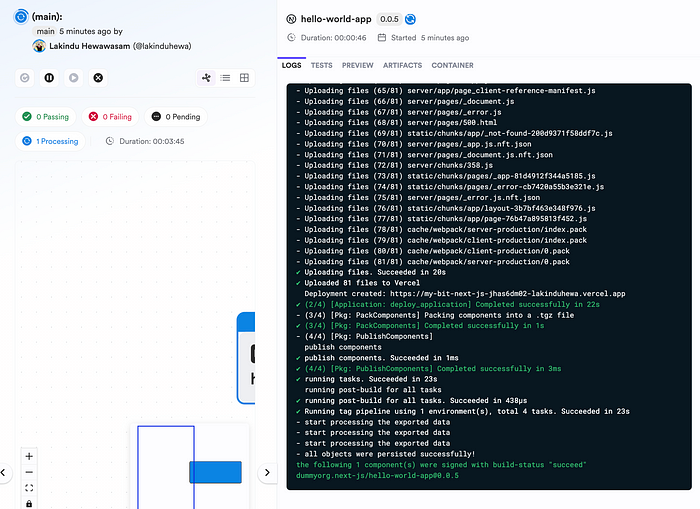
Note, Ripple CI is able to propagate changes across the component tree. So, if one component’s implementation change, Ripple CI updates the entire tree to make sure all components use the latest version.
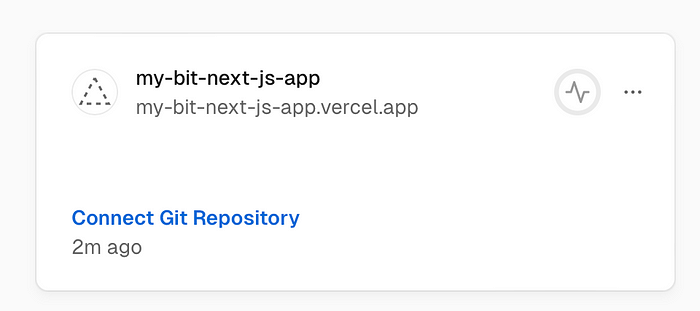
Afterward, you should see your app on the Vercel console:
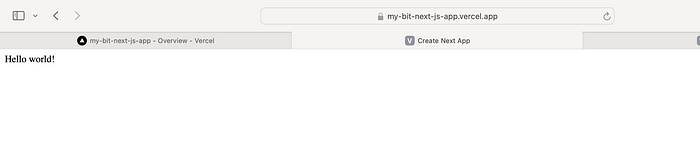
Go ahead and visit the app:
Step 04: Building the Maintenance Mode
Now that we have our Next.js app deployed, let’s build the maintenance state. This is relatively simple with Next.js.
Truth be told, all you need is an environment variable. Simply update your entry point with the following code:
import { HelloWorld } from '@dummyorg/next-js.ui.hello-world';
import React from 'react';

export default function Home() {

if (process.env.IS_MAINTAINENCE) {
   return <>Site under construction.</>
 }

return (
   <main>
     <HelloWorld />
   </main>
 );
}
Next, simply export your Bit component using the command:
bit tag && bit export
Next, head over to Vercel and create an environment variable under this name:
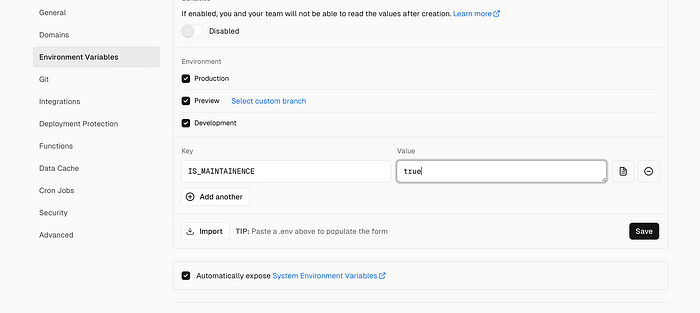
Afterward, trigger a redeploy of your app from Vercel to see your maintenance page in action:

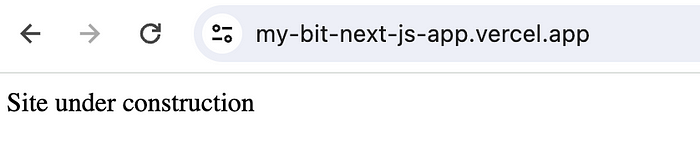
Next, head over to your site again and you should see the deployed app in maintenance mode:
And that’s pretty much it!
All you have to do is revert your environment variable to false after your release is completed and your site will function as normal!
Wrapping Up
That was simple wasn’t it? Now, you don’t have to make your users go through a bad experience when you’re in the middle of a release.
Instead, you can keep your users informed using your application so that they can get back to their business needs as soon as possible.
If you wish to explore the code we implemented, check out my Bit Scope.
I hope you found this article helpful.
Thank you for reading.
Recommend
About Joyk
Aggregate valuable and interesting links.
Joyk means Joy of geeK