

Purpose of the ngOnInit() method in Angular
source link: https://www.geeksforgeeks.org/purpose-of-the-ngoninit-method-in-angular/
Go to the source link to view the article. You can view the picture content, updated content and better typesetting reading experience. If the link is broken, please click the button below to view the snapshot at that time.
ngOnInit is a lifecycle hook in Angular that is called after the constructor is called and after the component’s inputs have been initialized. It is used to perform any additional initialization that is required for the component. ngOnInit is commonly used to call services or to set up subscriptions.
Syntax:
ngOnInit(){
    //Logic
  }
Purpose of ngOnInit() :
1. Initialization of Component
The primary purpose of ngOnInit() is to initialize the component after Angular has set the input properties. It provides a safe and reliable place to perform any initialization logic that depends on these properties being available.
2. Access to Input Properties
During the execution of ngOnInit(), you have access to all the input properties that have been bound to the component. This allows them to perform any setup or initialization based on the values of these properties.
3. Calling Services
ngOnInit() is often used to call services to fetch initial data needed by the component. Since it’s called after Angular has set the input properties but before the view is rendered, it’s an appropriate place to make such HTTP requests or initialize other services.
4. Setup of Observables
If working with observables or other asynchronous data sources, ngOnInit() provides a suitable place to subscribe to these data sources. This ensures that the subscriptions are set up before the component starts rendering, avoiding any race conditions or data inconsistencies.
5. DOM Manipulation
While Angular discourages direct DOM manipulation, there might be scenarios where you need to perform some DOM manipulation based on the component’s input properties. ngOnInit() provides a safe place to perform such operations, ensuring that the DOM is properly initialized before it’s rendered.
Steps for Installing & Configuring the Angular Application
Step 1: Create an Angular application using the following command.
ng new appname
Step 2: After creating your project folder i.e. appname, move to it using the following command.
cd appname
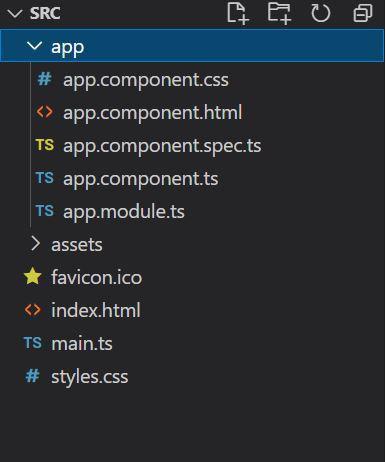
Project Structure:
Dependencies:
"dependencies": {
    "@angular/animations": "^17.3.0",
    "@angular/common": "^17.3.0",
    "@angular/compiler": "^17.3.0",
    "@angular/core": "^17.3.0",
    "@angular/forms": "^17.3.0",
    "@angular/platform-browser": "^17.3.0",
    "@angular/platform-browser-dynamic": "^17.3.0",
    "@angular/router": "^17.3.0",
    "rxjs": "~7.8.0",
    "tslib": "^2.3.0",
    "zone.js": "~0.14.3"
  },
  "devDependencies": {
    "@angular-devkit/build-angular": "^17.3.0",
    "@angular/cli": "^17.3.0",
    "@angular/compiler-cli": "^17.3.0",
    "@types/jasmine": "~5.1.0",
    "jasmine-core": "~5.1.0",
    "karma": "~6.4.0",
    "karma-chrome-launcher": "~3.2.0",
    "karma-coverage": "~2.2.0",
    "karma-jasmine": "~5.1.0",
    "karma-jasmine-html-reporter": "~2.1.0",
    "typescript": "~5.4.2"
  }
Example: In this example, we have imported OnInit (life cycle hook) that is invoked by the Angular to represent the Angular is done in creating the component.
Javascript
//app.component.ts

import { Component, OnInit } from "@angular/core";

@Component({
    selector: "my-app",
    template:
        "<div><h1>{{data}}</h1><h1>{{subtitle}}</h1></div>",
    styles: [`div {
        color: green;
    }`],
})
export class AppComponent {
    title: string;
    subtitle: string;
    data: string;

    constructor() {
        this.title = "Welcome to GeeksForGeeks";
    }

    ngOnInit() {
        this.data = "Welcome to GeeksForGeeks";
        this.subtitle = "from ngOnInit";
    }
}
Javascript
To start the application run the following command.
ng serve
Output:

“This course was packed with amazing and well-organized content! The project-based approach of this course made it even better to understand concepts faster. Also the instructor in the live classes is really good and knowledgeable.”- Tejas | Deutsche Bank
With our revamped Full Stack Development Program: master Node.js and React that enables you to create dynamic web applications.
So get ready for salary hike only with our Full Stack Development Course.
Recommend
About Joyk
Aggregate valuable and interesting links.
Joyk means Joy of geeK