

NixOS for the Impatient
source link: https://borretti.me/article/nixos-for-the-impatient
Go to the source link to view the article. You can view the picture content, updated content and better typesetting reading experience. If the link is broken, please click the button below to view the snapshot at that time.
NixOS for the Impatient
NixOS is a Linux distribution configured using Nix. It is
declarative, meaning that the entire system state can be defined in a single
.nix file; and reproducible, meaning you can have multiple computers set up
identically.
If this sounds like a bullshit timesink like Arch or Gentoo: it’s not. There was
a time when the idea of spending an afternoon typing cryptsetup incantations
into a terminal would have been appealing. That time is past. I don’t use
distros that lack a graphical installer (running fdisk is frankly beneath my
dignity) or that require extensive maintenance. I’m not building my own kernel
with some bespoke set of paranoid CFLAGS. I just want something that works.
NixOS works. It actually works great.
This post is about how I set up NixOS. I don’t know Nix best practices and haven’t the time to learn, what I know is my setup works and is easy to understand, and that’s good enough at present.
Contents
Getting Started
Head over to downloads and pick a graphical ISO image.
Installation
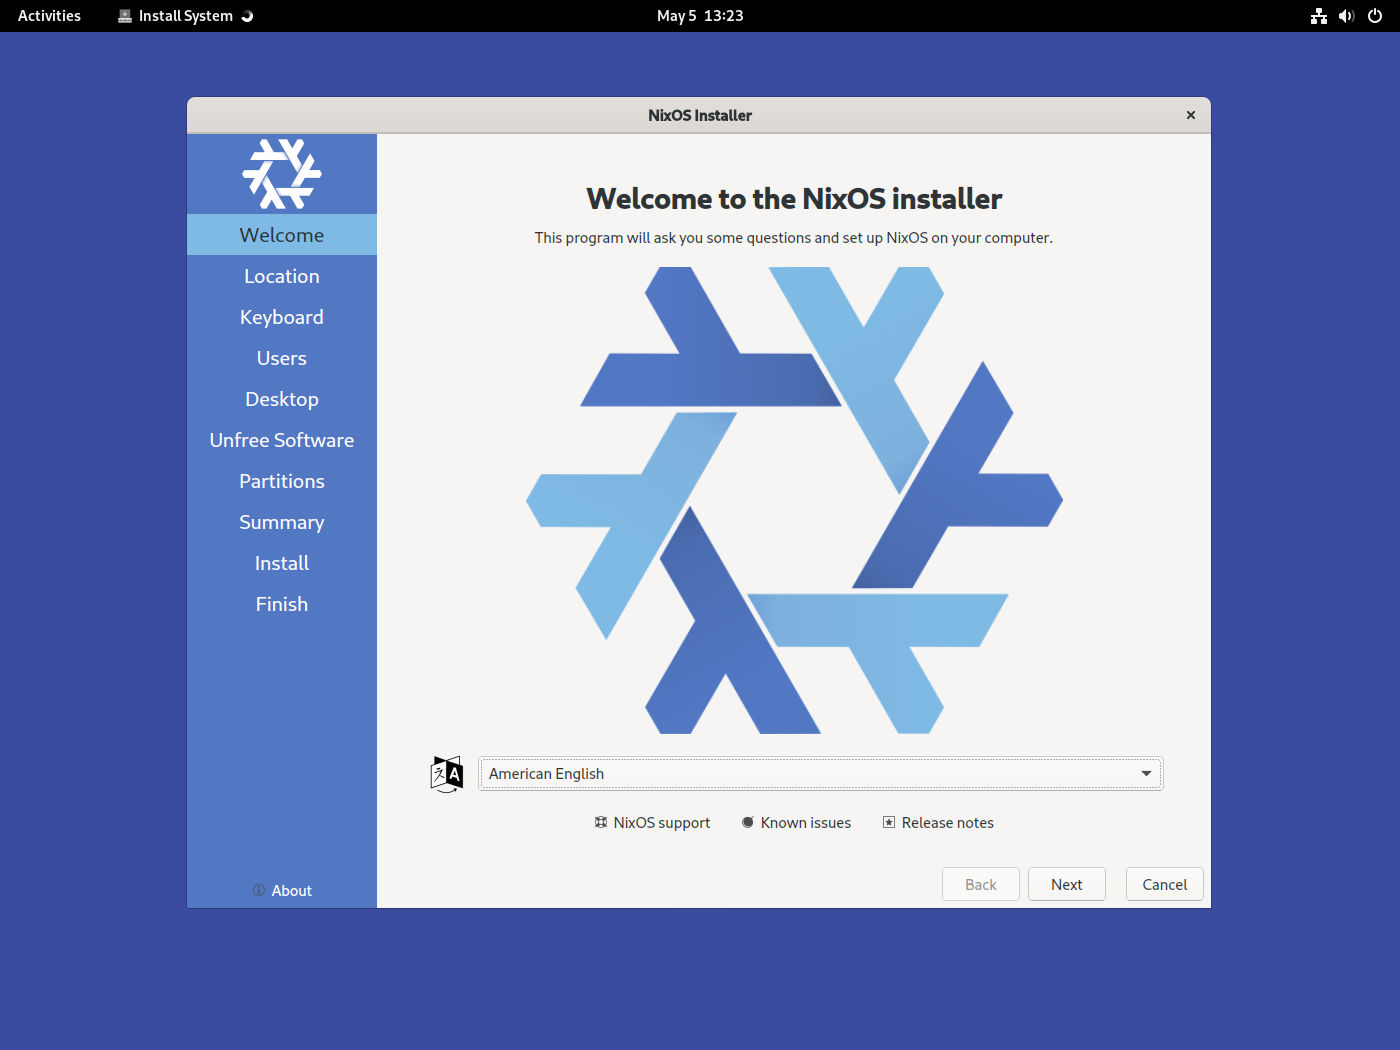
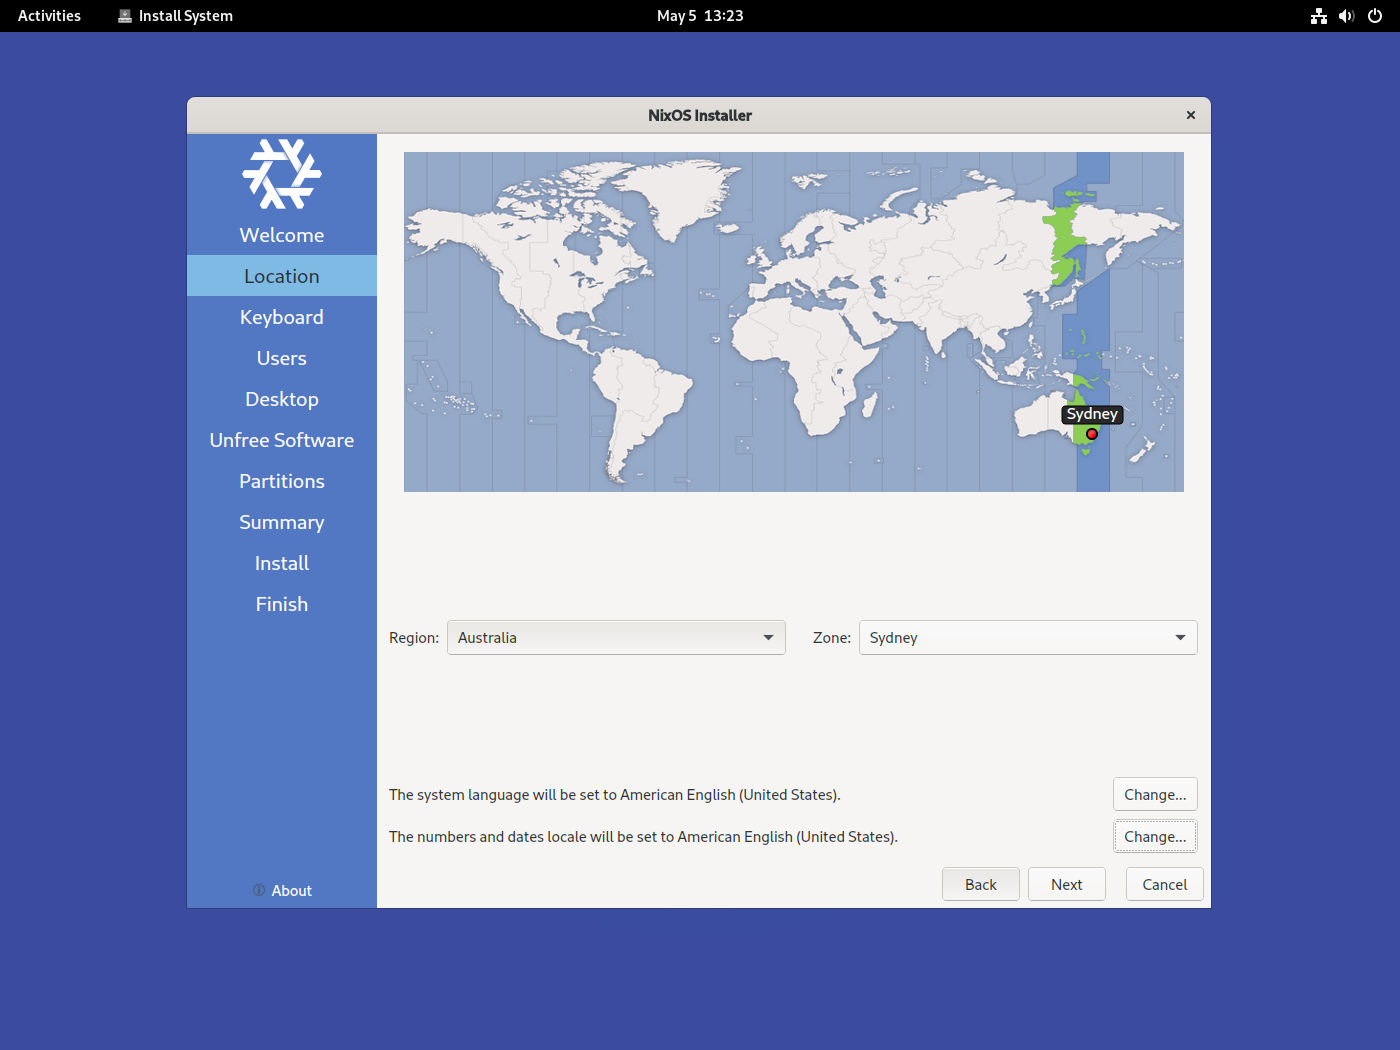
The installer is based on Calamares and is very user friendly. I want to highlight two features in particular.
Firstly, a minor thing, timezones are separated from locales. I use
en_US.UTF-8 everywhere, but a lot of installers give you some obscure locale
if your timezone is outside the US. Here they are correctly
separated1:
Secondly, something more important: full disk encryption is completely supported out of the box. This is crucial: full disk encryption should be the default. Some distros like Ubuntu and Debian also support it in the installer, while others treat this as some exotic edge case, and there might be some incomplete wiki page that lists the dozens of commands you have to run to set up LUKS manually.
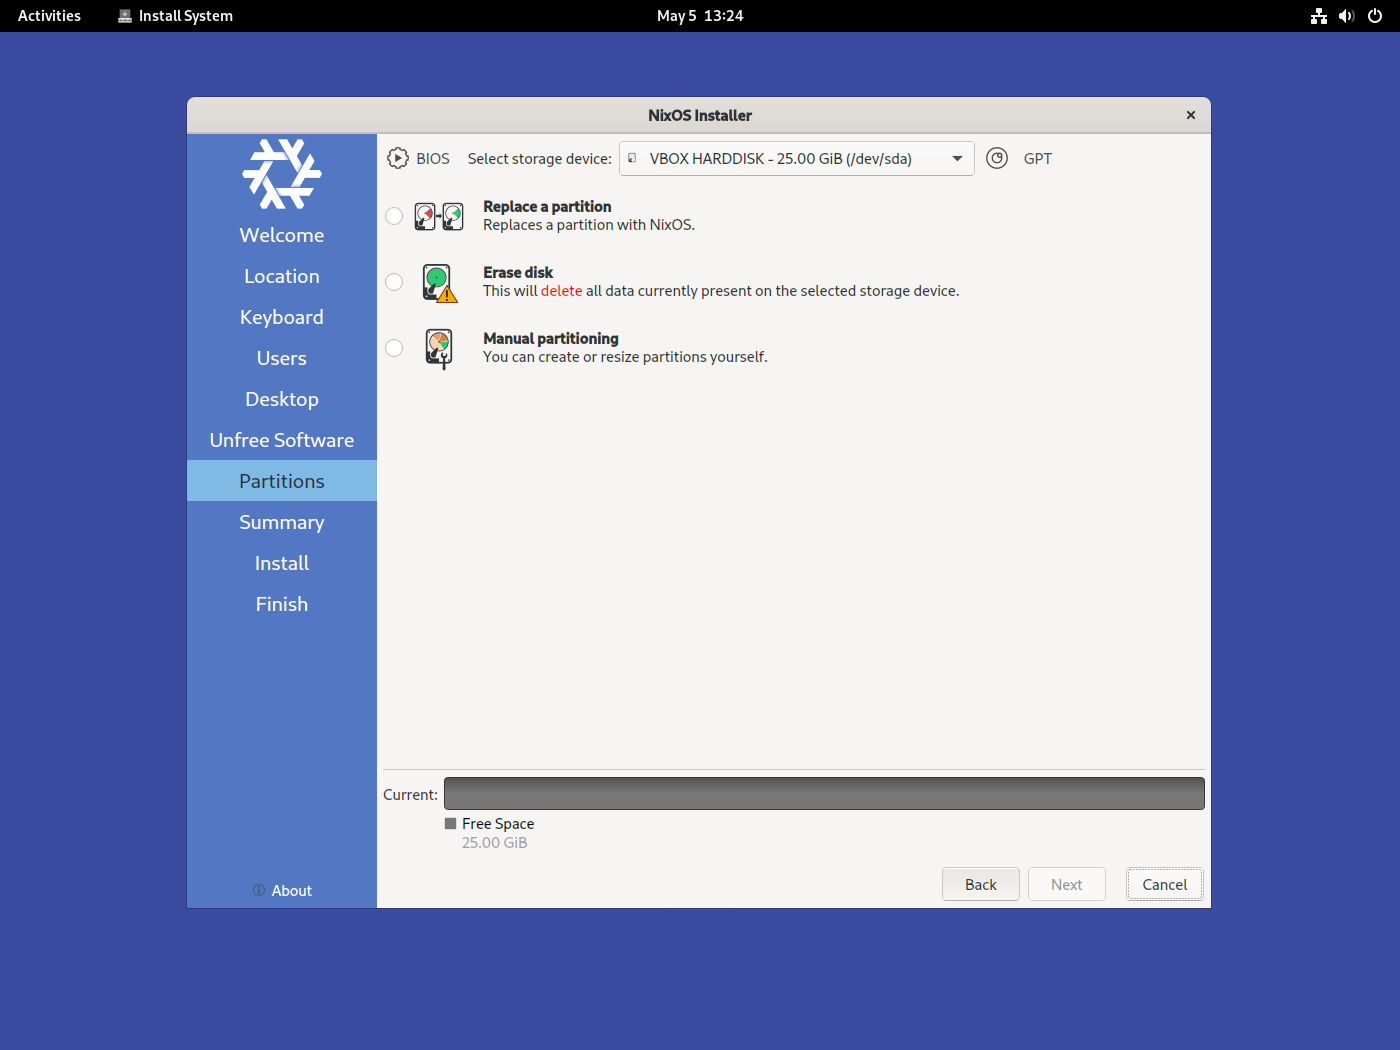
For my setup I chose to wipe the whole disk (I dual-boot, but have each OS in a separate disk, which really is the only tractable way to do it), and chose swap plus hibernation so I can suspend the computer. Another plus here is the full disk encryption setup, by default, gives you infinite retries if you misspell the password. I have a long disk encryption password so this is a lifesaver: with Ubuntu and Debian it was locked at three retries, and I’d regularly fail that many times and have to hold down the power button to try again, which feels like smothering the poor laptop.
Other minor things: I chose “allow unfree software” and the Pantheon desktop since it’s like a nicer version of old GNOME 2.
Troubleshooting Note: when you get to the “Partitions” page, make sure the label on the upper-right hand corner reads “GPT” and not “MBR”. Installing on an MBR system gives you a severely degraded setup. Fixing this is just a matter of opening up GParted (which comes with the installer) and changing the partition table for the disk, assuming the disk is empty.
Post-Install
A journey of a thousand lightyears begins with a simple step. Let’s take a small step: changing the hostname.
By default, NixOS’s configuration lives in /etc/nixos. Eventually we will move
this to a more convenient place. There are two files here: configuration.nix
is the main thing we’ll use, and hardware-configuration.nix is generated for
you by the installer.
First, open up the main configuration file:
$ sudo nano /etc/nixos/configuration.nix
Navigate to networking.hostName. The default value is "nixos". Change it to
something you like:
networking.hostName = "sextant"
Apply the configuration with:
$ sudo nixos-rebuild switch
Now, trying to start a new terminal window after changing hostnames might error,
so you have to log out and log back in to observe your new hostname. For most
changes, however, they take effect immediately. How much you have to do depends
on how much you’ve changed: if you’ve updated your .bashrc you’ll have to open
a new terminal, if you’ve updated your window manager config you’ll have to
reboot the window manager, etc.
This is the basic pattern to configuring Nix: you make a change to your config file, run one command, and the system is updated.
Installing Packages
There’s two ways to install packages: system-wide and user specific. Open the
configuration.nix file again. System-wide packages go in environmentSystemPackages:
environment.systemPackages = with pkgs; [
    firefox
];
User-specific packages go in users.users.$USER.packages:
users.users.eudoxia.packages = with pkgs; [
    emacs
];
Dotfiles
To manage our dotfiles we need a Nix plugin called Home Manager. Go to
/etc/nixos, create a file home.nix, and write this in:
{ config, pkgs, ... }:
let
    home-manager = builtins.fetchTarball {
        url = "https://github.com/nix-community/home-manager/archive/release-22.11.tar.gz";
        sha256 = "1cp2rpprcfl4mjsrsrpfg6278nf05a0mpl3m0snksvdalfmc5si5";
    };
in
{
    imports = [
        (import "${home-manager}/nixos")
    ];

    home-manager.users.eudoxia = {
        # This should be the same value as `system.stateVersion` in
        # your `configuration.nix` file.
        home.stateVersion = "22.11";
    };
}
Now open configuration.nix and add home.nix to the imports:
imports = [
    ./hardware-configuration.nix
    ./home.nix
];
This configuration does nothing but make Home Manager available. Now, the
simplest possible next step: create a .foorc dotfile in the home directory,
with some contents. Open home.nix and under stateVersion add this:
home-manager.users.eudoxia = {
    # This should be the same value as `system.stateVersion` in
    # your `configuration.nix` file.
    home.stateVersion = "22.11";

    home.file = {
        ".foorc" = {
            text = ''
                Hello, world!
            '';
        };
    };
};
Running sudo nixos-rebuild switch you will find a write-protected .foorc
file in your home directory.
Upgrading
Added on 2023-06-03.
Recently, 23.05 was released. To upgrade, I first updated my version of Home Manager:
 let
   home-manager = builtins.fetchTarball {
-    url = "https://github.com/nix-community/home-manager/archive/release-22.11.tar.gz";
-    sha256 = "1cp2rpprcfl4mjsrsrpfg6278nf05a0mpl3m0snksvdalfmc5si5";
+    url = "https://github.com/nix-community/home-manager/archive/release-23.05.tar.gz";
+    sha256 = "1ixy1bi21nq0dlfzpn72k1gjdm8aq7h84wvl1ysff7lmqc4gi1jf";
   };
Then I ran:
$ sudo nix-channel --add https://nixos.org/channels/nixos-23.05 nixos
$ sudo nixos-rebuild boot -I nixos-config=path-to-my-config.nix
I had to remove a few files that were bothering Home Manager, but the error messages pointed out exactly what to do.
A Single-Device Setup
The above instructions are enough to get going. This section describes how to
make the setup a bit more tractable. Specifically, we’re gonna move the
configuration to a git repo and move the dotfiles to files outside the .nix
configuration so they’re not embedded strings.
The first step is to make a folder for the dotfiles:
$ mkdir dotfiles
$ cd dotfiles
$ git init
Then, copy your existing configuration:
$ cp /etc/nixos/configuration.nix configuration.nix
$ cp /etc/nixos/home.nix home.nix
$ cp /etc/nixos/hardware-configuration.nix hardware-configuration.nix
$ git add .
For simplicity, add a script that lets you quickly reapply the configuration
without having to remember any Nix-specific commands. I call mine recrank.sh:
#!/usr/bin/env bash

sudo nixos-rebuild switch -I nixos-config=configuration.nix
The -I flag tells nixos-rebuild to use the local configuration rather than
the one in /etc/nixos.
Then make a folder for your home directory’s dotfiles:
$ mkdir sources
And copy anything you might need: .bashrc, git configuration, X11 resources,
etc.
Then modify your home.nix to load the dotfiles from the sources/
directory. For example:
home.file = {
    ".bashrc".source            = ./sources/bashrc.sh";
    ".emacs.d/init.el".source   = ./sources/init.el;
    ".config/git/config".source = ./sources/gitconfig.txt;
    ".Xresources".source        = ./sources/xresources.txt;
};
Then run the recrank script, and you’ll find your dotfiles in their target locations. If you want to copy a whole directory of files at once, you can do something like this:
".local/bin" = {
    source = ./sources/scripts;
    recursive = true;
};
This will create a ~/.local/bin directory and copy the contents of
sources/scripts/ there.
My Current Setup
For an example setup, see my dotfiles repo. This setup is shared across my desktop and laptop, using identical configuration except each one has a different hostname and hardware configuration. I use Syncthing which automatically syncs my personal files when both computers are on at the same time.
Comparison
My dotfiles repo is ten years old. Over the years I’ve tried different schemes for managing them. What I settled on for the longest chunk of time was a bash script to install software and then copy some source dotfiles to their destinations. This works well enough, but for two drawbacks:
- Sometimes I’d install something by hand and forget to add it to the bootstrap script.
- Analogously, I’d make a change to a dotfile in its target location, out of expedience, and forget to apply the change to the corresponding file in the dotfiles repo.
And so the live configuration and my dotfiles would slowly drift over time. When I ran the bootstrap script, I had no idea whether it would overwrite some key part of my config I’d forgotten to copy over to the repo.
I tried GNU Stow, a “symlink farm” manager, to symlink rather than copy my dotfiles. So changes made to the live dotfiles automatically update the repo. But symlinks are brittle: moving the dotfiles directory broke everything.
Nix solves both problems:
- I can’t install packages by hand, I can only add them to the Nix configuration.
- The dotfiles that
home-managercreates are write-protected, so I can’t change them directly, rather, I have to change them in the dotfiles repo and run the script to apply the changes.
In the past, there’d always been something I wasn’t entirely happy about with my setup. For the first time, I’m entirely satisfied with my system configuration. Using NixOS has been thoroughly enjoyable.
Footnotes
-
A friend is a locale edge case: US keyboard, English as the interface language, ISO
YYYY/MM/DDdates, Euro currency symbol and commas as the decimal separator. I think Calamares doesn’t quite support this level of flexibility just yet but it’s better than the Linux status quo. ↩
Recommend
About Joyk
Aggregate valuable and interesting links.
Joyk means Joy of geeK