

FXGL game on the Raspberry Pi
source link: https://devm.io/java/raspberry-pi-fxgl
Go to the source link to view the article. You can view the picture content, updated content and better typesetting reading experience. If the link is broken, please click the button below to view the snapshot at that time.
To end this series of Java on the Raspberry Pi articles, we will use the JavaFX framework we added in the previous article, to create a game with the FXGL library. And by running it on the Raspberry Pi, we can easily add physical buttons and a joystick to control that game! This is only an example project based on the Snake-classic, so that leaves a lot you can add yourself to extend it with more levels, challenges, etc. This way you can get started quickly and learn the FXGL library as you go.

The wiring
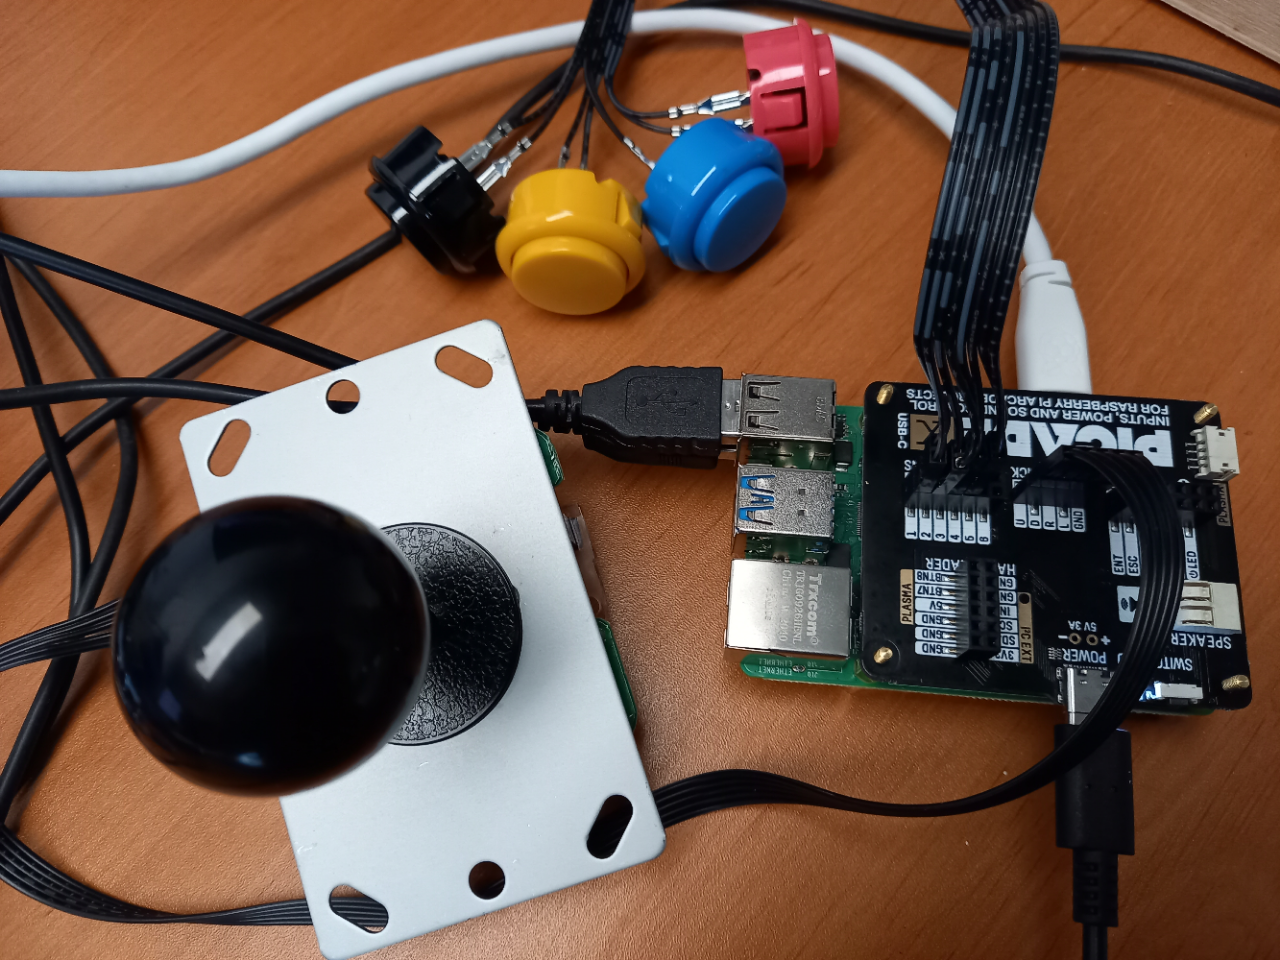
There are many kits available to develop this kind of project. We will be using an Arcade kit [1] in combination with a Picade X HAT USB-C [2]. The HAT is optional, but makes it a lot easier to connect the wires of the buttons and joystick. An extra advantage is the power button on the HAT. If you connect the USB power to the HAT instead of your Raspberry Pi, you have a real „power button“ for the board.
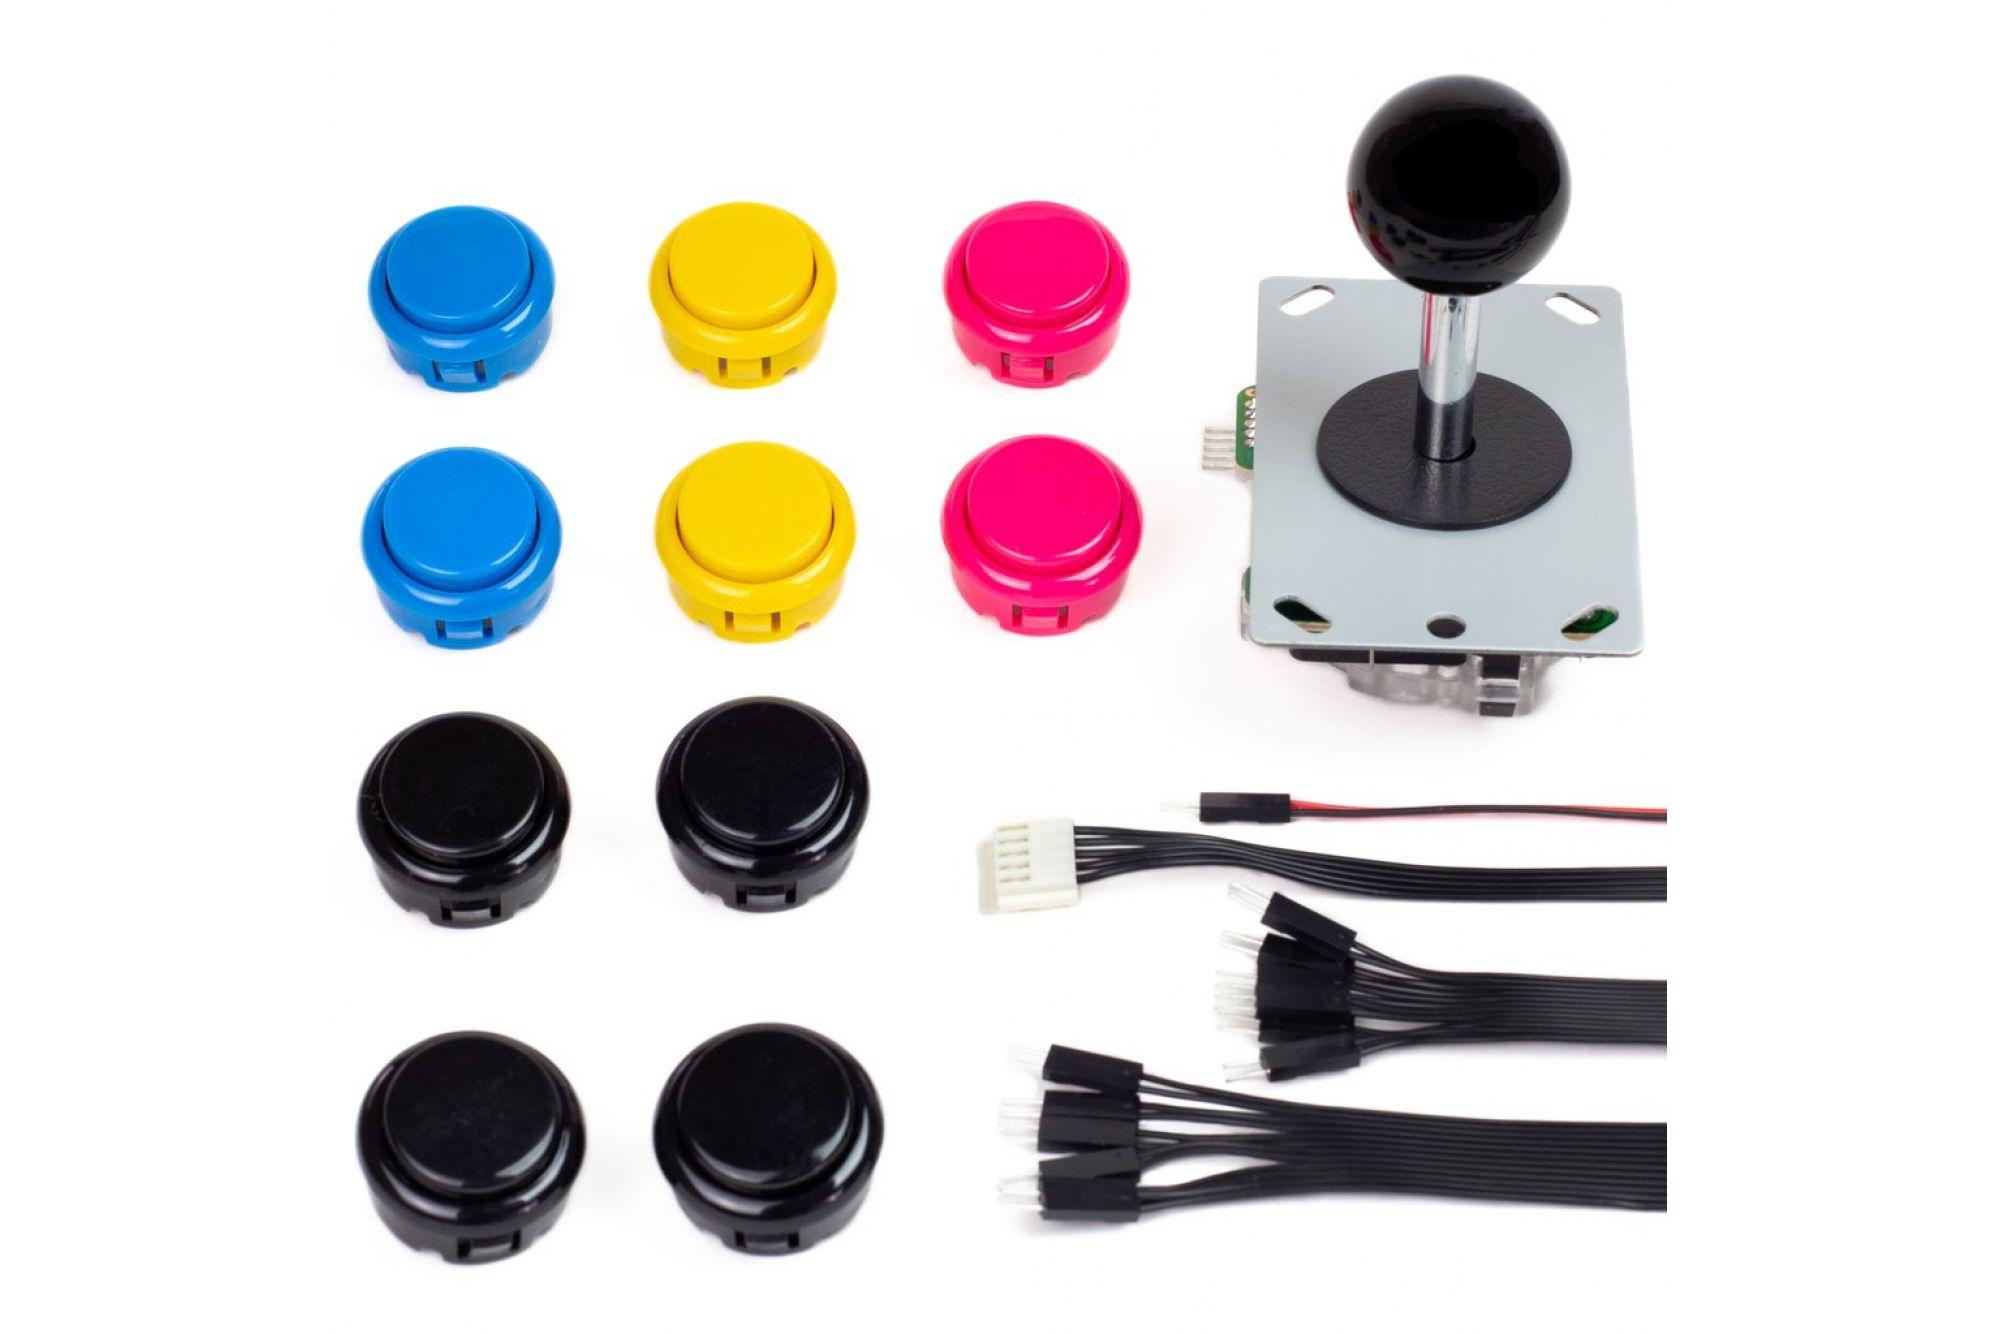
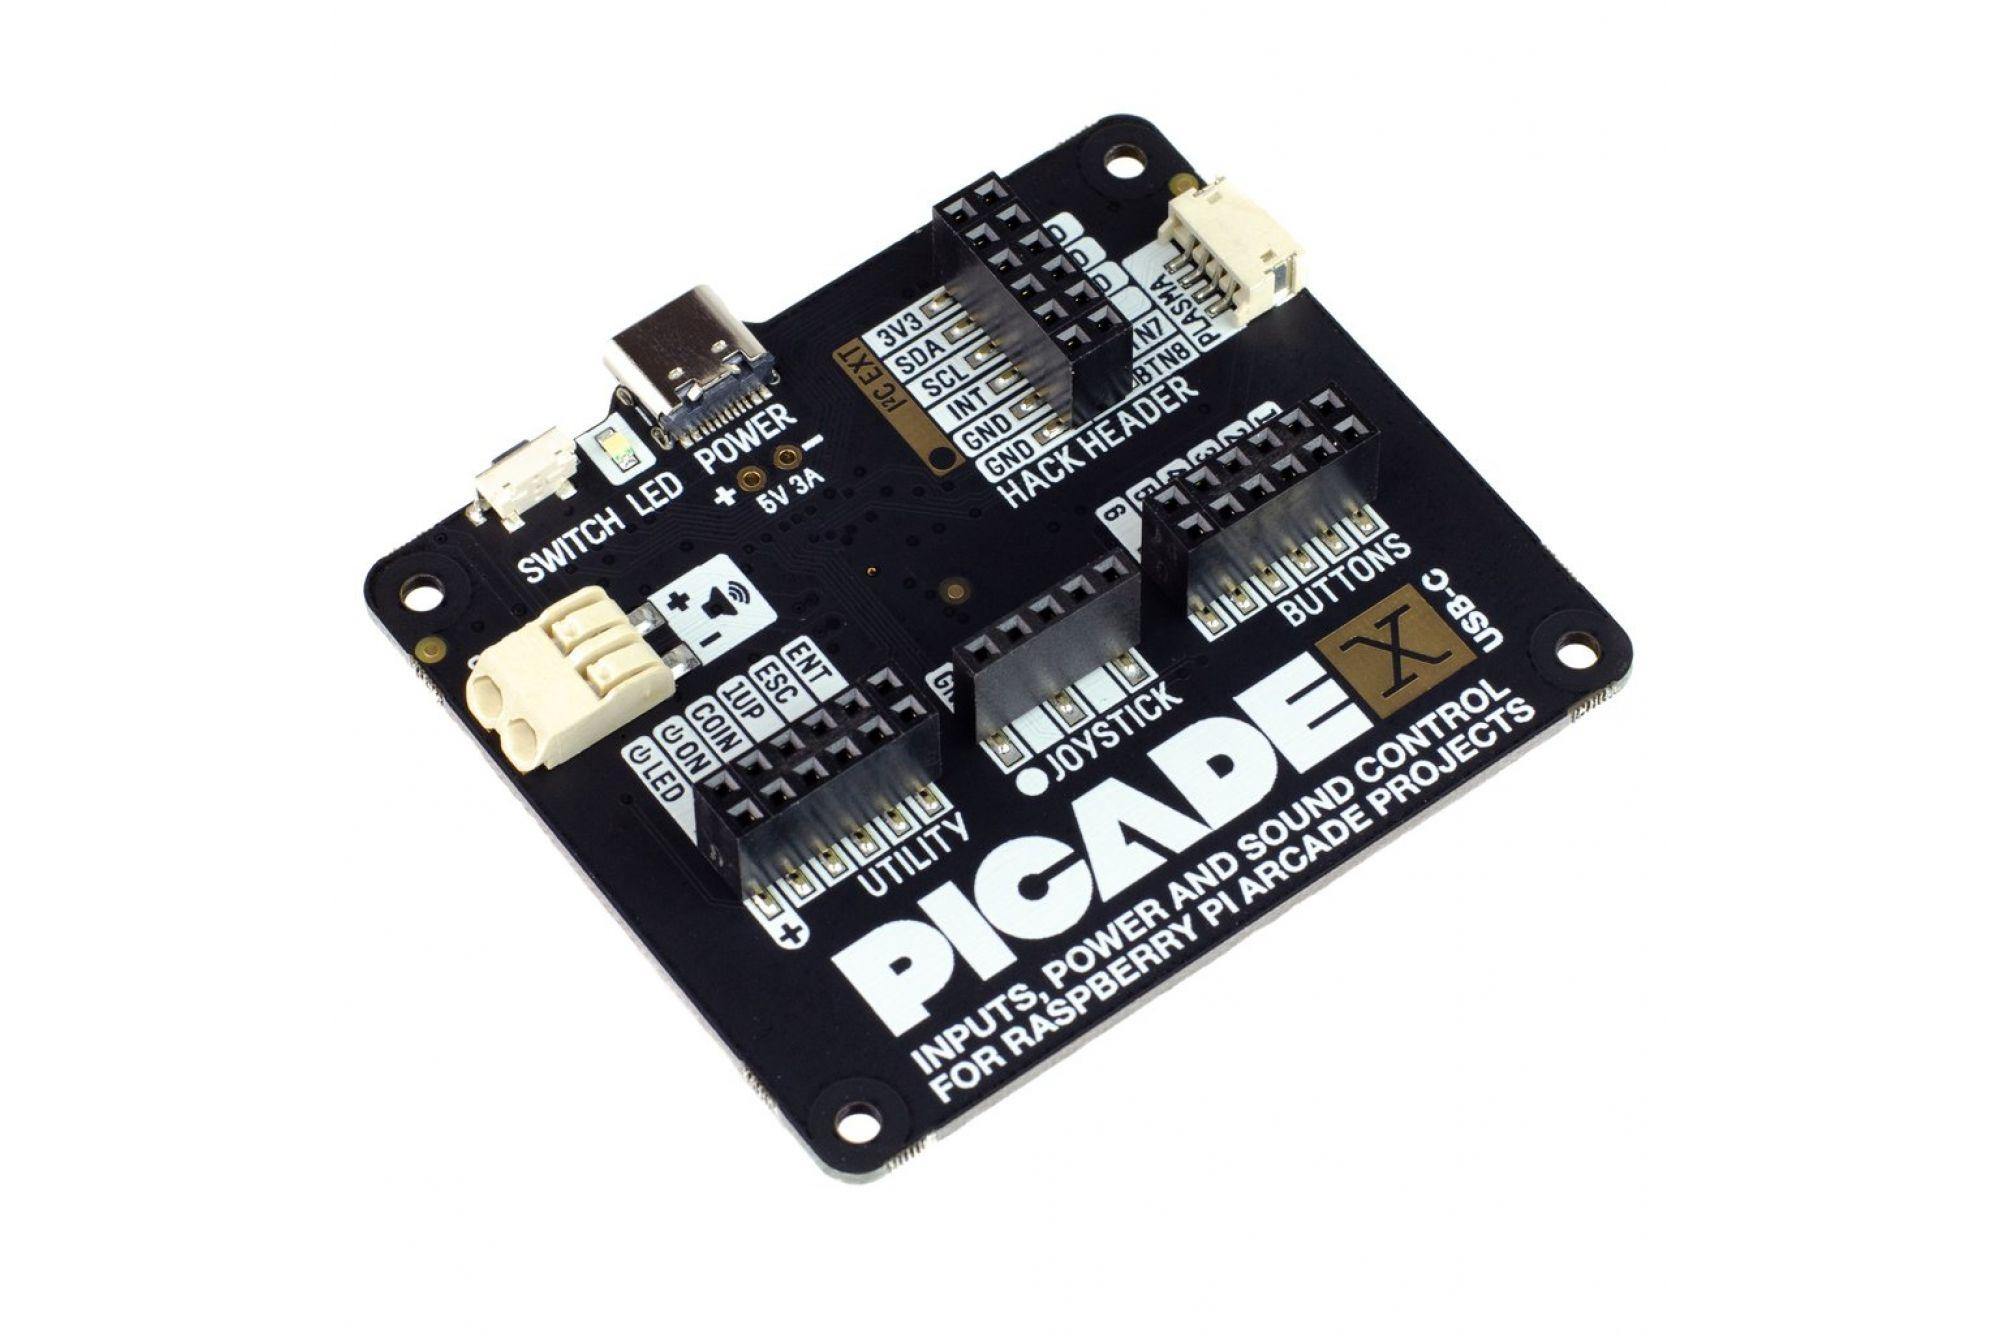
The kit contains multiple buttons, but for this example we only need one to be attached as a „hack button“ to grow the Snake with a button press instead of really capturing food. We connect this button on the on connection 1, which connects to GPIO 5, located on physical pin 29 of the Raspberry Pi. The pins of the HAT are very well explained and visualized on pinout.xyz [3].
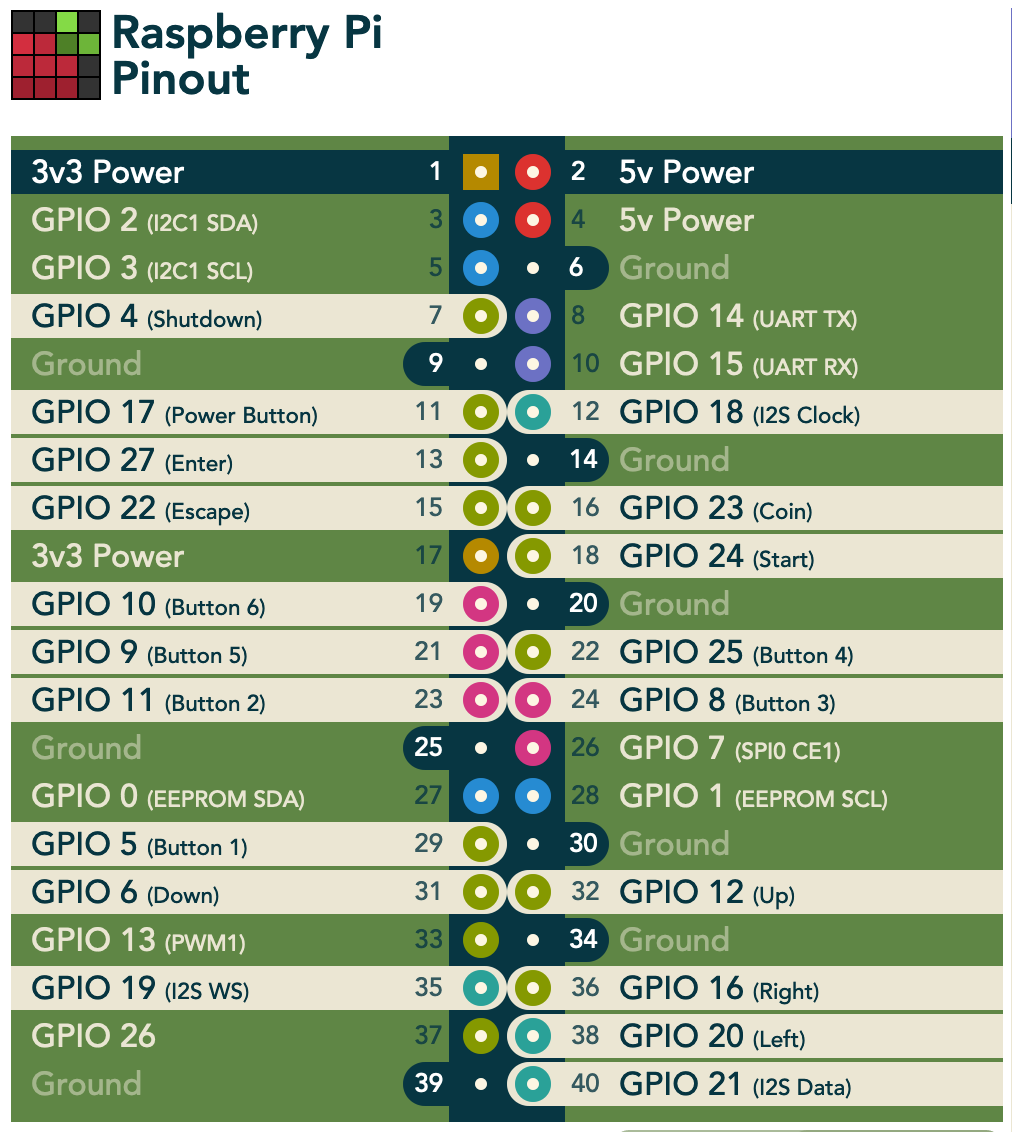
The joystick contains four push buttons that connect to:
- Up = GPIO 12
- Down = GPIO 6
- Left = GPIO 20
- Right = GPIO 16
FXGL [4] is a framework on top of JavaFX to create Java-based games, created by Almas Baimagambetov [5], Senior Lecturer in Game Development at the University of Brighton. The project is fully open-source and has a clear description how you can contribute [6].
You add FXGL as a dependency to your Java project and don’t need any additional installation or setup. It works out-of-the-box on all platforms. Thanks to the simple and clean API, building games can be done with minimal code. The end-result can be delivered as a single executable jar or native image.
Basic examples are part of the main GitHub project and more complex games are provided in a separate project [7]. Next to 2D games, it can also be used for business application with complex UI controls and 3D interfaces (still experimental at this moment).
The code
The code of the finished project is available from the Pi4J GitHub project on https://github.com/Pi4J/pi4j-example-fxgl. Let’s take a look at the different files, but as with every good Java project, it’s less code than you probably suspect!
The pom.xml-file
The pom file is almost identical to the one of the previous article, but because FXGL itself already depends on JavaFX, we only need to add the FXGL dependency and can remove the „javafx-controls“ dependency.
<dependency>

    <groupId>com.github.almasb</groupId>

    <artifactId>fxgl</artifactId>

    <version>${fxgl.version}</version>

</dependency>
The artwork
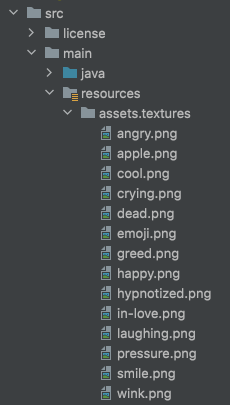
In this Snake-like game, we will be using different smiley images as the elements of the snake. By default, FXGL loads images from the directory src/main/resources/assets/textures. All the different images are stored as png-files here.
FxglExampleFactory.java
All the game objects in an FXGL application are of the type Entity and need to be defined in an EntityFactory. In this example this class is called FxglExampleFactory.java.
We need three types of entities in this game: the head of the snake, the body parts of the snake and the food. By using the entityBuilder and components, we can easily initialize these entities.
@Spawns("snakeHead")

public Entity newSnakeHead(SpawnData data) {

    return entityBuilder(data)

            .type(SnakeType.SNAKE_HEAD)

            .viewWithBBox(texture(FXGLMath.random(snakeBodyTextureNames).get(),

			GRID_SIZE, GRID_SIZE))

            .bbox(new HitBox(BoundingShape.box(GRID_SIZE, GRID_SIZE)))

            .with(new CollidableComponent(true))

            .with(new AutoRotationComponent())

            .with(new SnakeHeadComponent())

            .build();

}

@Spawns("snakeBody")

public Entity newSnakeBody(SpawnData data) {

    return entityBuilder(data)

            .type(SnakeType.SNAKE_BODY)

            .viewWithBBox(texture(FXGLMath.random(snakeBodyTextureNames).get(),

			GRID_SIZE, GRID_SIZE))

            .with(new AutoRotationComponent())

            .build();

}

@Spawns("snakeFood")

public Entity newSnakeFood(SpawnData data) {

    return entityBuilder(data)

            .type(SnakeType.SNAKE_FOOD)

            .viewWithBBox(texture(FXGLMath.random(snakeFoodTextureNames).get(),

			GRID_SIZE, GRID_SIZE))

            .bbox(new HitBox(BoundingShape.box(GRID_SIZE, GRID_SIZE)))

            .with(new SnakeFoodComponent())

            .with(new CollidableComponent(true))

            .build();

}
FXGL provides some components out-of-the-box. We use different ones depending on the behaviour we want for each entity. The HitBox used in the head and food, adds a bounding collision box. In combination with the CollidableComponent, we will have correct collision detection. By adding the AutoRotationComponent to the head and body entities, they will automatically rotate to face the direction of the movement, which will be calculated based on the previous and current entity positions.
You can also implement your own components in case you need specific behaviour of an entity for your game. Such a custom component can override onAdded (called after the component is added to the entity), onUpdate (called each frame when the game is not paused) and onRemoved (called before the component is removed from the entity).
For our game we have two of such custom components: SnakeHeadComponent and SnakeFoodComponent. If you look into the code of the head component, you will see for instance it contains the logic to check if we have hit the border of the screen or one of the body parts.
private void checkForCollision() {

    if (entity.getX() < 0)

        die();

    if (entity.getX() >= getAppWidth())

        die();

if (entity...Recommend
About Joyk
Aggregate valuable and interesting links.
Joyk means Joy of geeK