

Build your resume in React + SSG!
source link: https://dev.to/jeckhummer/build-your-resume-in-react-ssg-10i4
Go to the source link to view the article. You can view the picture content, updated content and better typesetting reading experience. If the link is broken, please click the button below to view the snapshot at that time.
Build your resume in React + SSG!
Hello everyone 👋
I recently left my job and I'm looking for a new one. So I had to update my resume. To be honest, I get stressed every time it comes up.
I rarely update my resume, so I couldn't even remember which online service I used (nor the account password 😄). I also had to pay for a monthly subscription. "Monthly subscription" sounds a little strange in this context because I only need to use the service once or twice within a few days.
At the same time my girlfriend was working on her resume in Google Docs, which has 5 ready-designed templates. But she wasn't happy as she encountered the limitations of these templates. They didn't allow her to fit all the content on one page, which is what most guides on the internet recommend.
I decided to try Google Docs too. Here's how the template sometimes behaves when trying to change the spacing:

Eventually, I started thinking of an alternative way to create (and update) my resume and an idea popped into my head: "I'm a front-end developer after all and I know HTML and CSS! 😎"
An hour later I had an exact copy of my resume from Google Docs and uploaded it to GitHub. Now I'm sure I won't forget where my resume is and I can see all the history of changes.
Next, I set up deployment to GitHub Pages and made the resume mobile-friendly. Now I could give recruiters a direct link to my resume, rather than messing around with a PDF file.
If I need a PDF file, I can just "print it to PDF" in Chrome at any time:

By the way, the problem of fitting the resume on a single page can be solved by specifying custom scale (as on the screenshot above) and by reducing the size of the text with a "print" media query:
@media print {
  html {
    font-size: 9.2px;
  }
}
Also, make sure that you have selected "None" in the "Margins" dropdown.
I didn't stop there, though, and decided to use React.
Compare job description in HTML:
<section class="subsection">
  <header>
    <a
      target="_blank"
      href="https://www.pashabank.az/lang,en/"
      class="company-name"
    >
      PASHA Bank
    </a>,
    Azerbaijan — Senior Frontend Engineer & TechLead
  </header>
  <div class="dates">August 2018 - October 2021</div>
  <ul>
    <li>Micro-Frontends architecture design and implementation</li>
    <li>Developed and maintained bank products:</li>
    <ul>
      <li>
        <a target="_blank" href="https://www.pashabank.digital/">
          Online bank platform
        </a>
      </li>
      <li>Factoring</li>
      <li>SME Loans</li>
      <li>Cross-sell</li>
    </ul>
    ...
</section>
and in React:
<JobSection
  company={{
    name: "PASHA Bank",
    link: "https://www.pashabank.az/lang,en/",
  }}
  location="Azerbaijan"
  position="Senior Frontend Engineer & TechLead"
  dates={{
    from: "August 2018",
    to: "October 2021",
  }}
  bullets={[
    "Micro-Frontends architecture design and implementation",
    "Developed and maintained bank products:",
    [
      {
        label: "Online bank platform",
        href: "https://www.pashabank.digital/",
      },
      "Factoring",
      "SME Loans",
      "Cross-sell",
    ],
    ...
  ]}
/>
In my opinion, using a React component is more concise and declarative than HTML. React allows us to separate the template (visual design and behavior) from the data itself. For example, if we want to change the design of the job description section, we only need to change the React component in one place, whereas the HTML has to be modified in several places at once.
But the React variant has some disadvantages:
- one HTML file is faster to load than the whole react SPA
- React SPA is not SEO-friendly, in contrast to pure HTML.
So I decided to implement Static Site Generation (SSG).
At first I wanted to use Gatsby.js or Next.js, but in the end I found simpler solution using ReactDOMServer API. This implementation only requires a few lines of code:
import React from "react";
import * as ReactDOMServer from "react-dom/server";
import { Resume } from "./Resume";
import { writeFileSync } from "fs";

writeFileSync(
  "index.html",
  "<!DOCTYPE html>"
  + ReactDOMServer.renderToStaticMarkup(<Resume />)
);
In the end I was happy with the solution I found and how my resume looked.
If you want to build your resume on React too, here is a detailed guide on how to do it:
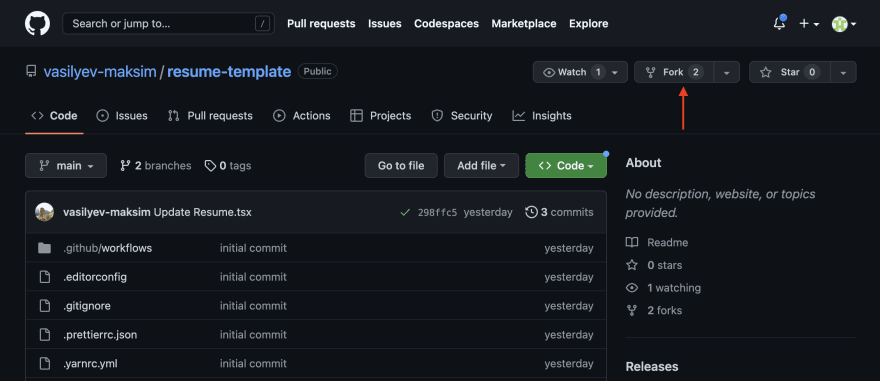
- Fork resume template repo:
Rename the repo to "resume" and press the "Create Fork" button:

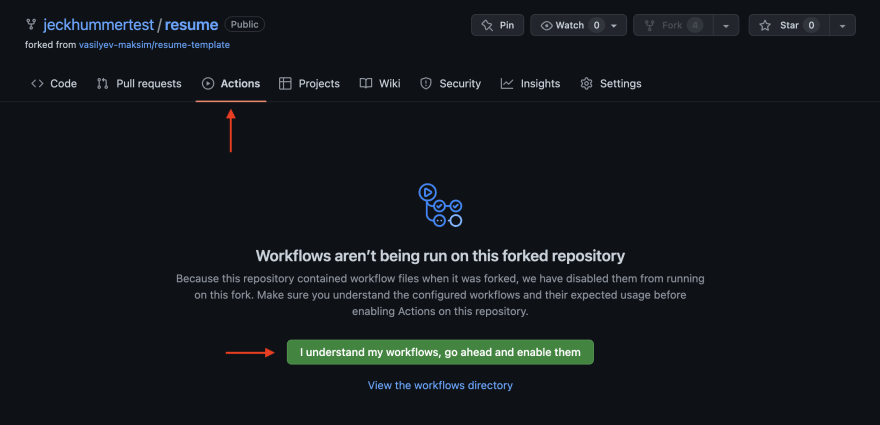
- Go to the "Actions" tab and press the green button to enable the actions:
- Go to "Settings", then to the "Pages" section and select "GitHub Actions" as a source:

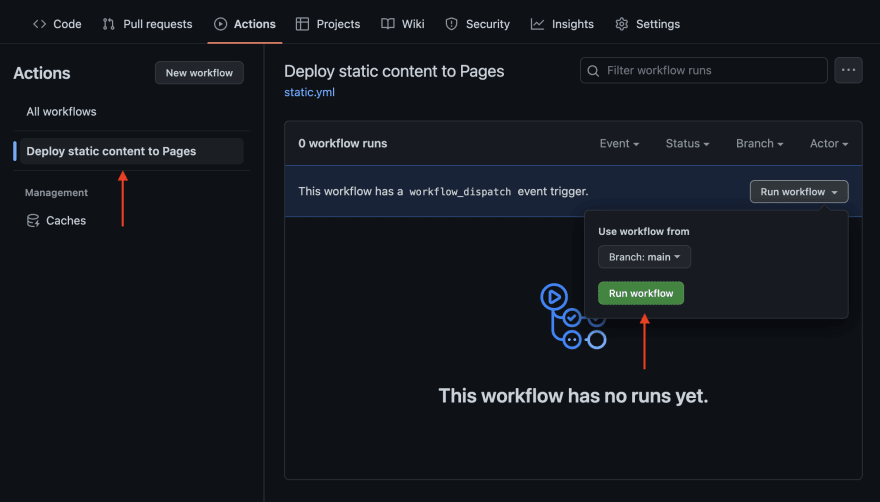
- Select the "Deploy static content to Pages" action and press the "Run workflow" button:
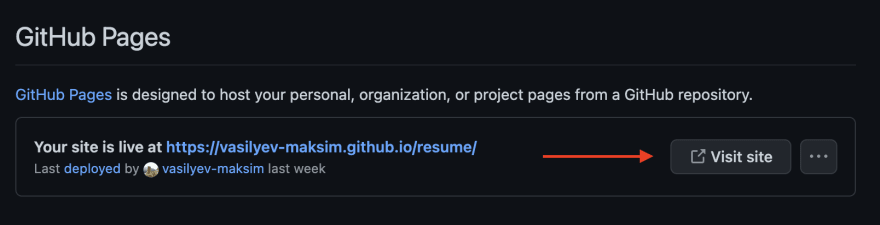
- Wait for the action to complete, return to "Settings" => "Pages" and press the "Visit site" button:
- Change the
/Resume.tsxas you wish and commit. You can do it on Github without cloning to your local system: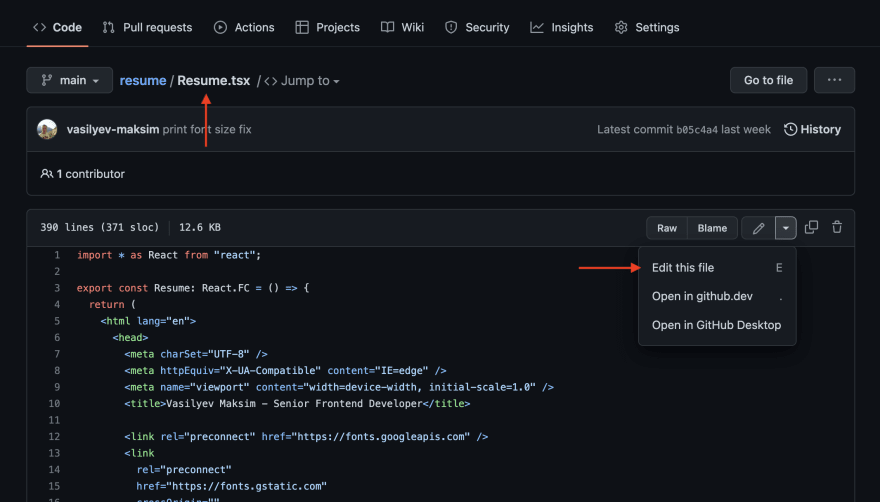
- Wait a minute for YOUR resume to be deployed automatically.
- Go to your GitHub Page and try to "print" it to PDF.
- PROFIT 😎
Hope this article helped you 💛
Maksim.
Recommend
About Joyk
Aggregate valuable and interesting links.
Joyk means Joy of geeK