

Email/MagicLink Authentication in SolidJS
source link: https://mojoauth.com/blog/email-magiclink-authentication-in-solidjs/
Go to the source link to view the article. You can view the picture content, updated content and better typesetting reading experience. If the link is broken, please click the button below to view the snapshot at that time.
Email/MagicLink Authentication in SolidJS
Learn about email MagicLink authentication in Solid JS
Monday, Dec 12, 2022
Authentication is an essential feature of any application. However, implementing your own authentication can be a tricky subject especially considering the security aspects of it.
Developers often use third party authentication services like MojoAuth that offer a simple and easy to implement password free authentication solution right out of the box for any tech stack. Not only is it simple to integrate directly on the frontend of your app, but it’s also secure and offers a lot of customization and useful features.
What is Solid JS
Solid JS is a JavaScript library that provides a set of tools to help developers create robust and maintainable web applications. It provides an abstraction layer that lets developers break down their applications into smaller and more manageable components. It provides tools for creating and managing components, managing state, and managing data. It also provides tools for routing, server-side rendering, and testing.
What we will Build Today
In this tutorial, we will get a basic idea of Email Link authentication and learn to include it in a Solid JS application. We will create an intuitive workflow application managing our routings for a better User Experience.
What are the Prerequisites?
For the demonstration, we will be using the MojoAuth library as the passwordless authentication service.
Authentication Workflow
We’ll have three pages in our Solid app. A signup/login page where the user can authenticate, and a home page where users will land after they’ve successfully signed up or logged in.
Authentication will be handled by the MojoAuth library. Our login/signup form on the frontend will interact with these APIs. We’ll add route guard for authenticated routes like the home page so that an unauthenticated user cannot access it.
Frontend Setup
First, we’ll create a new Solid app. Navigate into the directory of your choice and run the following command:
npx degit solidjs/templates/js solidjs-auth-app
That should create a new SolidJS project with a simple starter template.
Additionally, we need to install solidjs-router package to set up routing in our Solid app.
Navigate to the app folder and install the router:
cd solidjs-auth-app && npm i @solidjs/router
Now, install the mojoauth web SDK for creating the MojoAuth instance:
npm install mojoauth-web-sdk
Let’s also kickstart the development server by running:
npm start
If you face any error while starting the server, do a
npm installand then try to start.
Configure Environment Variables
Next, we need to add environment variables in our Solid app to store and use the MojoAuth API Key. Create a file called .env inside the root directory and add the MojoAuth details inside it as follows:
VITE_MOJOAUTH_API_KEY=<"your app's API key">
VITE_REDIRECT_URL = <"your redirect URL">
Make sure you prefix the environment variables with VITE otherwise the Solid app won’t recognize them.
After successful authentication on clicking on the magic Link, your customers will land on
your redirect URL. You can see more details on redirect URL here.
Create Config file
In the src folder, create a file called config.js and add the following:-
function getConfig() {
   return {
       api_key:
           process.env.VITE_MOJOAUTH_API_KEY ||
           'YOUR_API_KEY',
       redirect_url:
               process.env.VITE_REDIRECT_URL || 'http://localhost:3000/dashboard',
   };
}

export default getConfig();
Add your API key obtained from the mojoauth dashboard in place of YOUR_API_KEY in the config file.
Create Files and Folders
We’ll create two components on the fontend - one for each page. Inside the root directory, create a new folder called components with the following files:
/components/Login.jsx
/components/Home.jsx
Great! Let’s add some styles now.
Add Project Styles
Update the /index.css file with the following:
body {
 margin: 0;
 font-family: -apple-system, BlinkMacSystemFont, 'Segoe UI', 'Roboto', 'Oxygen',
   'Ubuntu', 'Cantarell', 'Fira Sans', 'Droid Sans', 'Helvetica Neue',
   sans-serif;
 -webkit-font-smoothing: antialiased;
 -moz-osx-font-smoothing: grayscale;
 background:#dde5f4;
}

code {
 font-family: source-code-pro, Menlo, Monaco, Consolas, 'Courier New',
   monospace;
}

.header{
 text-align: center;
}

.button{
 margin-top:10px;
 padding: 15px 30px;
 background: #3e4684;
 color: white;
 border: none;
 border-radius: 30px;
 font-weight: 600;
 cursor:pointer;
}

.home{
width:100%;
text-align:center;
margin-top: 200px;
 }
You’ll also notice there is an App.module.css file. We’ll empty it because we don’t need those styles.
The Login Component
Let’s create the Login component and render it on the page.
Render Login Page UI
To get started with, we will import MojoAuth web sdk and use their pre-built UI for the form.
import MojoAuth from 'mojoauth-web-sdk';
import { createEffect } from "solid-js";
import { useNavigate } from '@solidjs/router';
import config from './config';


export default function Login(){

   createEffect(()=>{

       let mojoconfig={
           Language:"en",
           source:[ {type:'email', feature:'magiclink'}],
           redirect_url: config.redirect_url
       }
   const mojoauth = new MojoAuth(config.api_key,mojoconfig);
       mojoauth.signIn().then(payload=>{
           localStorage.setItem('React-AccessToken', payload.oauth.access_token)
           localStorage.setItem('React-Identifier', payload.user.identifier)
		navigate('/home');
       })

   },[])
   return(
       <div id="mojoauth-passwordless-form">
       </div>
   )
}
We have created the MojoAuth instance in the createEffect function of SolidJS.
Let’s head to the App.jsx file and render the component we just created:
import logo from './logo.svg';
import { Routes, Route } from "@solidjs/router"

import Login from './components/Login';

function App() {
  return <>
    <Routes>
      <Route path="/login" component={Login} />
    </Routes>
  </>
}

export default App;
The component is the routing layer wrapper around your routes. Each individual route is specified using the component. The route URL is passed to this component using the path prop and the component that needs to be rendered on this route is specified using the component prop.
If you visit http://127.0.0.1:3000/login, you should now see the following page:

After successful signin, we will store the access token and email in the localstorage and redirect the user on the home page.
The Home Component
Let’s create our Home component or the page where you’ll redirect an user on a successful login. Inside /src/components/Home jsx file, we’ll first get the user email we stored in the localStorage and display it. If no user email is found, we will redirect the user on the login page.
import { createEffect, createSignal, Show, } from "solid-js";
import { useNavigate } from '@solidjs/router';
export default function Home(){
const navigate=useNavigate()
const [email, setEmail] = createSignal('')
const getUserDetails=()=>{
const email=localStorage.getItem('React-Identifier');
Const access_token = localStorage.getItem('React-AccessToken');
if(email) setEmail(email)
if(!email || !access_token) navigate('/login');
}
createEffect(() => {
getUserDetails()
});
Const handleLogout = () =>{
localStorage.removeItem('React-Identifier')
localStorage.removeItem('React-AccessToken')
navigate('/login')
}
return(
<div className="home">
<h1>Welcome</h1>
<p>{email()}</p>
<p>You have been logged in successfully </p>
<button className="button" onClick={handleLogout}> Logout</button>
</div>
)
}
We’ll also need to render the Home page on the / route in our App.jsx file:
import Home from './components/Home';

function App() {
  return <>
    <Routes>
      <Route path="/" component={Home} />
      <Route path="/login" component={Login} />
      <Route path="/signup" component={Signup} />
    </Routes>
  </>
}

export default App;
Let’s now login and check how the Home page looks like:
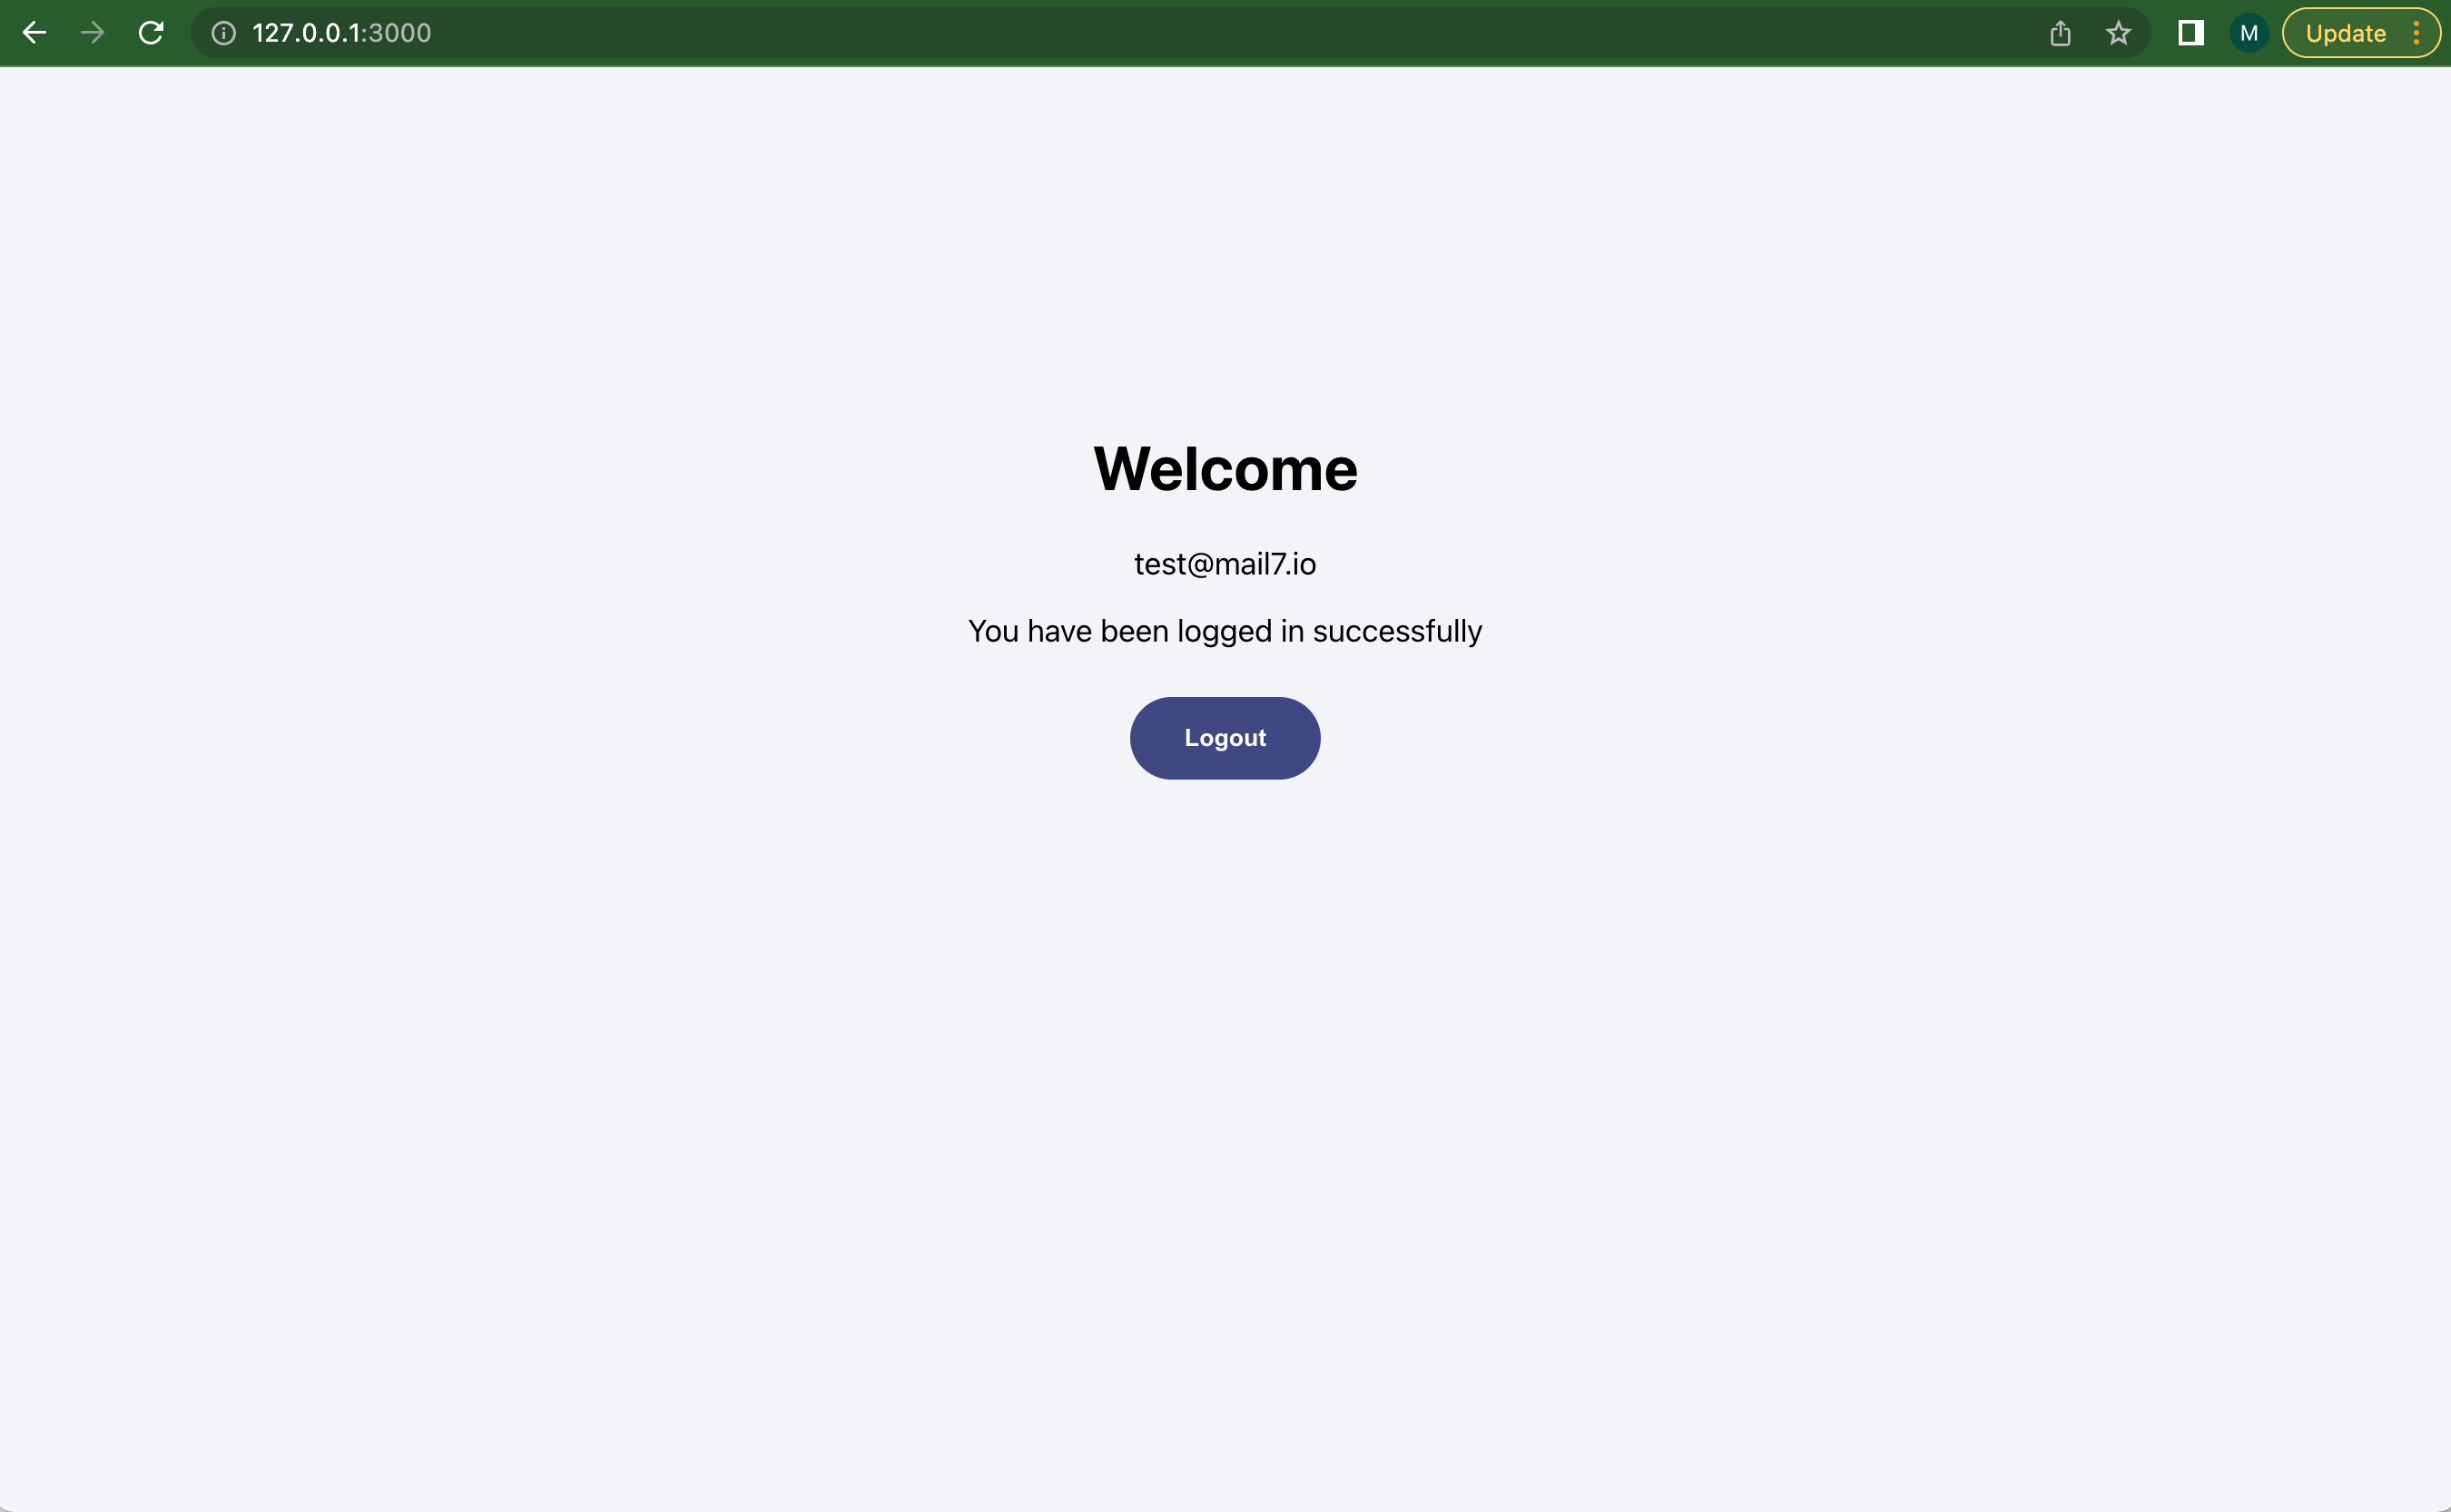
On clicking logout, the email and access token are removed from the local storage and the home page becomes inaccessible.
Conclusion
We’ve seen how to authenticate SolidJS apps with email link. You’ve also learnt how routing works using the Solid router and how to guard your protected routes. There’s still a lot you can do from this point. You can also use the Solid store for managing the user related data after authentication.
Also, you can explore and add other authentication methods like Email OTP, SMS OTP, Biometrics, Social Login and Passkey to your SoildJS application.

Recommend
-
4
-
3
-
5
README.md Solid is a declarative JavaScrip...
-
3
SolidJS硬气的说:我比React还react大家好,我是卡颂。最近刷推时,有个老哥经常出现在前端框架相关推文下。我想:“老哥你哪位?”一查,原来是个框...
-
3
https://www.solidjs.com/ 最近几年都在写 React Hooks,越来越发现这货其实缺点和优点一样多,视图函数一有变动就重新运行一开始我是拒绝的,后来被洗脑后勉强认为是个合理的符合逻辑的行为并愉快地...
-
2
This is a SolidJS app dev guide using Snowpack Solid Template. The template has been tested on node.js v16.13.0 and npm v8.1.0. It might or might not w...
-
14
New Capacitor Templates: SolidJS + Vite Today, I’m excited to share with you new m...
-
2
1. SolidJS 是啥? 我们都知道 SolidJS ,如果不知道,那你为啥要看这篇文章 ( ̄▽ ̄)" 我们都知道 SolidJS ,这是它的文档: https://www.solidjs.com/ 简单来说,SolidJS 就是真正 "react" 版...
-
4
Localizing SolidJS Applications with I18next ...
-
2
About this Episode SolidJS is a web development framework that focuses on using reactivity and carries forward several ideas from Knockout.js. http...
About Joyk
Aggregate valuable and interesting links.
Joyk means Joy of geeK