

How to use workflow job templates in Ansible
source link: https://www.redhat.com/sysadmin/ansible-workflow-job-templates
Go to the source link to view the article. You can view the picture content, updated content and better typesetting reading experience. If the link is broken, please click the button below to view the snapshot at that time.
How to use workflow job templates in Ansible
Posted: December 7, 2022 | %t min read | by Roberto Nozaki (Sudoer, Red Hat)

When you use Ansible Automation Platform (AAP), you create job templates to execute Ansible playbooks. You also define which inventory, credentials, Execution Environments, and other parameters the playbook uses.
[ Get started with IT automation with the Ansible Automation Platform beginner's guide. ]
Workflow job templates allow you to coordinate the execution of job templates. These workflow templates amplify the power of your individual job templates because they allow you to:

- Synchronize repositories with code for AAP projects
- Synchronize AAP inventories
- Have different playbooks run sequentially or in parallel
- Run playbooks based on the success or failure of the previous playbooks
- Request an admin's approval to proceed with the remaining executions
Each of those actions becomes a "node" on a workflow template, which you can create using the AAP web interface. This allows you to visualize the flow of actions. You can see which ones occur at the beginning and which ones are executed on the previous node's success or failure.
In this article, I'll show how to create workflow templates with Approval nodes and using Recovery nodes.
Job templates
For this example, I've created three job templates:
- 01_Validation: Runs a playbook that performs preconfiguration tasks, allocates resources, and so forth
- 02_Configuration: Performs the configuration after the admin has approved it
- 90_Recovery: Executes when the validation step fails to recover from or undo what went wrong on the validation job
I like using numbers as part of the names of playbooks and job templates because then I can control how they appear when I am browsing.
Nodes in the workflow template
The nodes in the workflow template look like this:

(Roberto Nozaki, CC BY-SA 4.0)
Key aspects:
- The first node is labeled Demo Project and has the letter P to indicate that it is a project synchronization.
- The node 01_Validation (JT=job template) runs if the node Demo Project finishes successfully. The green line represents this in the diagram.
- The node Approval (the little icon is a "pause" symbol) runs if the previous one was successful.
- The node 90_Recovery (another JT) runs if 01_Validation fails. The red line represents this in the diagram.
- The node 02_Configuration (another JT) runs if approval is given (more about that later).
[ Want to test your sysadmin skills? Take a skills assessment today. ]
Create a workflow
The following is a step-by-step guide to creating a workflow.
1. Click on Templates under Resources, then select Add and Add workflow template.
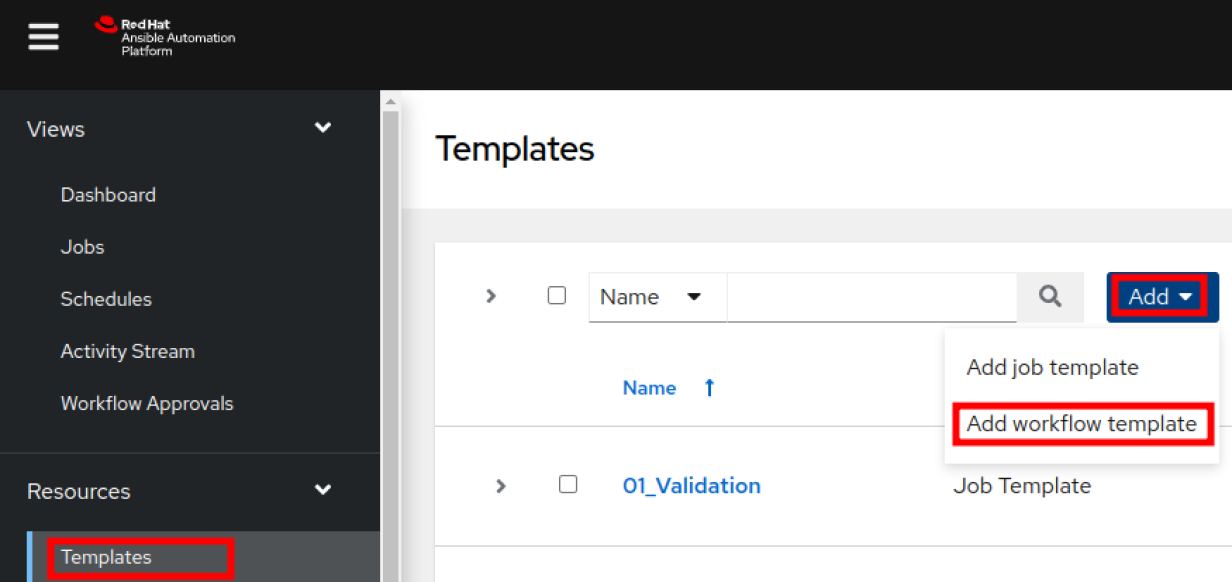
(Roberto Nozaki, CC BY-SA 4.0)
2. Fill in the basic information about the workflow template and click Save.
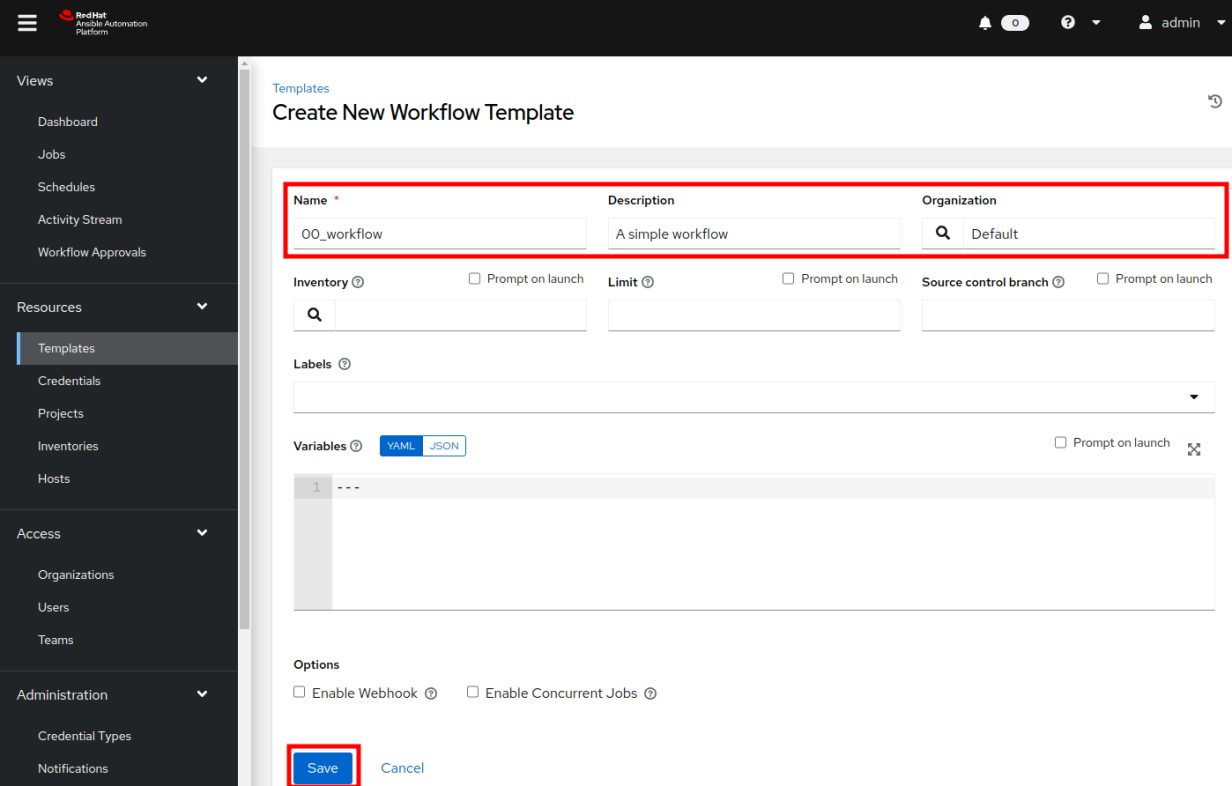
(Roberto Nozaki, CC BY-SA 4.0)
3. Click on the Start icon to begin.
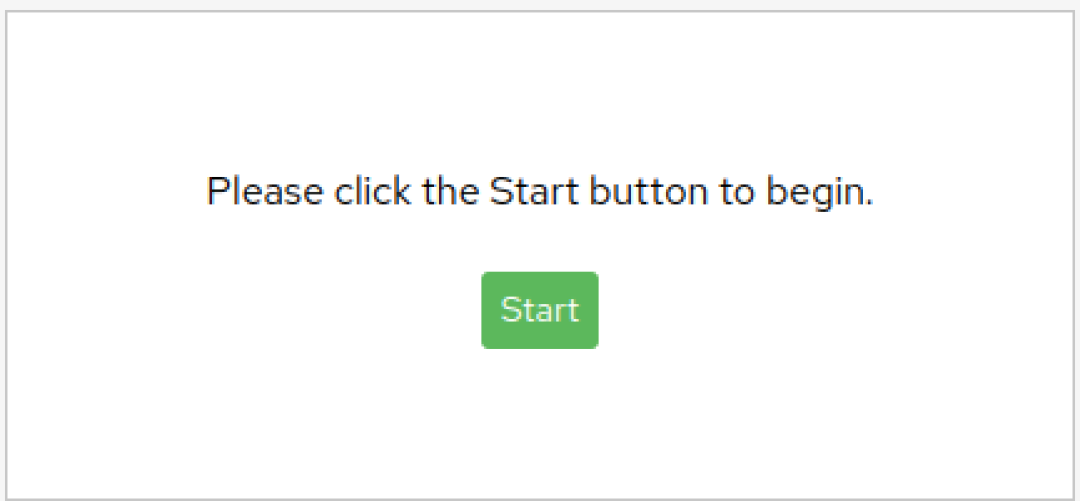
(Roberto Nozaki, CC BY-SA 4.0)
4. Add a node for project synchronization, and then select Save.
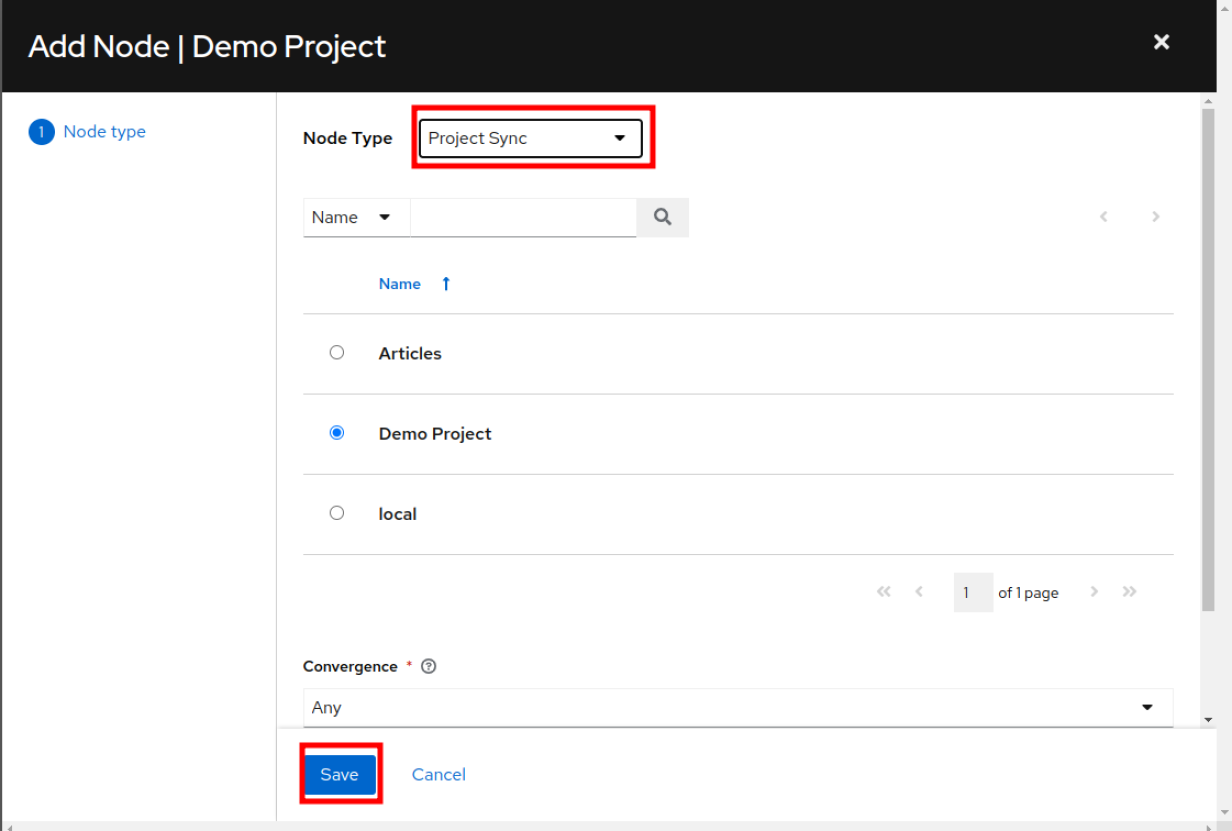
(Roberto Nozaki, CC BY-SA 4.0)
5. Click on the + icon, and choose the next node.
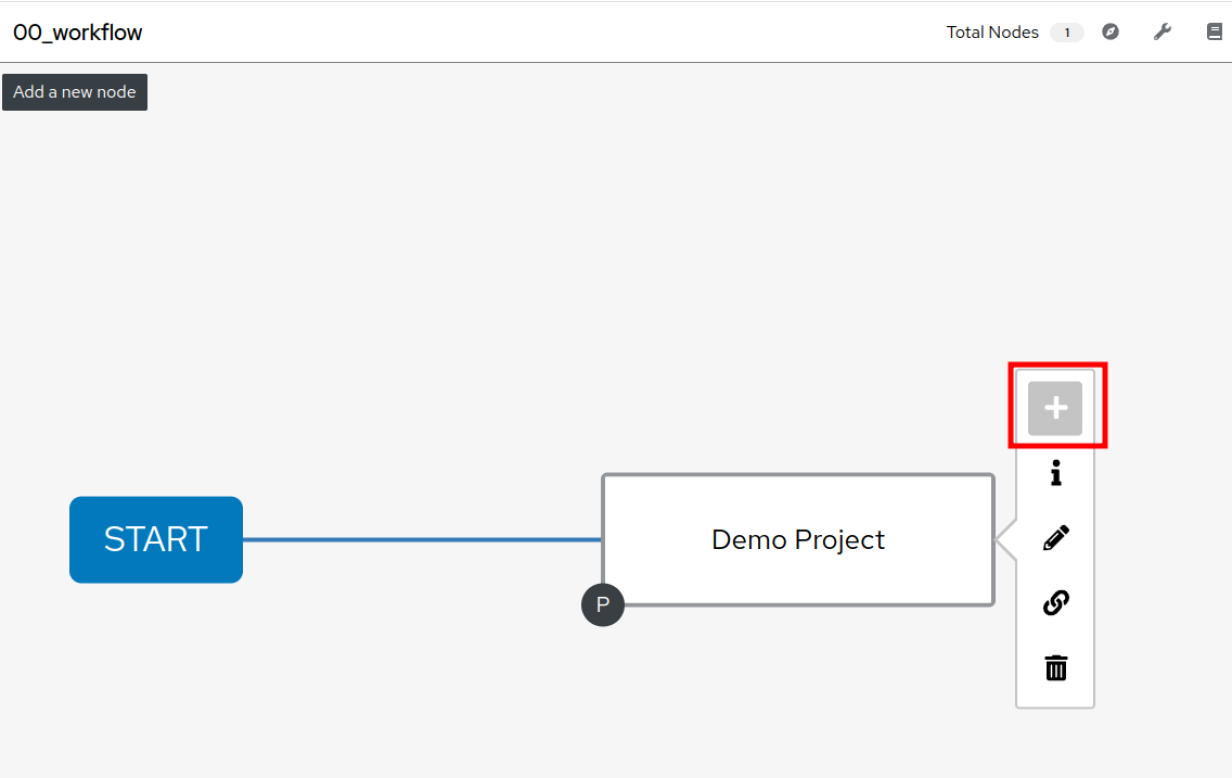
(Roberto Nozaki, CC BY-SA 4.0)
6. Under Run, choose On Success, then Next.
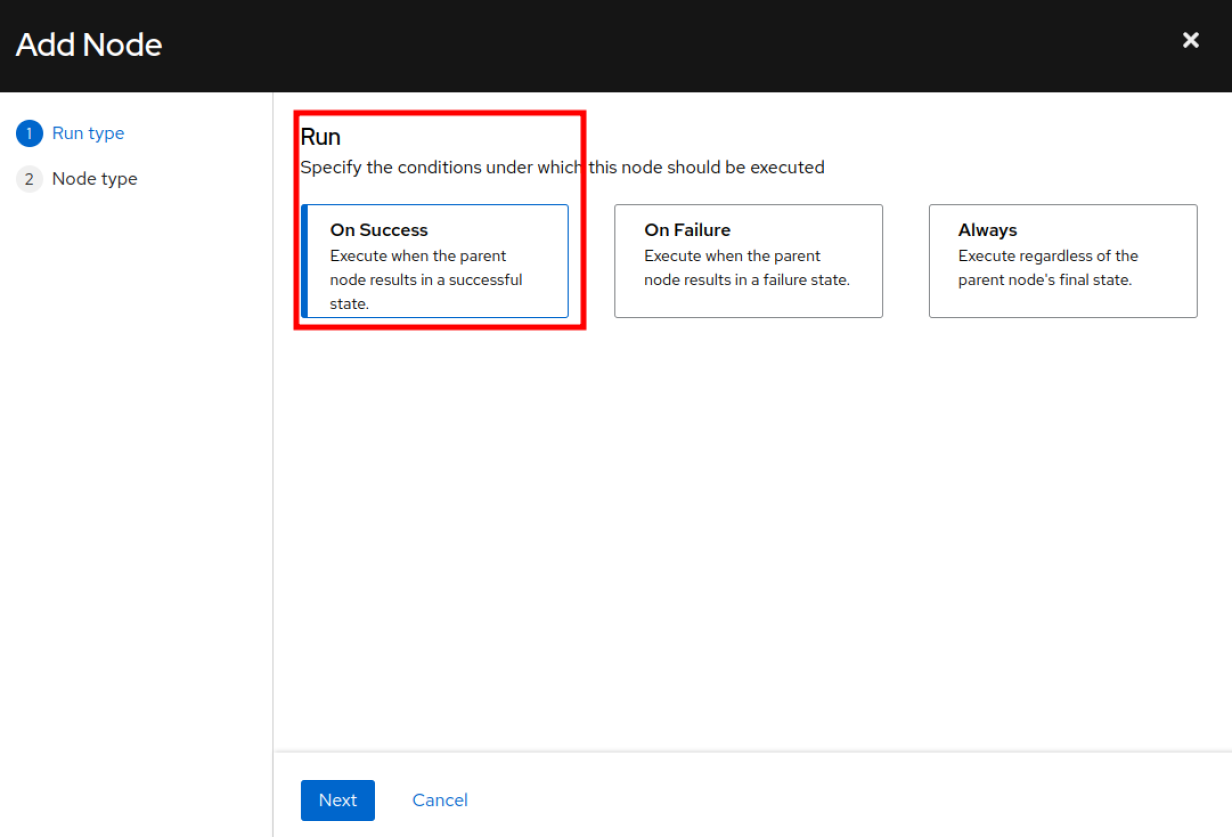
(Roberto Nozaki, CC BY-SA 4.0)
7. Select the first Job Template and Save.
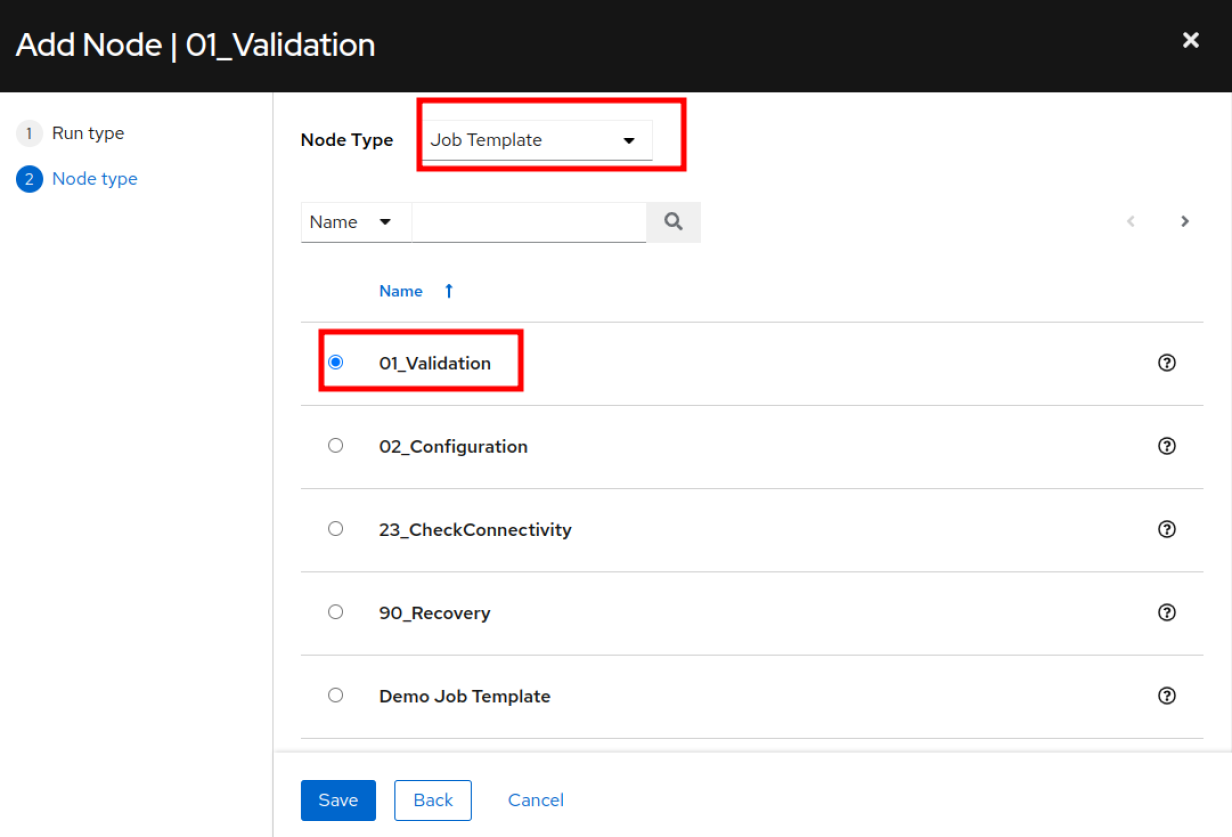
(Roberto Nozaki, CC BY-SA 4.0)
8. Repeat the procedure to add another node.
(Roberto Nozaki, CC BY-SA 4.0)
9. The Run type is the same as before: On Success. The difference is that the Node type must be set to Approval this time.
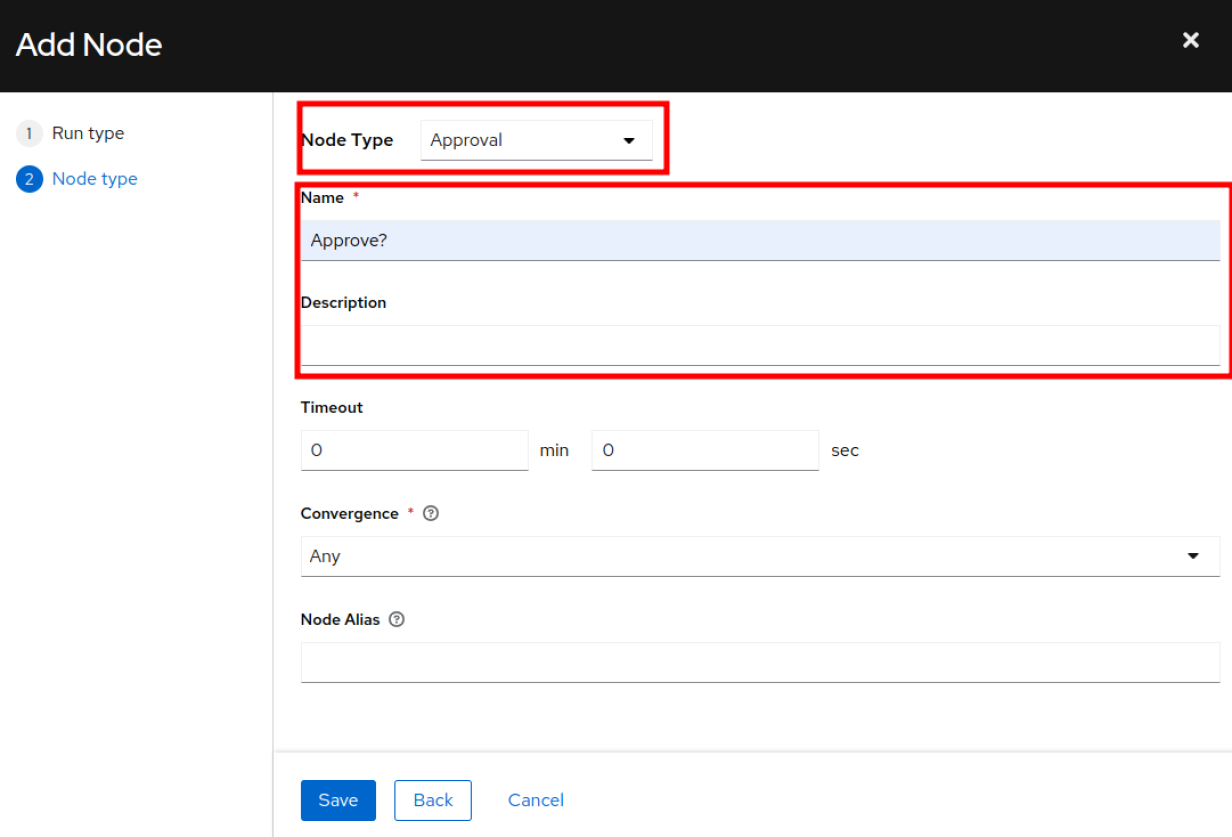
(Roberto Nozaki, CC BY-SA 4.0)
In this simple workflow, do not define a timeout for the Approval node. If you add a timeout, the approval is automatically denied without explicit approval from an admin.
10. Continue adding a node:
- Run type: On Success
- Node type: Job Template
- Node name: 02_Configuration
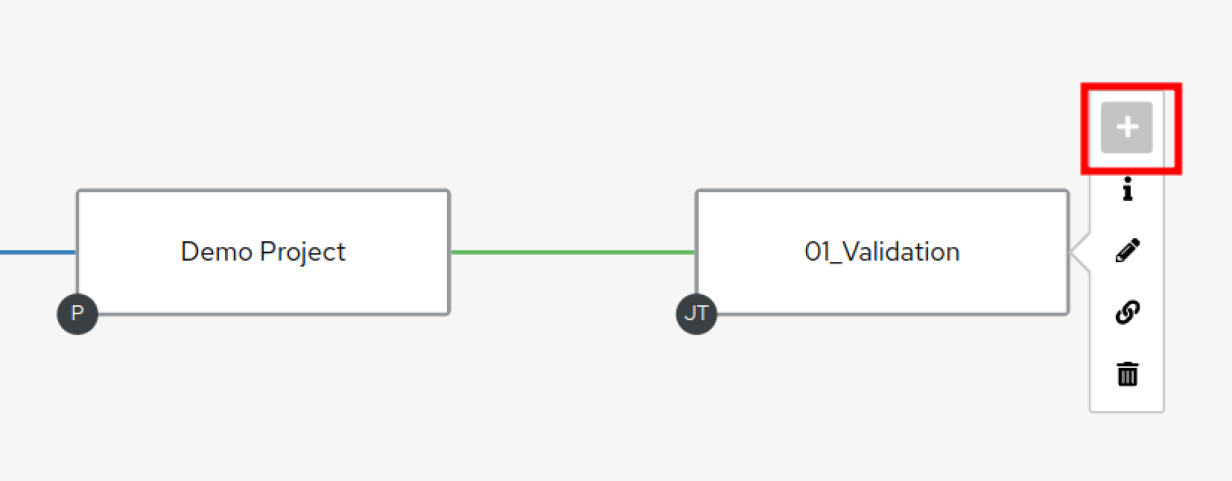
11. In the end, you have a diagram like the one below. Click on the node 01_Validate to add a different node.

(Roberto Nozaki, CC BY-SA 4.0)
12. This time, the Run type is On Failure.
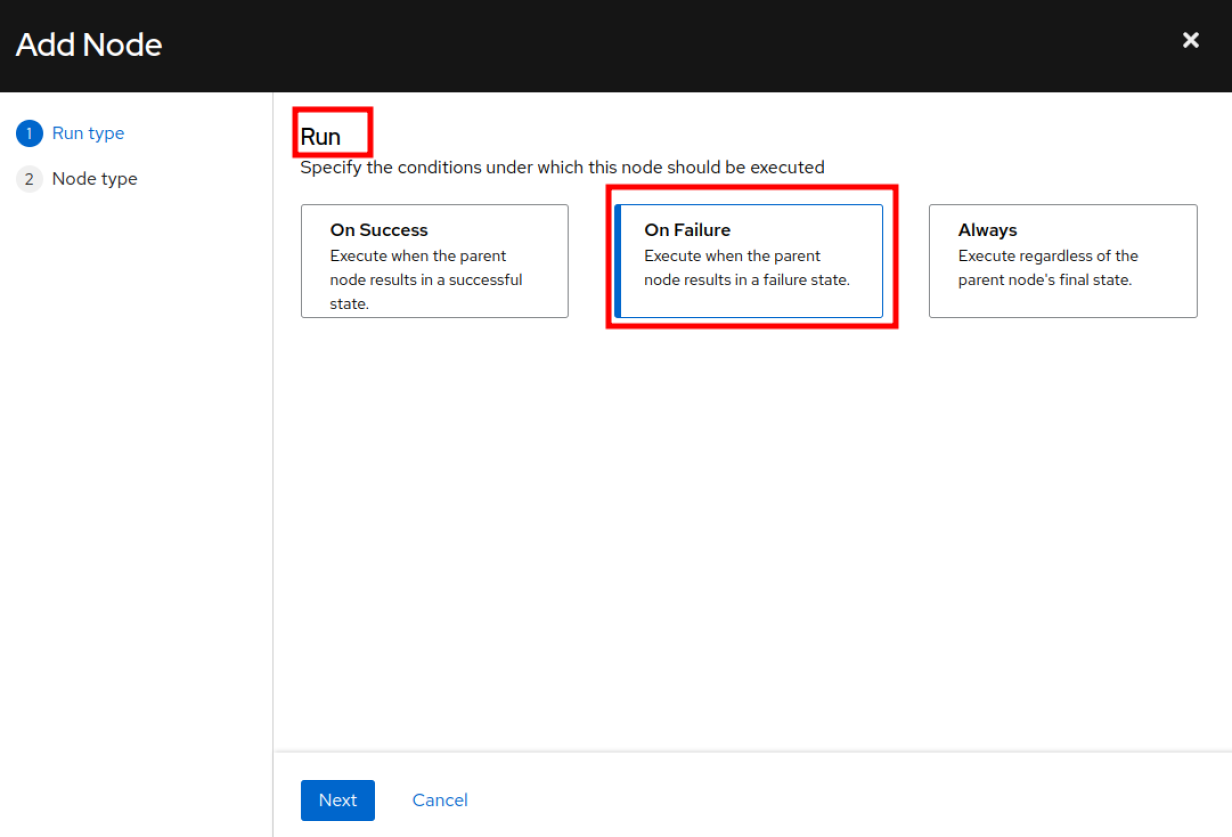
(Roberto Nozaki, CC BY-SA 4.0)
13. Add the job template 90_Recovery.
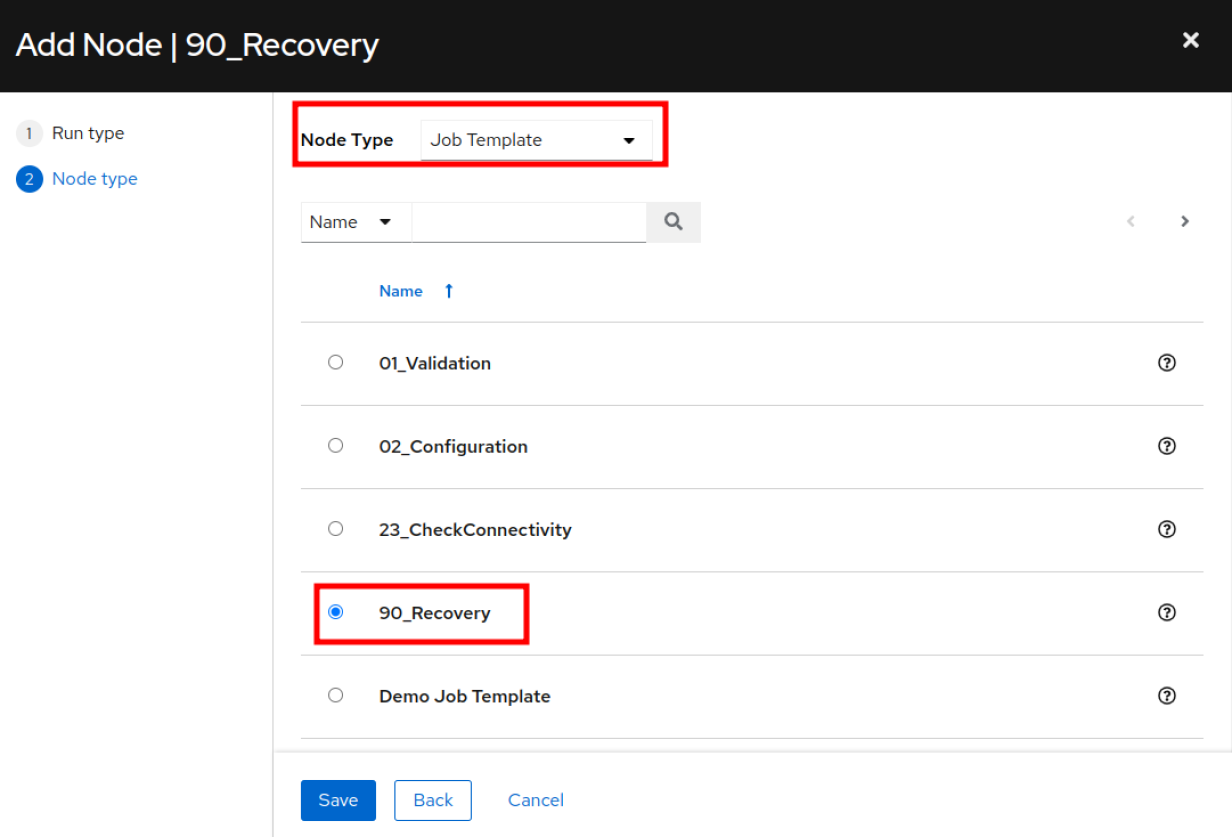
(Roberto Nozaki, CC BY-SA 4.0)
Now you have a diagram like this:

(Roberto Nozaki, CC BY-SA 4.0)
[Cheat sheet: Old Linux commands and their modern replacements ]
Create a workflow with approval
You can create a workflow that integrates an approval process:
- The project synchronization ends successfully.
- The validation job template ends successfully.
- The Approval node becomes active and waits for an admin approval.
- After the admin approval, the flow continues to the next node, Configuration.
- The notification happens on the AAP graphical user interface, but you can also use custom notifications (like email or chat).
Create a workflow with fail and recovery
The key ideas for workflow recovery are:
- The project synchronization ends successfully.
- The validation job template fails.
- The next node to be executed is Recovery (not Approval).
- In the Recovery job template, you would have a playbook to handle any action that needs to be reverted or checked if the Validation fails.
[ Download now: A system administrator's guide to IT automation. ]
Here's one situation where you could apply this idea. Suppose that before creating a virtual machine, you need to reserve resources, like IP addresses or space in your storage area network. Should something go wrong during validation, it could be helpful to release those resources, and you could do that with a Recovery job template.
Wrap up
This is a high-level demonstration of how to create a workflow template in AAP using Approval nodes and Recovery actions. Workflows can be more elaborate and complex than what I've demonstrated in this article, and you need to find the best balance between usefulness and maintainability. In many use cases, though, workflow templates are a great tool for improving automation within your organization.
Recommend
About Joyk
Aggregate valuable and interesting links.
Joyk means Joy of geeK