

How to Expose your Local Development Server to the Internet using Dynamic DNS
source link: https://medium.com/@lamsif/how-to-expose-your-local-development-server-to-the-internet-using-dynamic-dns-44a76311512e
Go to the source link to view the article. You can view the picture content, updated content and better typesetting reading experience. If the link is broken, please click the button below to view the snapshot at that time.
How to Expose your Local Development Server to the Internet using Dynamic DNS
At some point in your development journey, you might need to expose your local server to the internet, whether to test your web and mobile apps against your development backend, build demo websites without the need to deploy them or integrate with a service or a platform that does not support localhost.
There is another way to do this by using an HTTPS tunnel like Ngrok, but it does come with some inconveniences, like slow connections since there is a middleware between your machine and the internet, so in case you need to test your code changes on your exposed server with hot reloading that slow connection will start to be a real pain.
So instead, we will be using a much faster alternative, by exposing our machine directly to the internet using a Dynamic DNS service instead of using a tunnel, so let’s get started.
1. Register a DDNS domain name and set up the Update Client
For this part, we are going to use a free service called No-IP, you can signup here.
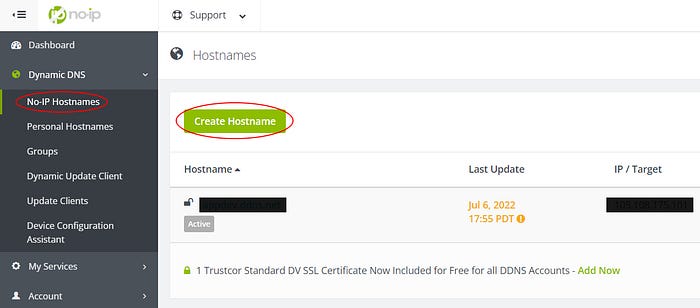
After signing up we need to create a hostname in the dashboard by going to the Hostnames page and clicking on Create Hostname.
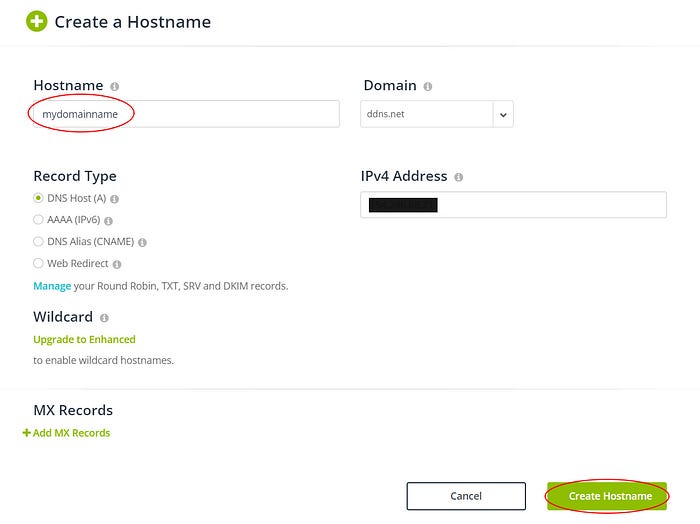
Now you can enter your domain name and then click on Create Hostname, the other options can be left to their defaults.
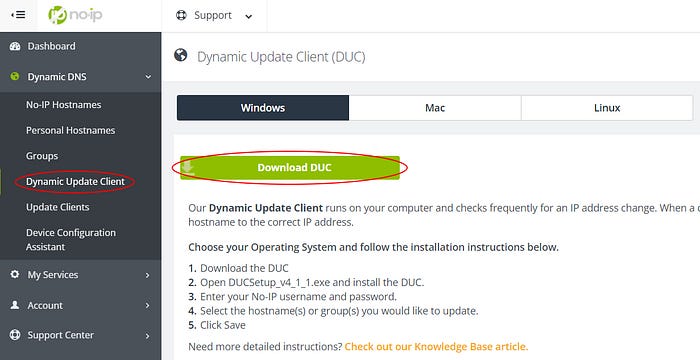
Now we have successfully registered a domain name, so what we need to do next is use a piece of software called the Update Client which will automatically change the DNS records of our domain name to point to our public IP address every time it changes.
You can install it by going to the Dynamic Update Client page and then clicking on Download DUC.
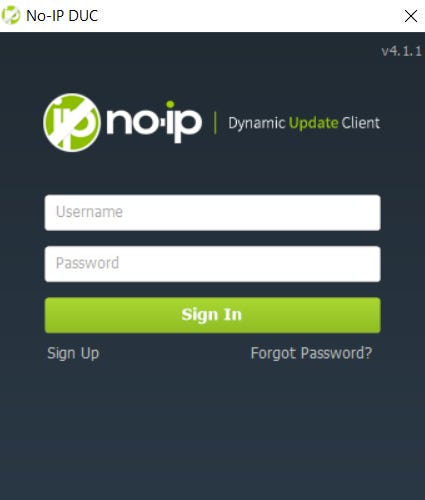
After installing the client and opening it, Sign in using the account you registered earlier.
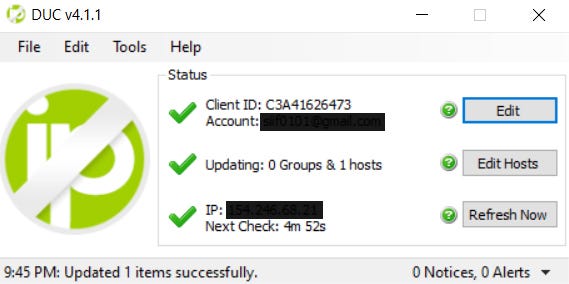
Next, choose the hostname you created earlier and click on Save.

And that’s it, we successfully set up the Update Client, and now it will automatically update the DNS records of your domain name to point to your current public IP address every 5 minutes.
2. Set up port forwarding
Now that we have a domain name that points to our public IP address, all that’s left is configuring our router to forward connections from the internet to our local machine.
Every router’s admin panel is different, but you can use the instructions and images below as a reference to your router or check your router’s documentation for more information.
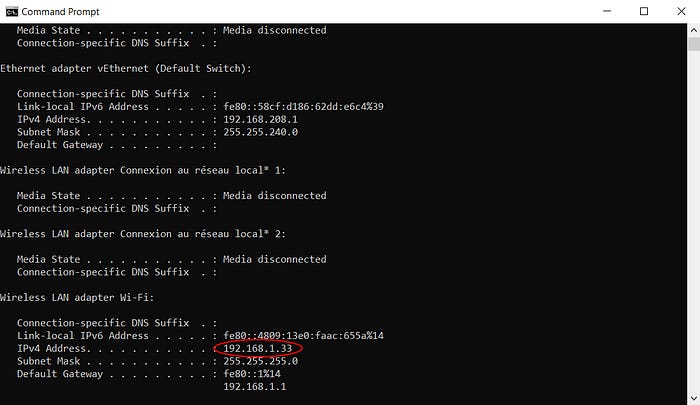
First, you need to get your machine’s local IP address, to get it on Windows you can open cmdthen typeipconfig and press Enter, it should be in the adapter you’re using to connect to the internet.
Now, log into your router by typing your router’s IP address into the browser’s address bar, It should be a series of numbers like 192.168.X.X or 10.0.X.X
Next,locate the port forwarding settings. Typically this will be under Advancedand then Port Forwarding or Virtual Server.
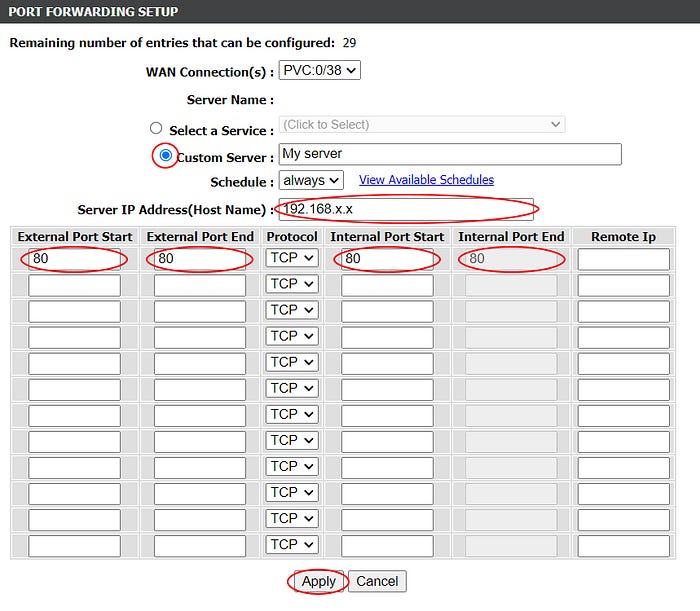
Then on the Port Forwarding page, click on Add.
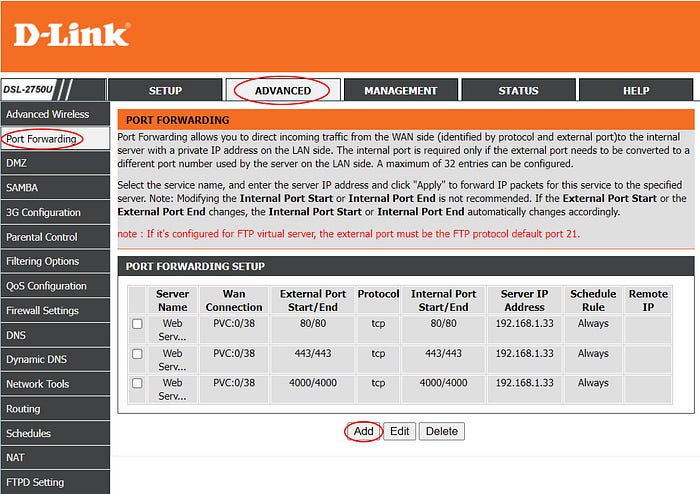
Next, Choose Custom Server and give your server a name, then type the IP address we got earlier in the Server IP Addressfield, then in External Port Startand External Port Endtypethe port number you want your exposed server to have over the internet, for example, 80 for HTTP or 443 for HTTPS, and for the Internal Port Startand Internal Port Endenter the port number of the server on your local machine for example 4000 or 80, and then click on Apply.
Note: If you want to use Hot Reloading when developing on your new public server, you can also forward the port used by your bundler for Hot Reloading.
And that’s it, now we have an exposed local development server over the internet.
I hope this article was helpful to you and if you have any further questions, please leave them in the comments section, and I will do my best to answer them.
Recommend
About Joyk
Aggregate valuable and interesting links.
Joyk means Joy of geeK