

打包iOS App并上架到TestFlight测试
source link: https://www.pkslow.com/archives/ios-build-and-testflight
Go to the source link to view the article. You can view the picture content, updated content and better typesetting reading experience. If the link is broken, please click the button below to view the snapshot at that time.
开发者账号
首先需要注册一个开发者账号,不然什么都免谈。在手机Apple Developer上注册给钱就行了,个人开发者一年688元。
打包App
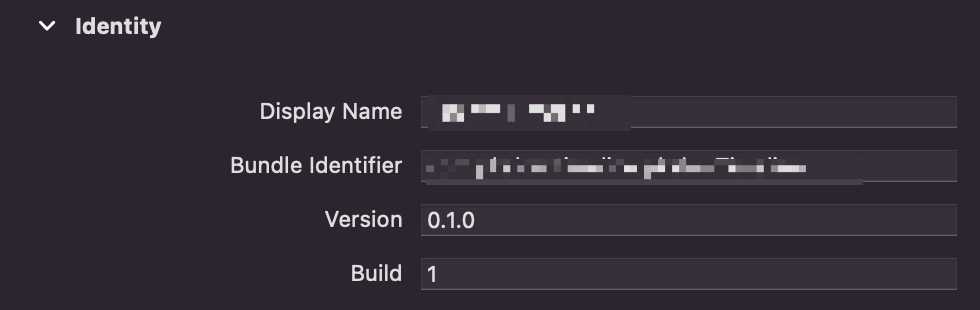
App开发好后,就可以通过XCode打包。打包前选好版本号,不要跟以前提交的一样,重复的Version和Build是无法提交的。当然第一次打包就不可能会重复了。
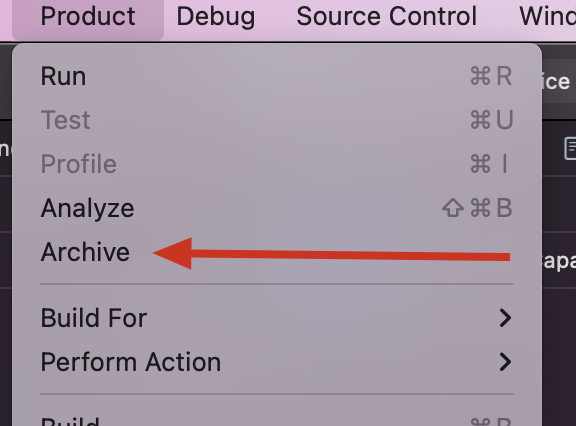
在菜单栏选择Product,然后选Archive进行打包:
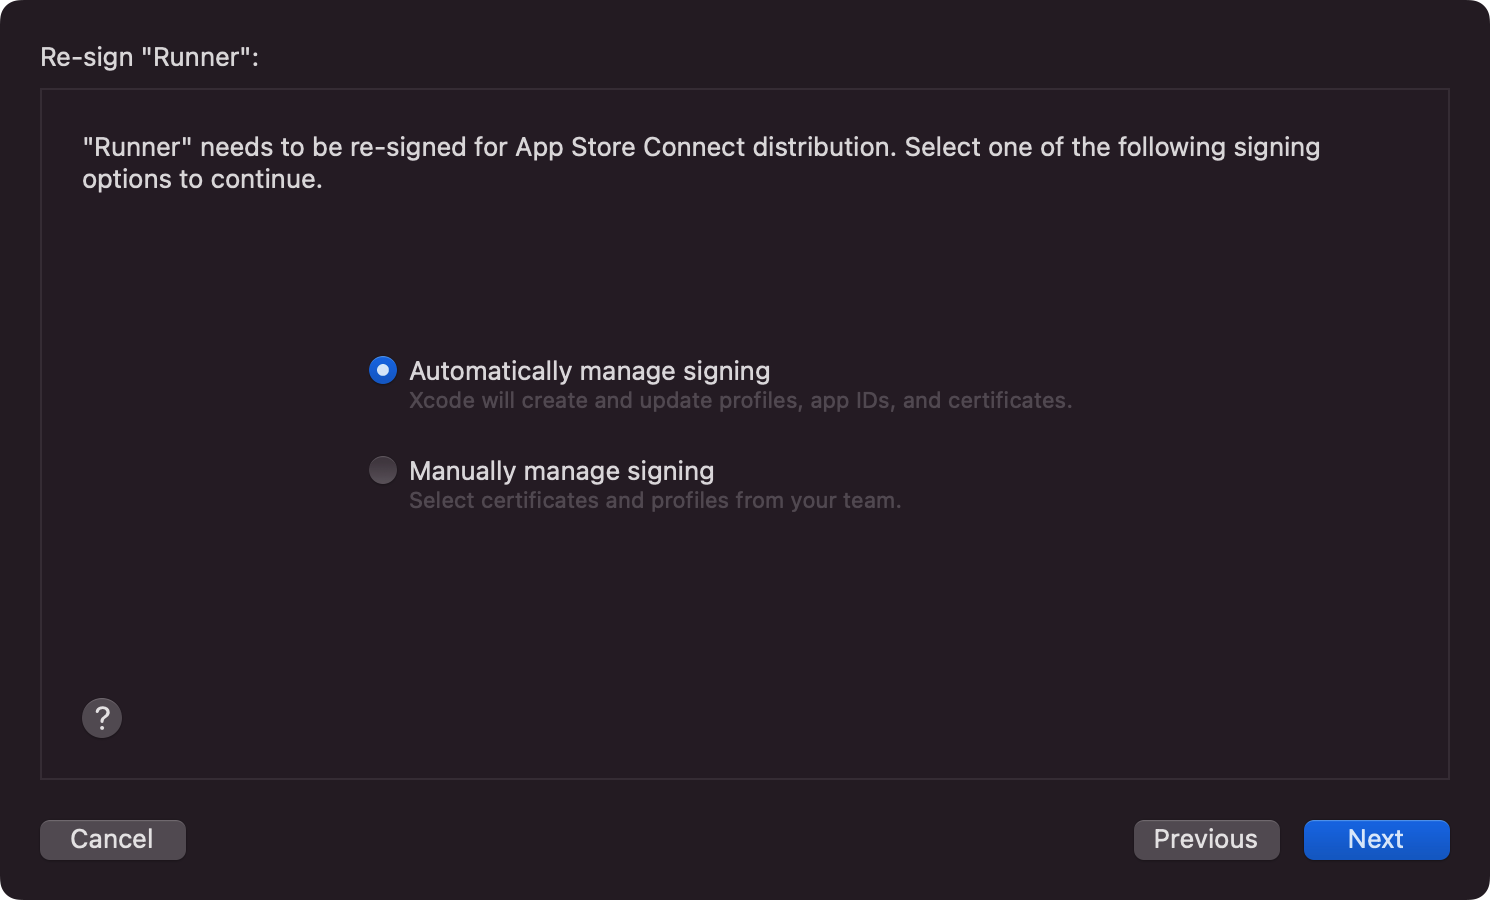
打包完成,会弹出以下对话框,就可以把应用上传到App Store Connect了。
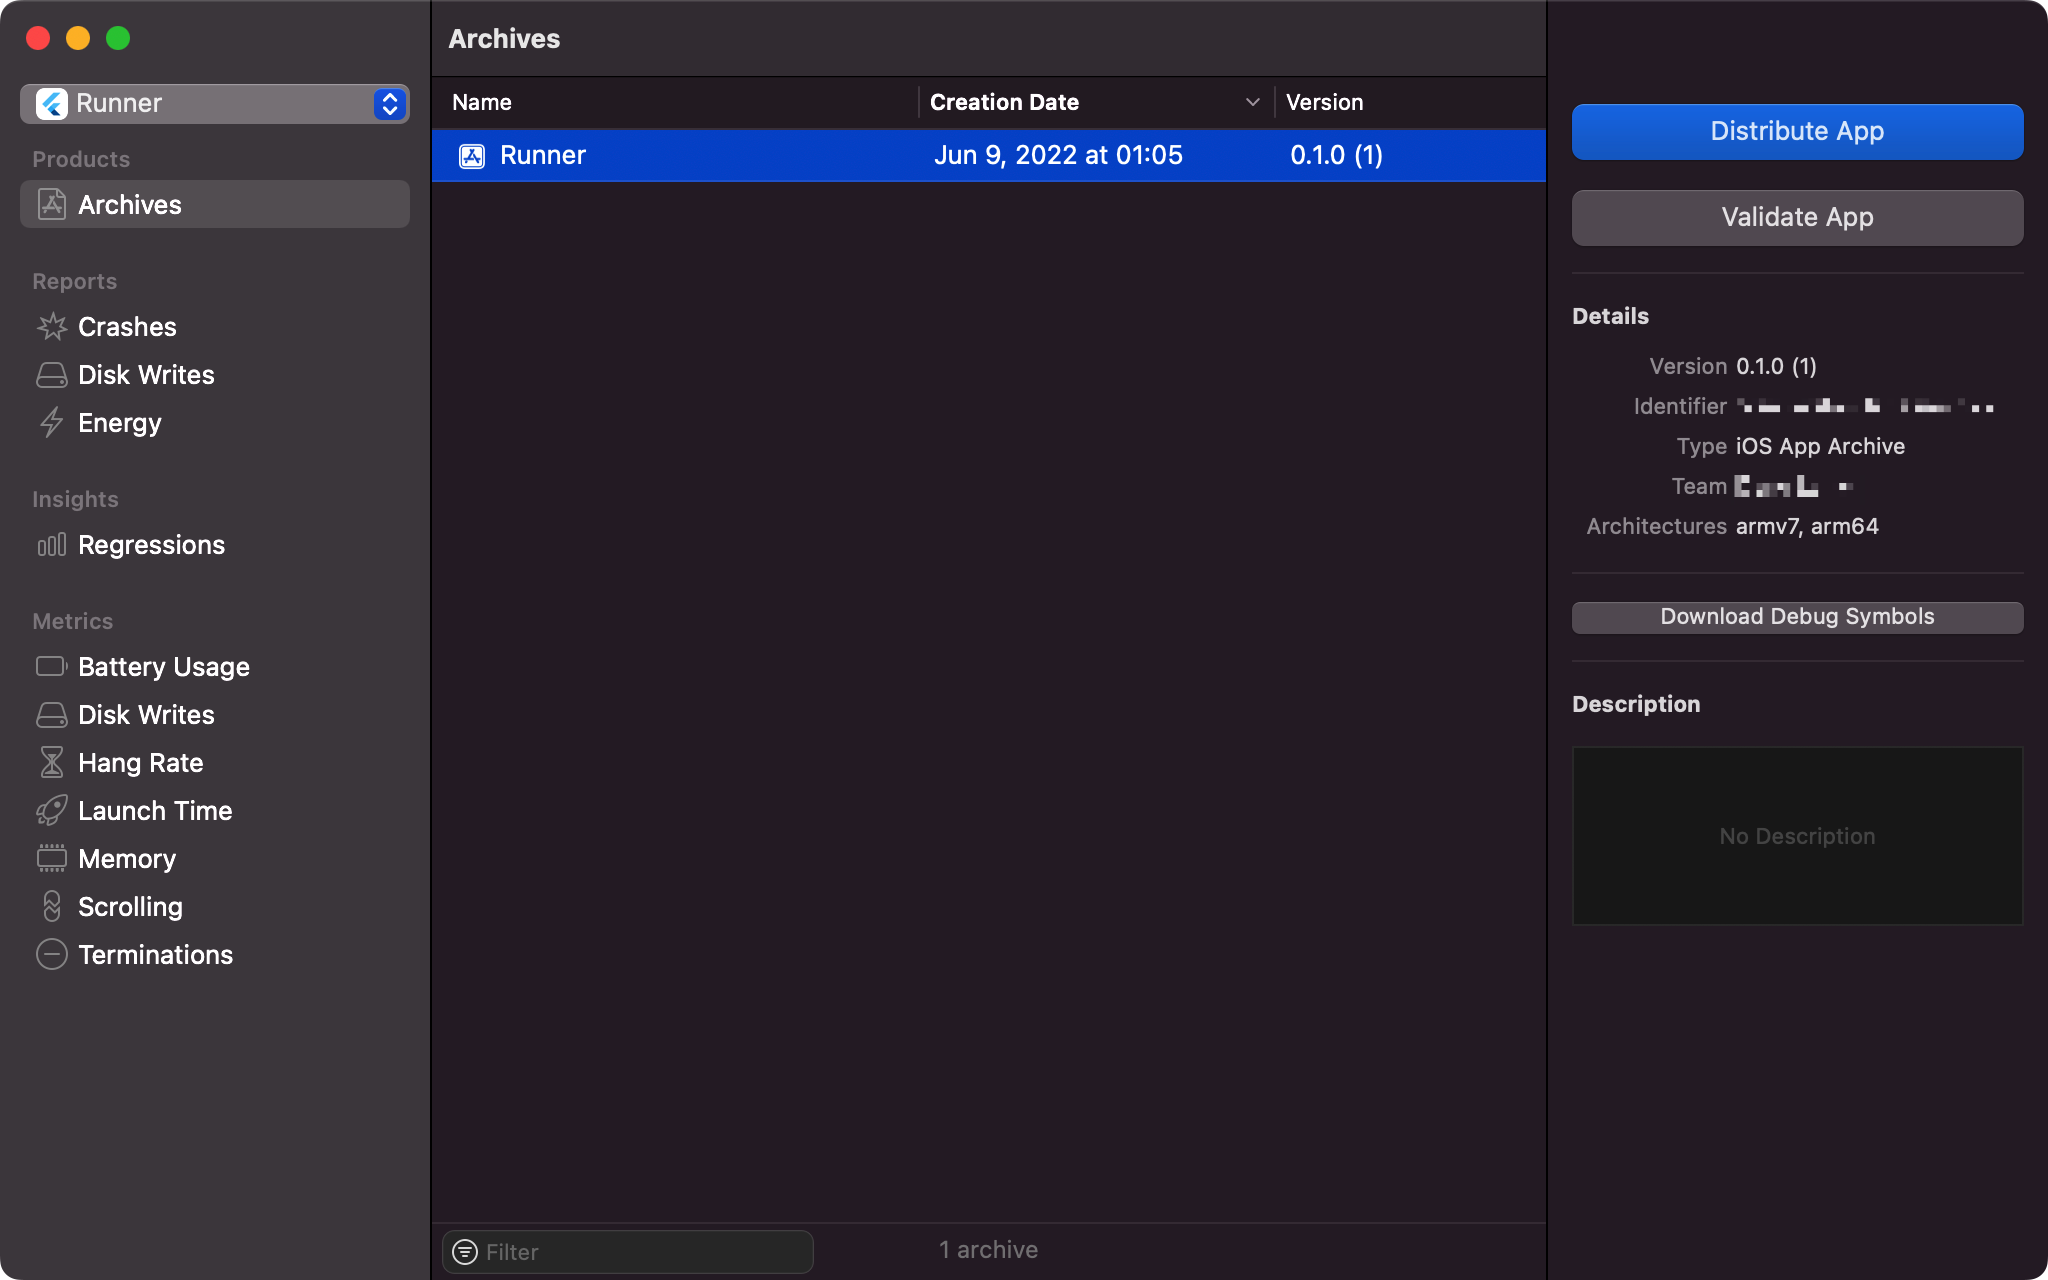
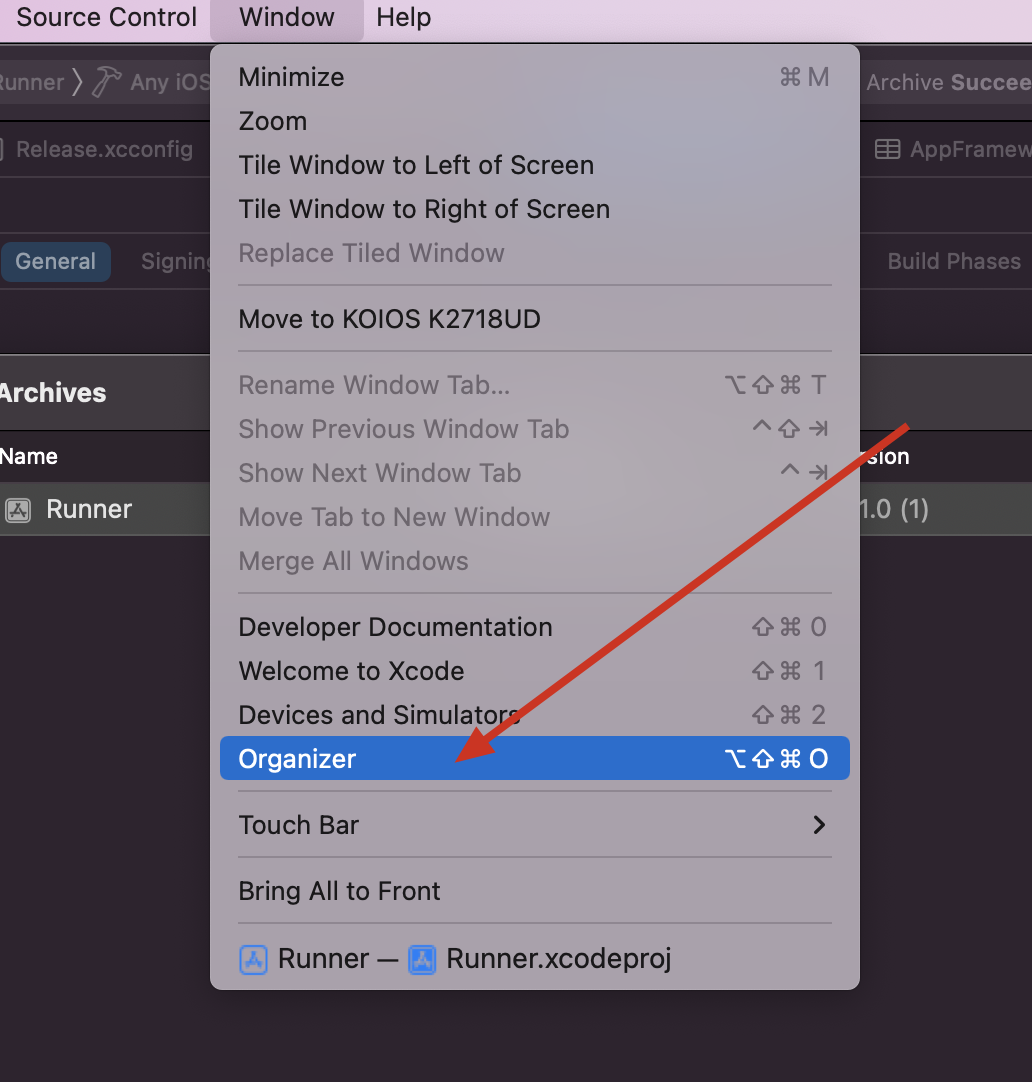
上面这个对话框可以按下面的方式打开:
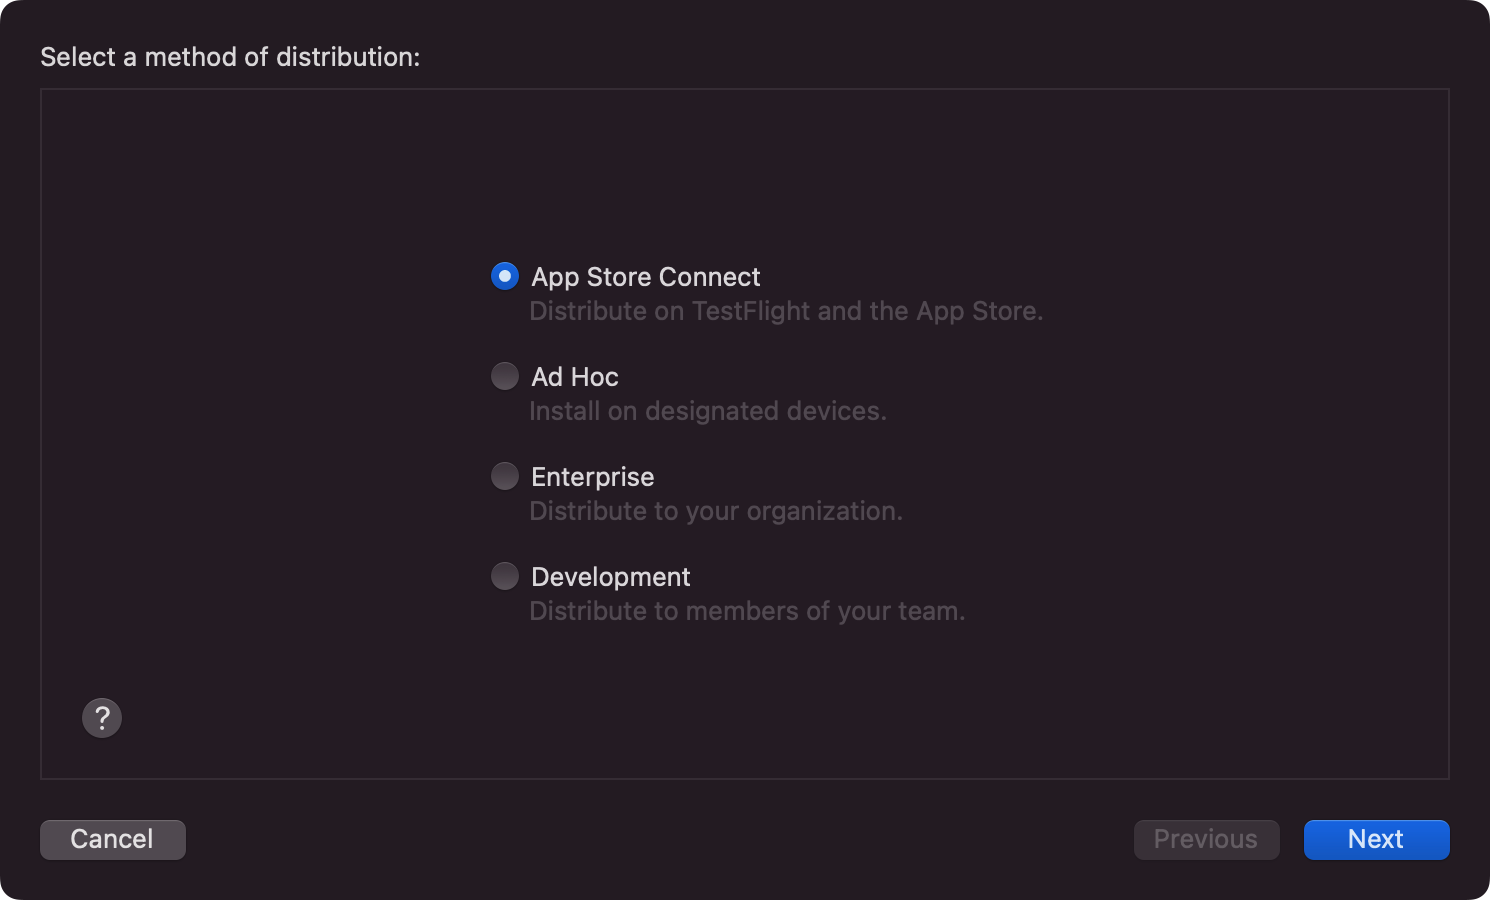
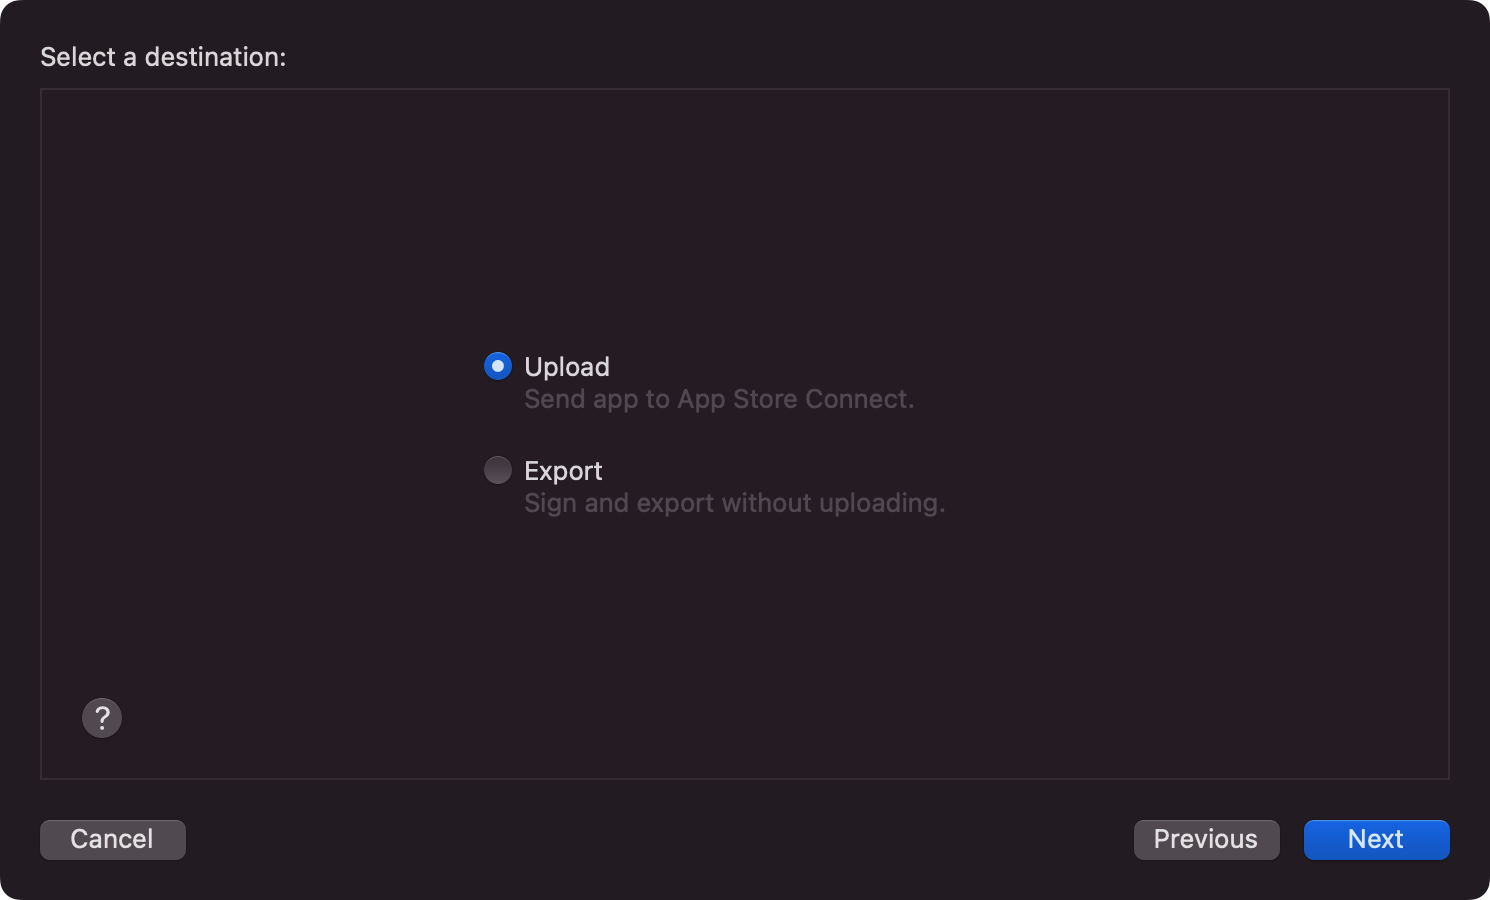
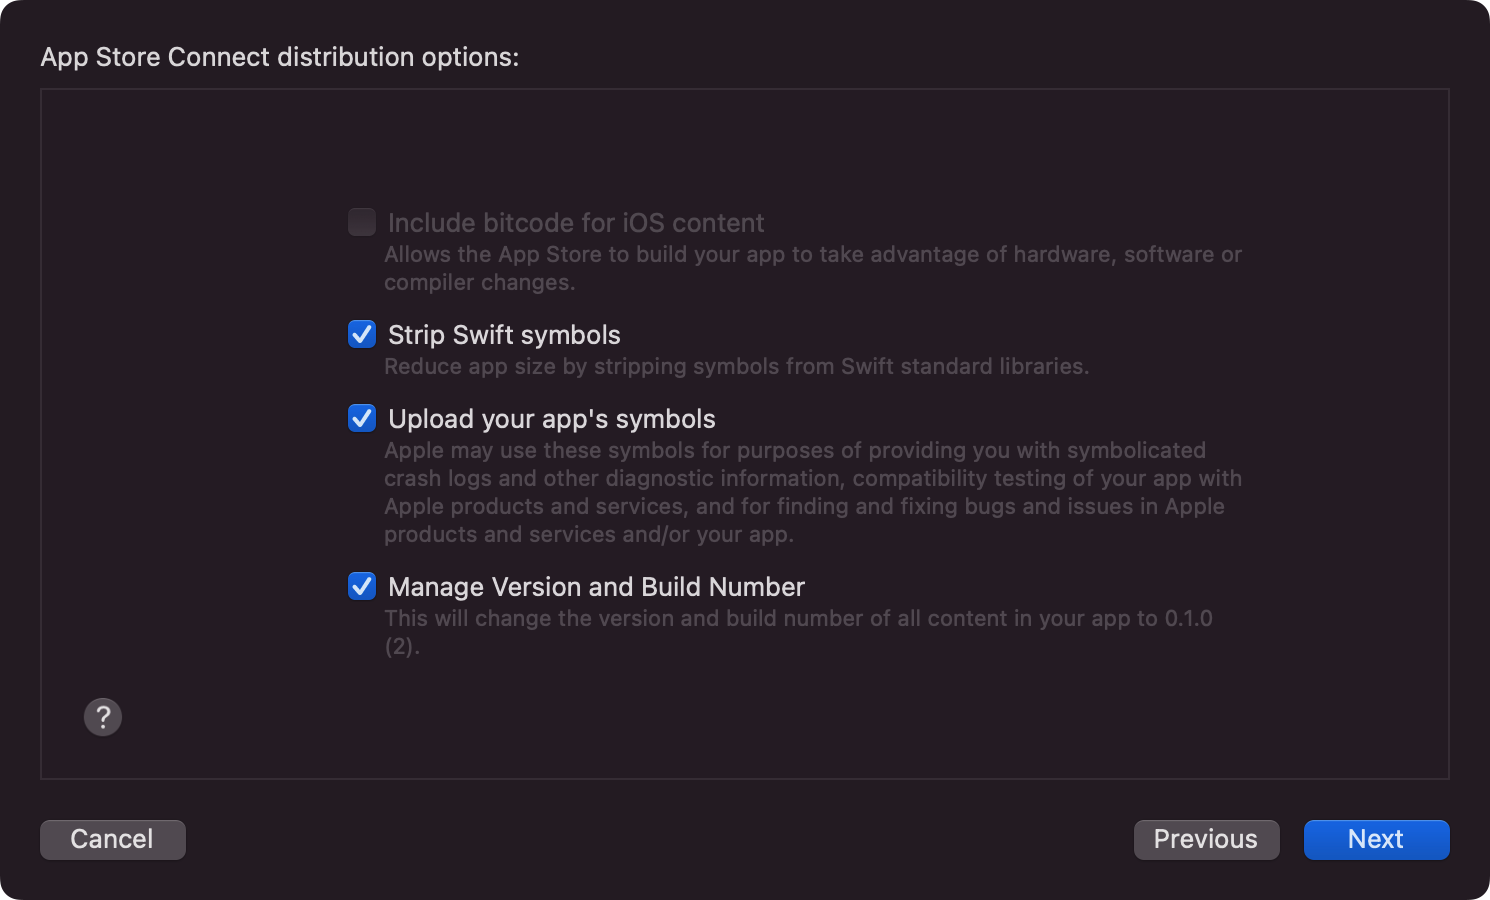
打包完后,点击Distribute App进行上传:
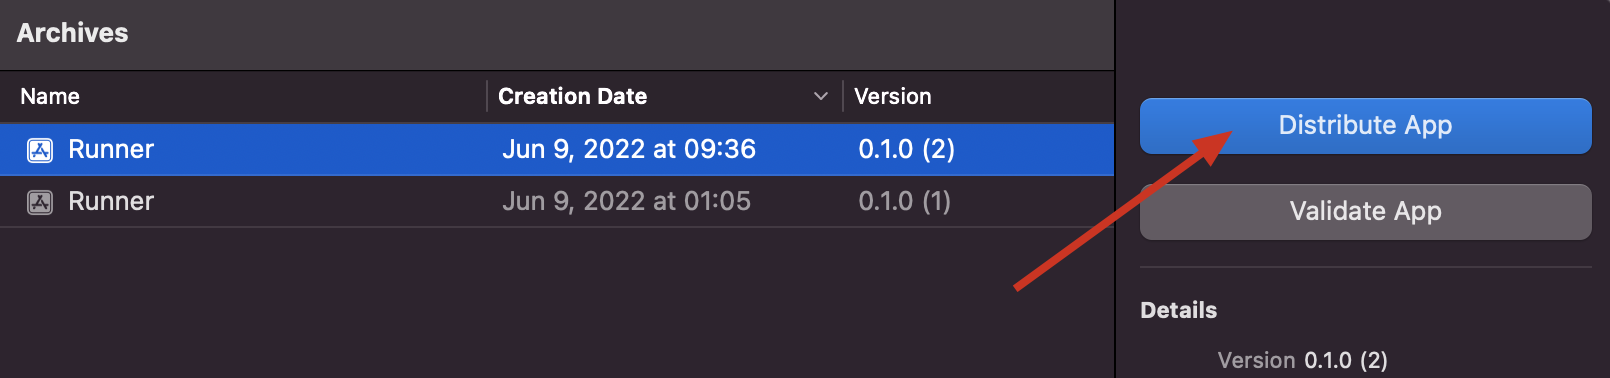
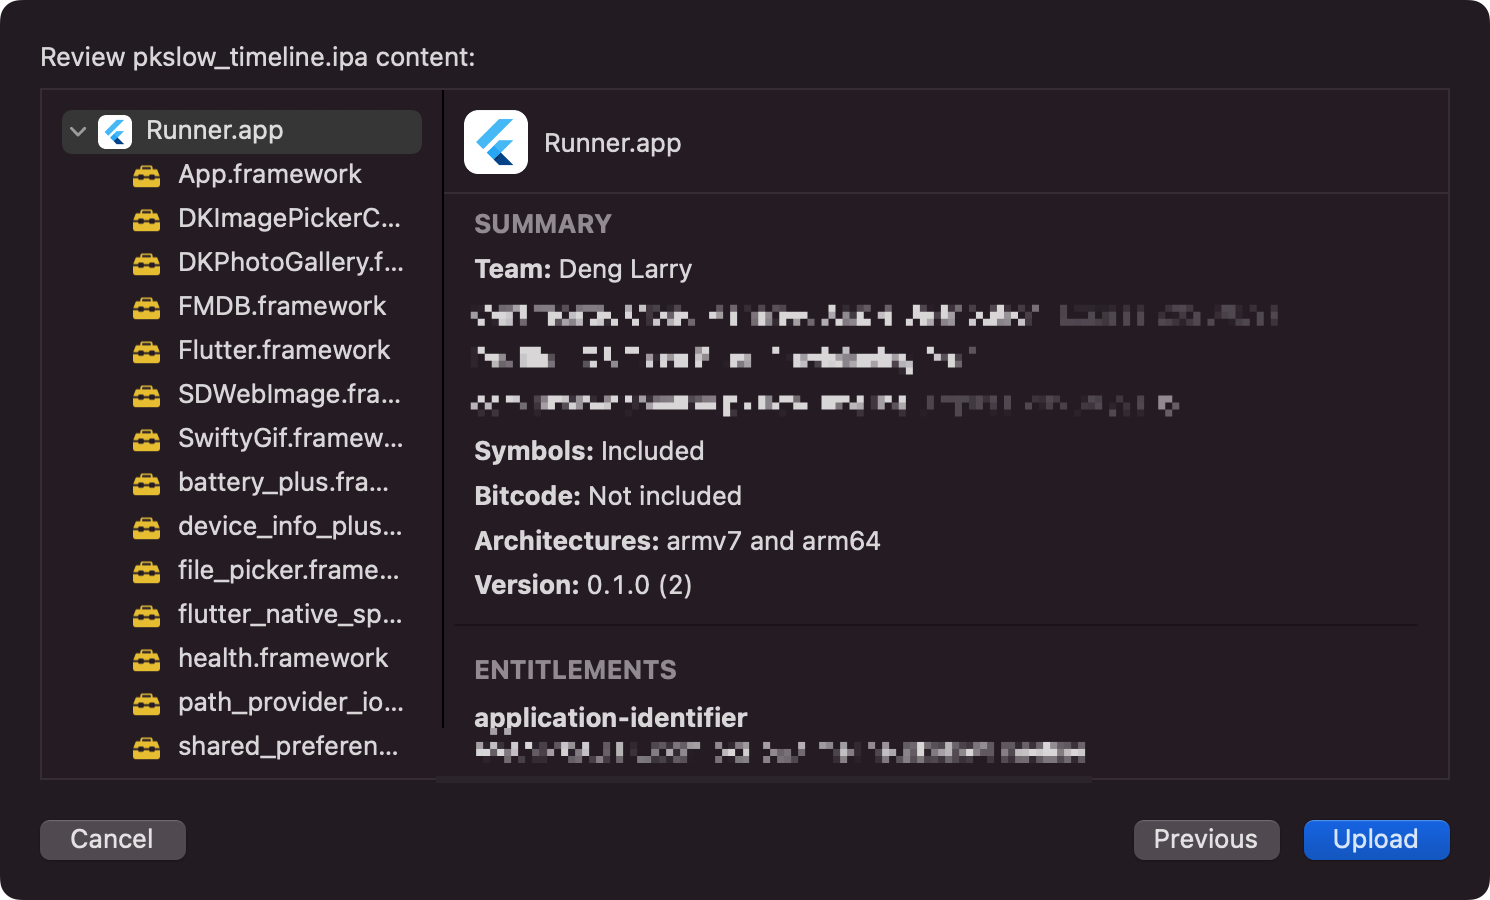
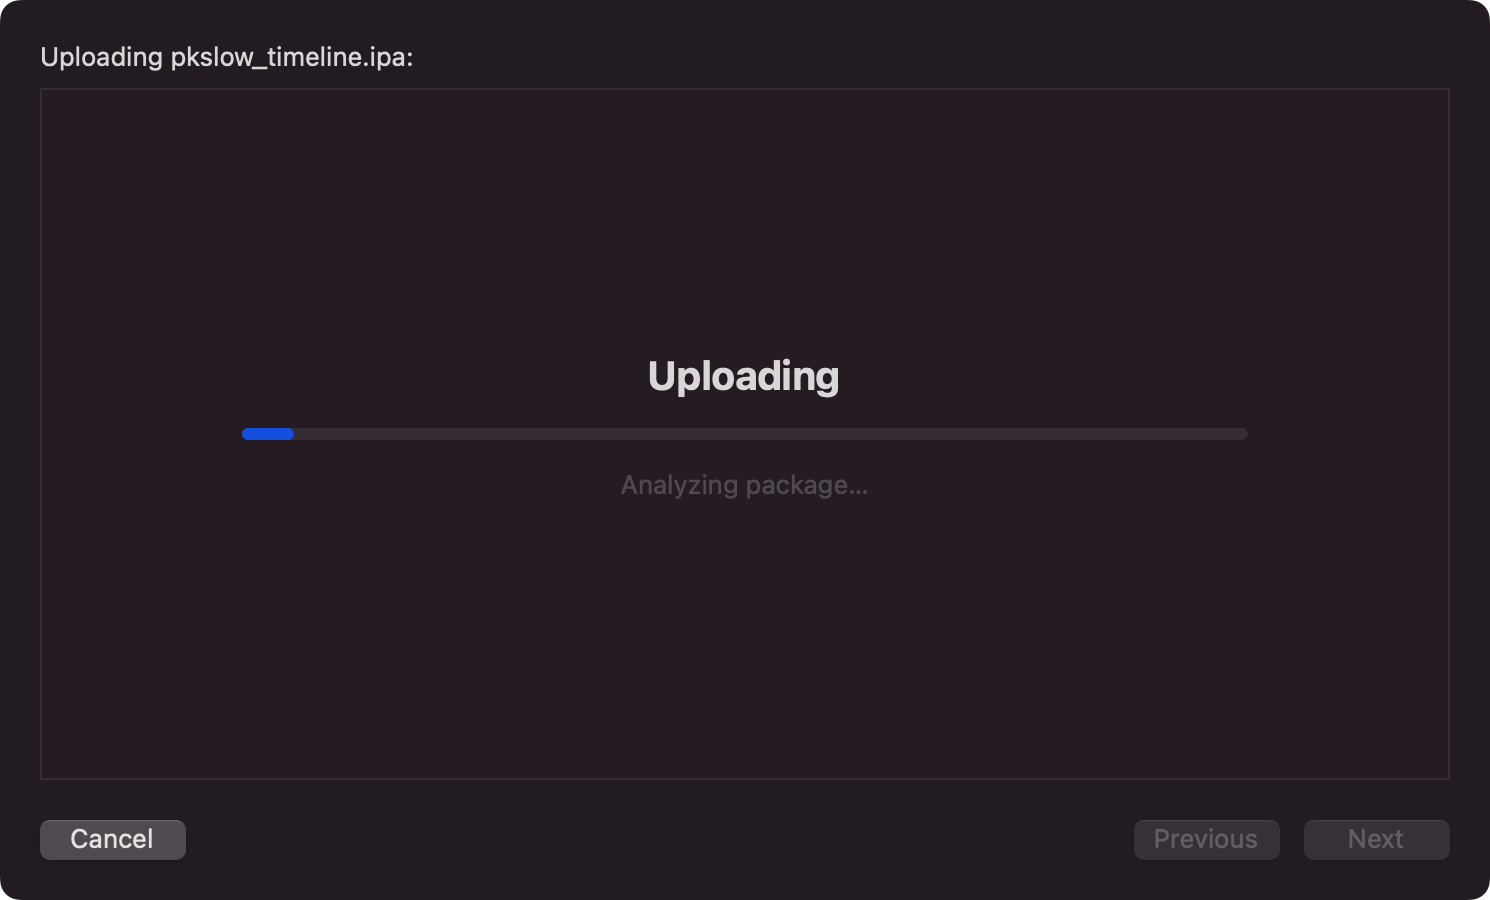
大概两三分钟,就上传完成了:

遇到的一些问题
上传后,App Store Connect还会有检验,比如我第一次上传就遇到以下问题:

因为我引用了一些库,它带有一些权限相关的接口,即使我实际没用上,但还是需要在Info.plist上添加相关说明。
<key>NSPhotoLibraryUsageDescription</key>
<string>This App no need</string>
<key>NSHealthShareUsageDescription</key>
<string>This App no need</string>
<key>NSHealthUpdateUsageDescription</key>
<string>This App no need</string>
参考: NSPhotoLibraryUsageDescription key must be present in Info.plist to use camera roll
同时打开通知推送,但实际不用。

解决以上问题并重新打包即可。
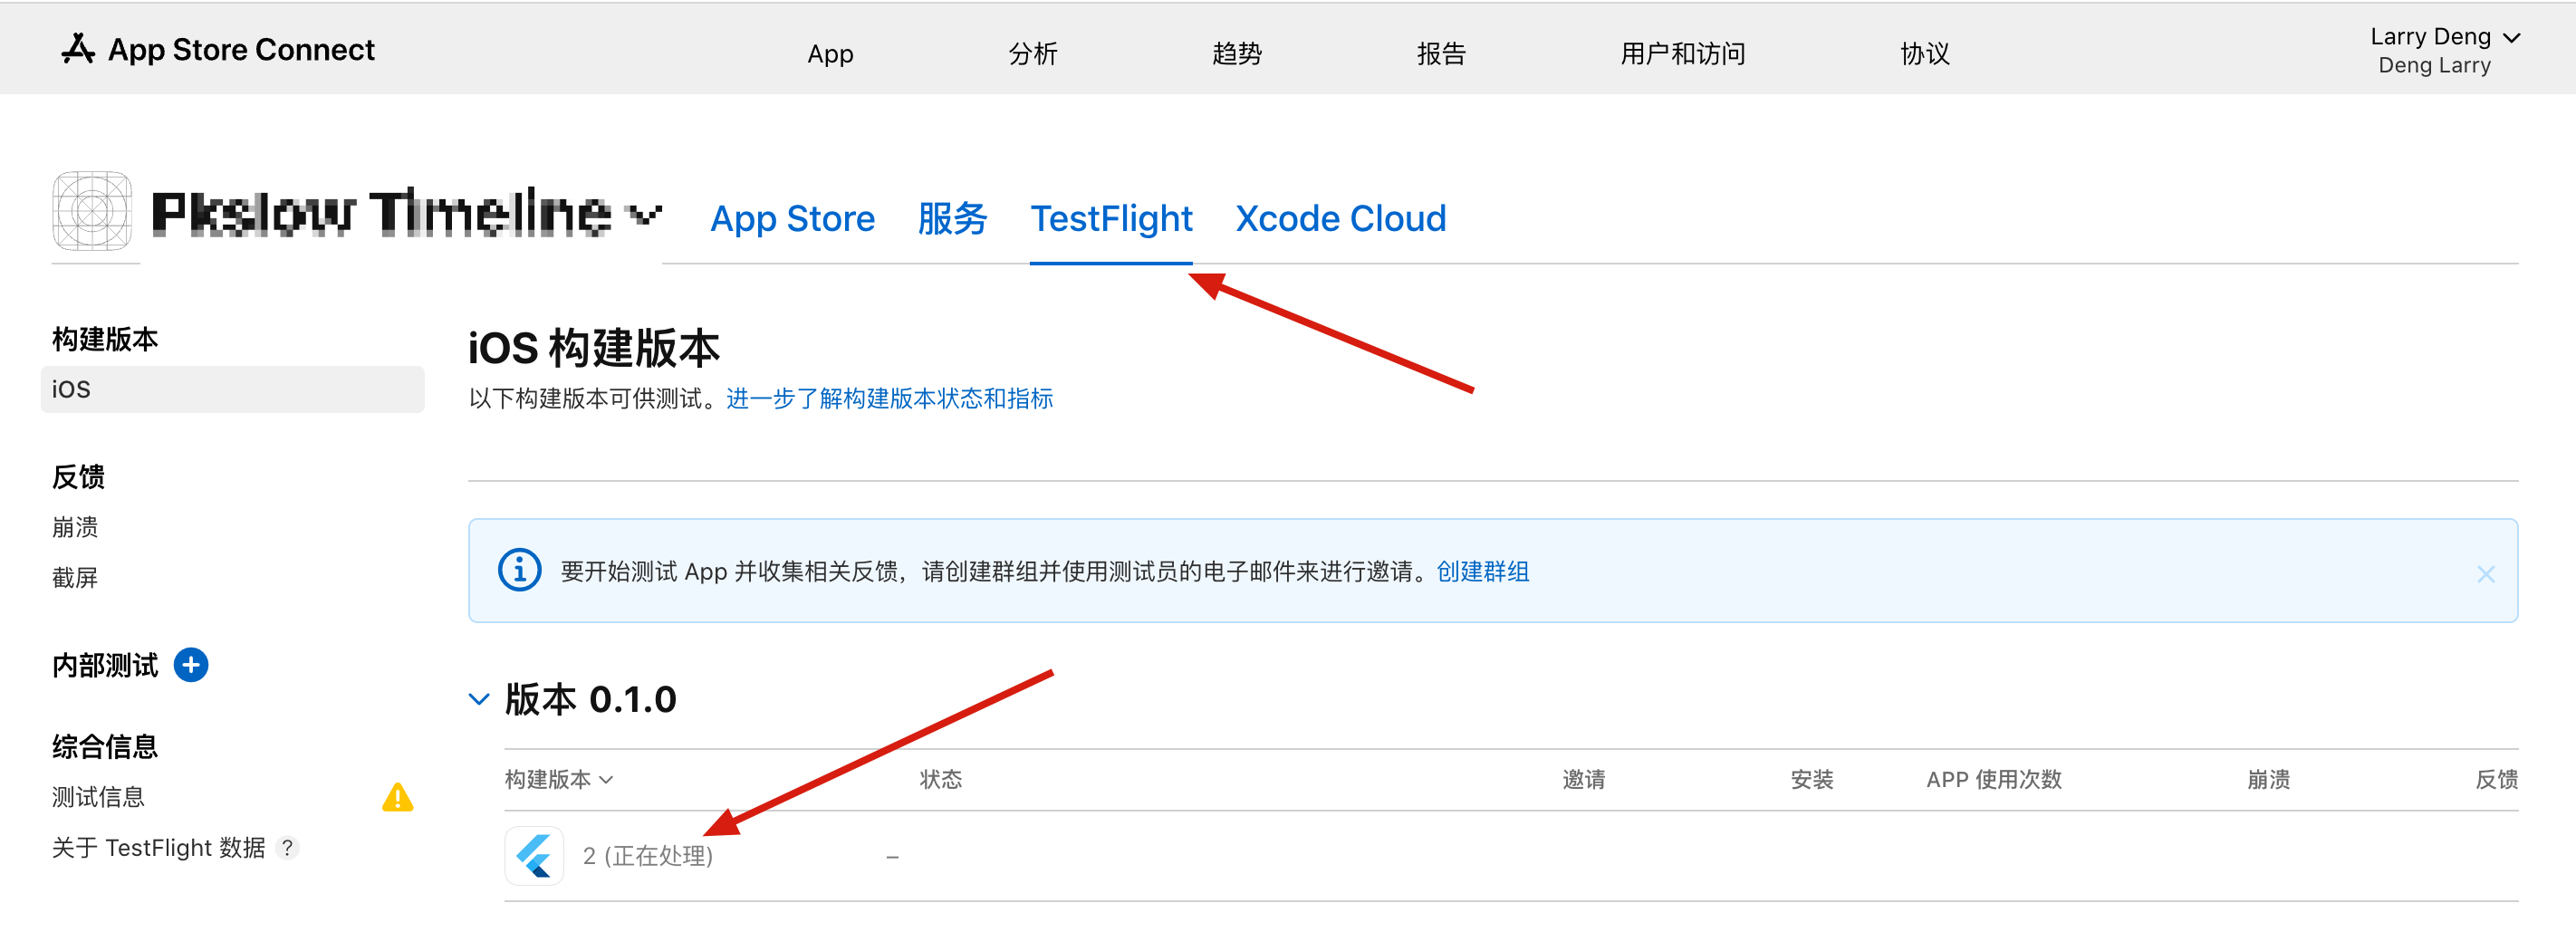
App Store Connect查看
上传成功后,可以登陆Connect查看:https://appstoreconnect.apple.com/apps
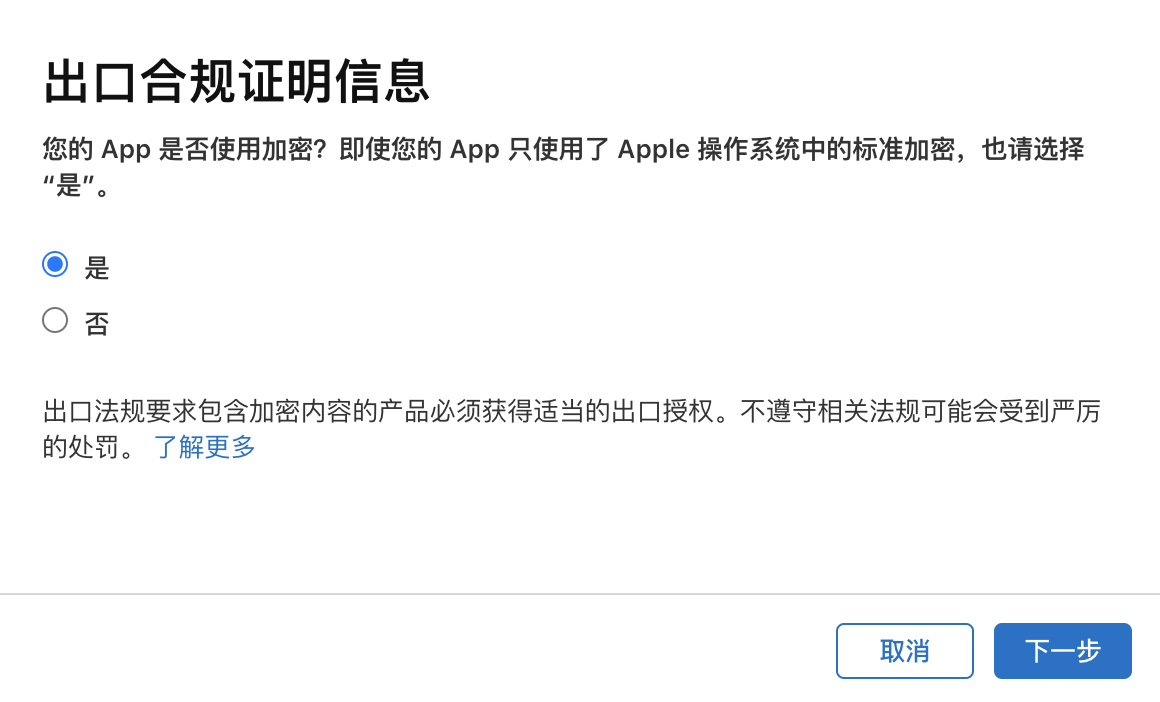
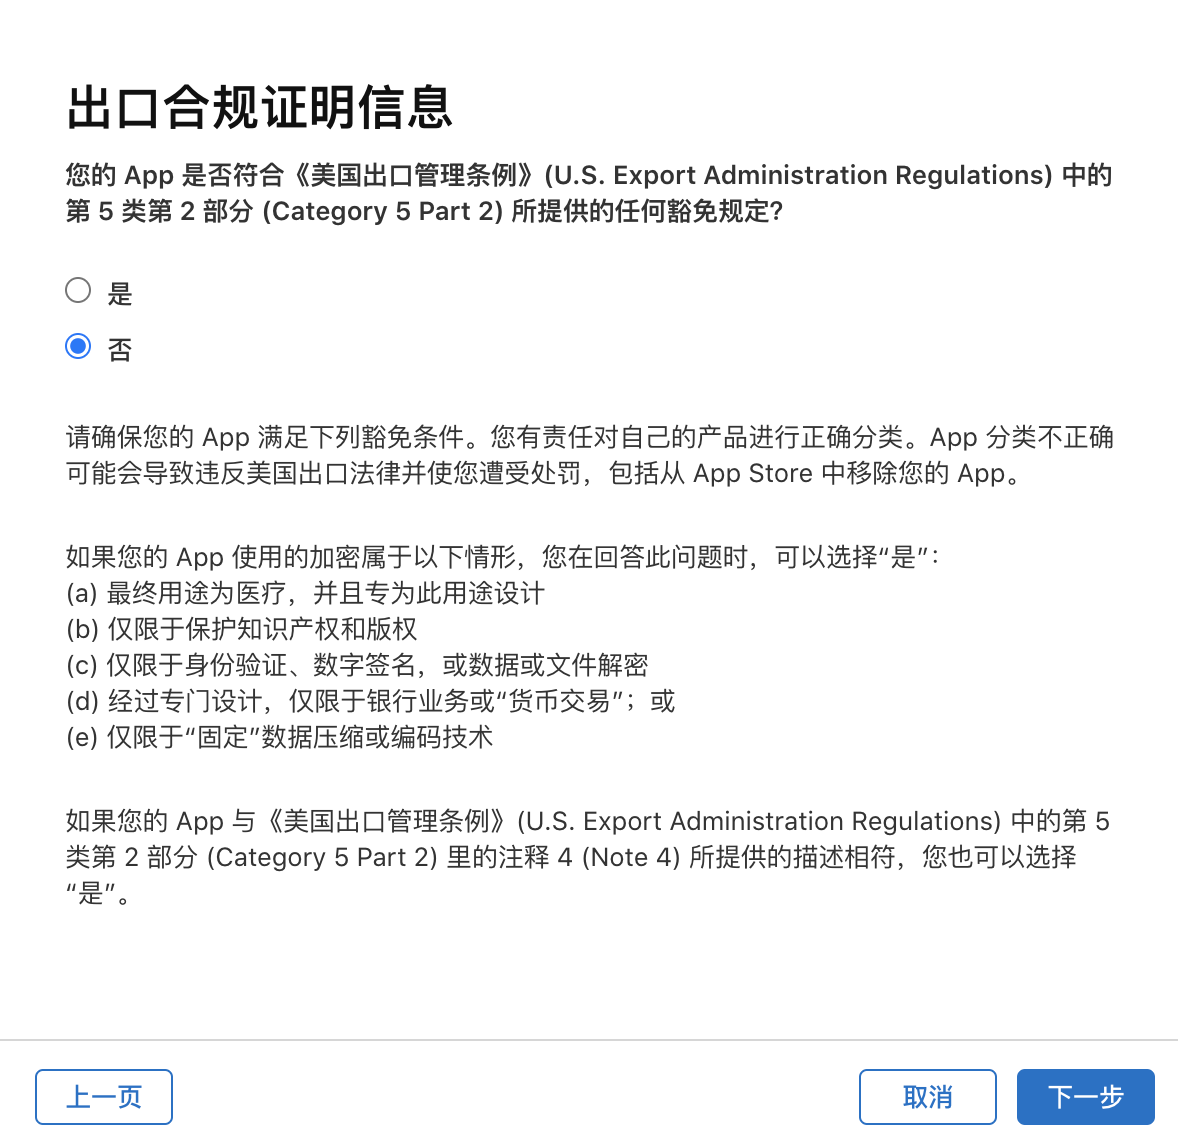
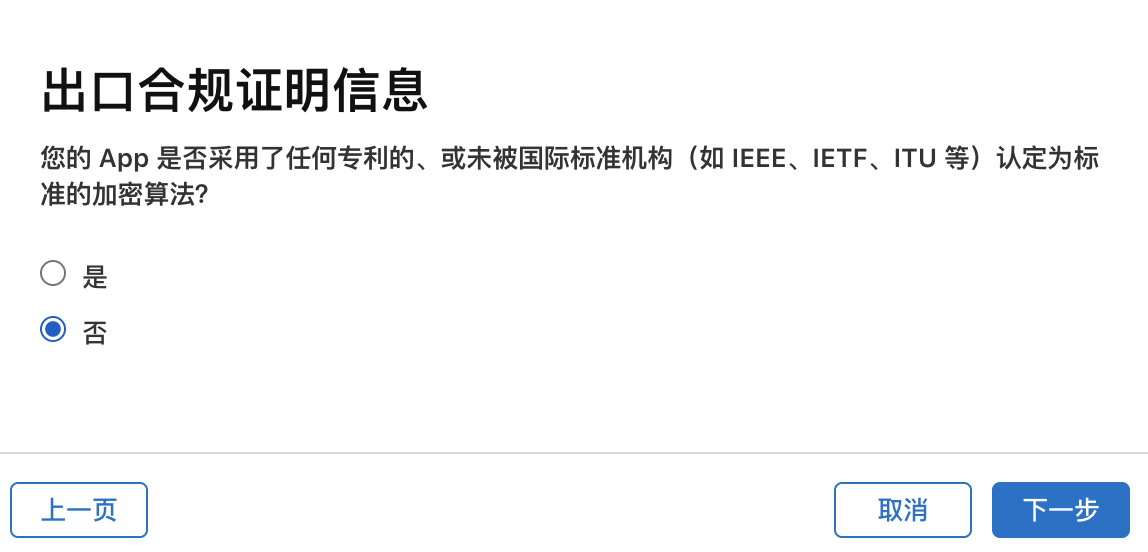
等待一段时间后,可能会出现下面的问题,这个小问题,只要在页面上填一下信息就好:
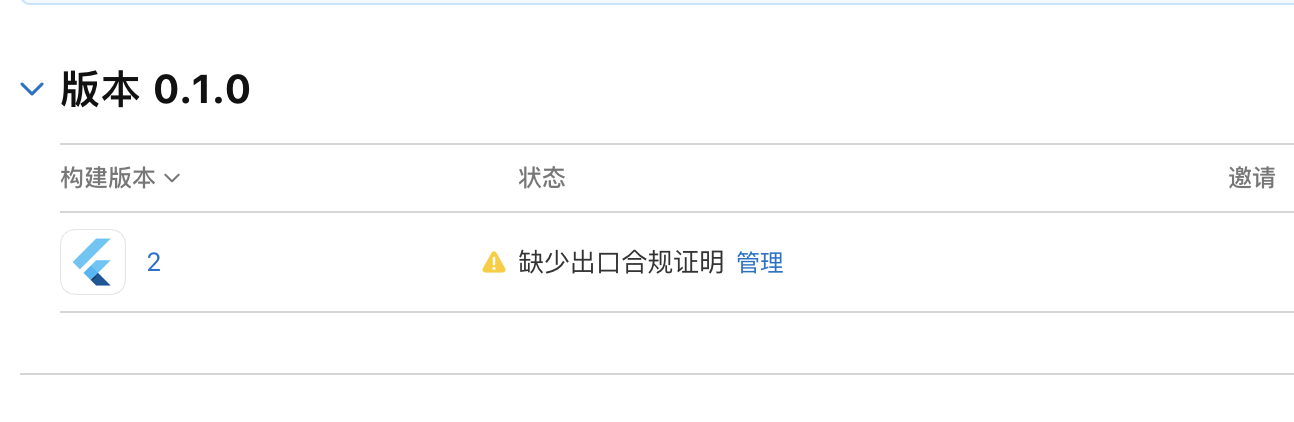
点击管理:

接着就是添加内测和外测群组。然后提交审核。内测不需要审核,外测需要:

完成审核,就可以让外测人员测试了。
References:
TestFlight - How to Upload and Distribute Your App | App Store 2021
Code for all: GitHub
欢迎关注微信公众号<南瓜慢说>,将持续为你更新...

Recommendations:
Cloud Native
Terraform
Container: Docker/Kubernetes
Spring Boot / Spring Cloud
Https
如何制定切实可行的计划并好好执行
Recommend
About Joyk
Aggregate valuable and interesting links.
Joyk means Joy of geeK