

为jekyll博客添加google advertisement支持
source link: http://cenalulu.github.io/jekyll/jekyll-with-google-advertisement/
Go to the source link to view the article. You can view the picture content, updated content and better typesetting reading experience. If the link is broken, please click the button below to view the snapshot at that time.
本文将介绍在基于jekyll(github pages)的个人博客中添加google advertisement的方法
注册google advertisement账号
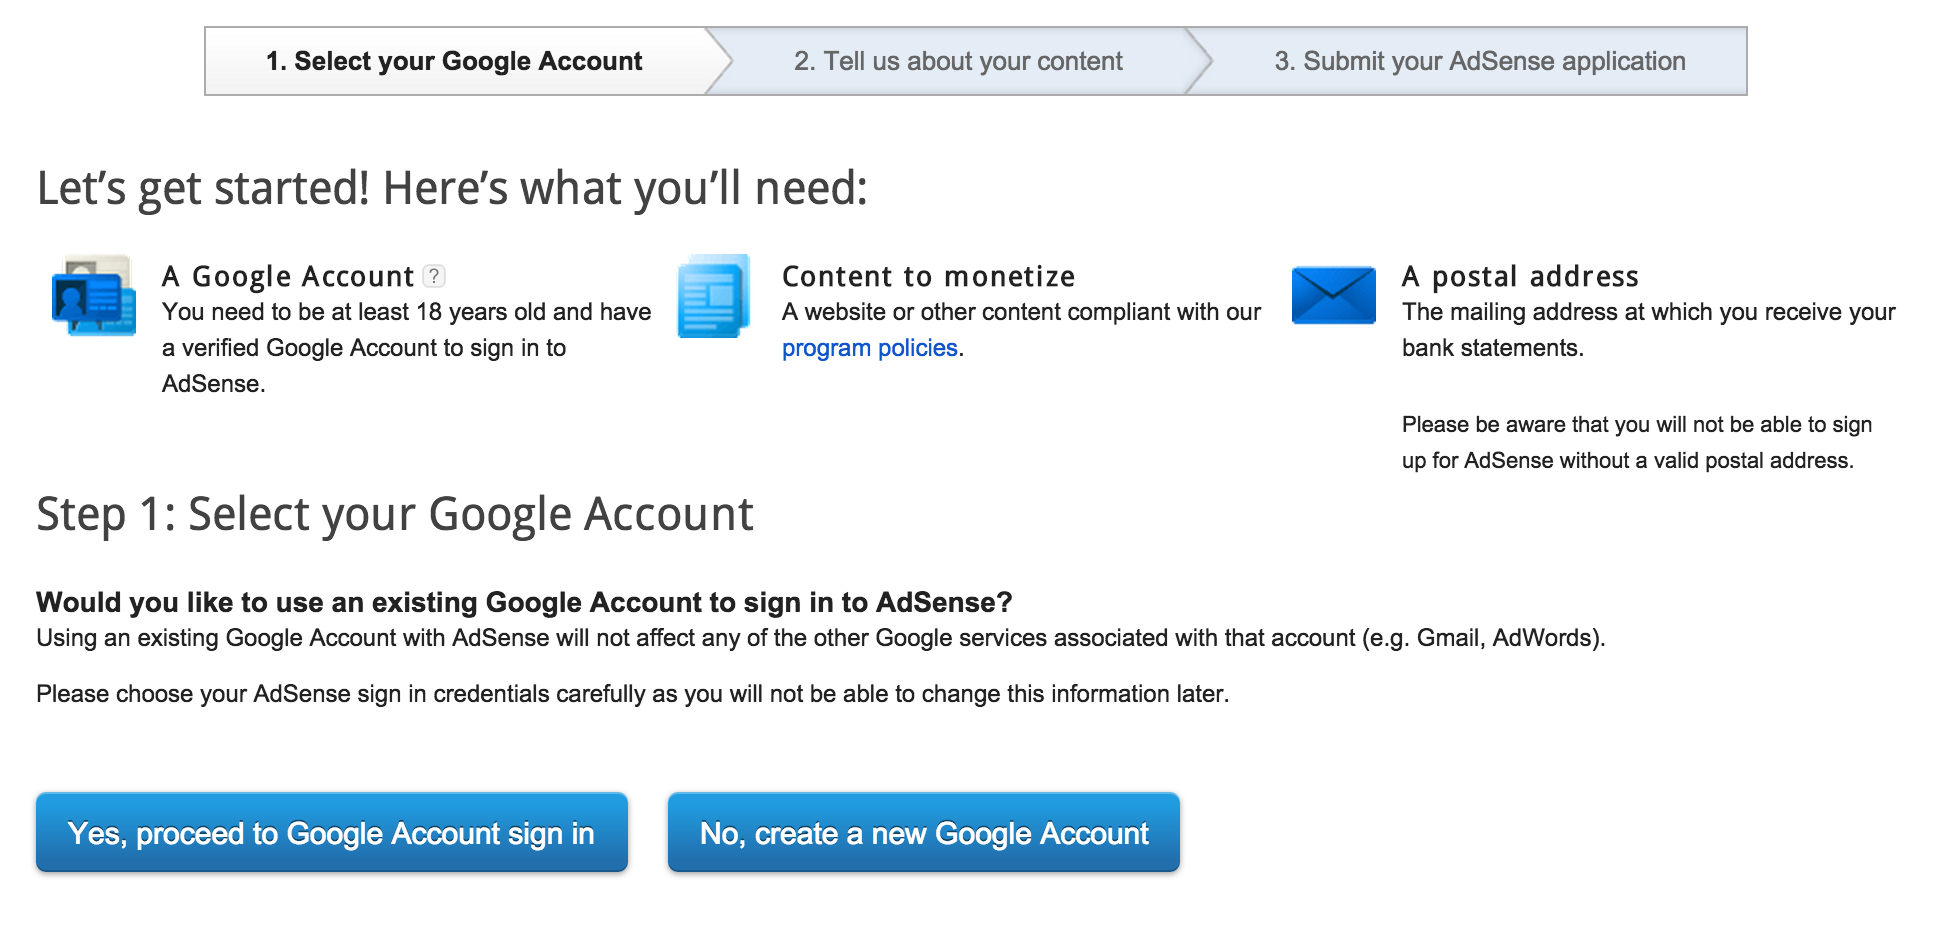
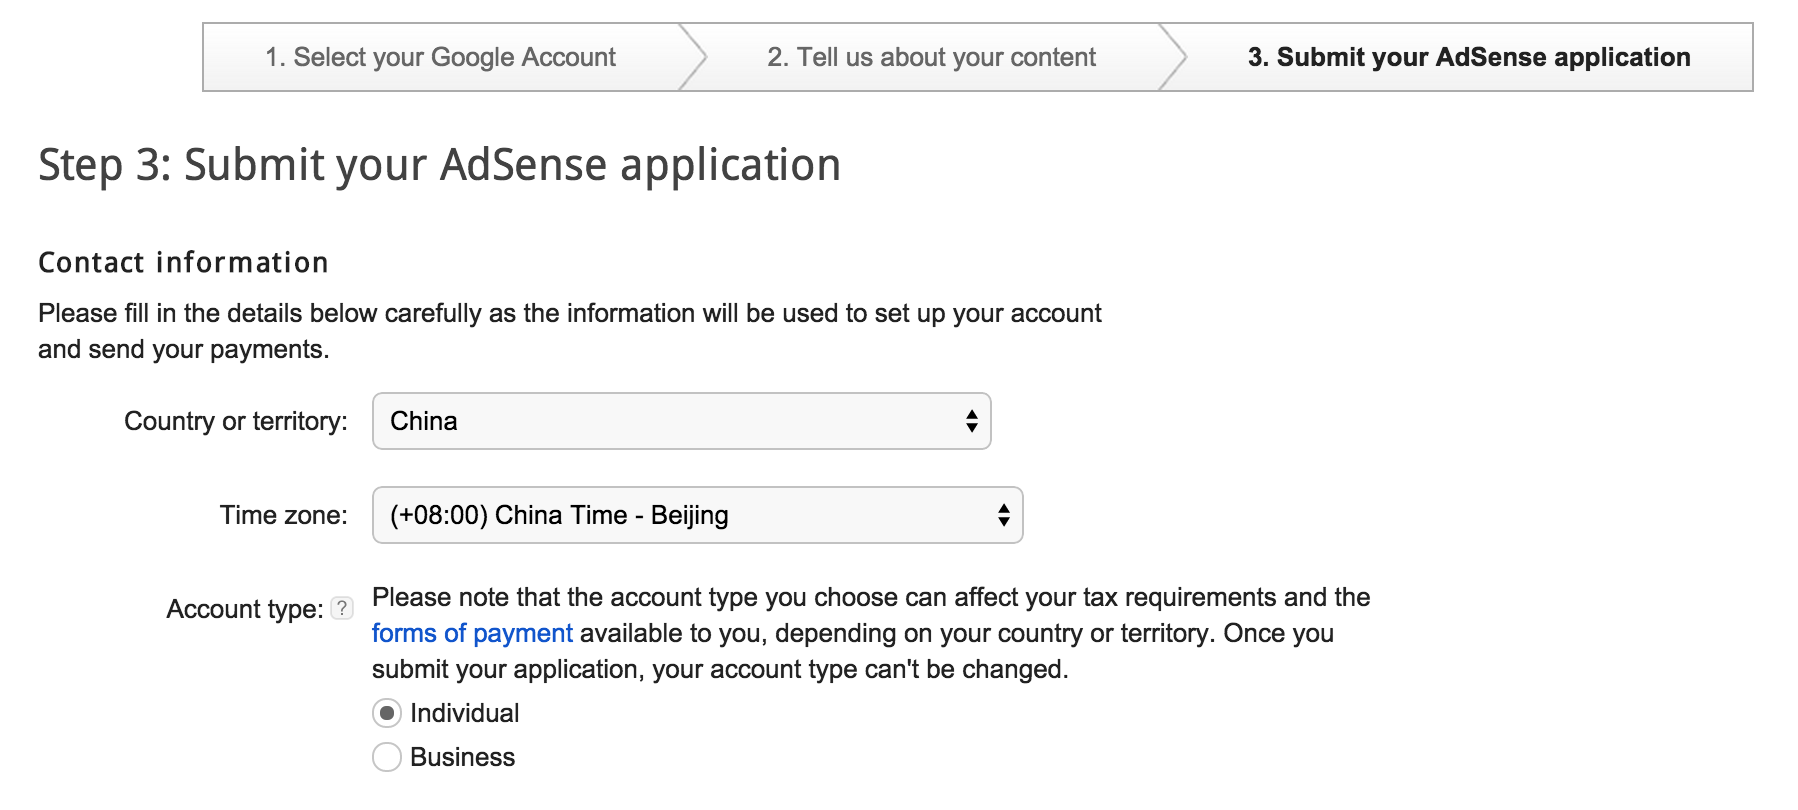
首先,通过 google advertisement注册链接 进行注册。注册过程比较简单,通过鼠标点击和一些个人信息输入就可以完成。具体几个关键步骤可以看下面的截图。整个过程中不需要准备银行卡号等个人信息(之后在提现时才会需要)。

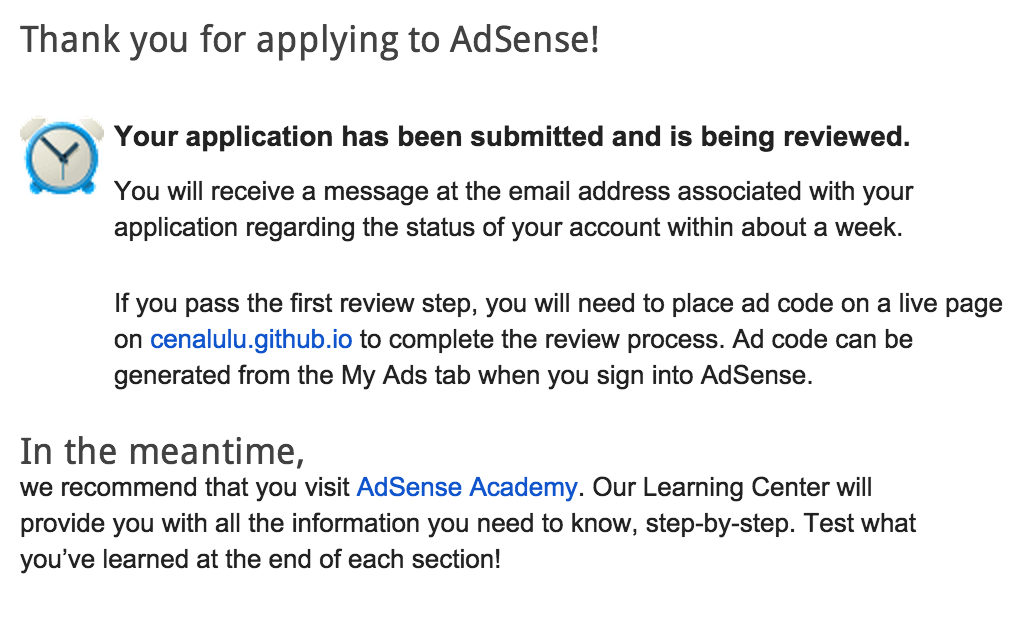
看到下面这张截图时表明注册成功,信息已经提交审核。审核过程比较久,需要等待7-10天
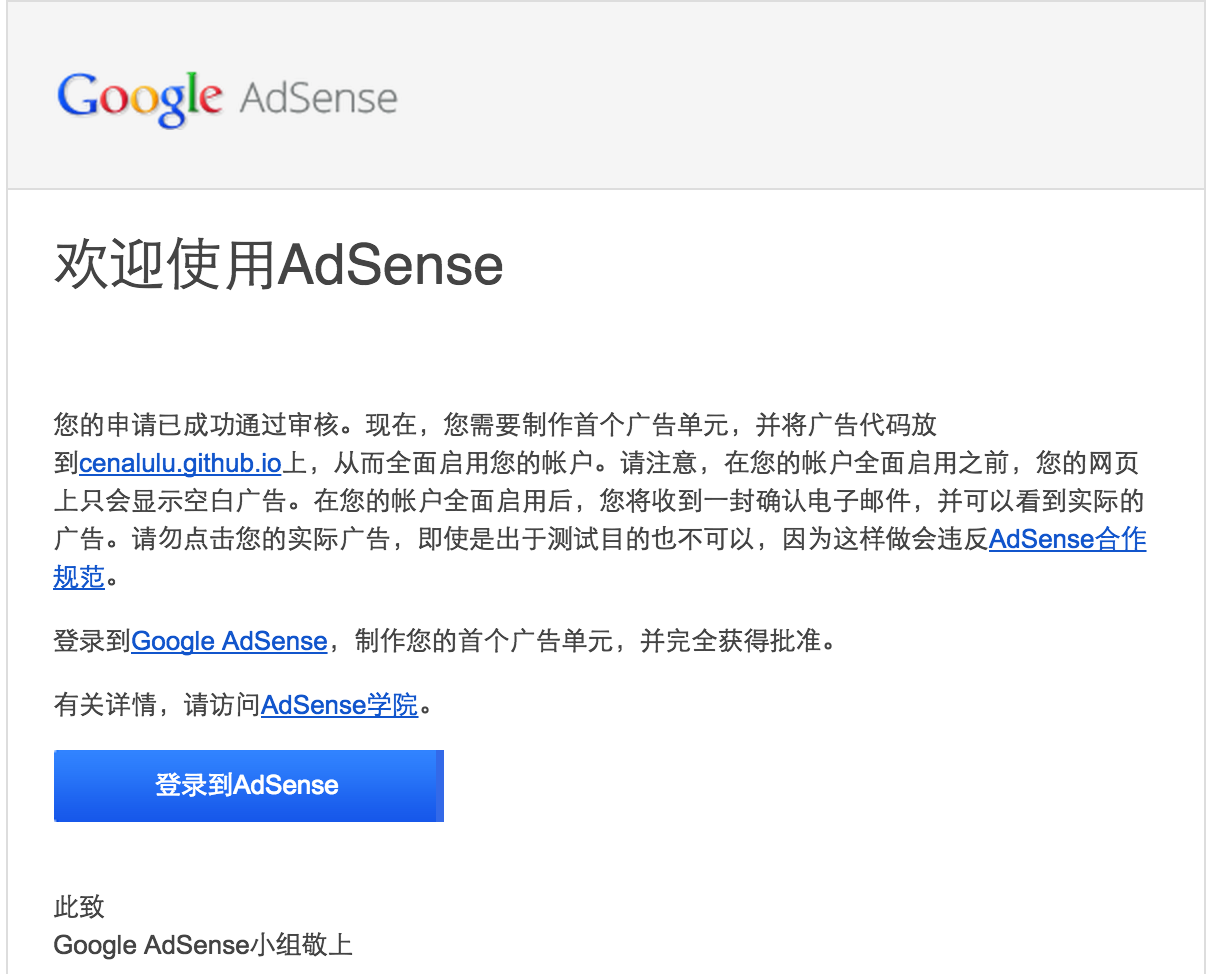
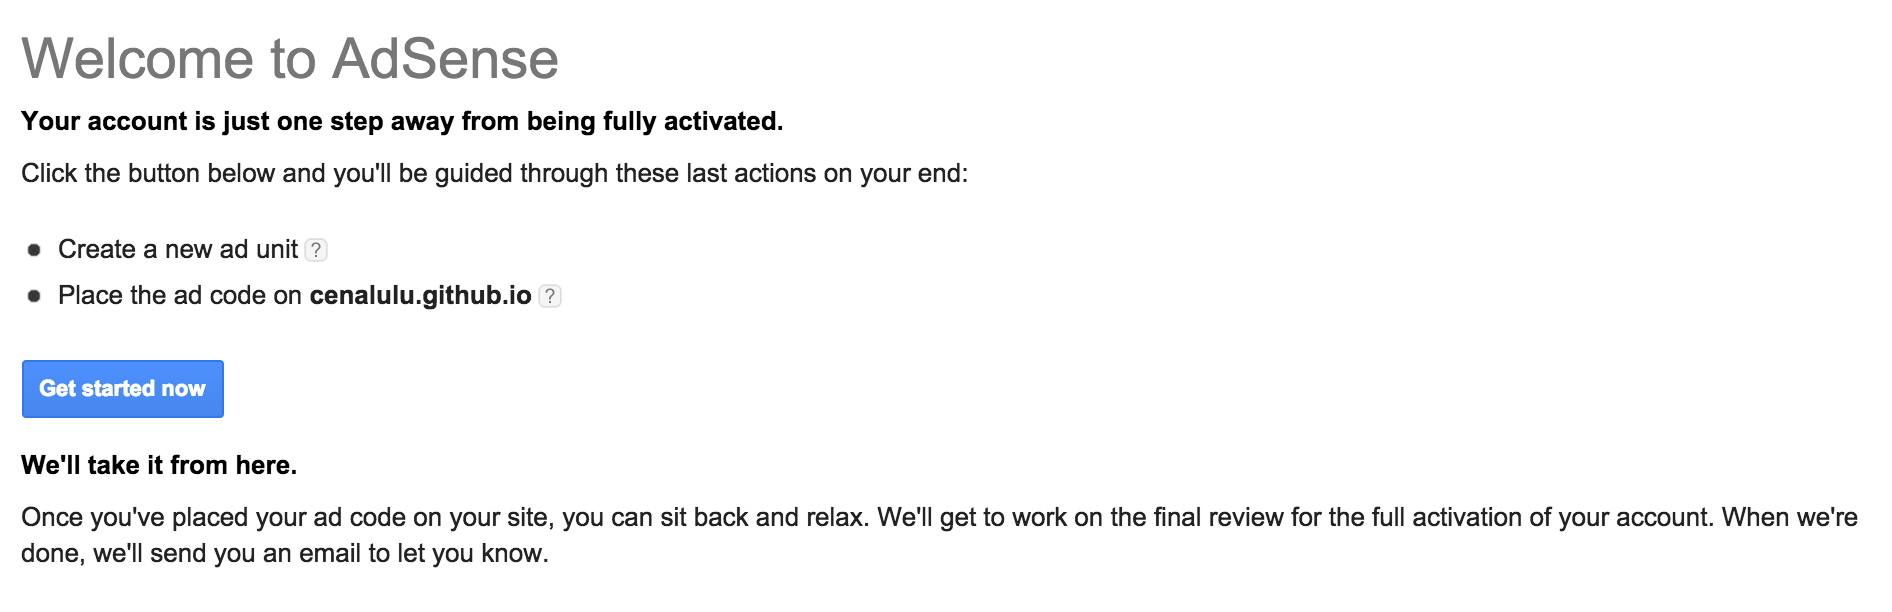
初审通过后在注册环节填写的邮箱会收到一封邮件,见下图。此时,你已经拥有google advertisement账号了。注意:此时,你仅仅可以做一些广告代码的生成,已经和博客代码整合的准备工作。只有当终审通过后。广告模块中才会显示实际广告,并开始带来实际收入
广告代码生成
初审通过后我们就可以进行一些初步的google ads代码生成并嵌入到博客中。当终审通过后,广告就能正式在博客显示。以下是第一次登陆google ads后看到的主界面和生成一段广告代码的步骤截图。
get started now
new ad unit
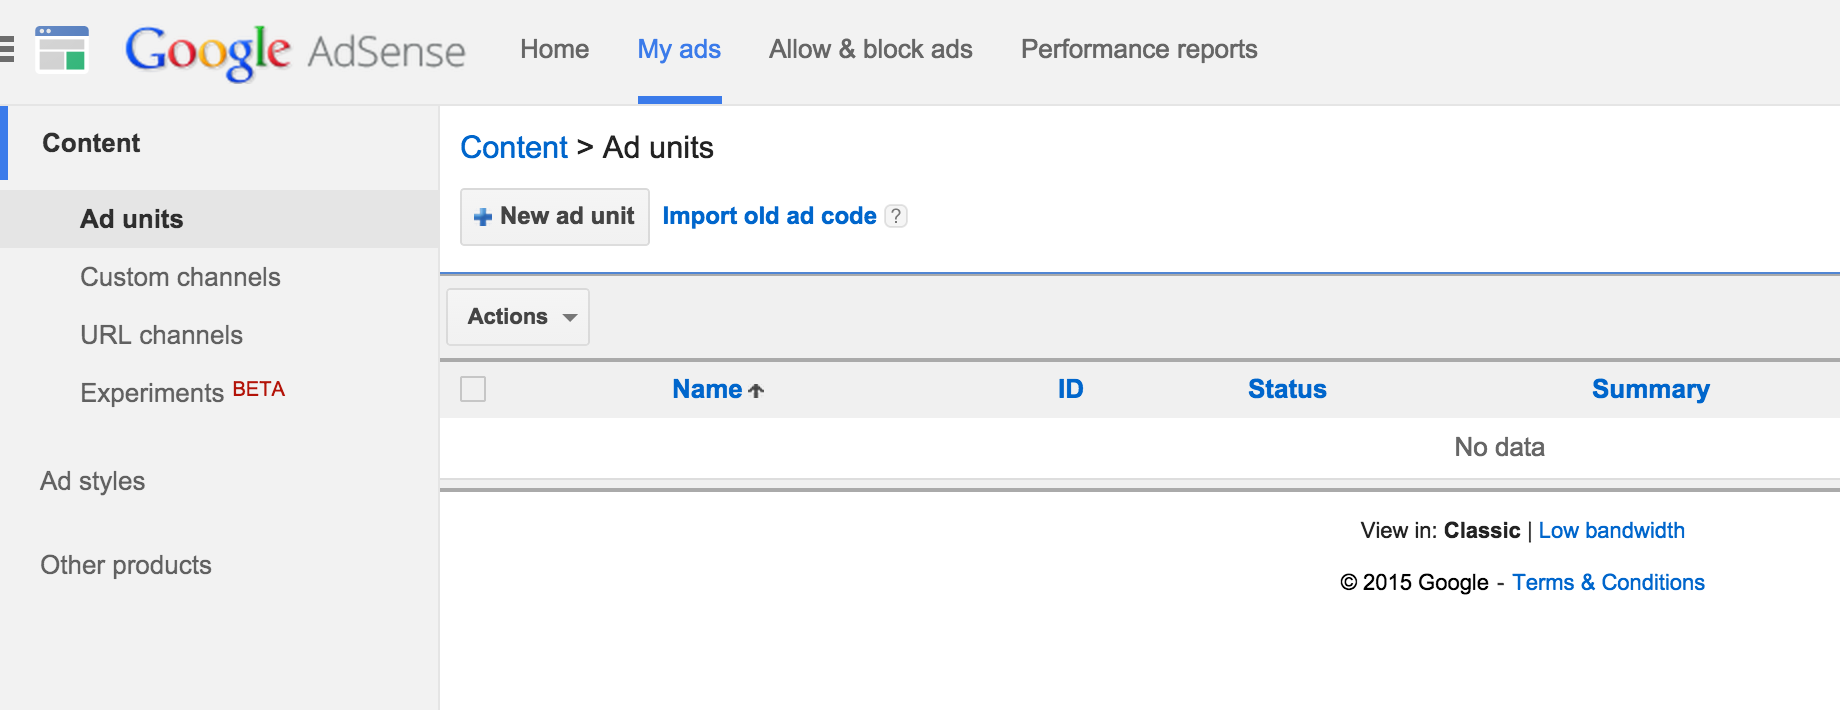
save and get code
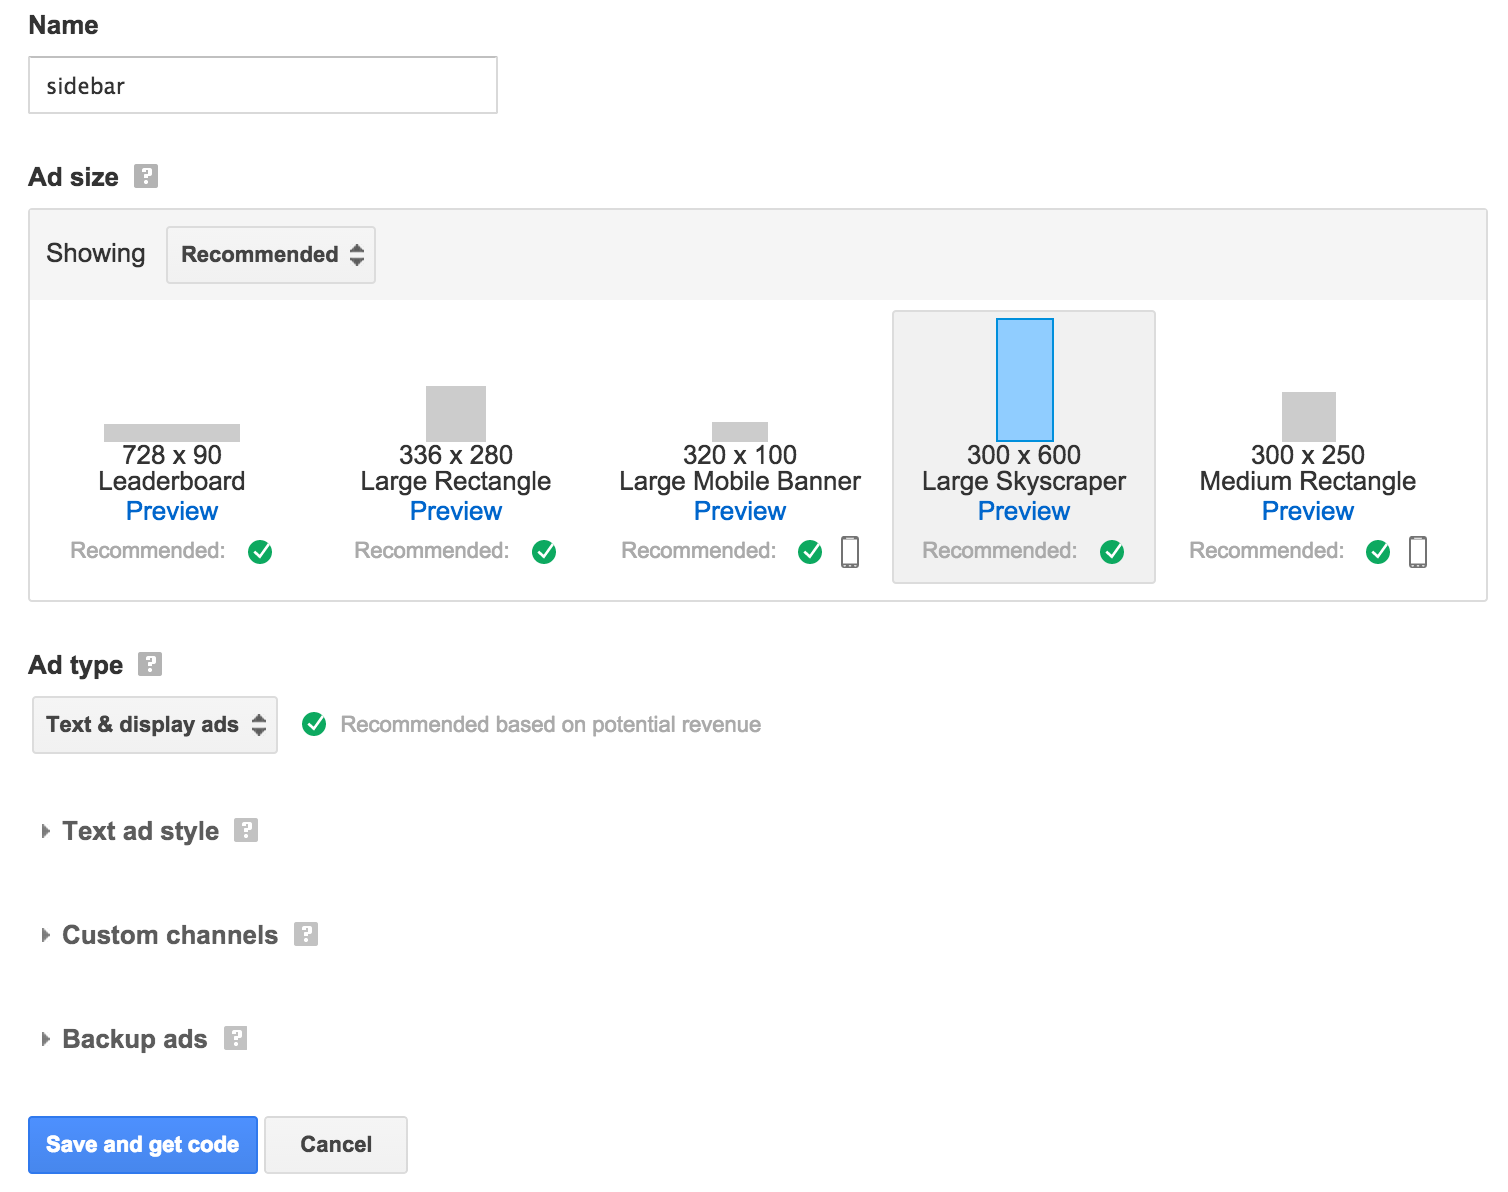
保存后就会得到一段根据刚才配置生成的js代码。其中最关键的两部分是data-ad-client和data-ad-slot。其他剩余部分都是样式信息(也可以按照自己的意愿修改)
<script async src="//pagead2.googlesyndication.com/pagead/js/adsbygoogle.js"></script>
<!-- sidebar -->
<ins class="adsbygoogle"
     style="display:inline-block;width:300px;height:600px"
     data-ad-client="ca-pub-5984522345984184"
     data-ad-slot="9439014959"></ins>
<script>
(adsbygoogle = window.adsbygoogle || []).push({});
</script>
嵌入到博客中
如果你目前的jekyll博客没有使用任何模板,那么可以把上面的js代码黏贴到_layouts/post.html的框架中。如果你根据Jekyll&Github Pages博客模板挑选和配置 的步骤挑选了一款支持google-advertisement的模板,那么你可以简单的在_config.yml中加上以下配置:
  google:
    ad-client: "ca-pub-5984522345984184"
    ad-slot: "9439014959"
Written by cenalulu(卢钧轶)
Updated January 13, 2015
Recommend
About Joyk
Aggregate valuable and interesting links.
Joyk means Joy of geeK