

Mac Mail — Configuring email with Mac OS X El Capitan and macOS Sierra/High Sier...
source link: https://help.dreamhost.com/hc/en-us/articles/115002335172-Mac-Mail-Configuring-email-with-Mac-OS-X-El-Capitan-and-macOS-Sierra-High-Sierra
Go to the source link to view the article. You can view the picture content, updated content and better typesetting reading experience. If the link is broken, please click the button below to view the snapshot at that time.
Mac Mail — Configuring email with Mac OS X El Capitan and macOS Sierra/High Sierra
Overview
This article walks you through the steps for setting up the following versions:
- Mail 11.2 on OS X El Capitan
- Mail 11.2 on macOS Sierra (10.12)
- Mail 11.5 on macOS High Sierra (10.13.6).
Step 1 — Verifying the email user exists in your web panel
Make sure your email user is already set up in the DreamHost panel by going to Manage Email.
You will see your mail user listed on the page: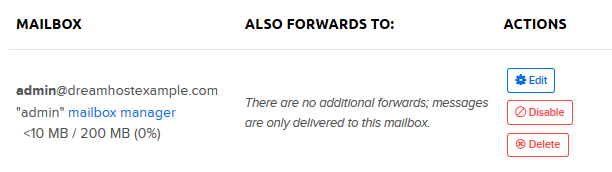
Step 2 — Finding your email server
In the past, it was possible to use mail.example.com to connect (where example.com is your actual domain name). Due to how modern mail clients handle security, this is now NOT recommended as it may throw connection errors. Please ensure you are only using your mail server name when connecting.
It will be one of the following depending on if you're connecting using IMAP or POP:
IMAP hostname: imap.dreamhost.com
POP hostname: pop.dreamhost.com
When you set up the first email address under a domain (that is configured to be hosted with DreamHost), the DreamHost system automatically creates the necessary hostnames and MX records that are required to process email for that domain. Please also note that if this is your first address on a domain, it may take up to 6hrs for those emails to function.
Step 3 — Setting up a new account in Mail
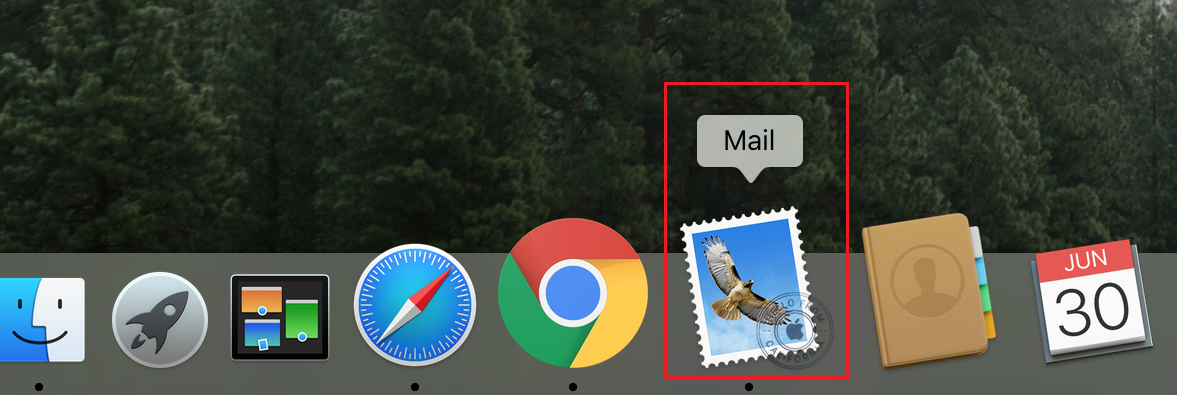
- Open the Apple Mail application by clicking the Mail icon on the bottom dock. You can also click the magnifying glass on the top right and type the word 'Mail' into the search bar.
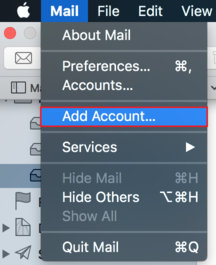
- If you need to add an additional account, click 'Mail > Add Account...'.
- The mail app opens and asks you to select an account provider.
The 'Choose a mail account provider...' page opens: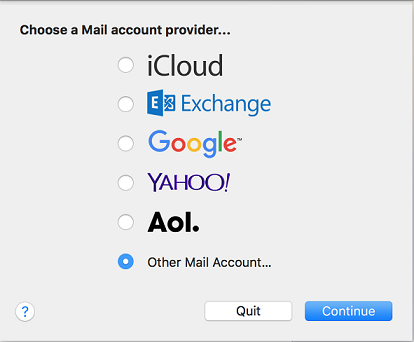
- Select the Other Mail Account… option and click the Continue button.
This example uses the email address [email protected]:
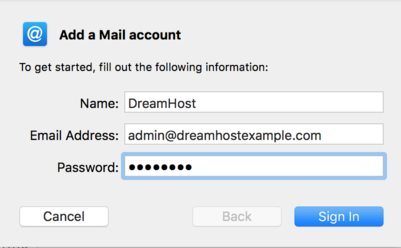
- Enter the following:
- Name: This is how you'd like your name displayed when sending email.
- Email Address: This field must contain the full email address.
- Password: This is the password you set up for the email when creating it in your panel.
- Click the Sign In button when finished.
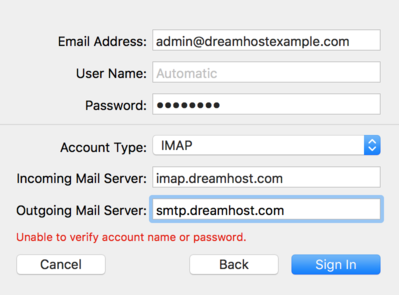 You should receive notification reading the name or password cannot be identified. This is normal due to DreamHost's mail server configuration.
- To fix the error, make sure the following three fields are configured:
- Account Type: Choose IMAP or POP
- Incoming Mail Server: Your mail server name. This is either imap.dreamhost.com or pop.dreamhost.com.
- Outgoing Mail Server: This is smtp.dreamhost.com.
In this example, IMAP is used as the connection as this is the preferred protocol. But, if you wish you can also use POP to connect.
- Click the Sign In button to proceed.
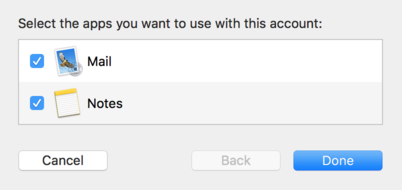
- Choose which apps you'd like to associate with this account and click Done.
Your new email address is now set up and ready to use. You can send a test message to confirm it's working properly.
Troubleshooting certificate mismatch errors
View the following article for instructions on how to resolve any SSL certificate mismatch errors:
See also
Did this article answer your questions?
Recommend
About Joyk
Aggregate valuable and interesting links.
Joyk means Joy of geeK