

How to handle AppData in MSI using Custom Actions
source link: https://www.advancedinstaller.com/handling-appdata-custom-actions.html
Go to the source link to view the article. You can view the picture content, updated content and better typesetting reading experience. If the link is broken, please click the button below to view the snapshot at that time.
How to handle AppData in MSI using Custom Actions
Written by Alex Marin · April 8th, 2021
Many applications keep settings or configurations in files that later get stored in per-user based locations, such as %appdata% or %localappdata% folders.
 Find out more about data storage in our AppData, LocalAppData,ProgramData Explanations, Differences, Use Cases article.
In this article, we will share a good practice to handle appdata that could be helpful for all IT Pros.
To get started, first we will talk about what is included in a cached MSI, and then we will go through our recommended practice of how to place application data within the MSI.
What does a cached MSI include?
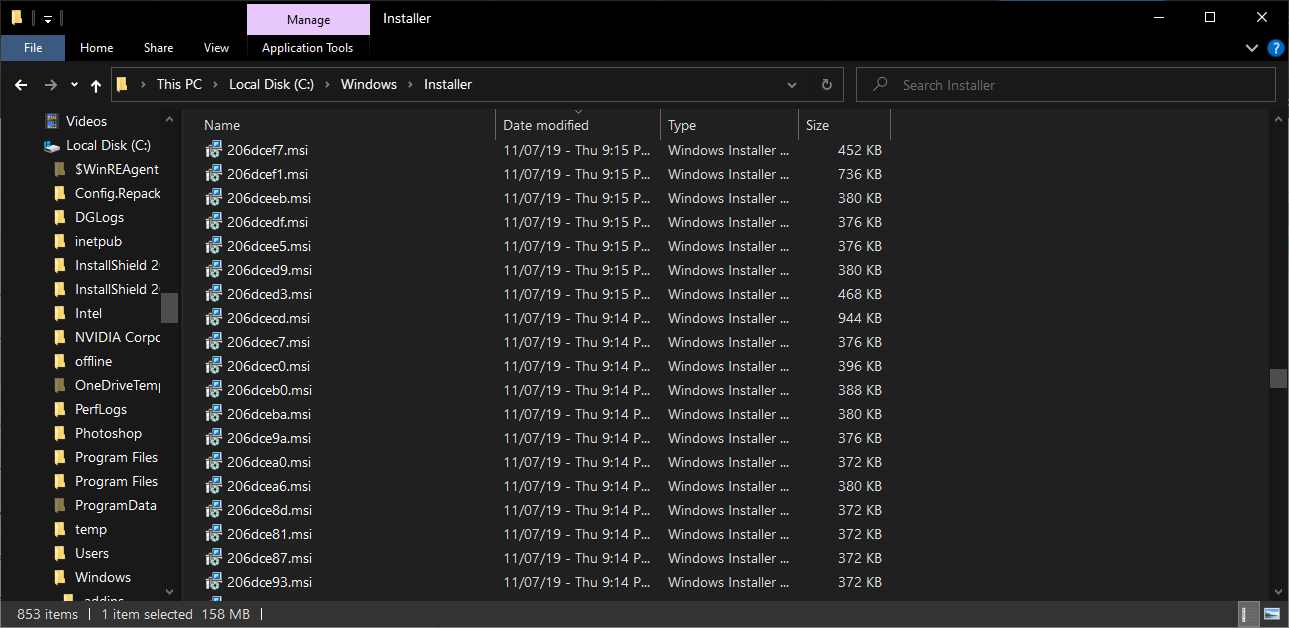
When an MSI gets installed on a machine, Windows Installer creates a cached version of it (which can be found in C:\Windows\Installer). We talked more in-depth about this in our article titled "Do not delete your Windows Installer folder".
You will find that the cached MSI only contains the data about Custom Actions, Registry, INI placed from the INI table, File Hashes, etc.
Cached versions of the MSI are significantly smaller than the actual MSI, as you can see below.
If you place your files into the Application Data orLocal Application Data folders and then delete the source MSI (during the repair or self-healing process), the Windows Installer will ask you for the location of the source media.
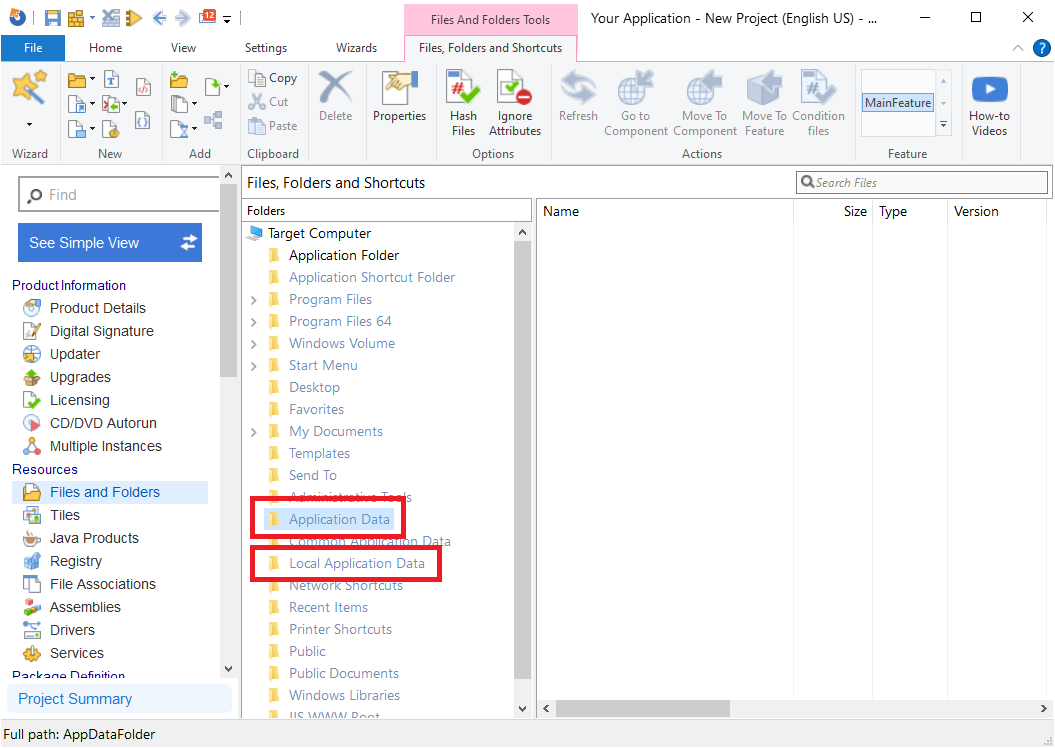

To avoid this from happening, the IT Pros community reached a common workaround that you can implement in the MSI - let's see what it is.
What is the recommended practice to handle Appdata in MSI?
A best practice to handle appdata is to create a folder in the MSI install directory (for example: C:\Program Files\My Application) containing all the files, and implement a Custom Action to copy the files in the right location during repair or self-healing.
So, instead of placing the files in the Application Data or Local Application Data folders, you would use the install directory.
Now, let’s have a look at how you can achieve this with Advanced Installer.
Let’s assume the following scenario:
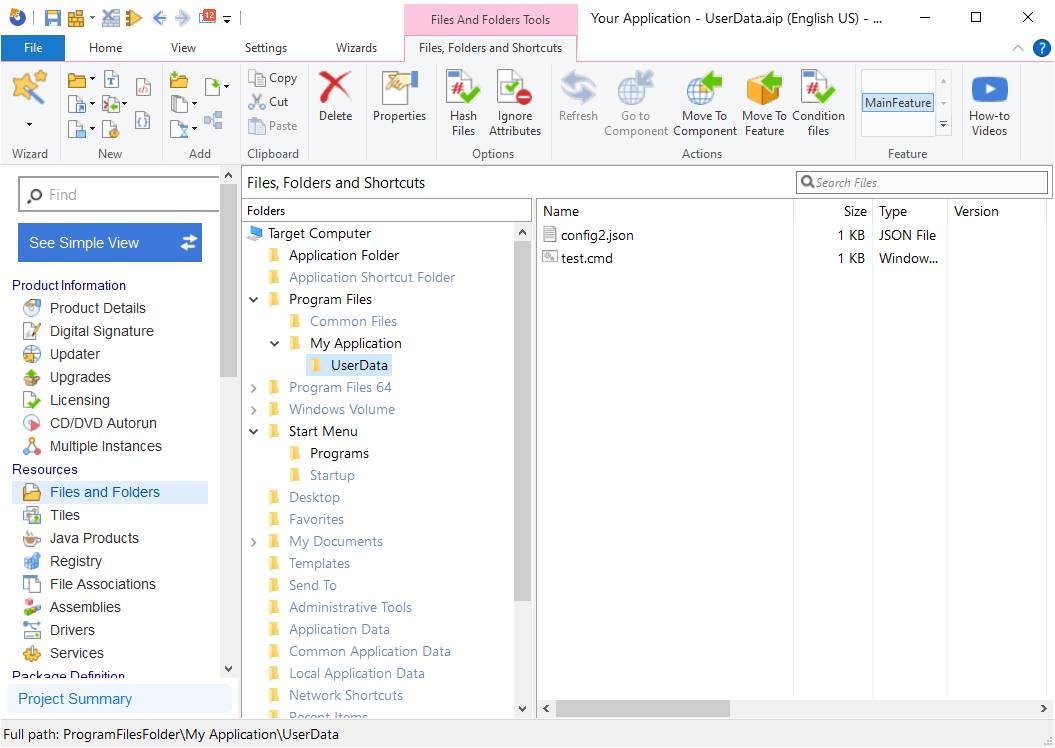
- We have an MSI with the installation directory in C:\Program Files\My Application.
- It includes an advertised shortcut to an EXE in the installation directory.
- We need to place two files in %appdata%\My Application.
To achieve that, we need to create a new folder in C:\Program Files\My Application called UserData and place the files there -- instead of placing the files in the Application Data folder.
Once that's done, we have to generate a Custom Action to copy our files from C:\Program Files\My Application\Userdata to %appdata%\My Application during the application repair. To do this, perform the following steps:
1. Navigate to the Custom Actions Page.
2. Add a Run PowerShell inline script with a sequence.
3. The following code will create a My Application folder in %appdata% and copy the files from C:\Program Files\My Application\Userdata.
 Check this post to find out more about getting a property value into a script.
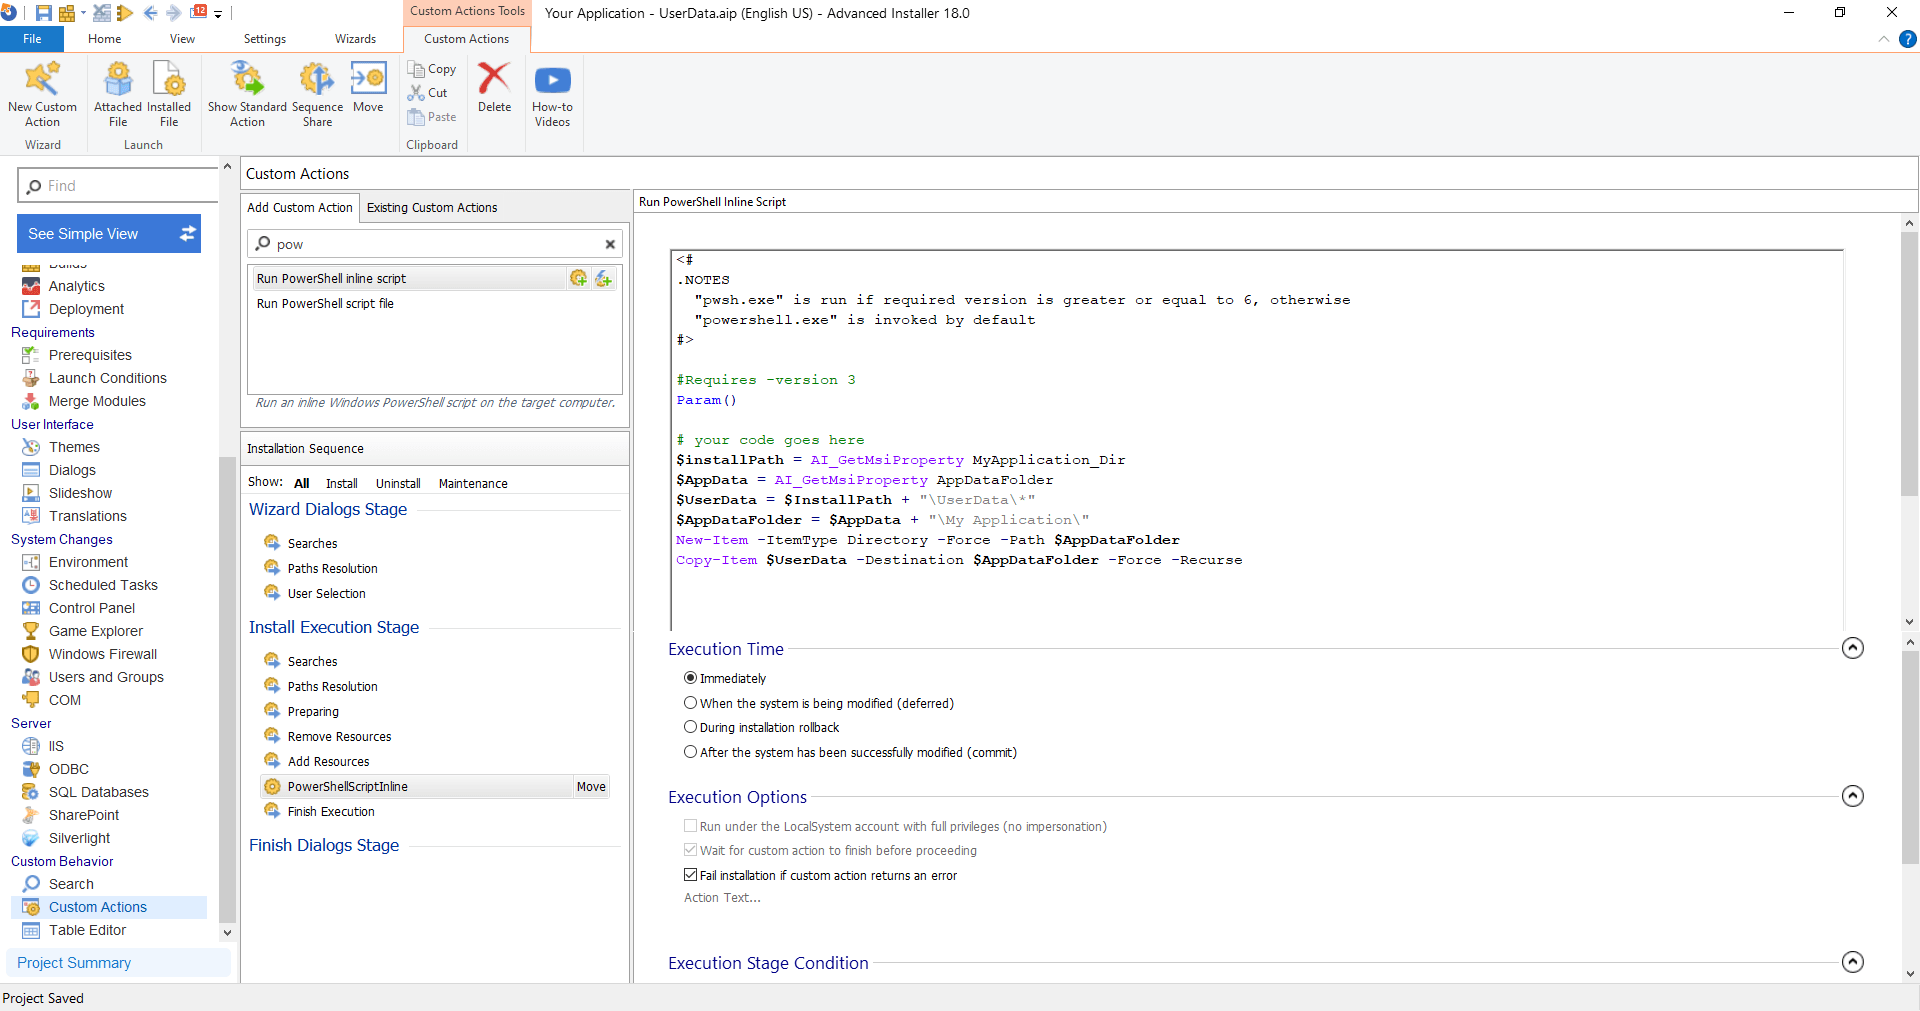
4. Set Execution time to Immediately.
5. The Execution Stage Condition must be set to run on Install and Maintenance and the Condition must be set to REINSTALL<>"".
6. Save and Build the package.
In our case, we have an advertised shortcut, so for the self-healing process to start, we need to delete the source media and start the shortcut after we install the MSI.
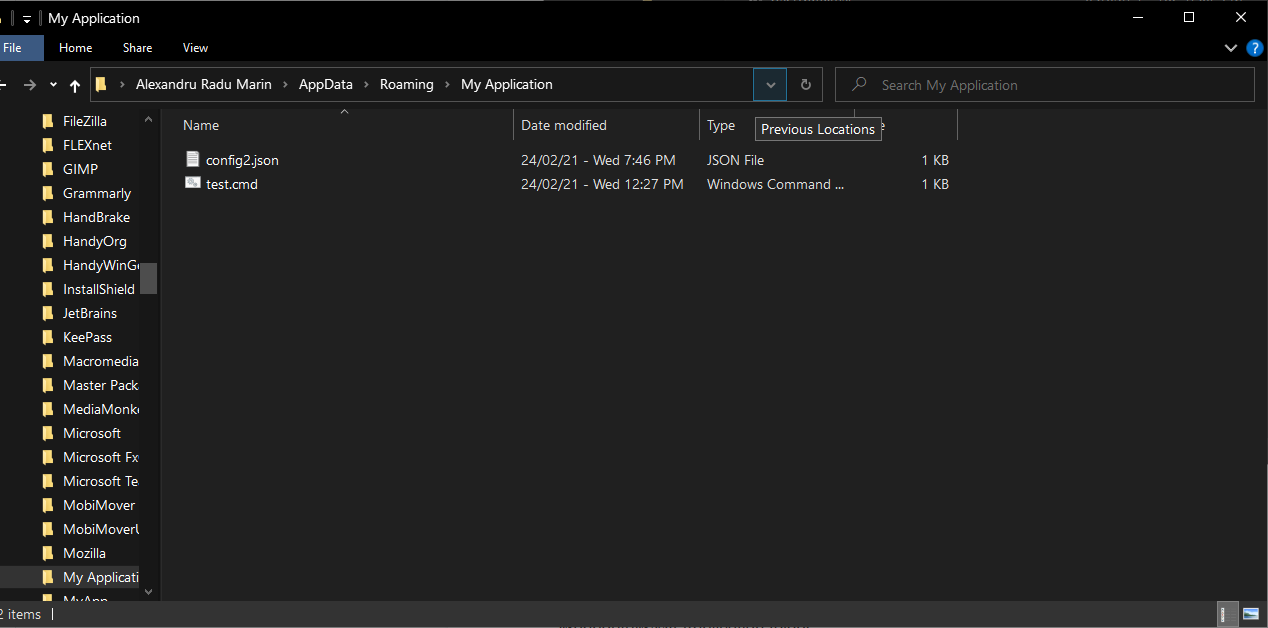
Since our user files are stored per-machine and we used a Powershell script to copy them, the MSI will not ask for the source media again -- and the files will be copied successfully in the %appdata%\My Application folder.
Conclusion
If you are an IT Pro, creating a folder in the MSI install directory and using a Custom Action to copy its files in the right location during the repair or self-healing process is a must-do.
You should never rely on the fact that an MSI is located in the machine.
Keep in mind that if it gets deleted and it contains userdata in it, it will give us an error when the Active Setup and Self healing mechanisms start.
Recommend
About Joyk
Aggregate valuable and interesting links.
Joyk means Joy of geeK