

Top 9 Figma plugins for the creatives
source link: https://uxplanet.org/top-9-figma-plugins-for-the-creatives-701894271275
Go to the source link to view the article. You can view the picture content, updated content and better typesetting reading experience. If the link is broken, please click the button below to view the snapshot at that time.
Top 9 Figma plugins for the creatives
Plugins helpful in creating and editing graphics within Figma instead of opening Adobe CC

Figma is undoubtedly the best tool there is for UX design and in this article, I outline some of the best plugins UI designers can use to create illustration/graphic design assets within Figma instead of opening Adobe CC. Hoping this article could reduce the number of clicks, speed up your workflow and potentially avoid the hassle of importing assets back on Figma again. And, yes — all these plugins are free.
In the list below, I have mentioned the intent and the solution plugin. Plugins are underlined and have been linked if you want to download them right away. So, here goes:
1. Remove Background from an image — ‘Remove BG’
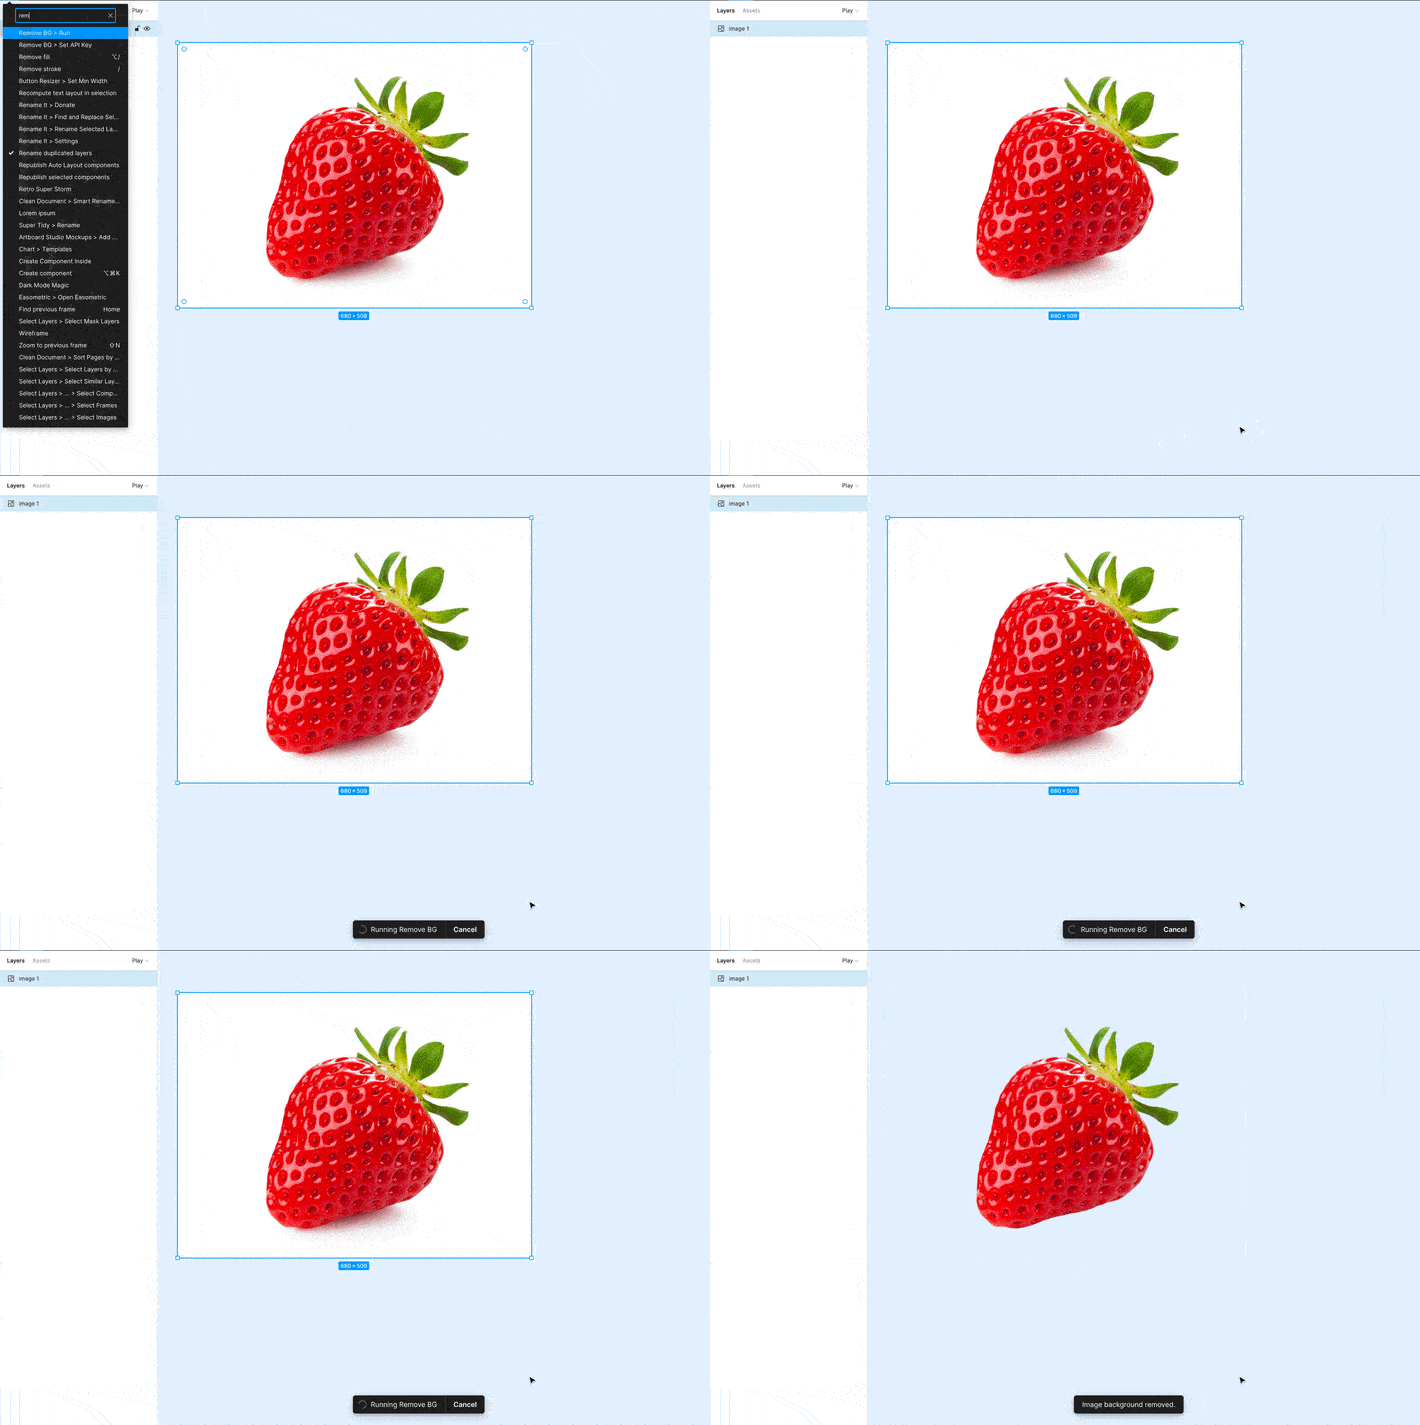
Ideally, to remove the background of any image you may have to edit the image in Photoshop. An alternate method I have used within Figma in the past is to select the image and use the ‘multiply’ option from the Layer menu to make the background disappear, and this is not always effective. But Remove BG is a killer plugin that will remove the background of any image with just one click, all within Figma.
2. Convert images into vectors —’ Image Tracer’
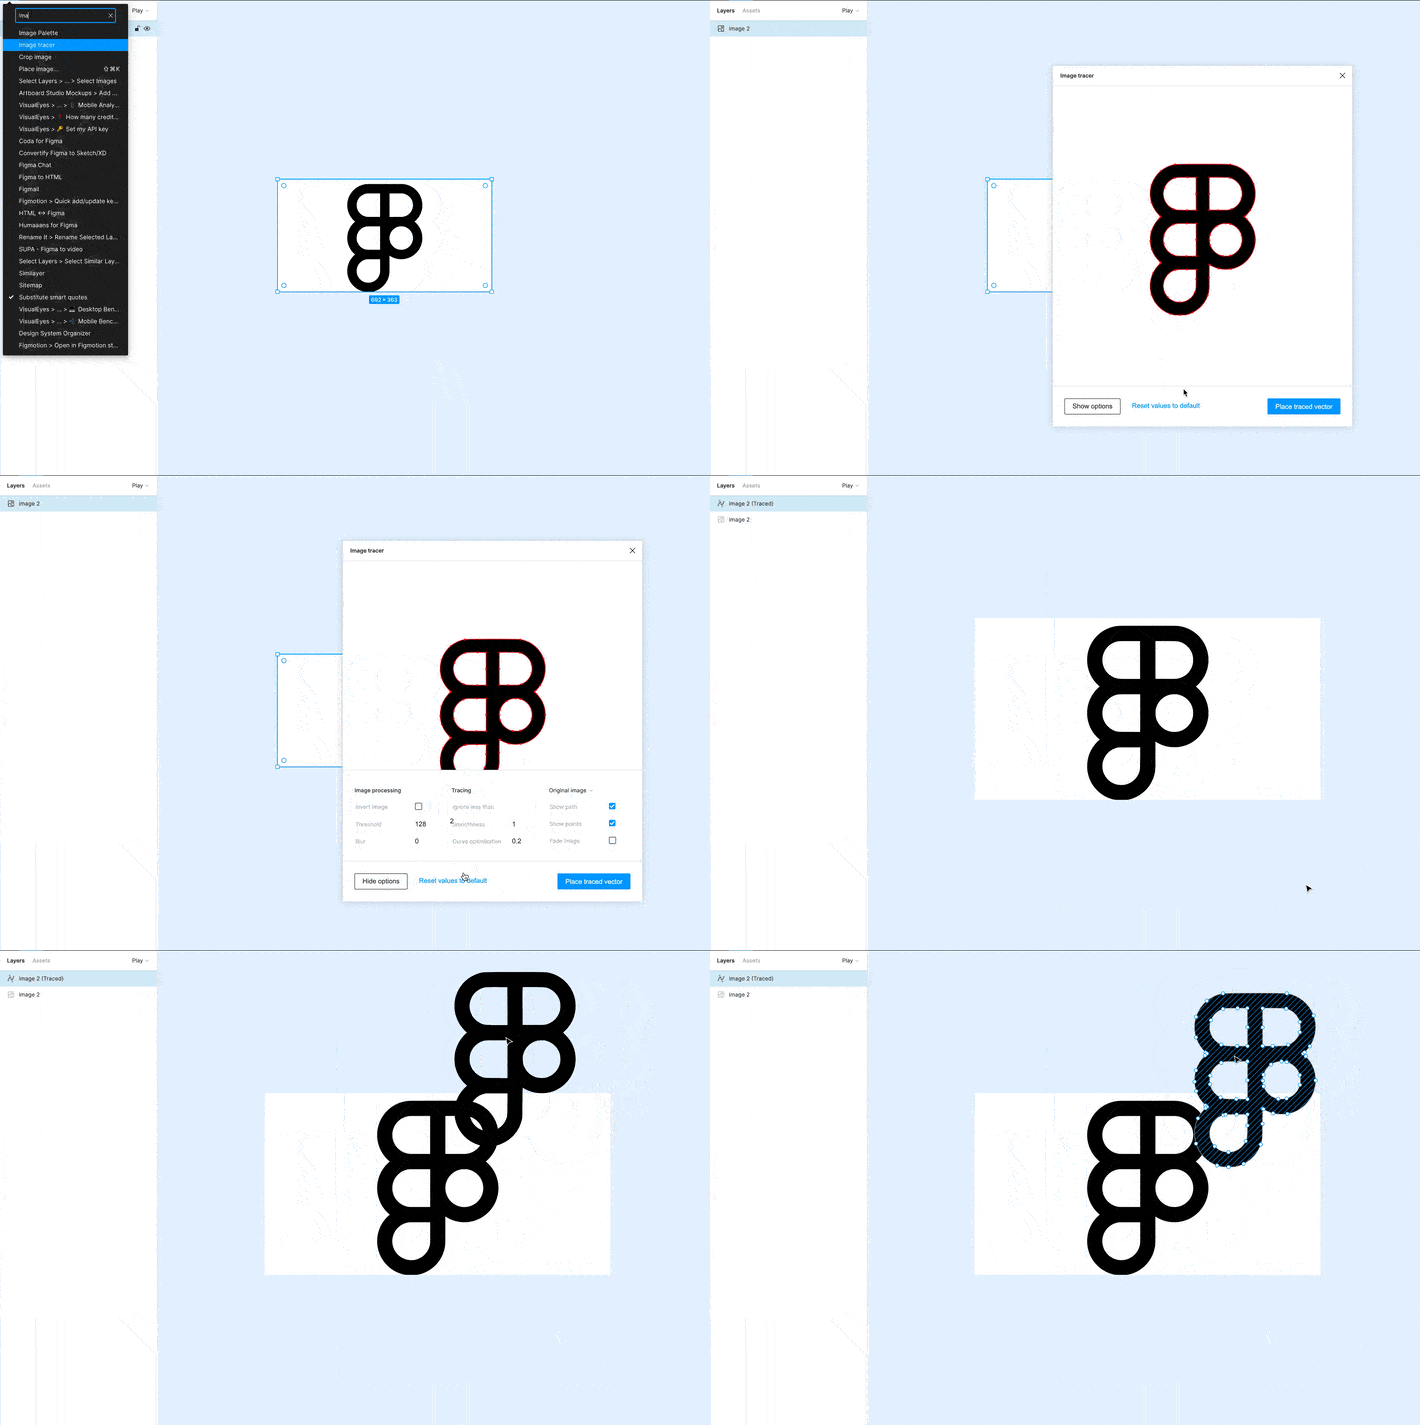
You probably take your images to Illustrator to trace them, don’t you? But you can stop doing that. With Image Tracer, you can convert your basic black and white bitmap images into vectors. I think this is extremely useful when you have an image and want to convert it to an icon. When you run the plugin, you will notice the console has options to help you edit the curve smoothness and optimization as well.
3. Create isometric shapes — ‘Easometric’
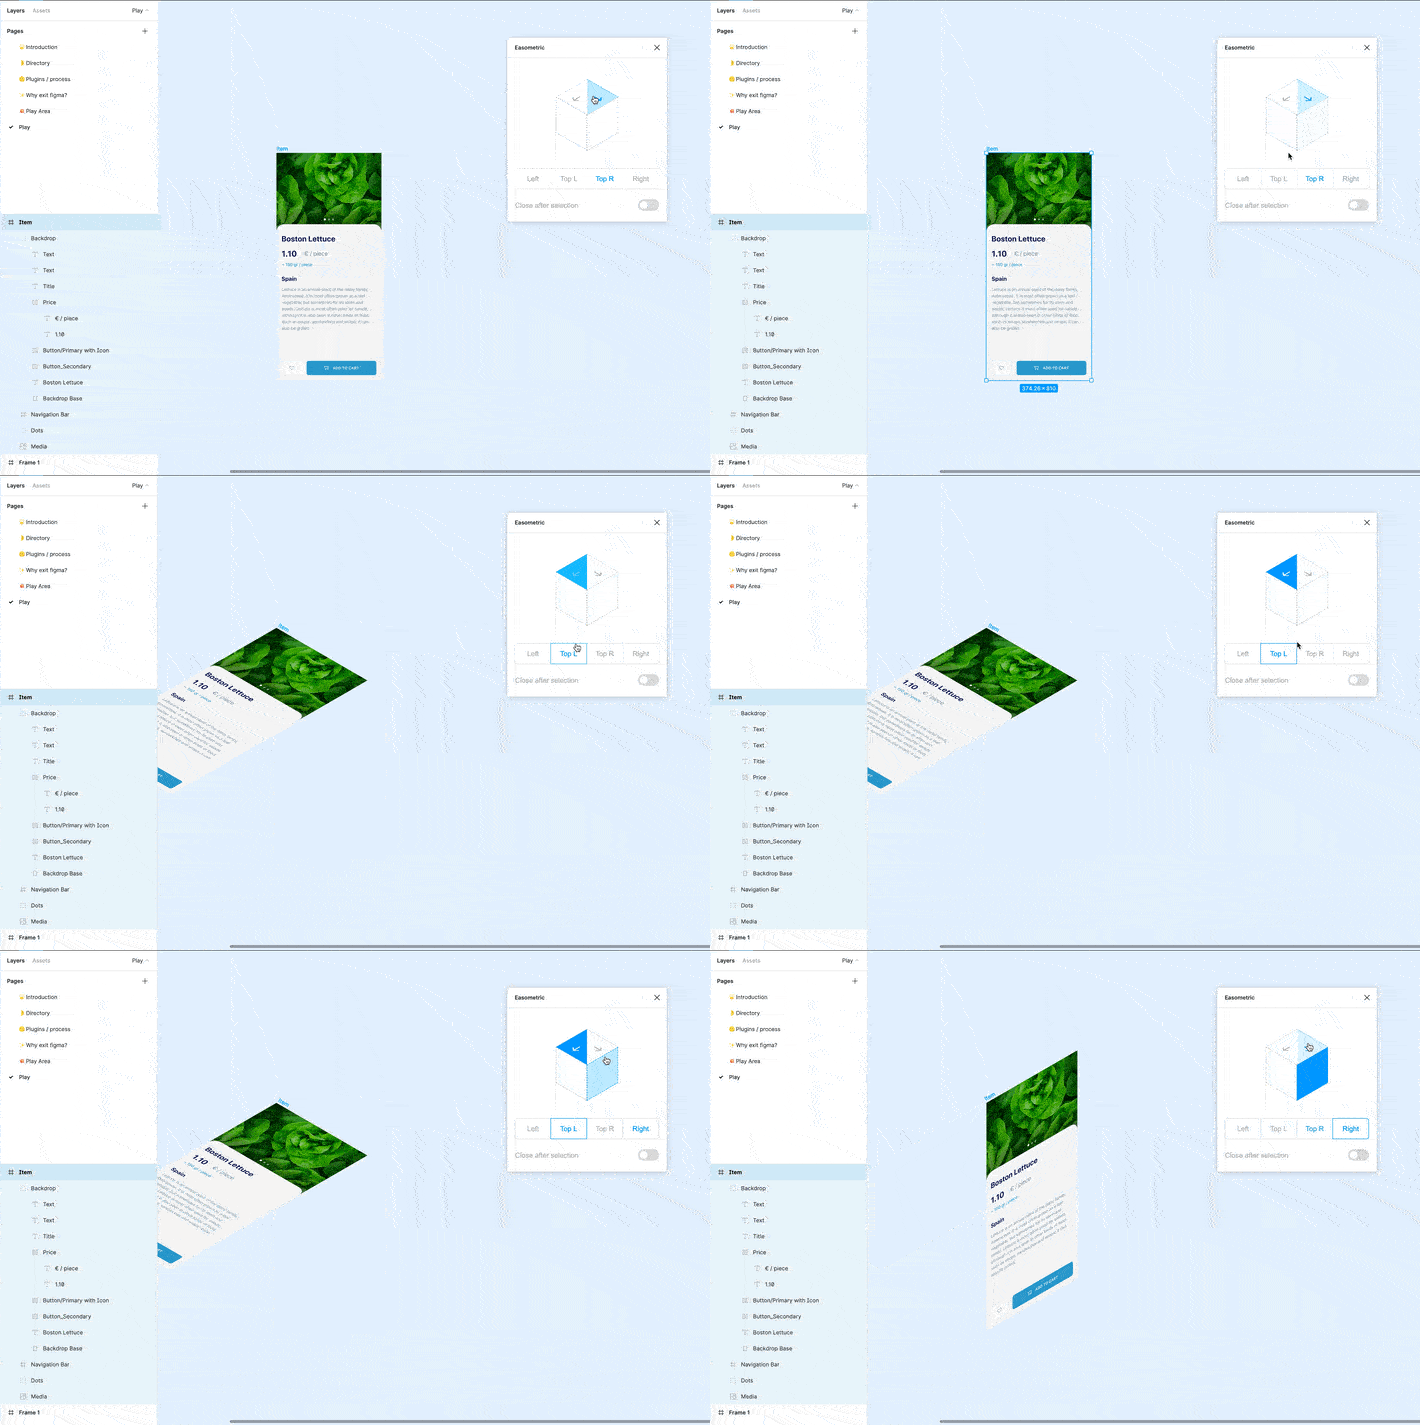
Easometric as the name suggests will convert your layers into isometric layers. This is an absolute time saver, without which you may manually adjust the perspective isometric rendering on Illustrator. The console is intuitive and you can select the perspective you wish to apply with a single click.
SkewDat and Mockup are a couple of other plugins I’d like to mention here for those of you looking to skew or distort or your layers.
4. Create 3D shapes — ‘Oblique’
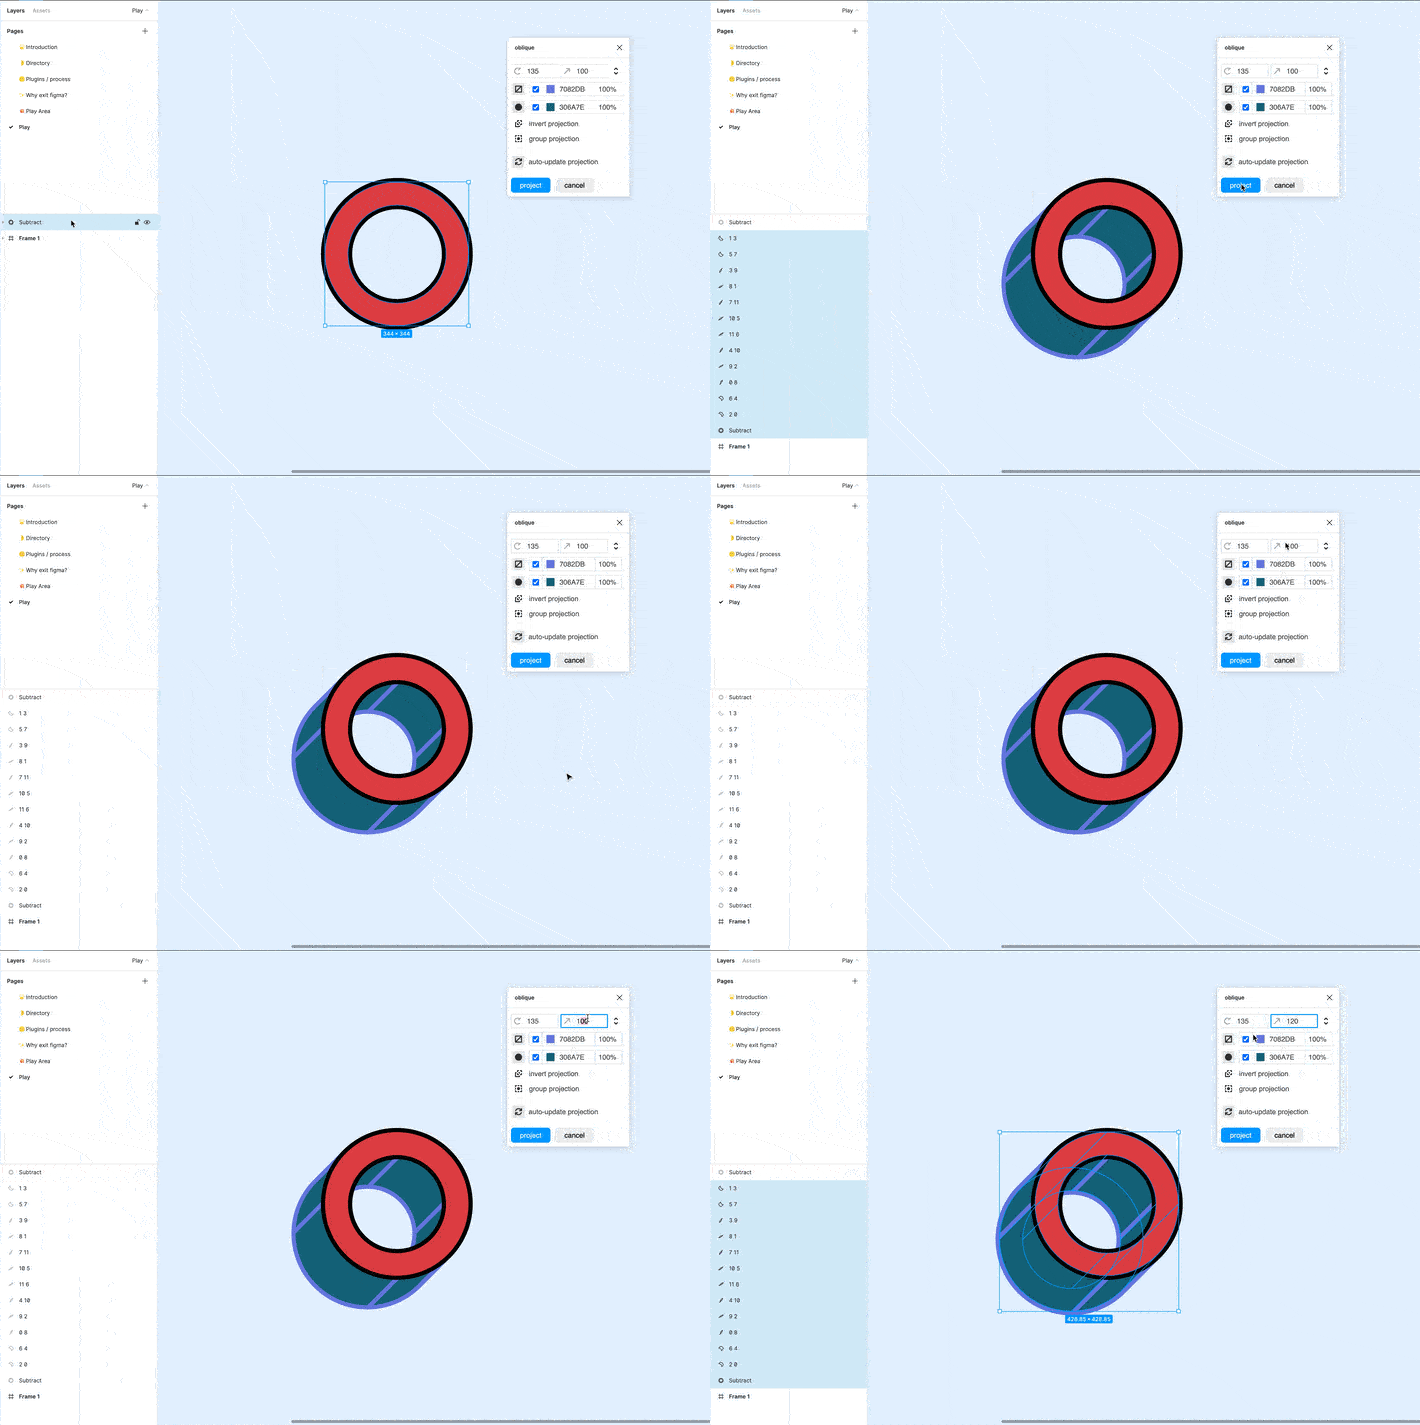
Oblique is an excellent plugin that helps you create projections, shadows, add depth and helps you extrude your layers all within Figma. The console is simple and helps you set projection angle, distance and helps you select colours for the outlines and fills.
Roto is another plugin that can help you create extrusions with perspective, and the console has a live preview to determine the output.
5. Create animations — ‘Motion’
Motion is fairly simple to use if you are familiar with animation tools such as Principle or After Effects. It has a timeline view of object properties that you can individually control and export as GIFs, Frames, Sprite or CSS. You can refer to the below article by Pavel Babkin to learn more about ‘Motion’.
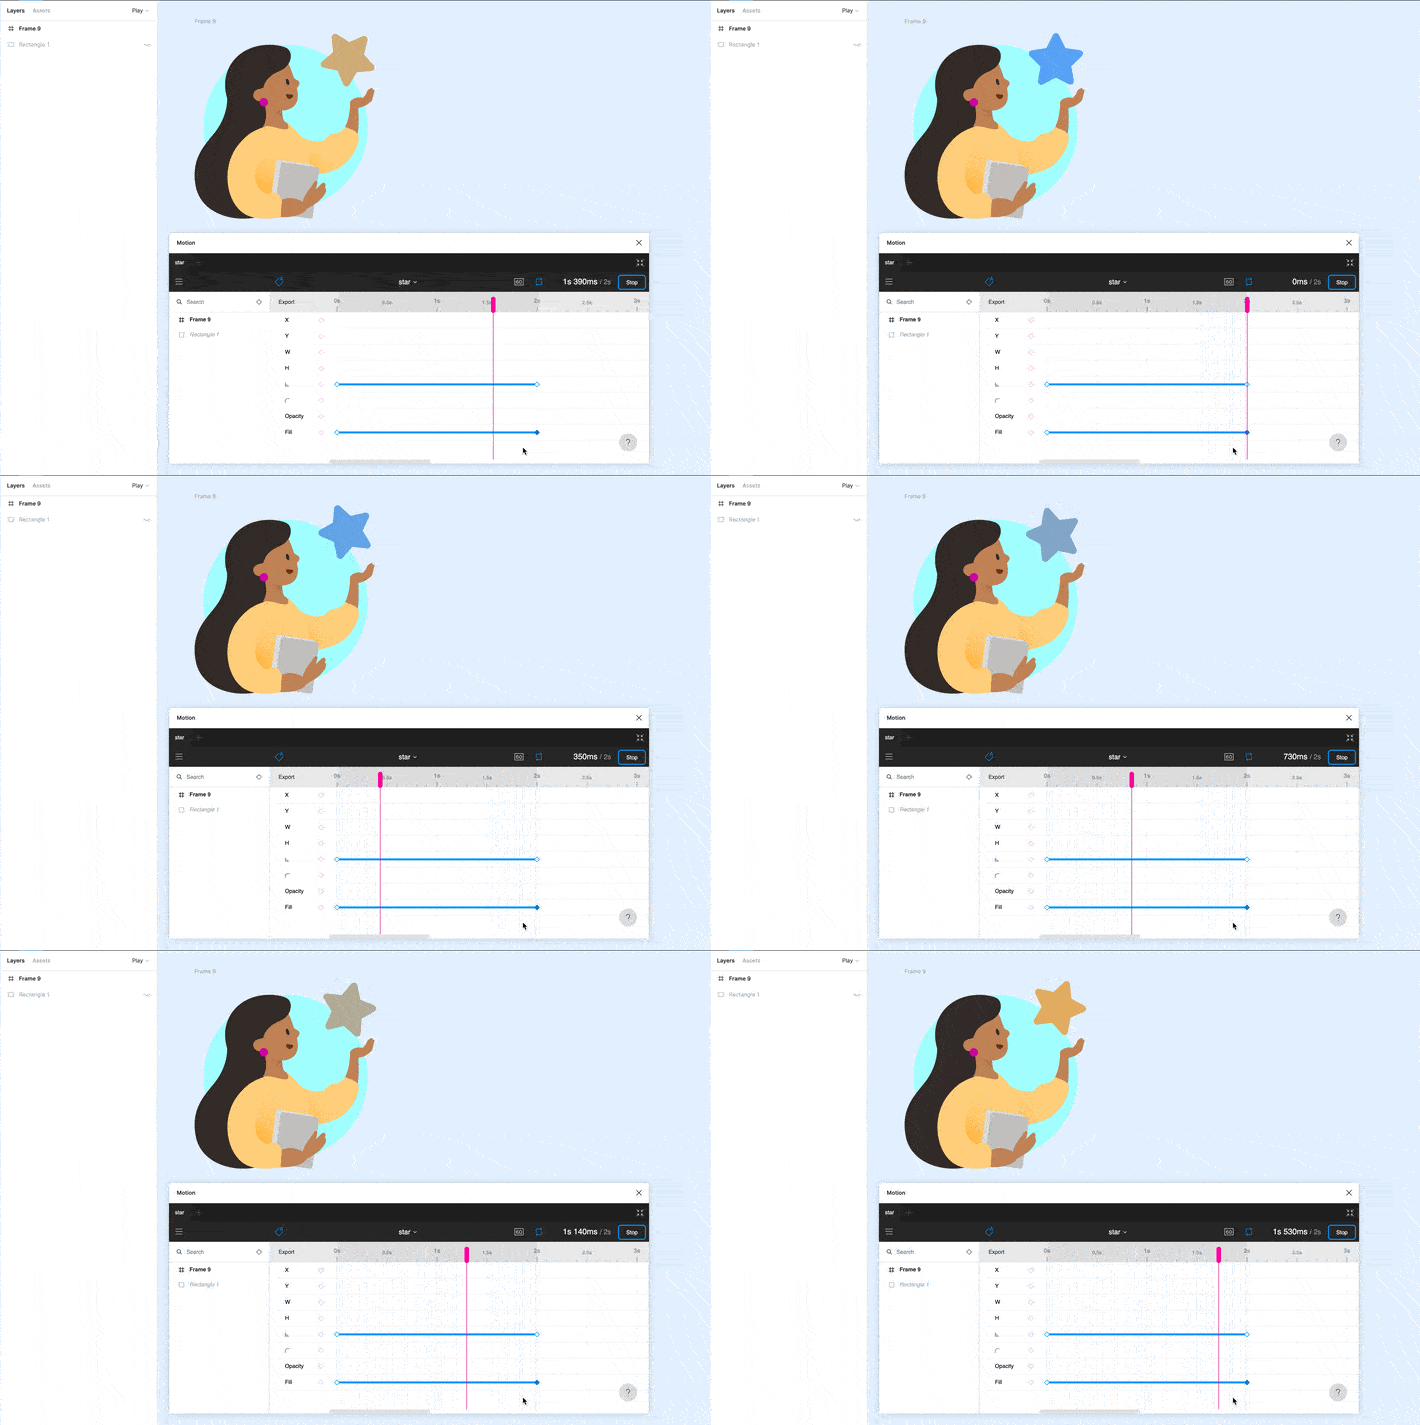
Figmotion is also another plugin that helps you do the same, but it also helps you export your animations to CSS or JSON which is great for developer hand-off.
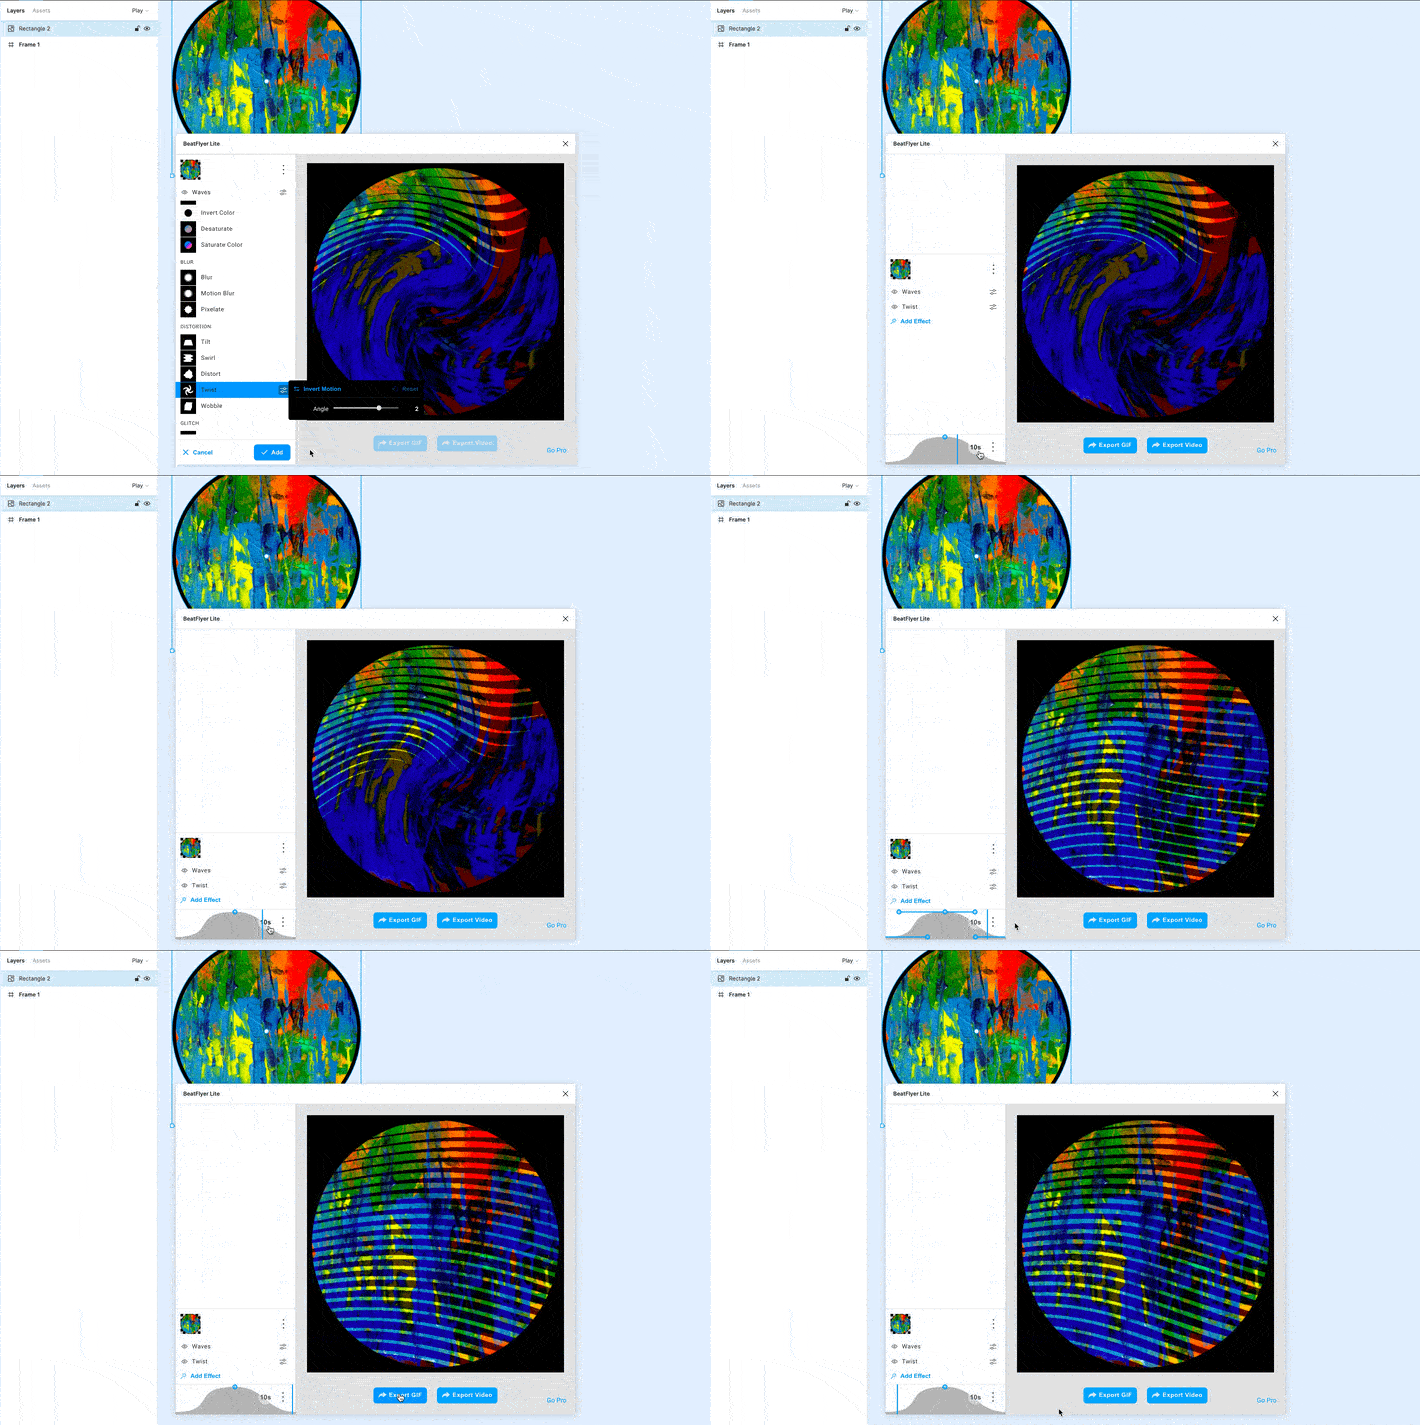
6. Create motion effects —’BeatFlyer Lite’
With BeatFlyer Lite you can add cool effects to your Figma layers. The free version has an enough number of effects such as zoom, vibrate, glow, zoom blur, masking and tens of other effects. The console is simple with all the effects listed on the left and you can individually control the properties of the effects animations by tapping on the settings icon. The home screen of the console enables you to manage the speed and timing apart from providing you export options.
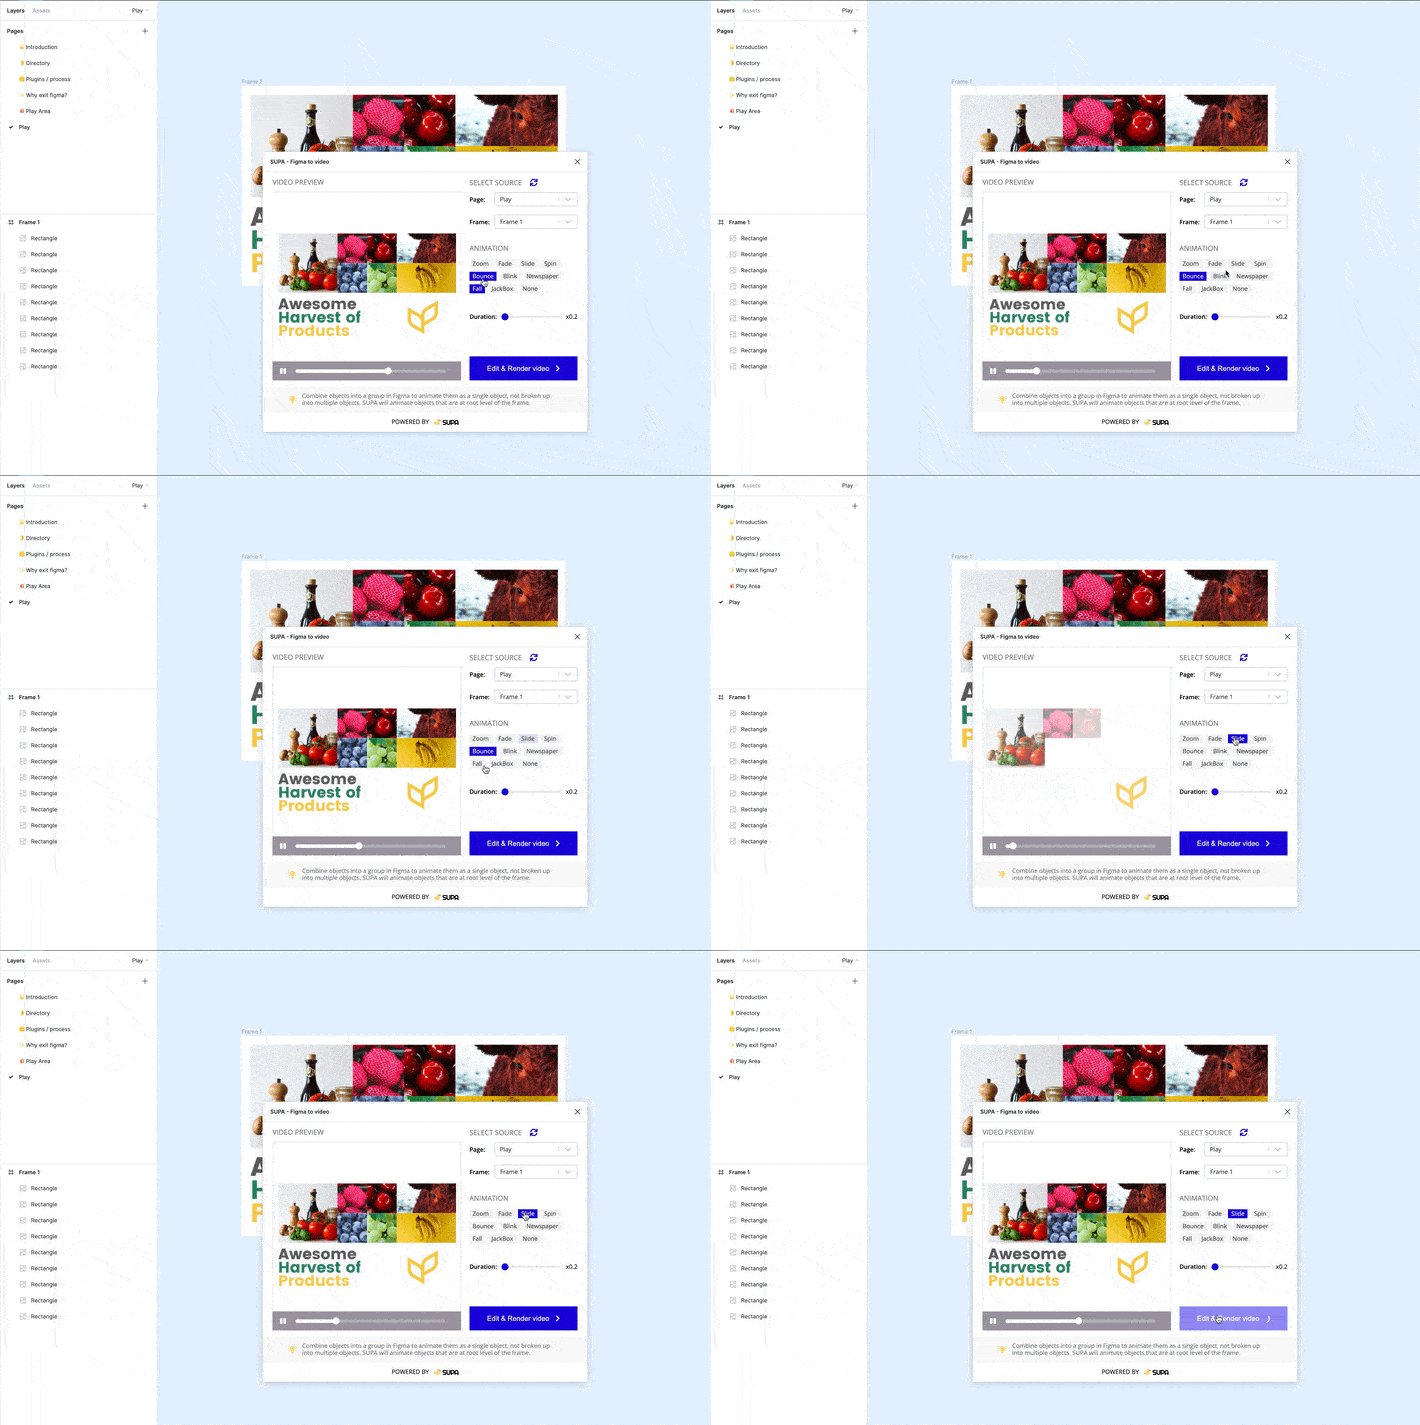
7. Convert your designs to Videos — ‘SUPA — Figma to Video’
Supa — Figma to Video is an amazing plugin to add simple transitions to layers in your art board, and to convert your designs to animated videos. The console is easy to use and you can choose animation presets that can applied to your designs which can be further rendered as videos.
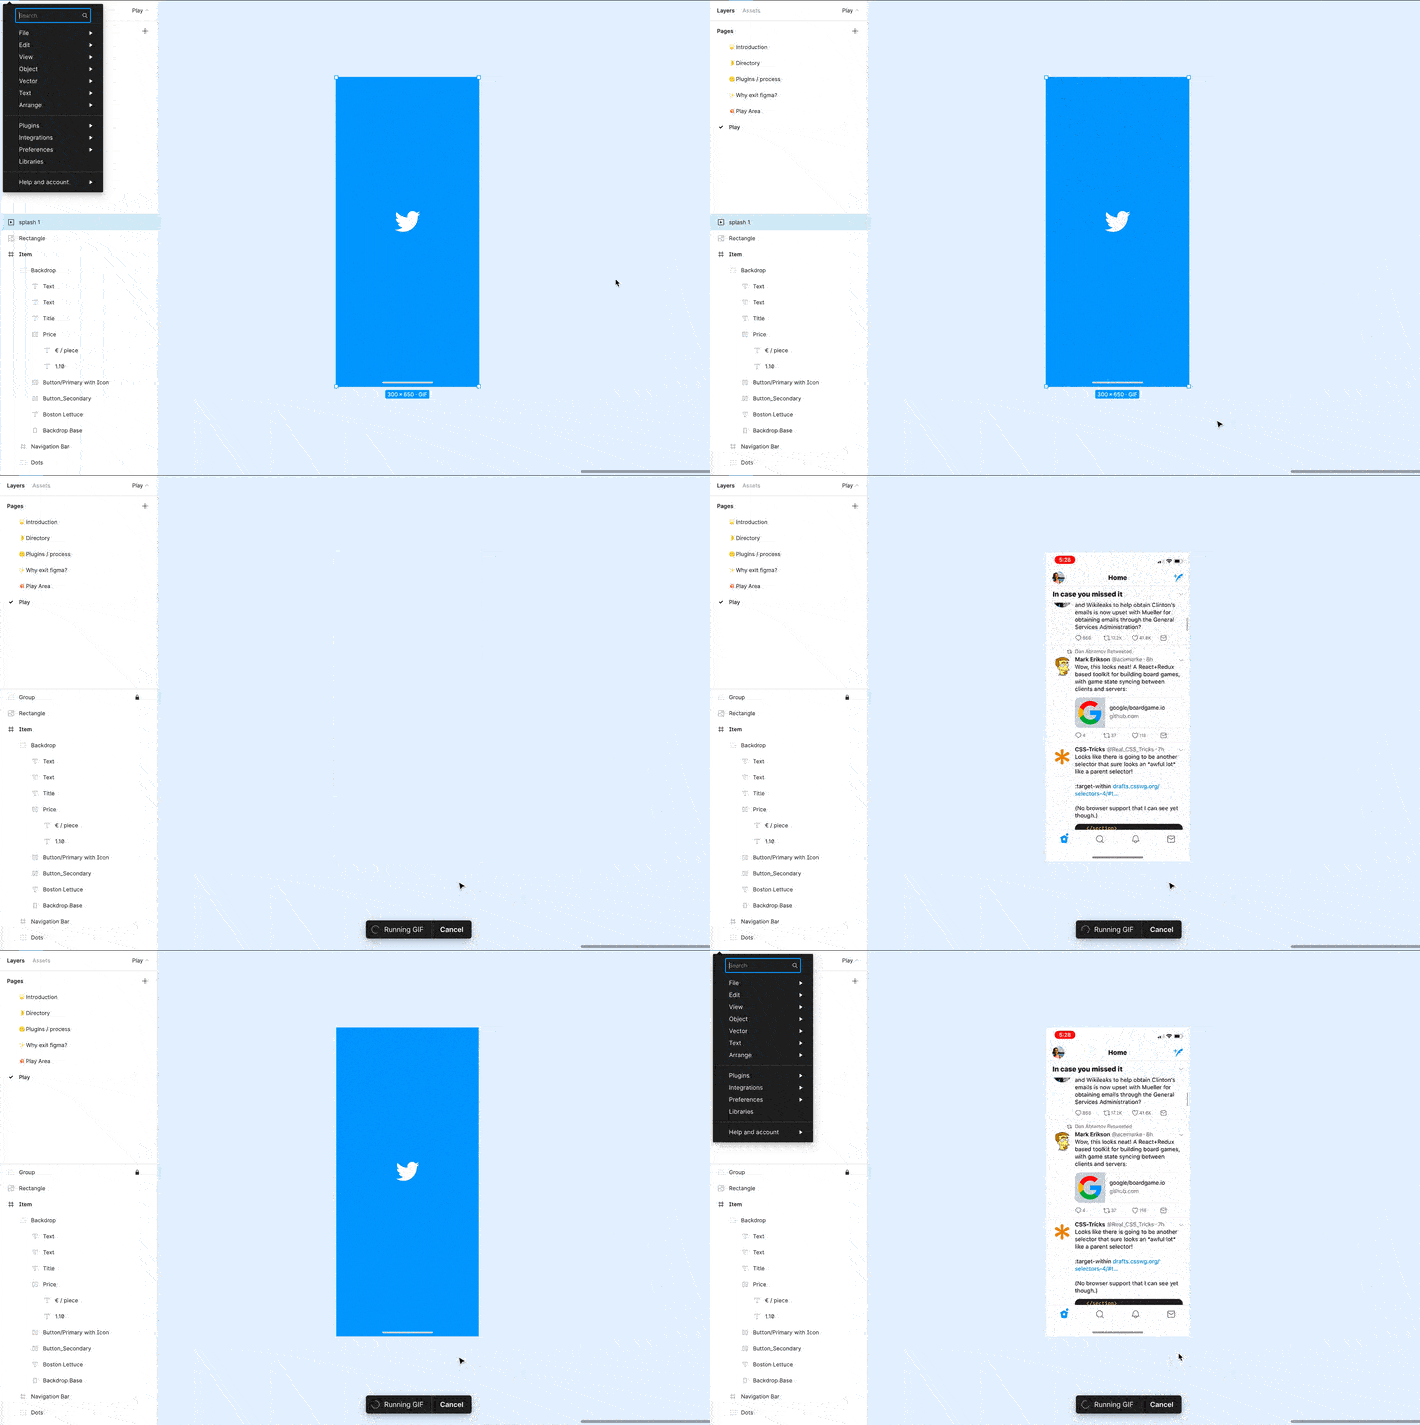
8. Play & Export GIFs — ‘GIF’
By default, even if your GIFs or animated objects look static on the editor screen and Figma supports GIFs in the prototype mode. But, GIF by Rogie is a must-have plugin that can play your GIFs in the editor mode, and it also helps you export your animated frames as GIFs directly from Figma.
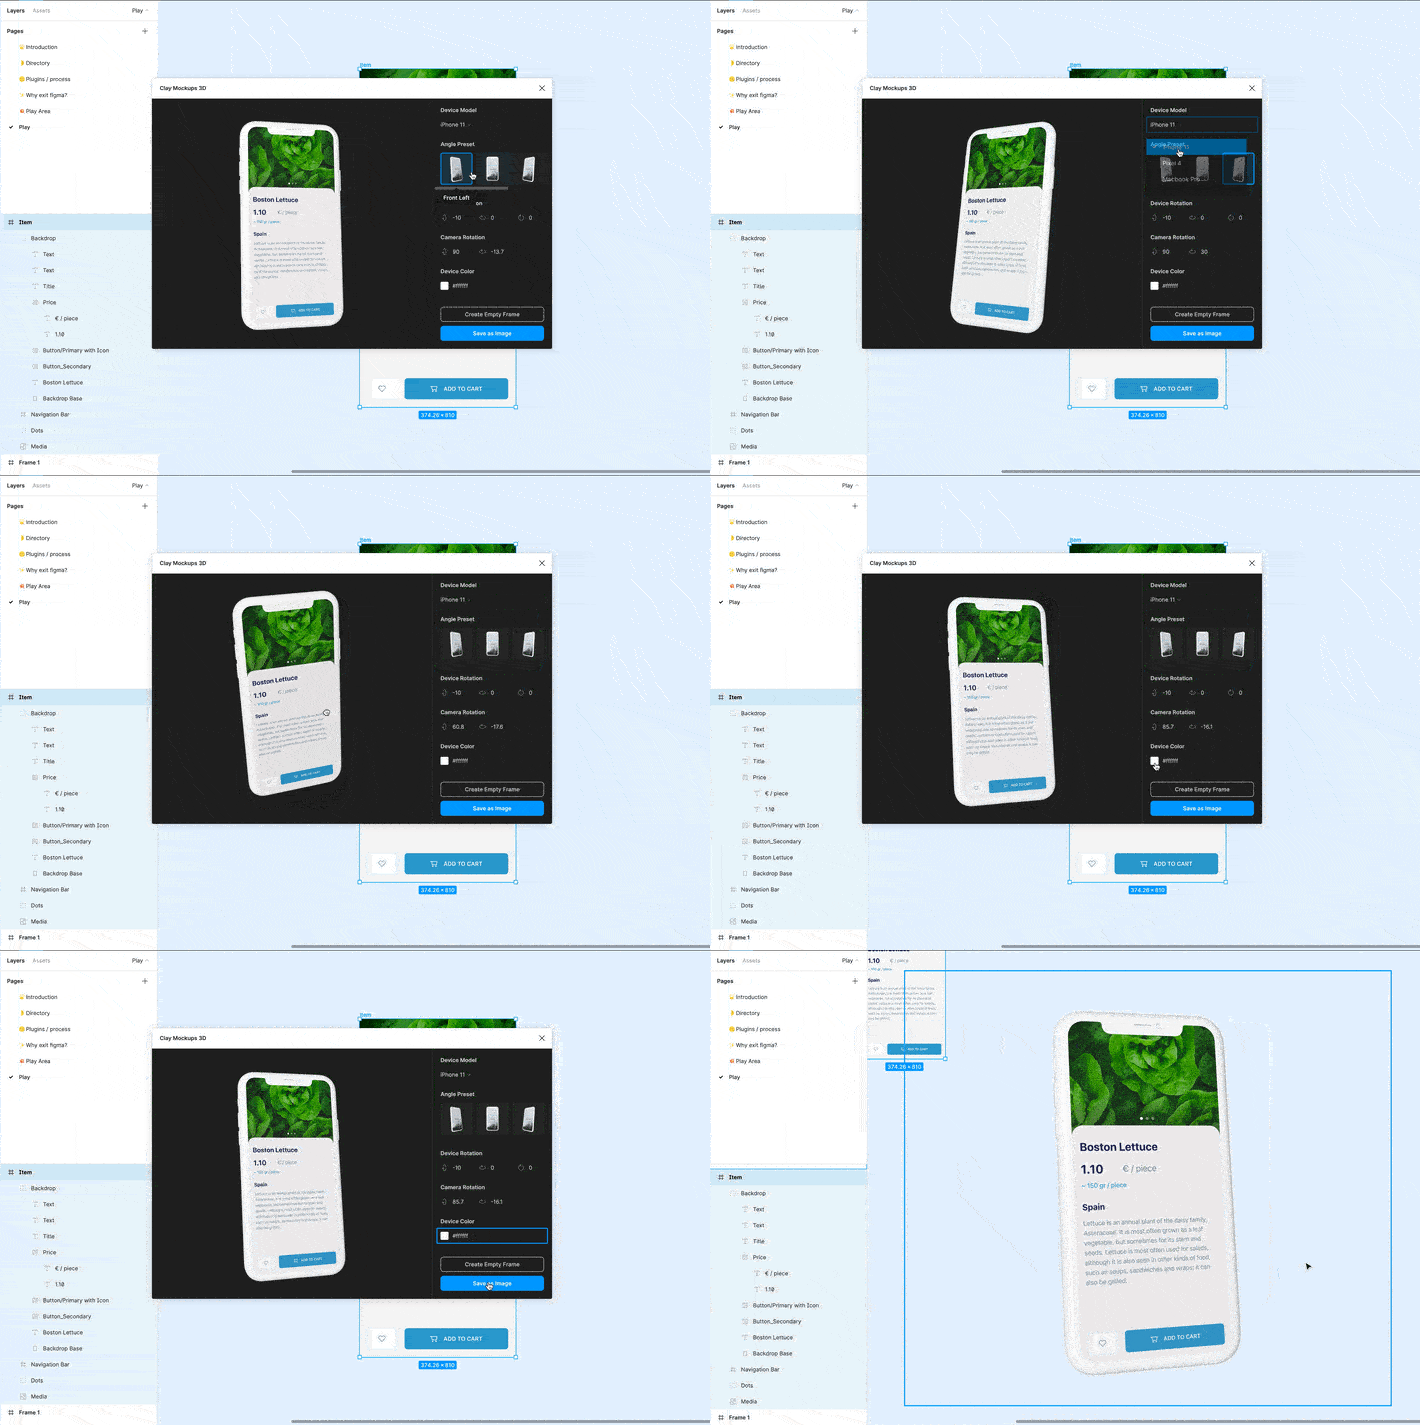
9. Create device mock ups — ‘Clay Mockups 3D’
I assume most of us create device mocks using Photoshop and After Effects. Here is an amazing alternative: Clay Mockups 3D. Clay Mockups is simply the best plugin there is to create neat device mocks and you can customise the device model, colour and camera angle, all within Figma. This saves so much time and it’s also my favourite plugin.
Conclusion
The idea of this list is to reduce dependencies on other design Apps when Figma already provides a great platform to experiment and execute almost everything a designer aspires to do. And lately, going by the trend — a lot of designers have started using Figma to make complex illustrations and create terrific art within Figma instead of using Adobe Illustrator or Photoshop.
For example,

This vector illustration of Baby Yoda by Joey Lamelas blew my mind. You can download the file here to see all the layers he put together.
Follow this twitter page to see artworks from the design-fam or for more tips on illustrations. Also, take Figma for a spin, and try to create something today.
If that was useful, please share it with your colleagues and friends. It was a joy writing this article, and I love teaching everything I know. I often organize sessions as a Figma Community Advocate for the Friends of Figma, Hyderabad Chapter.
Reach out to me for any feedback you wish to give. You can connect with me on Twitter @pranavatandra :)
Recommend
About Joyk
Aggregate valuable and interesting links.
Joyk means Joy of geeK