

Getting Started with AutoKeras
source link: https://towardsdatascience.com/getting-started-with-autokeras-8c5332b829?gi=7f01088f885a
Go to the source link to view the article. You can view the picture content, updated content and better typesetting reading experience. If the link is broken, please click the button below to view the snapshot at that time.
Harness the power of Neural Architecture Search with a few lines of code

One of the most powerful upcoming concepts which I wrote about in The State of AI in 2020 is Neural Architecture Search(NAS) . There is plenty to know about NAS, but to understand this tutorial I will only summarize. In short, NAS is essentially a method to take the limitations of human design out of Neural Network architectures. To accomplish this, many different architectures are considered in parallel, trained, and evaluated. Following this each may be adjusted based on a selected algorithm to try another architecture. The end result is a sort of gradient descent of the model loss across each model attempted(Can be thousands!), instead of each step. The model that performed best is the winner and the Data Scientist can sleep well at night knowing they likely aren’t using an inferior algorithm.
To pull off a successful NAS in the past, very complicated implementations of Tensorflow, PyTorch or Keras scripts were required. Aside from this, compute hardware requirements where enterprise level. Enter AutoKeras . The Data Analytics at Texas A&M Lab developed an open source framework built with Keras to bring NAS to any avid Keras + python user. Version 1.0 was just released in January 2019 following a year of pre-release versions as well, making it ready to go out to the wild. This is a great tool for young data scientists and small companies especially, as it allows for them to keep up with this technique which large competitors swear to.
The library uses state-of-the-art NAS algorithms, along with existing preprocessing blocks to insure smooth NAS trainings sessions. This is laid out extensively in the AutoKeras Paper . Part of what makes this very exciting for small research operations is the fact that they have optimized the algorithms for dynamic GPU memories to avoid the evil OOM Exceptions we are all used to. Given all of this, AutoKeras comes pre-packaged with the following capabilities:
- Image Classification/Regression
- Text Classification/Regression
- Structured DataClassification/Regression(Typical row x column datatypes)
- Multi-Task Learning
I’ll start with a brief walkthrough of setup and easy implementations and then go further into depth on custom implementations and the concept of “Blocks”
Setup
AutoKeras has the following requirements as it runs on Keras which is on top of Tensorflow, specifically ≥ version 2.1.0.
- Python3
- Pip
- TensorFlow ≥ 2.1.0(Important!)
Once these are all in place this simple pip command should install AutoKeras
pip3 install autokeras
If this installation occurs without any issues you are good to go!
Simple Use Cases
If your only goal is to train the best architecture for a classification task the code is rather minimal. Using the built-in mnist dataset you could load as follows
x_train, y_train = mnist.load_data()
Now that we have the data we want to fit we can create the ImageClassifier object:
import autokeras as ak
model = ak.ImageClassifier(max_trial = 100)
This creates the structure for our training session. The max_trials refer to how many different models will be attempted. AutoKeras has implemented models like ResNet, Xception, and separable CNNs, which are bound to be powerful.
Following this, we will need to fit the model. The incredibly complex and long process, depending on your hardware, can be triggered with:
model.fit(x_train, y_train)
The additional options are also helpful to understand in the fit method:
ImageClassifier.fit(x=None, y=None, epochs=None, callbacks=None, validation_split=0.2, validation_data=None, **kwargs )
We can see here that we have options to also set the number of epochs, and validation split at our choosing. This is nice for validation data as it will not require us to split it ourselves.
Once the model has completed its max numbers of trials, the model with the best “Score” will be selected. You can now feed a new image and save the model as follows.
x = load_some_image()
model.predict(x) #Returns a softmax array
model.export_model()
The output of the export method will be a TensorFlow Model filetype. This can be used to do anything that a typical TensorFlow model may be used for. For the other two model types(Text, Structured) the process is nearly identical. For example, the Text classifier can even accept a string as input and performs the embedding on its own!
AutoModel and Blocks
If AutoKeras is being used for production-grade software it is possible that the base use-cases will not suffice. Luckily AutoModel and Blocks allow users to build any pipeline and potential architecture they may need.

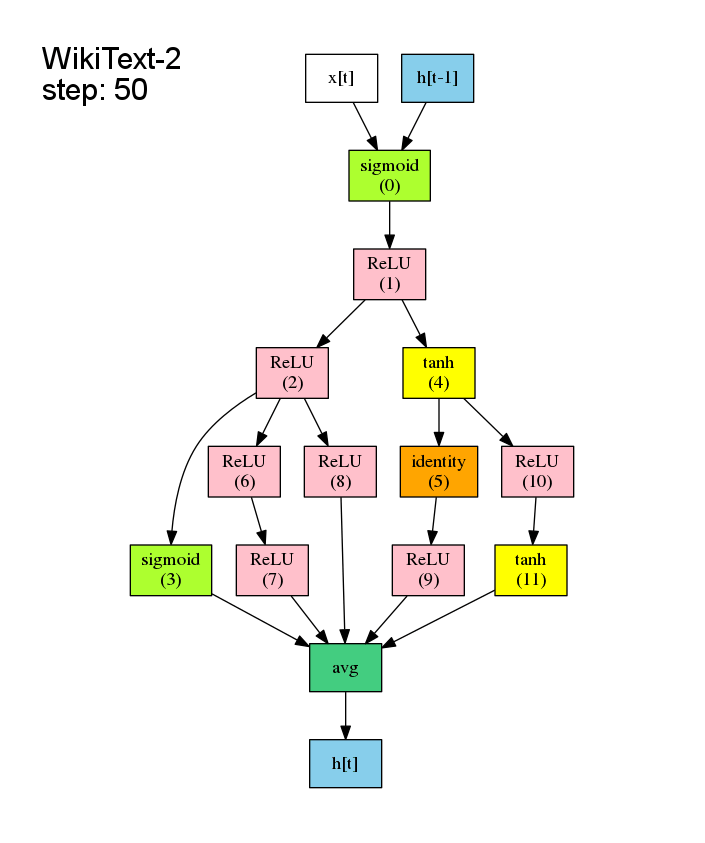
The above image is an AutoModel which is the base class for the classifier objects listed above. Constructing one these can accomplish the same tasks but with more control of the pipeline. Each step in the graph is called a Block. These range from preprocessing to full Neural Networks and are strung together sequentially. The initial Blocks(Input, Normalization, etc.) are simple enough to understand, but the networks can be confusing. When speaking of a Convolutional Block for instance we are not using a single convolution in a sequential Network, but rather and entire CNN. The CNN and ResNet Block above will add full architectures of each to the network types to the list of networks to try. The merge block only means to consider both as equal and the Classification Head signals to perform a Classification(softmax/binary) as opposed to a Regression output.
The code to complete a similar task is the same for the fit and predict steps, but requires a single line of code for each block. Here is an example of an AutoModel I created:
input_node = ak.ImageInput()
out_node = ak.Normalization()(input_node)
out_node1 = ak.ConvBlock()(out_node)
out_node2 = ak.XceptionBlock()(out_node)
out_node3 = ak.ResNetBlock()(out_node)out_node = ak.Merge()([out_node1, out_node2, out_node3])
out_node_c = ak.ClassificationHead()(out_node)auto_model = ak.AutoModel(inputs=input_node, outputs=[out_node_c], max_trials=20)auto_model.fit(x=x_train, y=y_train, epochs=100)
When this NAS commences AutoKeras will try variants of CNNs, Xception-like, and ResNet-like architectures evenly divided across the 20 trials I specified. Again it's important to note that the Blocks are not sequential, even though they look like it in the code. They can be thought of as added services to the AutoModel at each line.
There are many other Blocks which can be added to the pipeline aside from the network blocks. For example, adding this function after the ImageInput() method can perform a range of augmentations during the search:
ak.ImageAugmentation(percentage=0.25, rotation_range=180, random_crop=True)
Before feeding to the networks, AutoKeras would now perform all of these augmentations to our images.
Additionally, if we needed to switch to a regression task(Image Quality from 0–1), the ak.ClassificationHead()(out_node) could be converted to:
ak.RegressionHead()(out_node)
I could go on for many more examples of the adaptability that blocks provide. The same holds for the other two types of tasks, with custom word embeddings for Text and feature engineering for Structural data.
Multi-Task Learning
A final complex feature I wanted to cover was multi-task learning. There are often multiple output types desired from the bottom layers of a Neural Net Architecture. For example, an implementation I recently did for a client required image category and quality output. Eager to implement this in AutoKeras I looked into how this could be accomplished with the Multi-Task framework. The following code accomplished this.
input_node = ak.ImageInput()
out_node = ak.Normalization()(input_node)
out_node1 = ak.ConvBlock()(out_node)
out_node2 = ak.XceptionBlock()(out_node)
out_node3 = ak.ResNetBlock()(out_node)out_node = ak.Merge()([out_node1, out_node2, out_node3])
out_node_t = ak.ClassificationHead()(out_node)

out_node_q = ak.RegressionHead()(out_node)

auto_model = ak.AutoModel(inputs=input_node, outputs=[out_node_t, out_node_q], max_trials=20)
auto_model.fit(x=im_in, y=[ty_y, qual_y], epochs=100)
This model creates a softmax array and raw float output simultaneously. The main change you may notice is the addition of the RegressionHead alongside the ClassificationHead. Following this, the two outputs are described in the constructor of the AutoModel. Finally, the two output datasets are fed to y=[ty_y, qual_y] so that the model knows what to train on for each head. This overall creates two separate network branches off the initial blocks. The same output from the CNNs is passed to each but the required quality score and categorical array are received from each branch.
Recommend
About Joyk
Aggregate valuable and interesting links.
Joyk means Joy of geeK