

用js写卡牌游戏(三) | Xieisabug
source link: http://www.xiejingyang.com/2019/06/26/js-write-card-game-3/?
Go to the source link to view the article. You can view the picture content, updated content and better typesetting reading experience. If the link is broken, please click the button below to view the snapshot at that time.
废了又废话
上篇文章发了之后,有挺多朋友来注册线上地址的,受宠若惊。
然后看了看上篇文章的日期,6个月前,emmmm,为什么我这么懒。。。
开了一个交流群,532413727,大家有啥想问的想说的可以加群交流。
第三回(卡牌攻击)
接着上节所说,接下来制作卡牌的ui,首先创建一个component文件夹,在文件夹中创建我们的Card.vue,按照上一章我们的设计图:
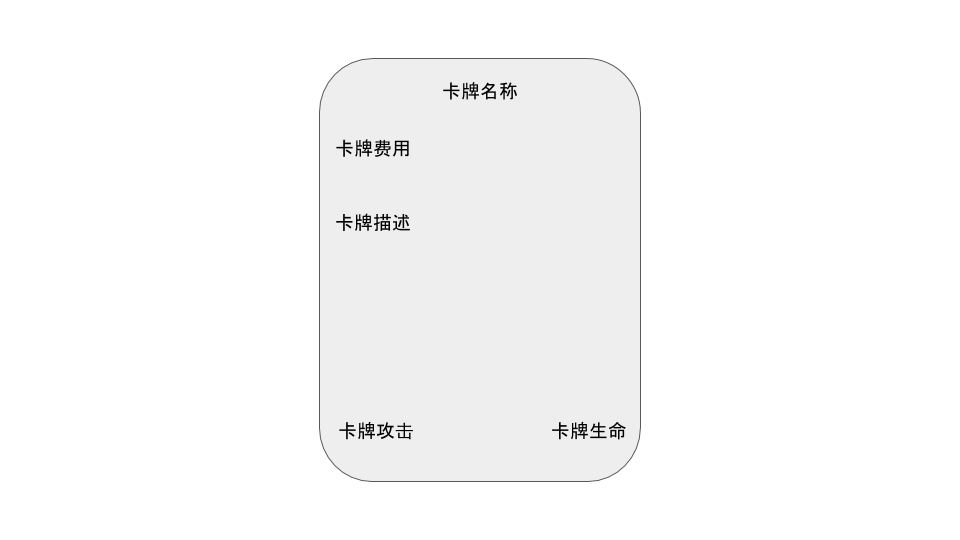
写出Card的简略dom如下:
<template>
    <div class="card">
        <div class="card-name">{{name}}</div>
        <div class="card-cost">
            {{cost}}
        </div>

        <div class="card-content">{{content}}</div>

        <div class="card-bottom">
            <div>
                <div class="attack">{{attack}}</div>
            </div>
            <div>
                <div class="life">{{life}}</div>
            </div>
        </div>
    </div>
</template>

<script>
export default {
    name: "Card",
    data () {
        return {
            name: "测试",
            cost: 5,
            content: "测试卡片",
            attack: 10,
            life: 10
        }
    }
}
</script>
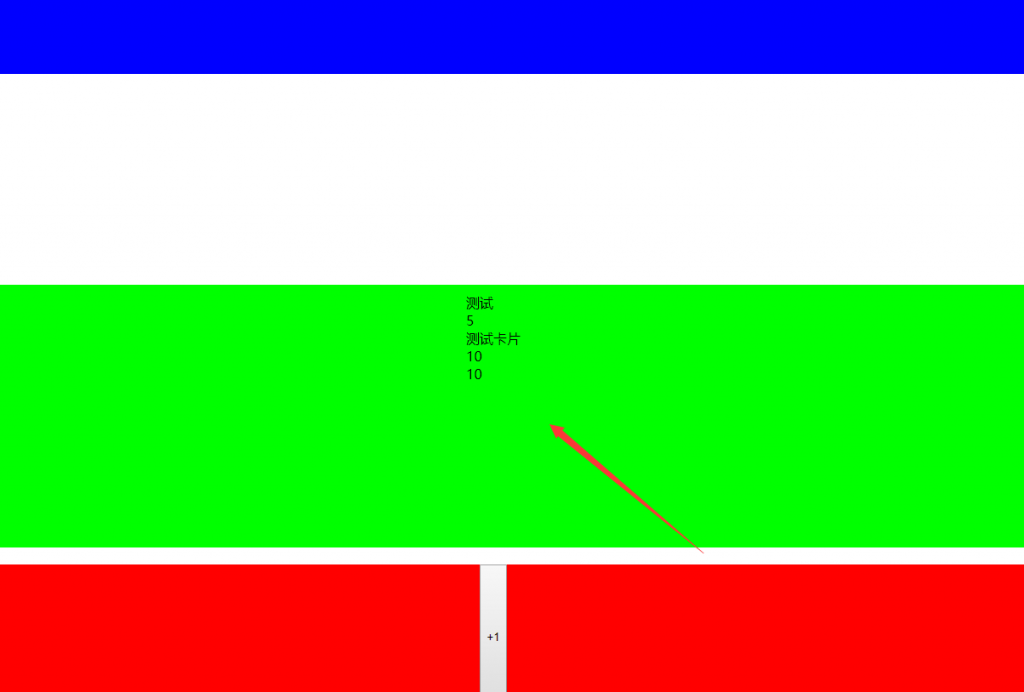
这个时候可以在GameTable.vue中引入这个组件进行一下预览,在my-card-area区域中去掉之前的{{count}},加入刚刚Card组件,记得要在script里面引入Card。这个时候就能看到一个非常丑陋的卡片了。
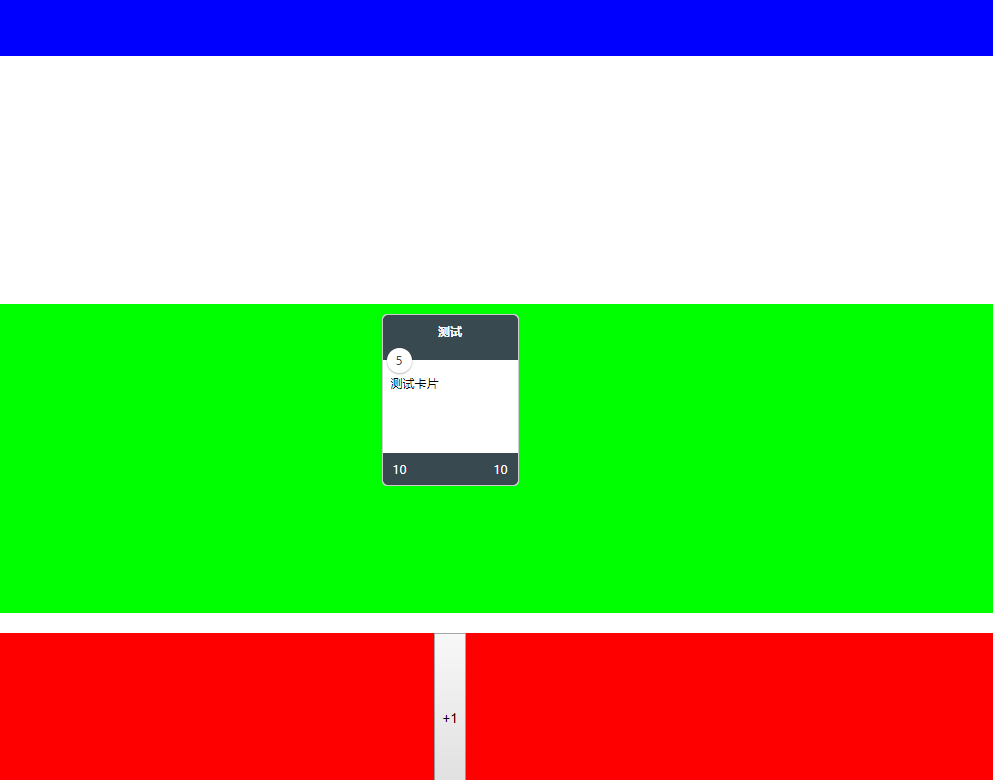
这是因为我们还没添加组件的样式,我们为组件加上基本的样式:
<style>
.card {
    position: relative;
    width: 135px;
    height: 170px;
    font-size: 12px;
    border: 1px solid #ccc;
    border-radius: 5px;
    background: white;
}

.card-name {
    height: 45px;
    background: #394950;
    color: white;
    border-top-right-radius: 5px;
    border-top-left-radius: 5px;
    text-align: center;
    margin-bottom: 15px;
    box-sizing: border-box;
    padding: 8px 0;
    font-weight: bold;
}

.card-cost {
    position: absolute;
    background-color: white;
    color: #394950;
    border-radius: 50%;
    width: 25px;
    height: 25px;
    left: 4px;
    top: 33px;
    display: flex;
    justify-content: center;
    align-items: center;
    box-shadow: 0 2px 2px 0 rgba(0, 0, 0, 0.16), 0 0 0 1px rgba(0, 0, 0, 0.08);
}

.card-content {
    padding: 0 8px;
}

.card-bottom {
    position: absolute;
    bottom: 0px;
    width: 100%;
    background: #394950;
    display: flex;
    justify-content: space-between;
    padding: 8px 10px;
    color: white;
    box-sizing: border-box;
    border-bottom-right-radius: 5px;
    border-bottom-left-radius: 5px;
}
</style>
添加了这些样式之后,就能看到我们想要的卡片效果了,当然,你也可以按照自己的想法修改上面的样式,卡片的样式不会影响游戏的功能。
这个时候给对手的桌面上也放上一张卡片,也就是在other-card-area中也增加一个Card。
<div class="table">
    <div class="other-card-area">
        <Card />
    </div>
    <div class="my-card-area">
        <Card />
    </div>
</div>
双方都有卡片了,现在要制作攻击效果了。
攻击的效果如果使用dom来制作,会非常的不方便,所以需要使用到canvas来绘制这部分的效果,我的思路是先将动画制作出来,然后再应用到卡片上,然后再实现攻击的逻辑部分,那么开始动手。
首先在页面上添加canvas,编写样式和context初始化:
HTML:
<canvas id="animationCanvas" v-show="showCanvas" :width="windowWidth" :height="windowHeight"></canvas>
Javascript(GameTable文件,mounted方法的尾部):
this.windowWidth = window.innerWidth;
this.windowHeight = window.innerHeight;

window.onresize = () => {
    this.windowWidth = window.innerWidth;
    this.windowHeight = window.innerHeight;
}
this.canvasContext = document.querySelector("#animationCanvas").getContext("2d");
#animationCanvas {
    width: 100%;
    height: 100%;
    position: absolute;
    left: 0;
    top: 0;
    z-index: 999;
}
我们需要的效果是鼠标按下后,在页面上画一根线条,松开鼠标时线条消失,所以思路很简单,在按下鼠标时记录按下的点A,在鼠标移动的时候绘制点A到当前位置的一根线条,在松开鼠标的时候清除线条,所以添加下面的代码到mounted代码尾部:
window.onmousedown = (e) => {
    window.isAttackDrag = true;
    this.attackStartX = e.pageX;
    this.attackStartY = e.pageY;
}

window.onmousemove = (e) => {
    if (window.isAttackDrag) {
        window.requestAnimationFrame(() => {
            this.canvasContext.clearRect(0, 0, this.windowWidth, this.windowHeight);
            this.canvasContext.strokeStyle = 'maroon';
            this.canvasContext.fillStyle = 'maroon';


            this.canvasContext.save();
            this.canvasContext.setLineDash([40, 10]);
            this.canvasContext.lineWidth = 30;

            this.canvasContext.beginPath();
            this.canvasContext.moveTo(this.attackStartX, this.attackStartY);
            this.canvasContext.lineTo(e.pageX, e.pageY);
            this.canvasContext.fill();
            this.canvasContext.stroke();
            this.canvasContext.restore();
        })
    }
}

window.onmouseup = () => {
    if (window.isAttackDrag) {
        window.isAttackDrag = false;
        this.canvasContext.clearRect(0, 0, this.windowWidth, this.windowHeight)
    }
}
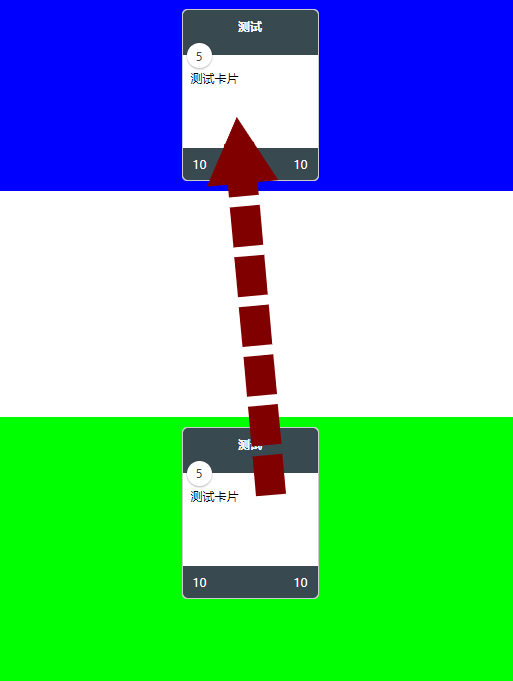
保存后查看效果,恩~还不错,不过总觉得少了点什么,哦!是箭头!
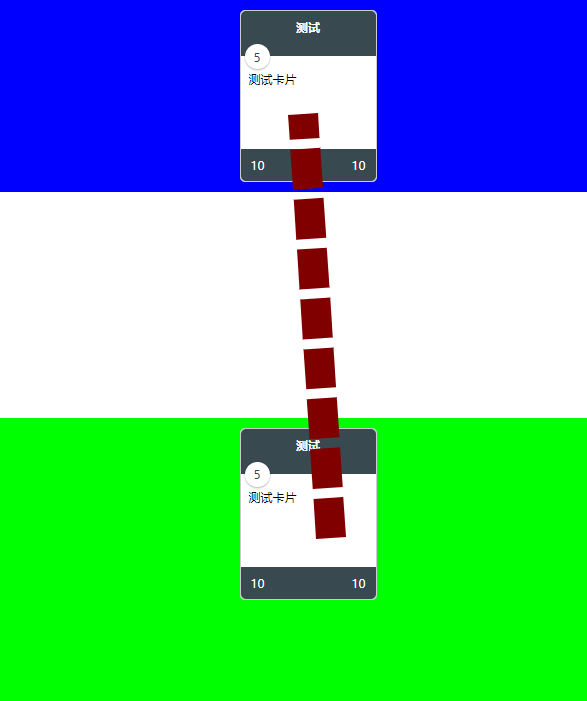
那么尝试画一个箭头在顶端吧,其实就是画一个三角形在顶端,绘制三角形其实很简单,但是难点就是这根直线是有角度的,所以三角形也要跟着直线的角度旋转。好在这些都是在网上能查到资料的,所以把下面这段代码加到刚刚绘制直线的代码后面,就能看到效果了:
this.canvasContext.save();
this.canvasContext.beginPath();
this.canvasContext.lineCap = 'square';
this.canvasContext.translate(e.pageX, e.pageY);
let getLineRadians = () => {
    let _a = e.pageX - this.attackStartX;
    let _b = e.pageY - this.attackStartY;
    let _c = Math.hypot(_a, _b);
    return Math.acos(_a / _c) * Math.sign(_b);
};
this.canvasContext.rotate(getLineRadians() - Math.PI /2);
this.canvasContext.moveTo(35, -40);
this.canvasContext.lineTo(0, 25);
this.canvasContext.lineTo(-35, -40);
this.canvasContext.lineTo(35, -40);
this.canvasContext.fill();
this.canvasContext.stroke();
this.canvasContext.restore();
到这里,实现了第一步,但是目前在任意位置都能绘制这样一根直线,而我们的目标是只有在我们的卡牌上才可以进行攻击操作,所以要修改一下我们刚刚的代码。
首先将原来的window.mousedown事件注释掉,将mousedown事件绑定到Card组件中,在Card的最外层的div上加入mouseDown事件,在事件里emit事件到外层:
mouseDown(e) {
    this.$emit('onAttackStart', {
        startX: e.pageX, startY: e.pageY
    })
}
外层中GameTable页面写一个onAttackStart的方法来接收事件,这个事件其实就是之前的mousedown事件,只是多了一个控制canvas是否显示的变量:
onAttackStart({startX, startY}) {
    this.showCanvas = true;
    window.isAttackDrag = true;
    this.attackStartX = startX;
    this.attackStartY = startY;
}
有显示canvas就要能隐藏,在之前的onmouseup方法里,加入this.showCanvas = false
与此同时,在GameTable组件中的my-card-area里的Card组件,传入刚刚写好的onAttackStart,这样就实现了只能在Card上面拖拽进行攻击了。
下一回我计划做卡牌攻击的效果和服务端的一些事情,感兴趣的同学请继续留意吧。
github地址在这里,这篇文章的代码tag是a-3。
Recommend
About Joyk
Aggregate valuable and interesting links.
Joyk means Joy of geeK