

Server Side Swift with Kitura Part 2: Completing Your Backend
source link: https://www.tuicool.com/articles/hit/iMvEBzz
Go to the source link to view the article. You can view the picture content, updated content and better typesetting reading experience. If the link is broken, please click the button below to view the snapshot at that time.

Part two of our new, free course, Server Side Swift with Kitura , is available today! If you ever wanted to extend your skills past developing for mobile devices, but didn’t have time to learn a new language, this is your chance!
In part two, you’ll get an introduction to Kitura version 2.0, and learn to connect your Kitura server to CouchDB to store your EmojiJournal entries.
Take a look at what’s inside:
Part 2: Completing Your Backend

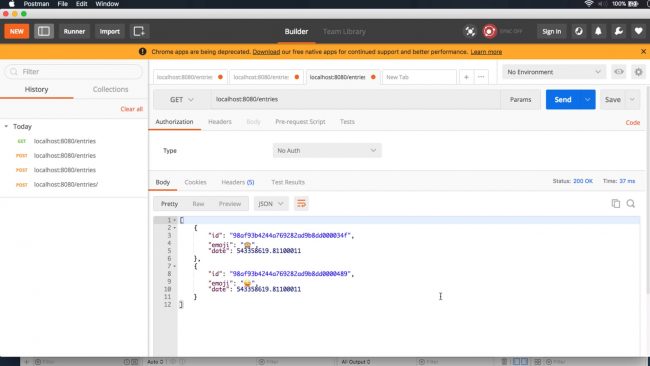
- Introduction To Kitura 2.0 : We’ll cover the basics introduced in Kitura 1.0, and then go into some of the finer points of what was added to the Kitura framework in version 2.0, including what a router is and how codable routes work.
- Making Codable Routes : Let’s make a basic GET route using Kitura, and then let’s enhance and streamline that route using the Codable protocol with Kitura’s best built in feature – Codable Routing.
- Challenge: Create A DELETE Route : Now that you’ve made two routes in Kitura, you’ll make your third one to improve on its functionality.
- Introduction To CouchDB : I’ll show you how CouchDB works, and how you’ll make use of it to store journal entries that you enter with EmojiJournal.
- Connecting To CouchDB : I’ll walk you through setting up CouchDB on your local machine, and how to connect your Kitura server to it.
- Challenge: Using CouchDB In The Cloud : After I show you how to set up an instance of CouchDB in IBM Cloud, I’ll challenge you to connect to it once you have all the information you need to do so.
- Writing Your Persistence Functions : I’ll walk you through writing a series of persistence functions in your Kitura application, so that you have an easy way to keep track of how your app uses CouchDB.
- Challenge: Linking Your Router To CouchDB : After you write your persistence functions, you’ll hook up your codable routes to your database, finally putting all the pieces together.
- Conclusion : Take a second to smell the roses, and look at what you built! I’ll run you through a test drive of your Kitura application.
Where To Go From Here?
Want to check out the course? The first two parts of the course are ready for you today! The rest of the course will be released over the next two weeks, and the entire course will be available for free.
Stay tuned for more new and updated courses to come. I hope you enjoy the course! :]
Recommend
About Joyk
Aggregate valuable and interesting links.
Joyk means Joy of geeK