

A Progressive Web Application with Vue JS, Webpack & Material Design [Part 4...
source link: https://medium.com/@kevinj_50886/a-progressive-web-application-with-vue-js-webpack-material-design-part-4-96c8c216810b
Go to the source link to view the article. You can view the picture content, updated content and better typesetting reading experience. If the link is broken, please click the button below to view the snapshot at that time.
A Progressive Web Application with Vue JS, Webpack & Material Design [Part 4]
This article is part of a serie that aims to build a basic but complete Progressive Web Application with VueJs, Webpack & Material Design, step-by-step and from scratch. If you have not yet read it, you can find the initial part here.
If you have not read them yet, you can find previous parts below:
Code source is available on this GitHub repository. And you can see the final result here.
Here is where we stopped:
This fourth tutorial focuses on implementating a native functionality in a progressive web app. We are going to:
- Display the native camera with the MediaDevices API;
- Upload pictures on firebase storage;
- Post pictures to Firebase.
Enjoy reading!
[PART 4] Access device camera to take pictures
Display the camera
Create a new empty view components/CameraView.vue:
And link the button action to this new view :
- Import the new view in the router config (router/index.js)
import CameraView from '@/components/CameraView'
Add the new view in the routes object (router/index.js)
{
  path: '/camera',
  name: 'camera',
  component: CameraView
}- Add a new button with the link to the new CameraView (homeView.vue)
Now we can use the mediaDevices API
- First, we need an empty video tag in the cameraView that will contain the stream (CameraView.vue) :
We add a ref attribute to this tag to be able to dynamically attribute a video source to the video tag.
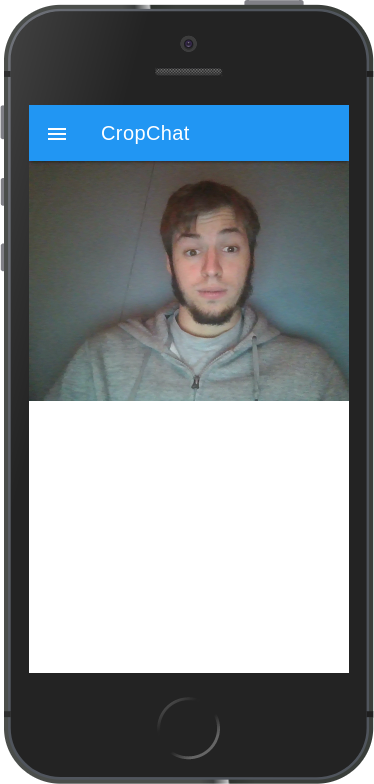
During the CameraView mount we will initiliaze the camera
And tadaaa
A little explanation :
navigator.mediaDevices.getUserMedia({ video: true })This method ask to the user throught a prompt the permission to use his camera, then turns on a camera on the system and provides a MediaStream object containing a video/track. To more information see the API doc.
NB : this API can be use to record audio too.
Now we are ready to take a picture !
Take a picture
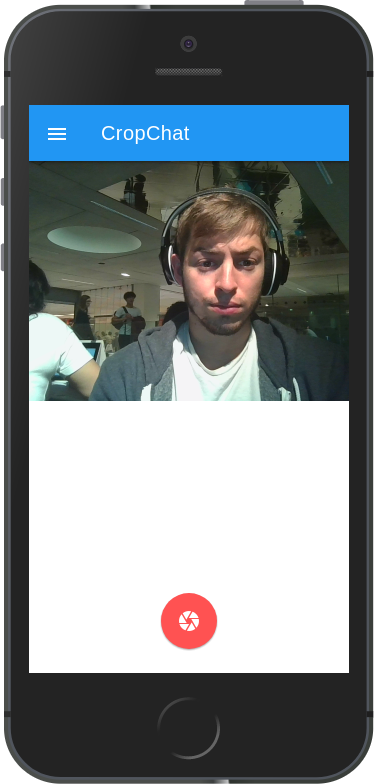
Start to add a new button to take the picture , and create an empty function ‘capture’ binded to this button :
Now you can see this :
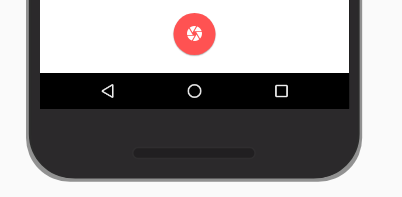
It’s time to capture an image in the MediaStream ! To make this happen, we will use one new HTML interface. The ImageCapture interface, which provides an interface to capture an image from a MediaStreamTrack. To get a MediaStreamTrack we must save the current MediaStream in our view data. This feature is only supported in Chrome 59 or above.
Now we can complete our capture function :
Normally we will see a blob in your console

Close the camera
this part can seems to be useless, but it’s primordial. First, the user don’t want to keep his camera open. Second, the camera is a very greedy in battery, so we must use it with parsimony.
During the destroy lifecycle event, we get all open tracks in our stream and we stop them:
// CameraView.vueexport default {
  ...
  destroyed () {
    const tracks = this.mediaStream.getTracks()
    tracks.map(track => track.stop())
  }
  ...
}
Upload the picture
To add the taken picture to the chat, we must store the picture on a server. In the part 2, we use Firebase as a database but Firebase also offers a free storage service! To see the full storage documentation go here.
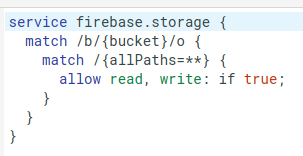
Let’s setup our firebase storage int the firebase console. Go to the firebase interface > storage tab > rules and update the rules to make the storage public. This manipulation is only good for prototyping, to secure the storage, use the firebase auth.
You remenber the firebase service ? We will add an new line to this service to export the storage service from firebase
We can now import this service in our components to access to our firebase storage.
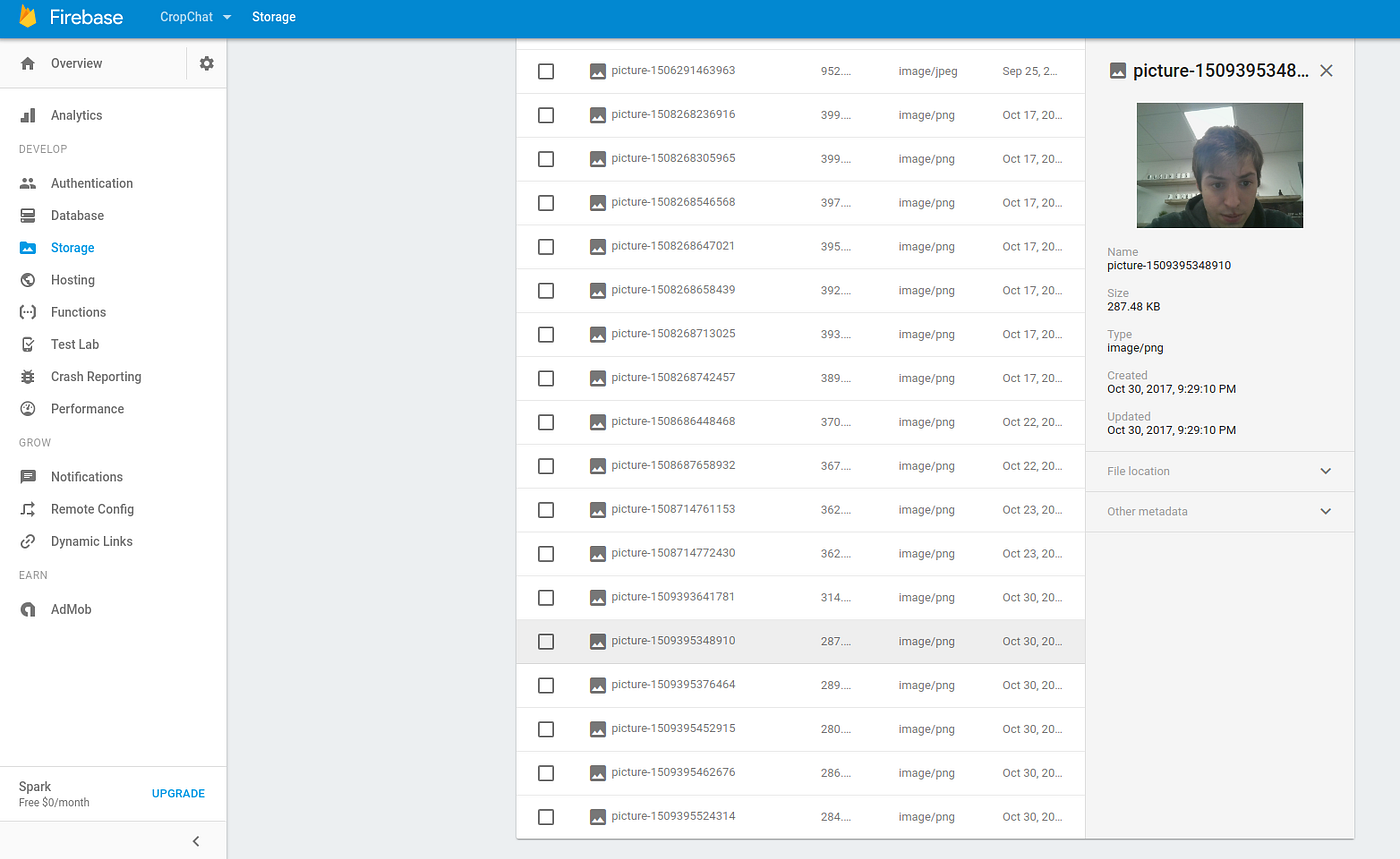
Ok let’s try to upload a picture, you should see your picture in your firebase console.
Add the picture to the list
After the upload le’ts add the picture in the
Create a new mixin files to contains our postCat method written during the part 2 (mixins/postCat.js).
We can update the postView with the mixins
And use the mixin in the camera view
This is it ! Congratulation we can now taken and upload a picture in our list !
Conclusions
I hope you have a better understanding of how to implement an native functionality with an HTML5 API. We learned:
- how to use
MediaStreamto access to the native camera ; - how to store picture in Firebase with
VueFire;
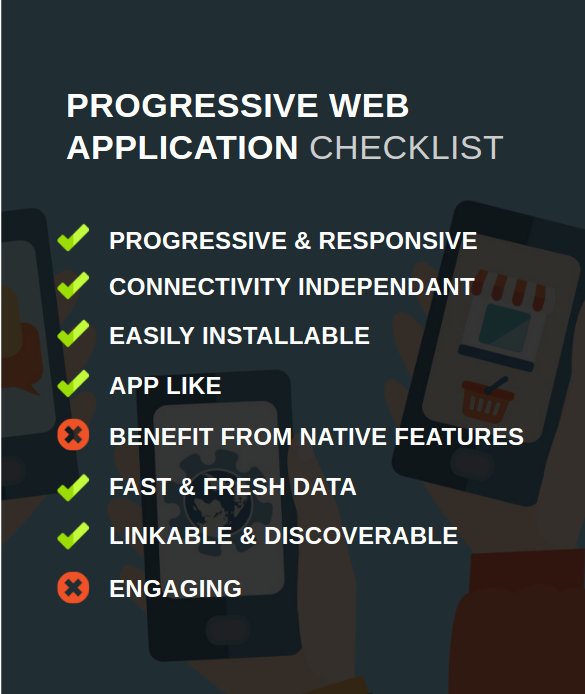
Let’s have a look to our Progressive Web App checklist:
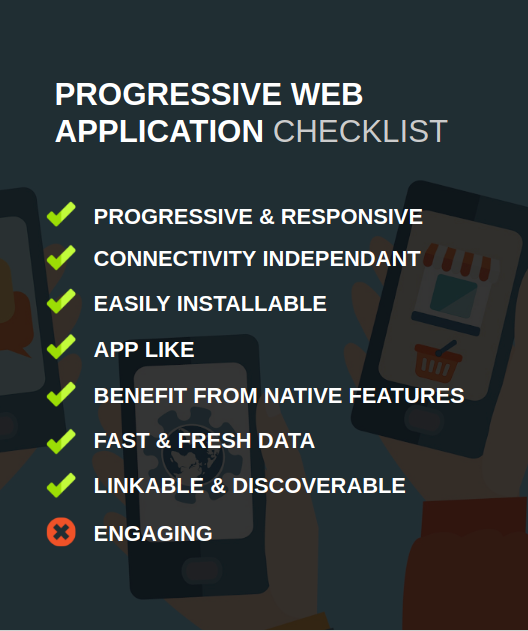
One of our last requirements is not yet met. We will handle them in next parts. Part 5 will show you how to “use push notifications to engage your user”.
Recommend
About Joyk
Aggregate valuable and interesting links.
Joyk means Joy of geeK